Compal Electronics TG9A GSM Cellphone User Manual TG9A Eng All
Compal Electronics Inc GSM Cellphone TG9A Eng All
UserManual.wiki
>
Compal Electronics
>
TG9A User Manual
Users Manual Revised
Navigation menu
Upload a User Manual
Namespaces
Wiki Guide
HTML
PDF
Info
Views
User Manual
Discussion / Help
Navigation


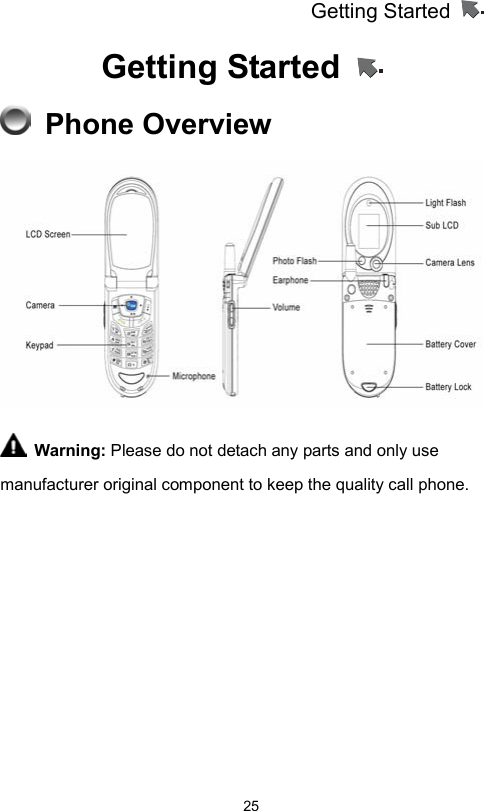
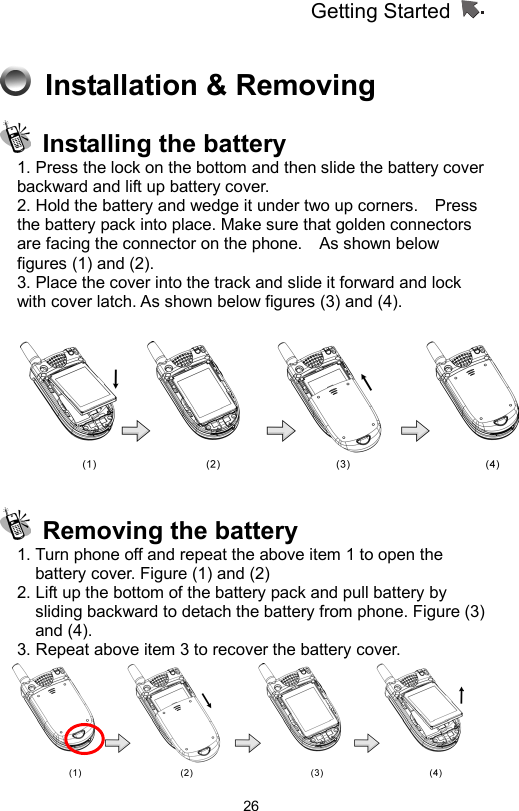
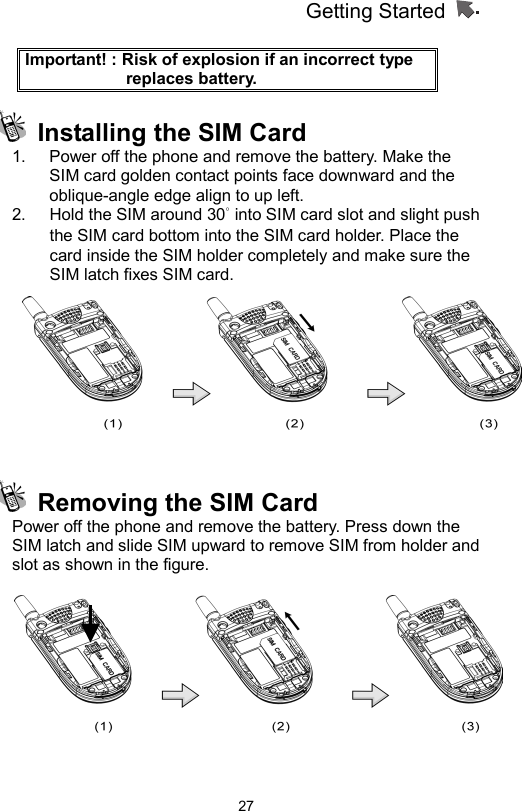
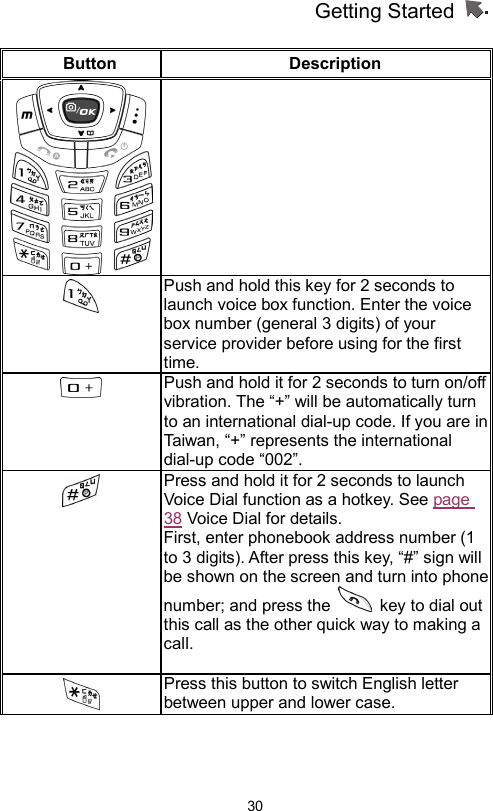
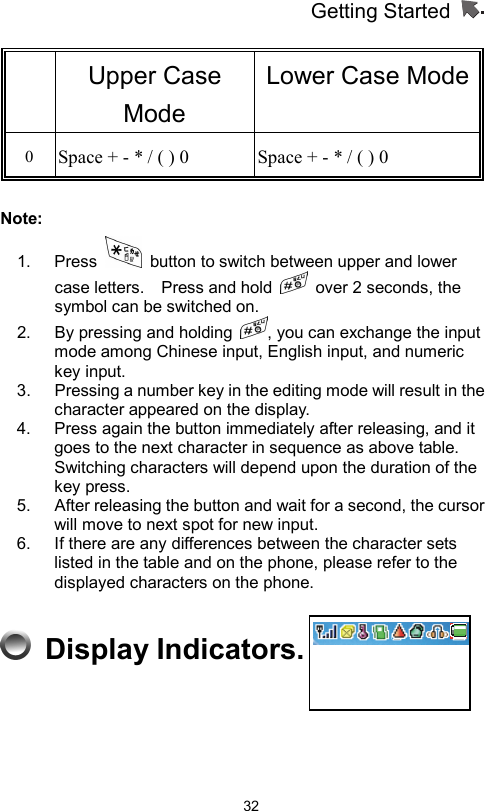
![Getting Started 31Button Description Adjust volume during a call. For camera, up key is for shooting the picture and down key is for exiting the self shooting, when the cover is folder. Alphanumeric Mapping The alphabetical and numerical keypad mapping relations are listed on the following table: Upper Case Mode Lower Case Mode1 Space / | \ ( )[ ]{} 1 Space / | \( )[ ]{} 1 2 A B C 2 Ä Å Æ ç a b c 2 ä å à æ ç 3 D E F 3 É d e f 3 é è 4 G H I 4 g h i 4 ì 5 J K L 5 J k l 5 6 MNO6ÑÖ m n o 6 ñ ö ò 7 P Q R S 7 β p q r s 7 β 8 T U V 8 Ü t u v 8 ü ù 9 W X Y Z 9 w x y z 9](https://usermanual.wiki/Compal-Electronics/TG9A/User-Guide-452230-Page-31.png)