Compal Electronics TP00064AWD Digitizer I/O device User Manual TP00064A Users Manual
Compal Electronics Inc Digitizer I/O device TP00064A Users Manual
Contents
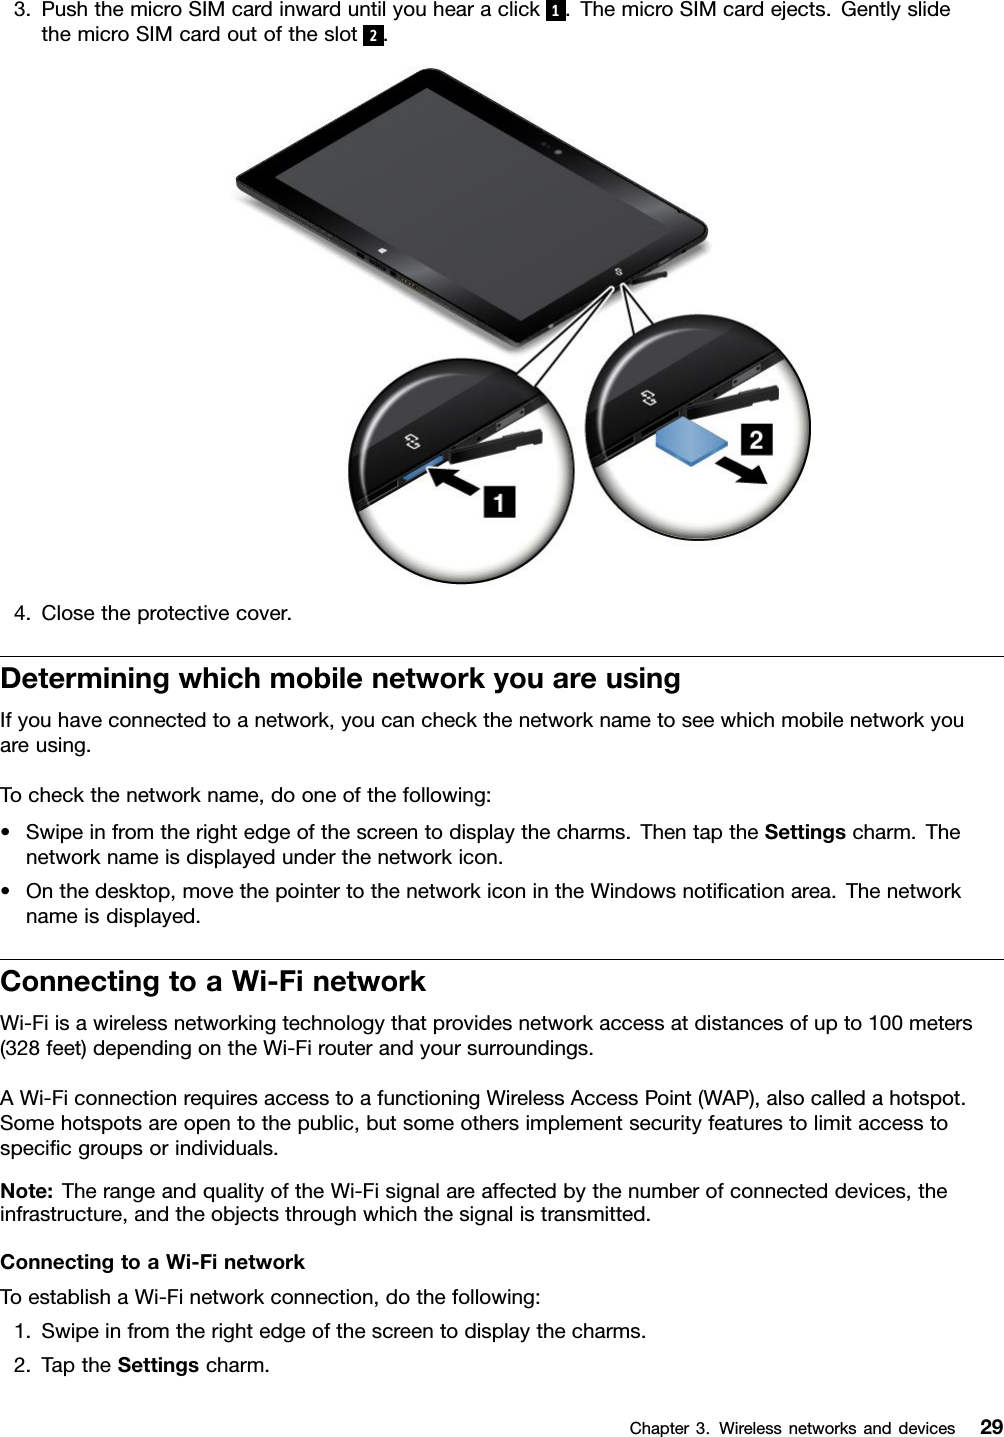
- 1. TP00064A Users Manual - Regulatory Notice
- 2. TP00064A Users Manual
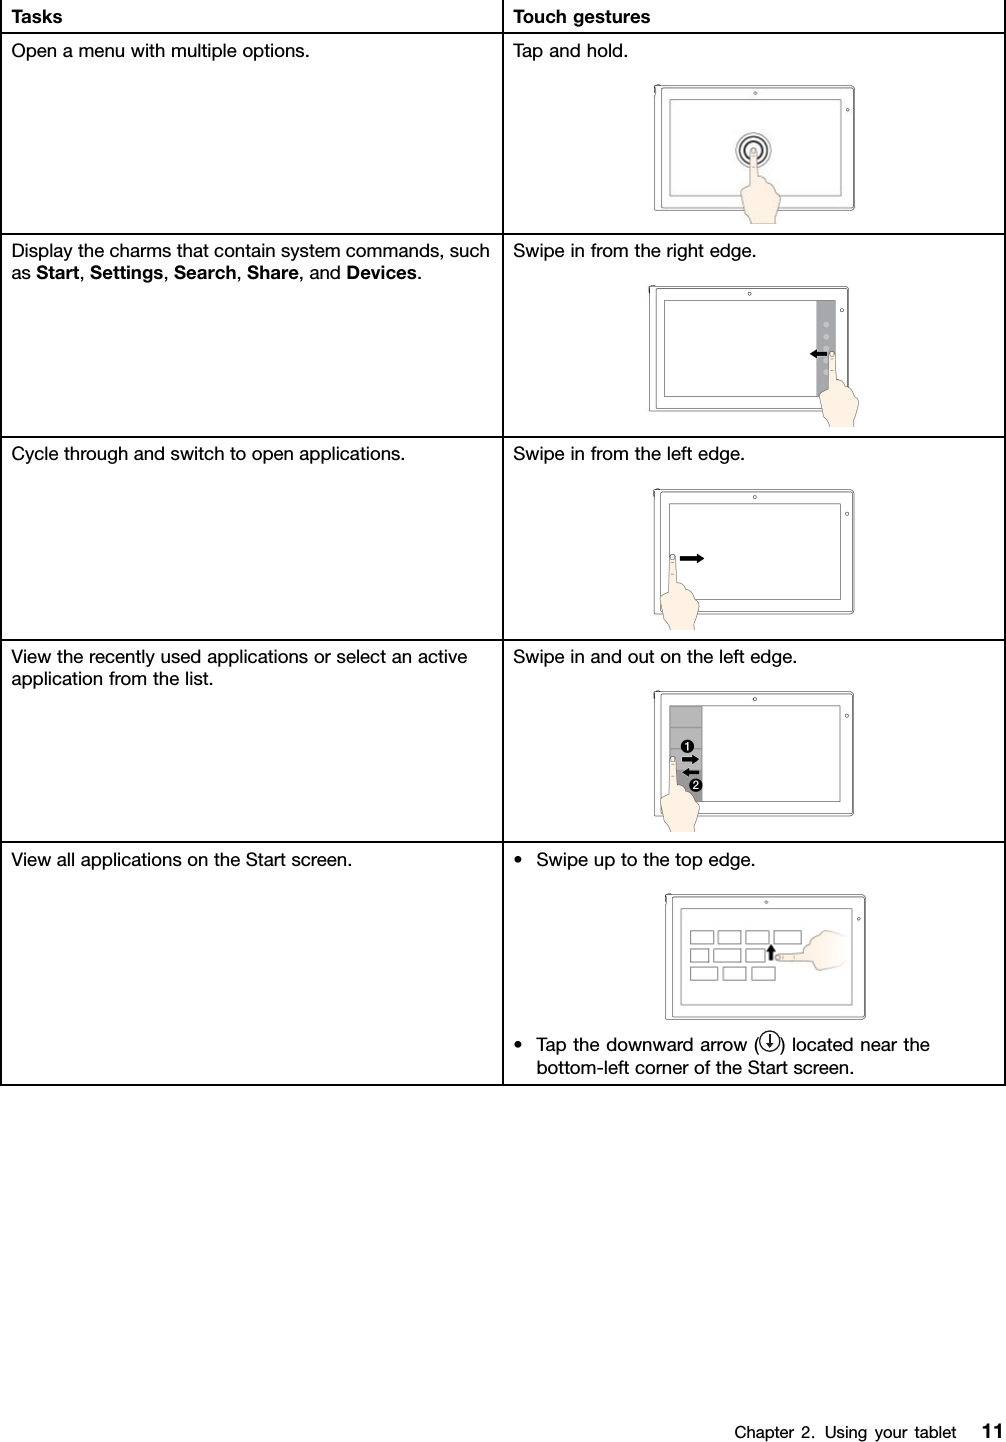
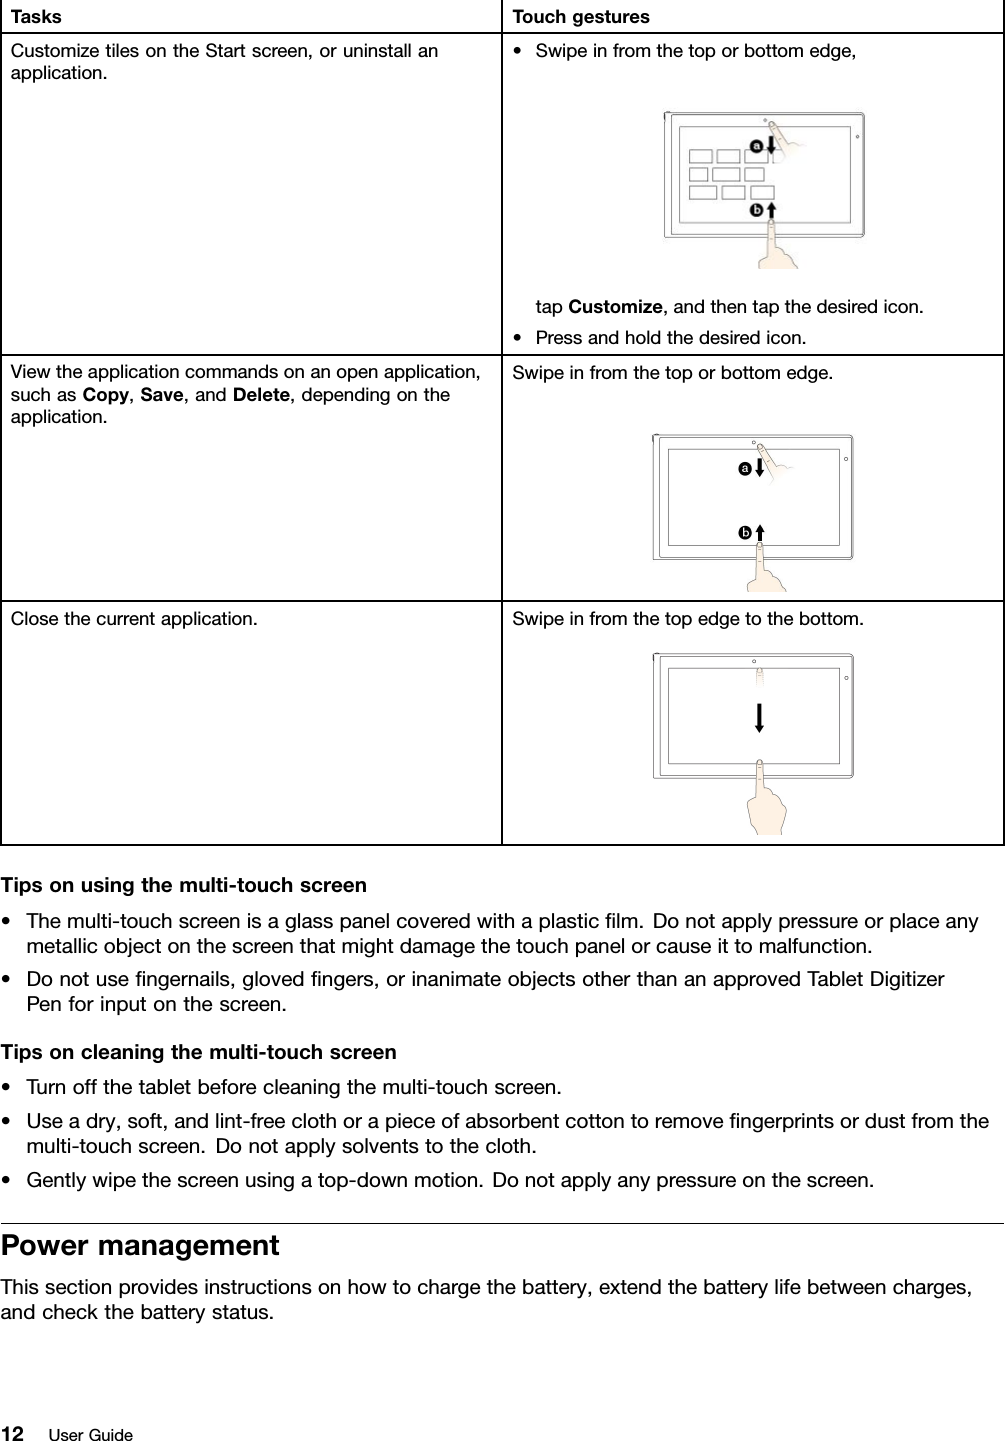
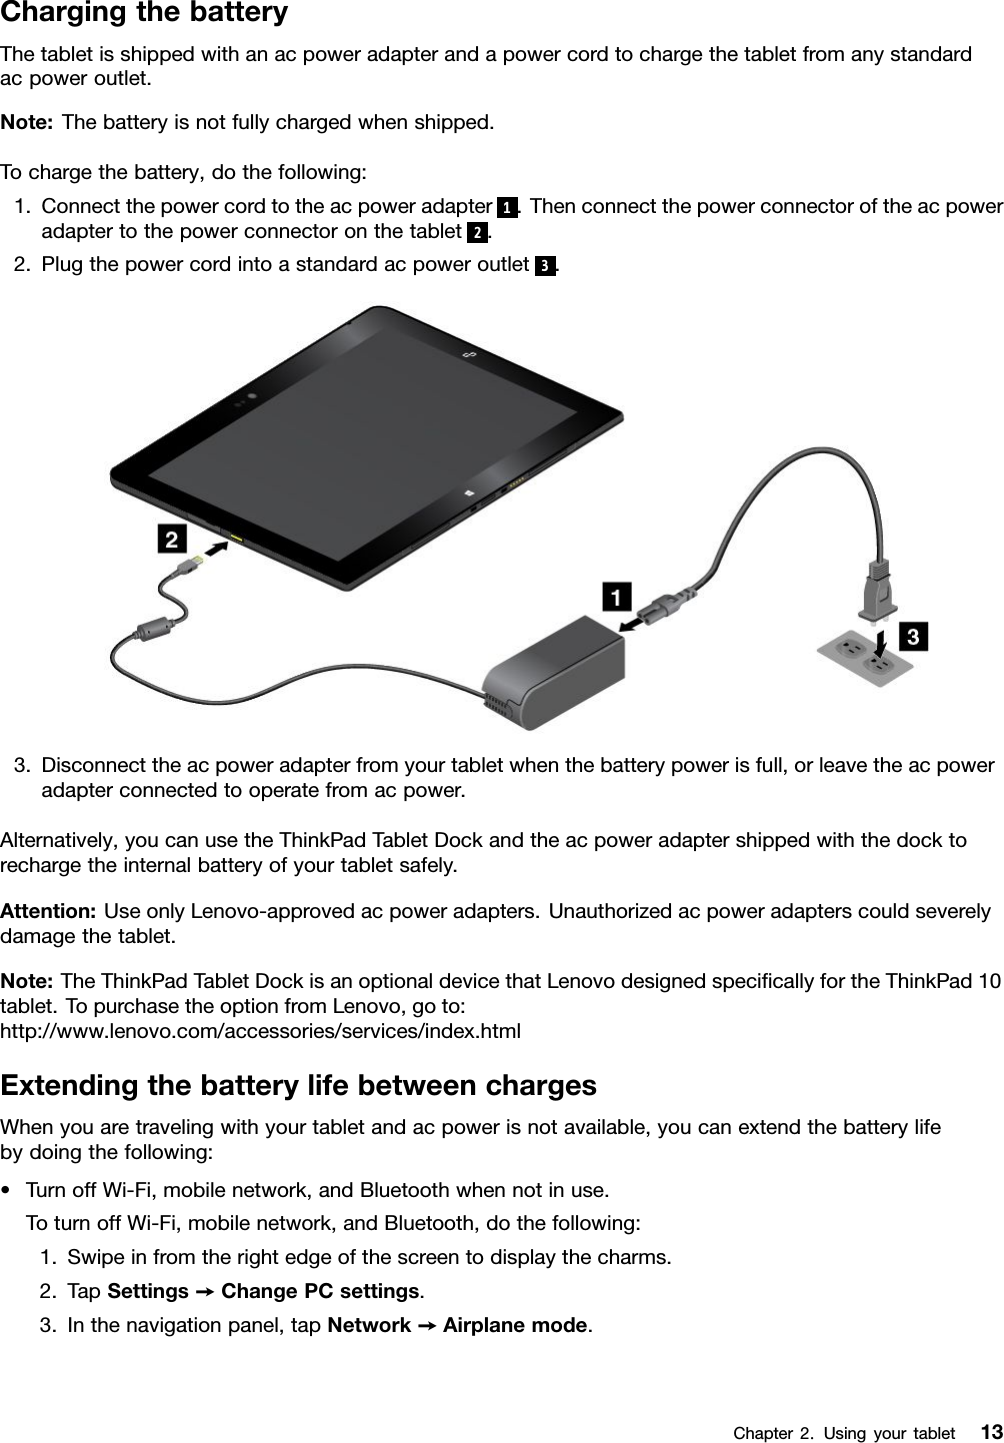
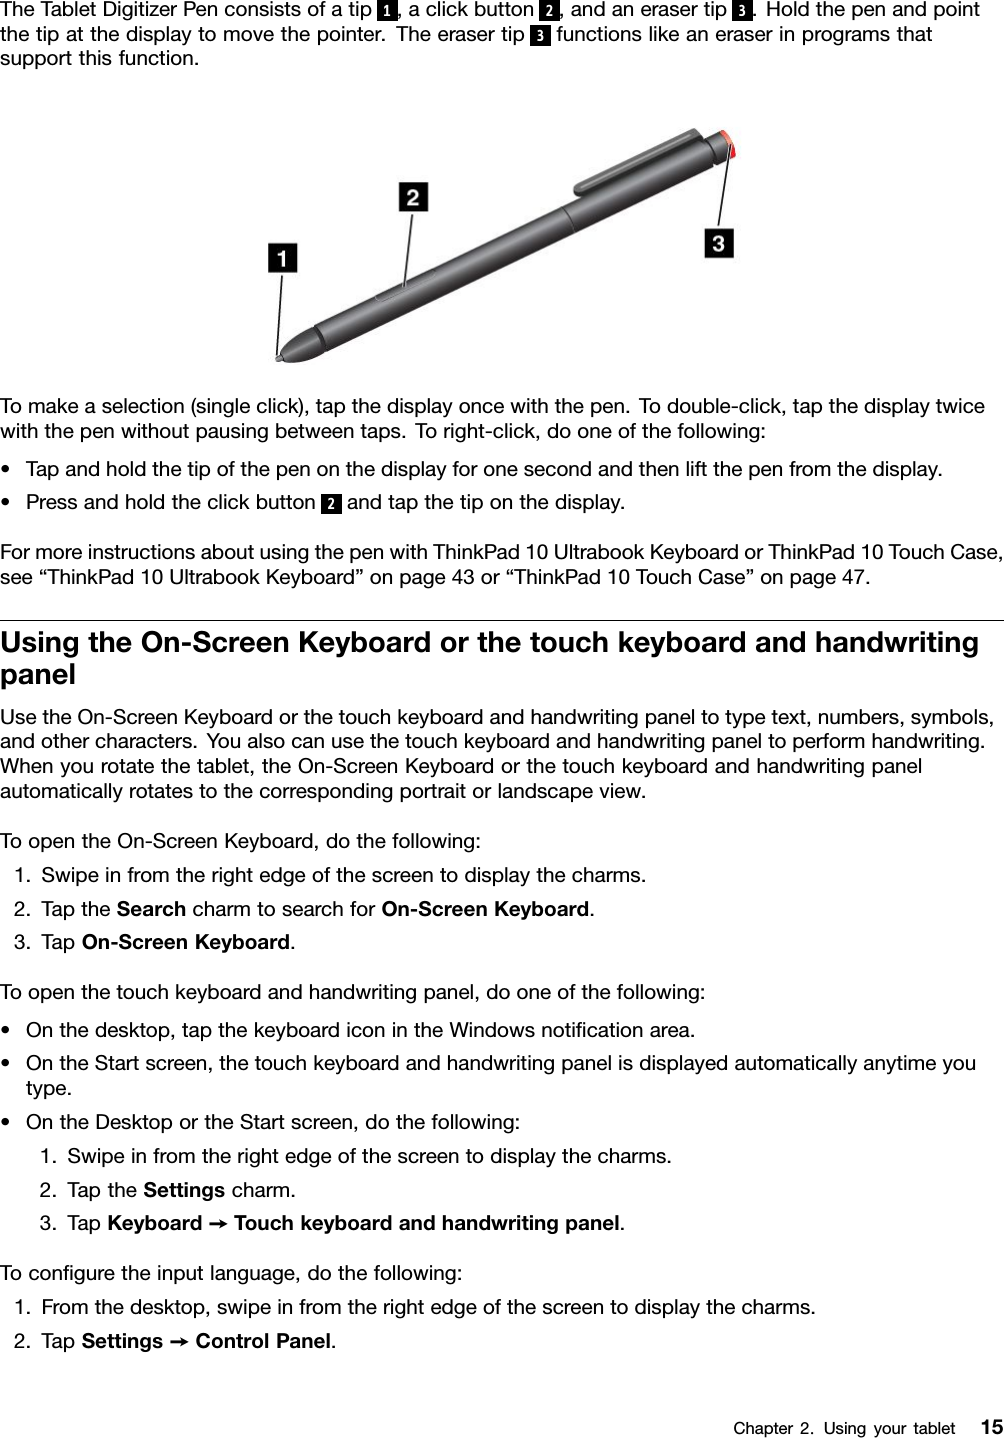
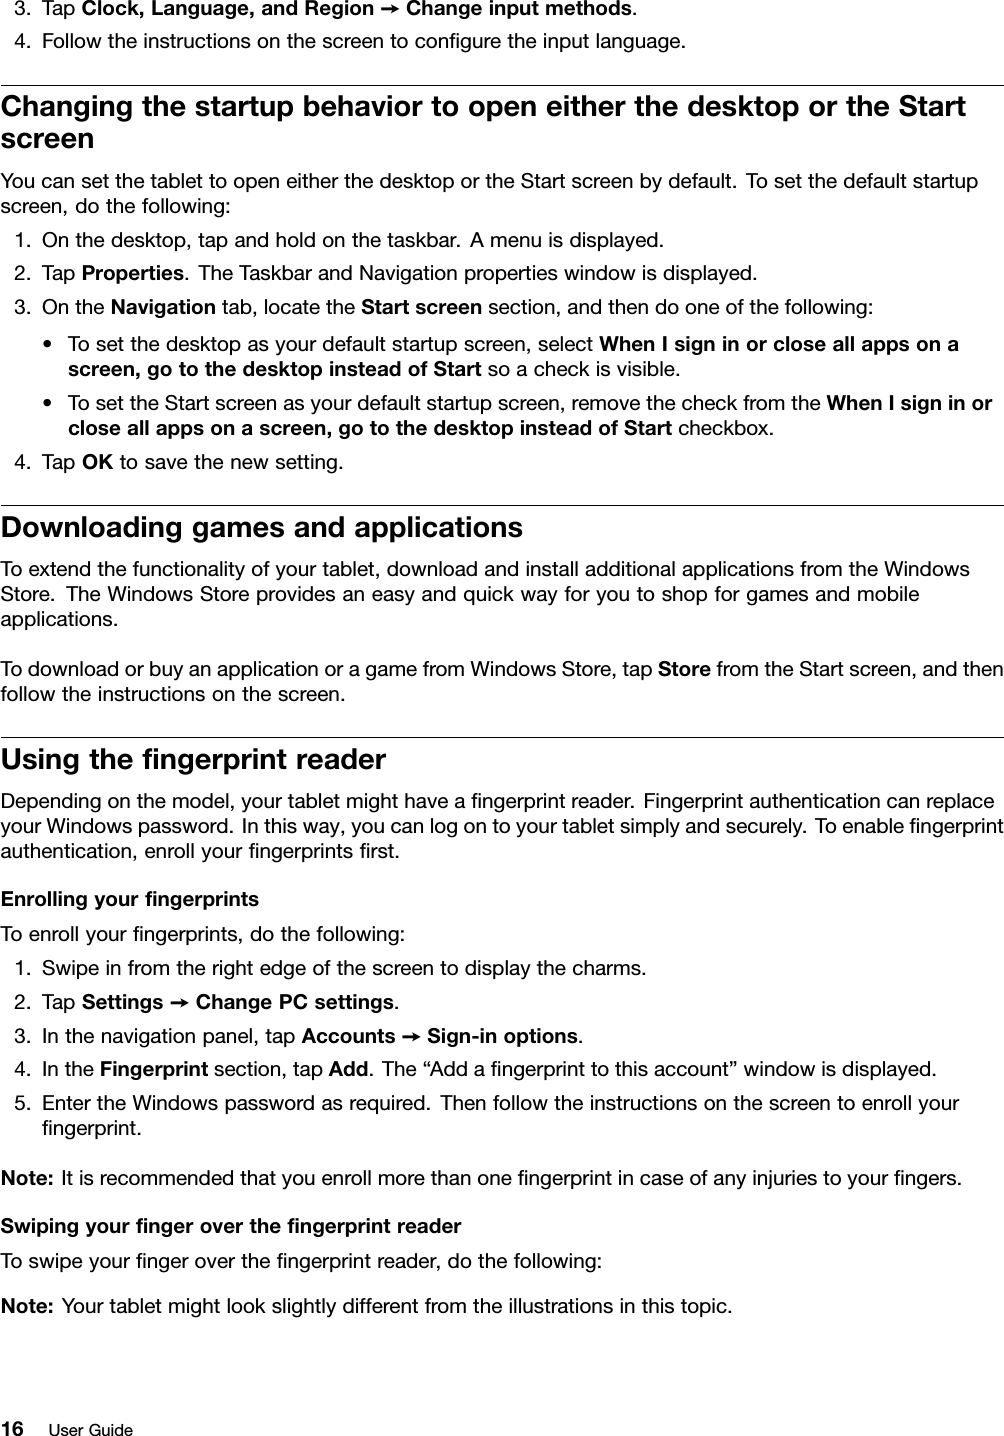
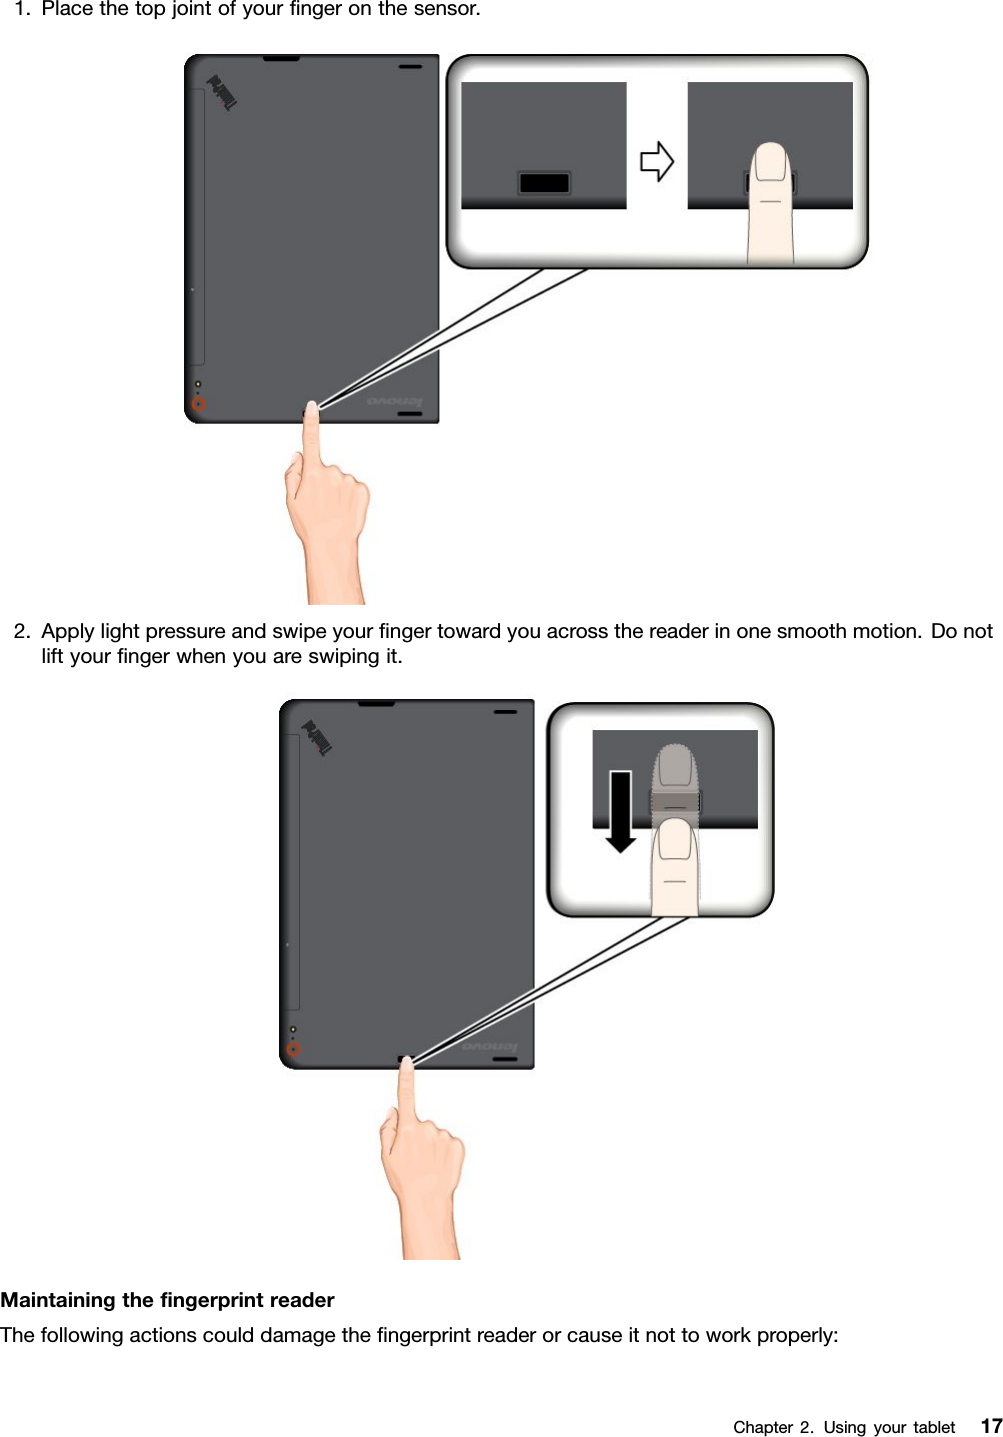
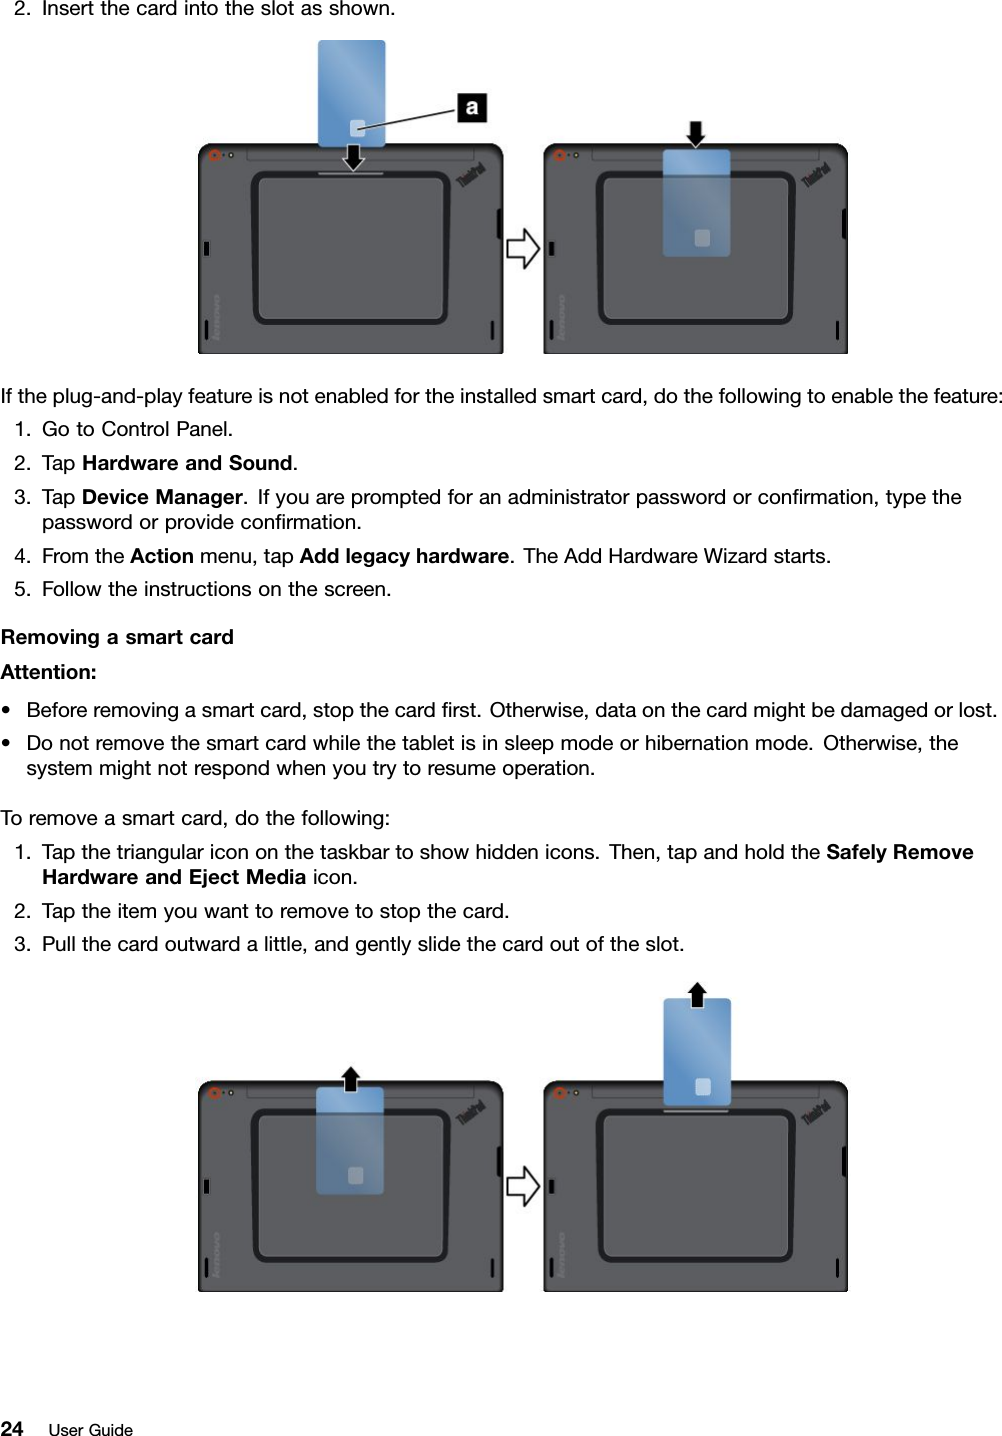
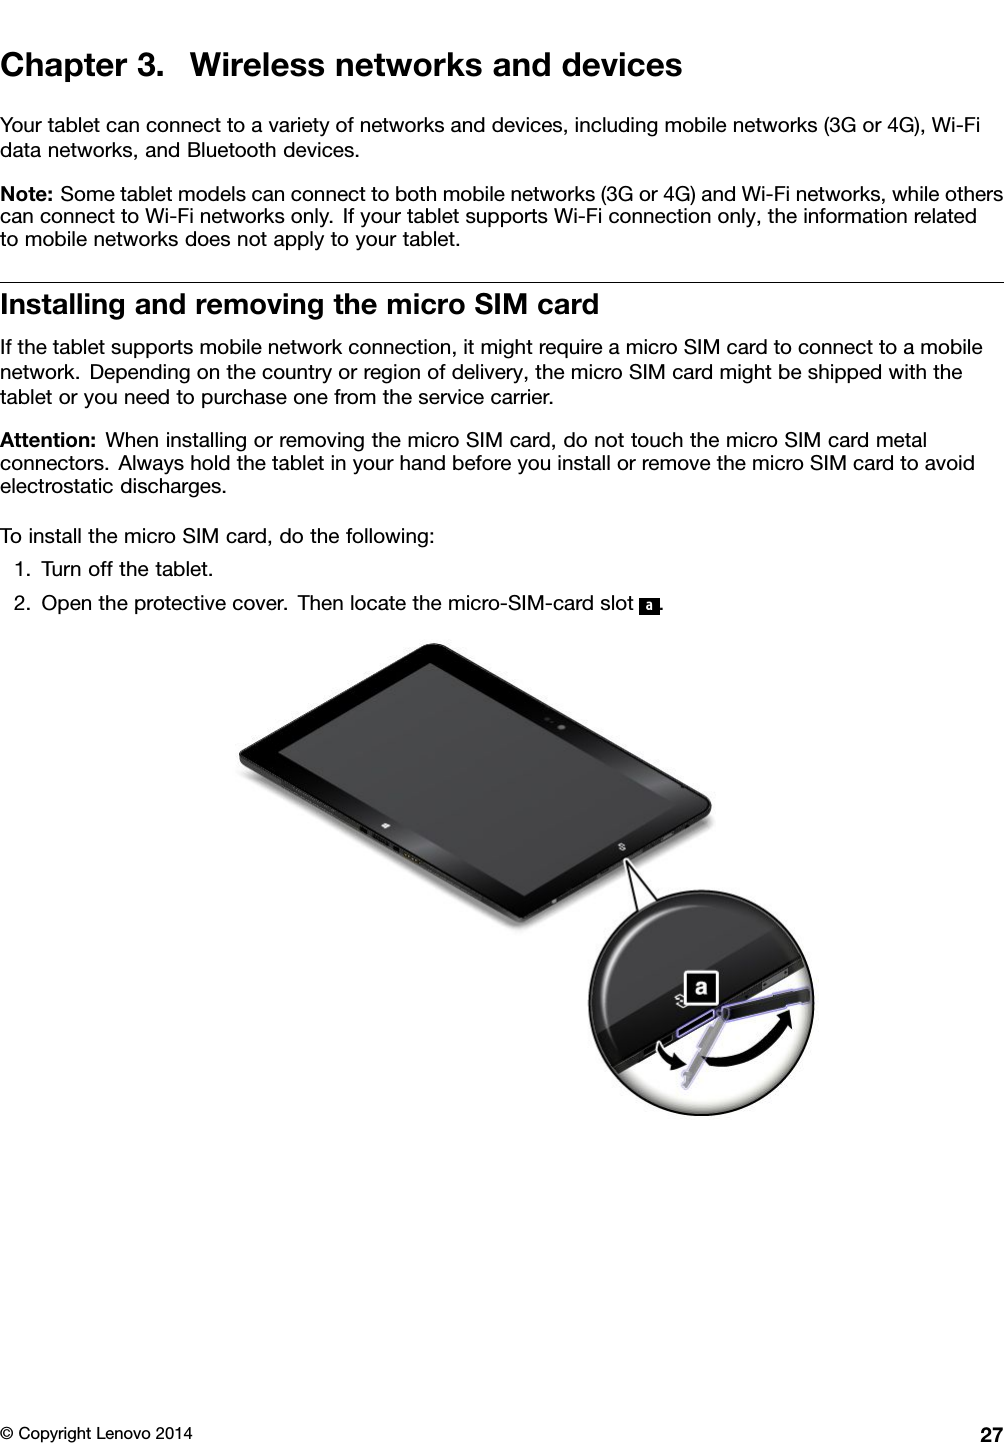
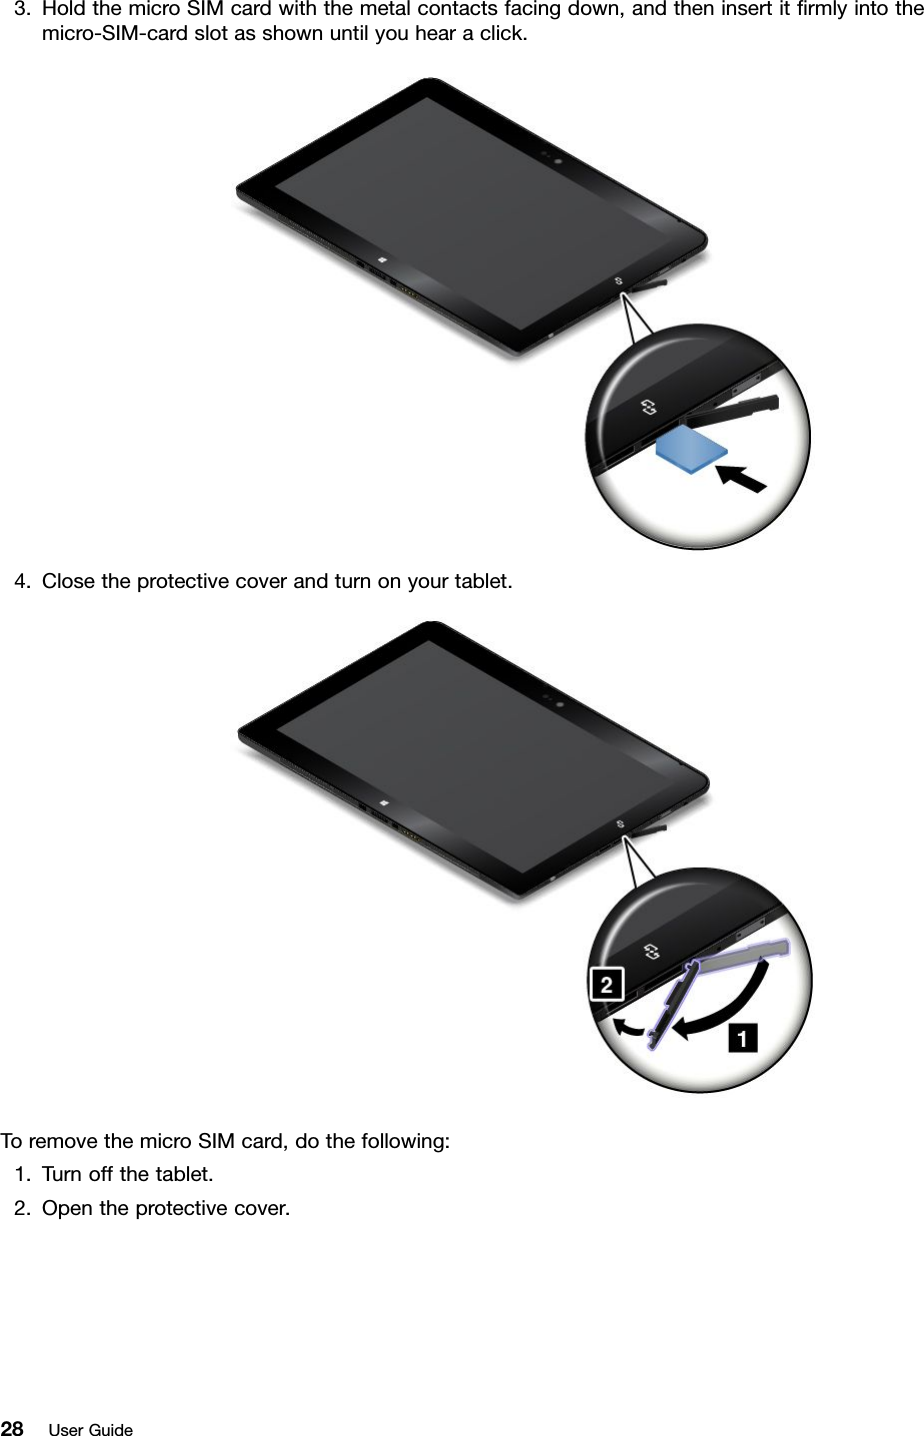
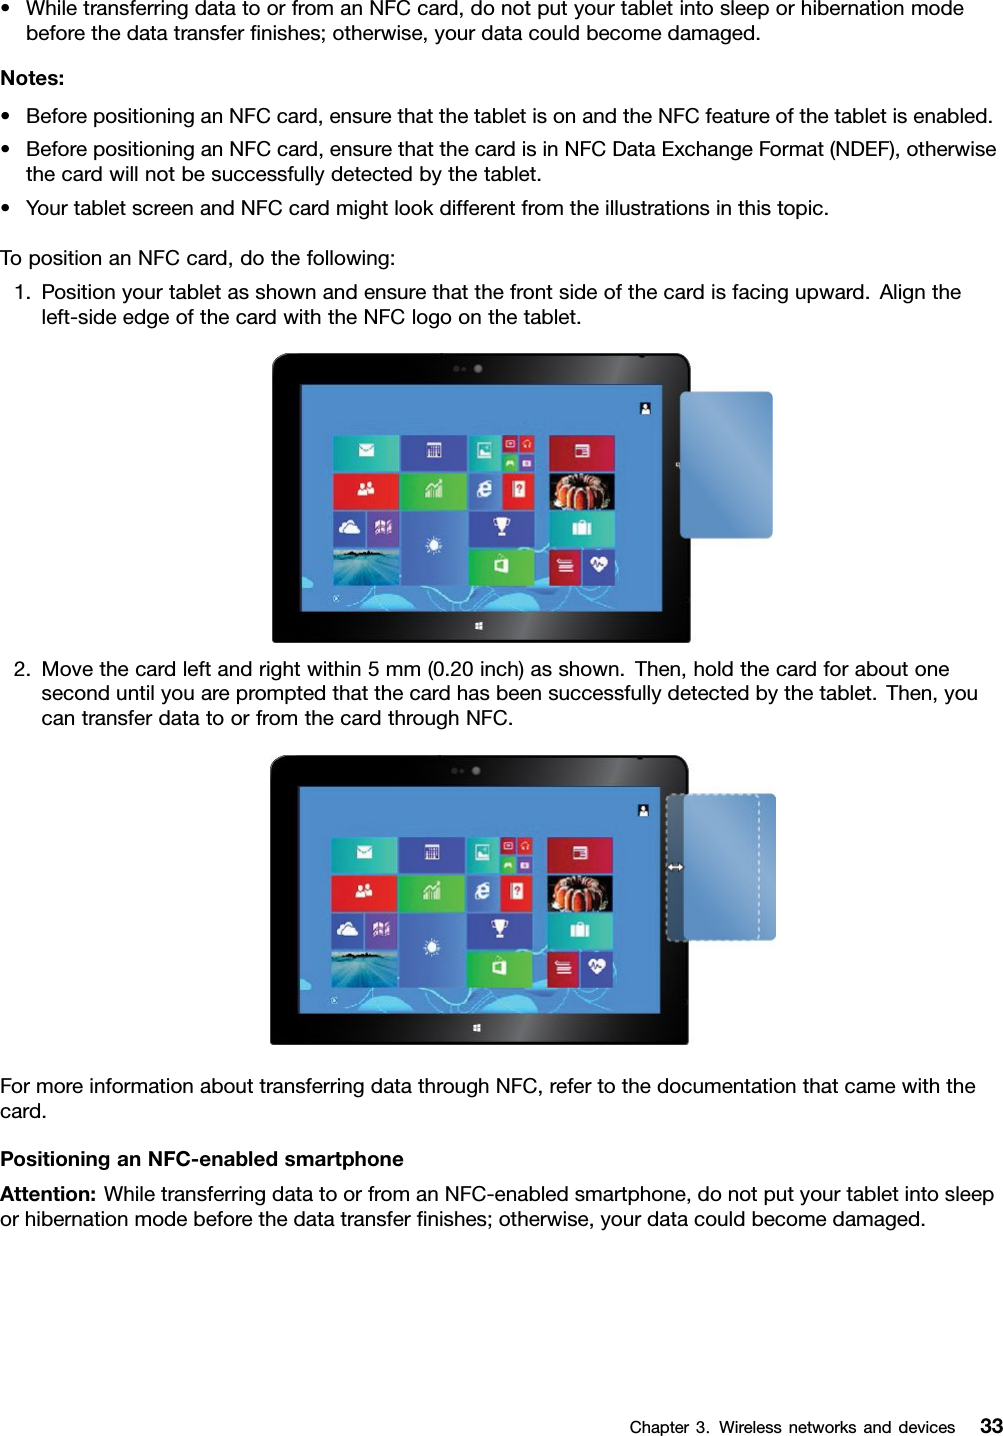
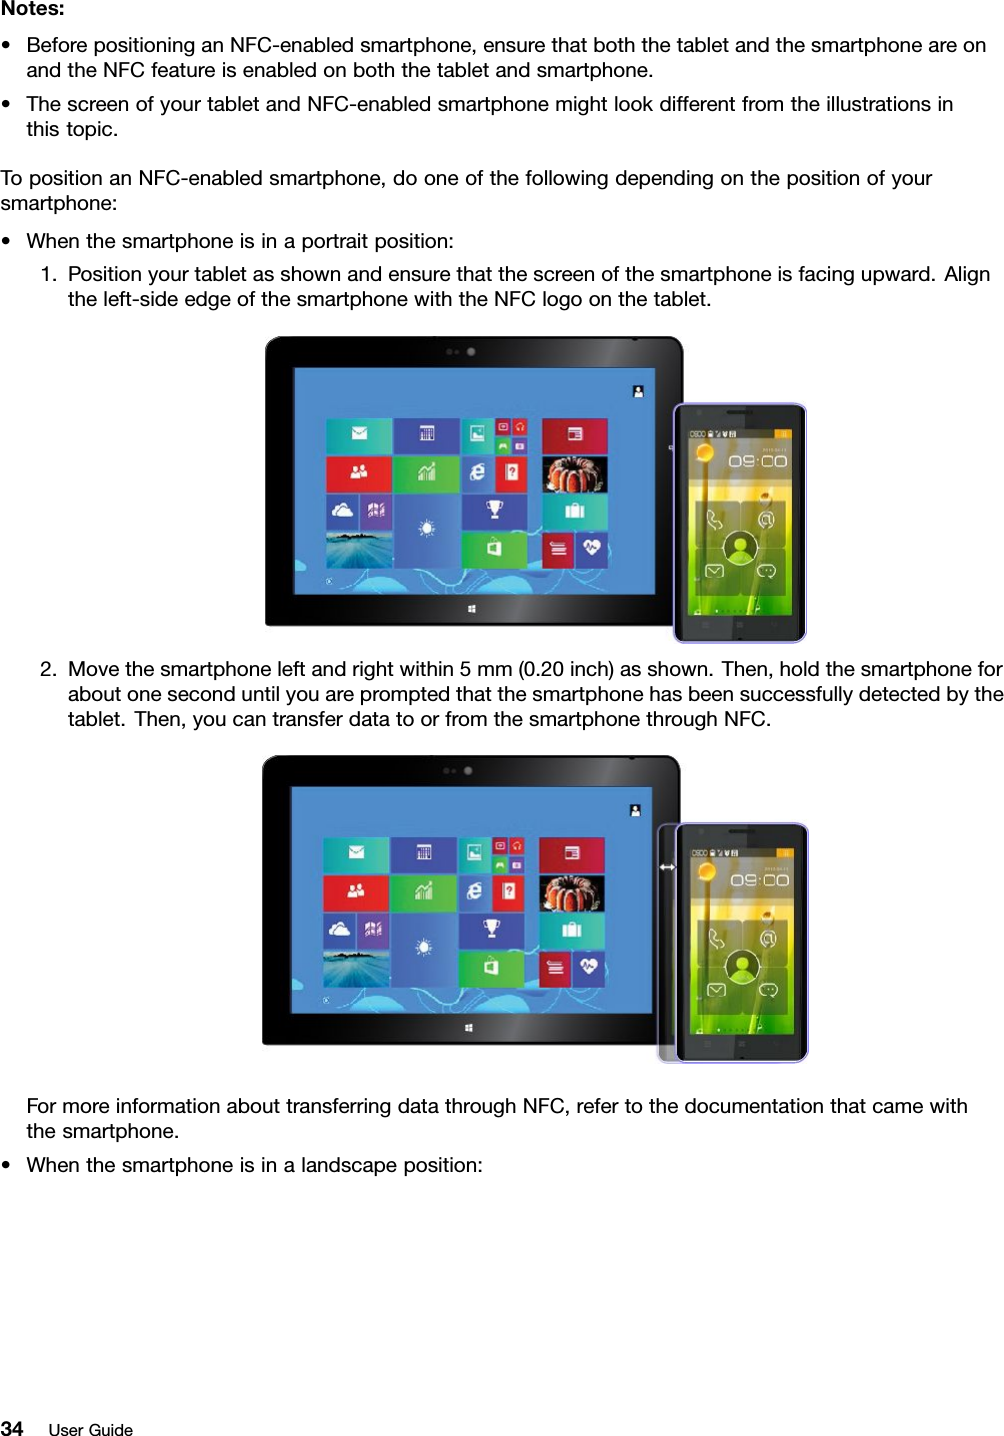
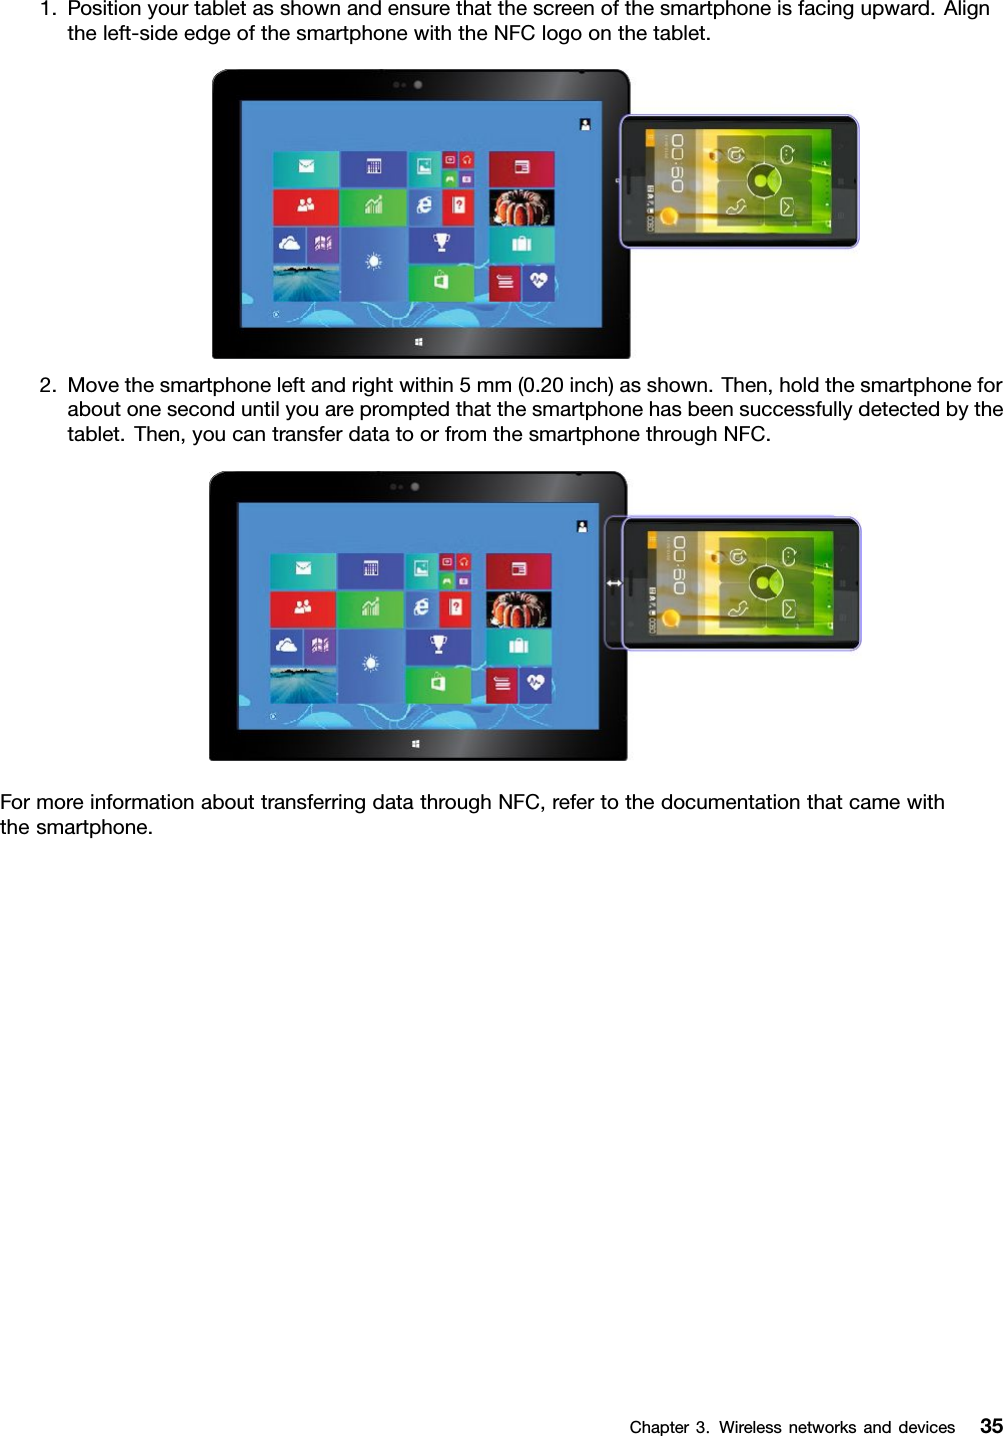
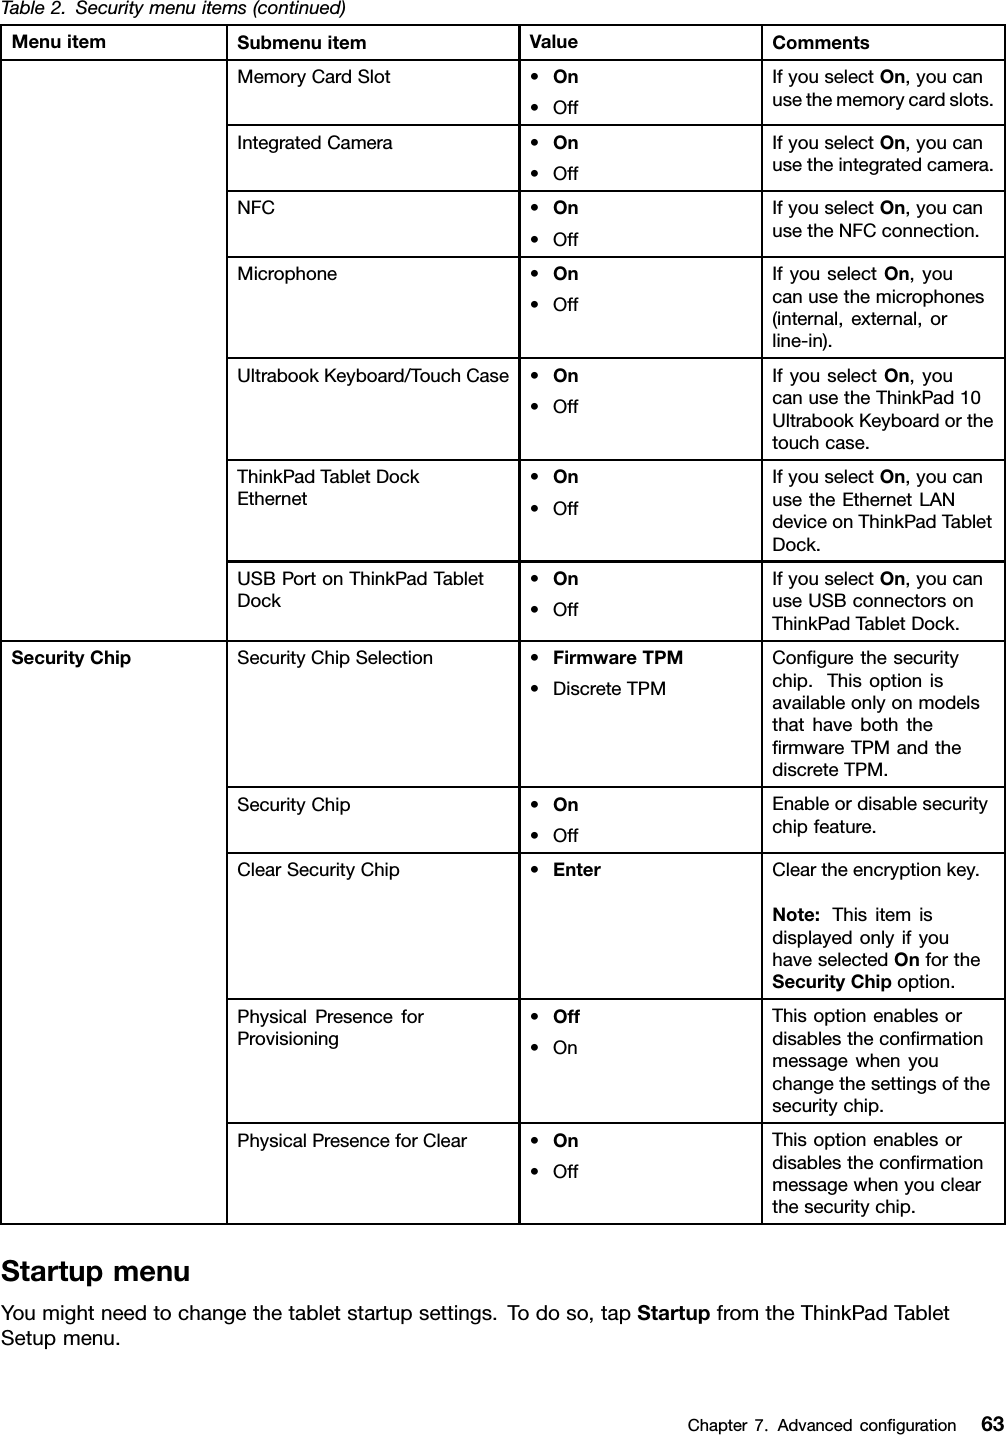
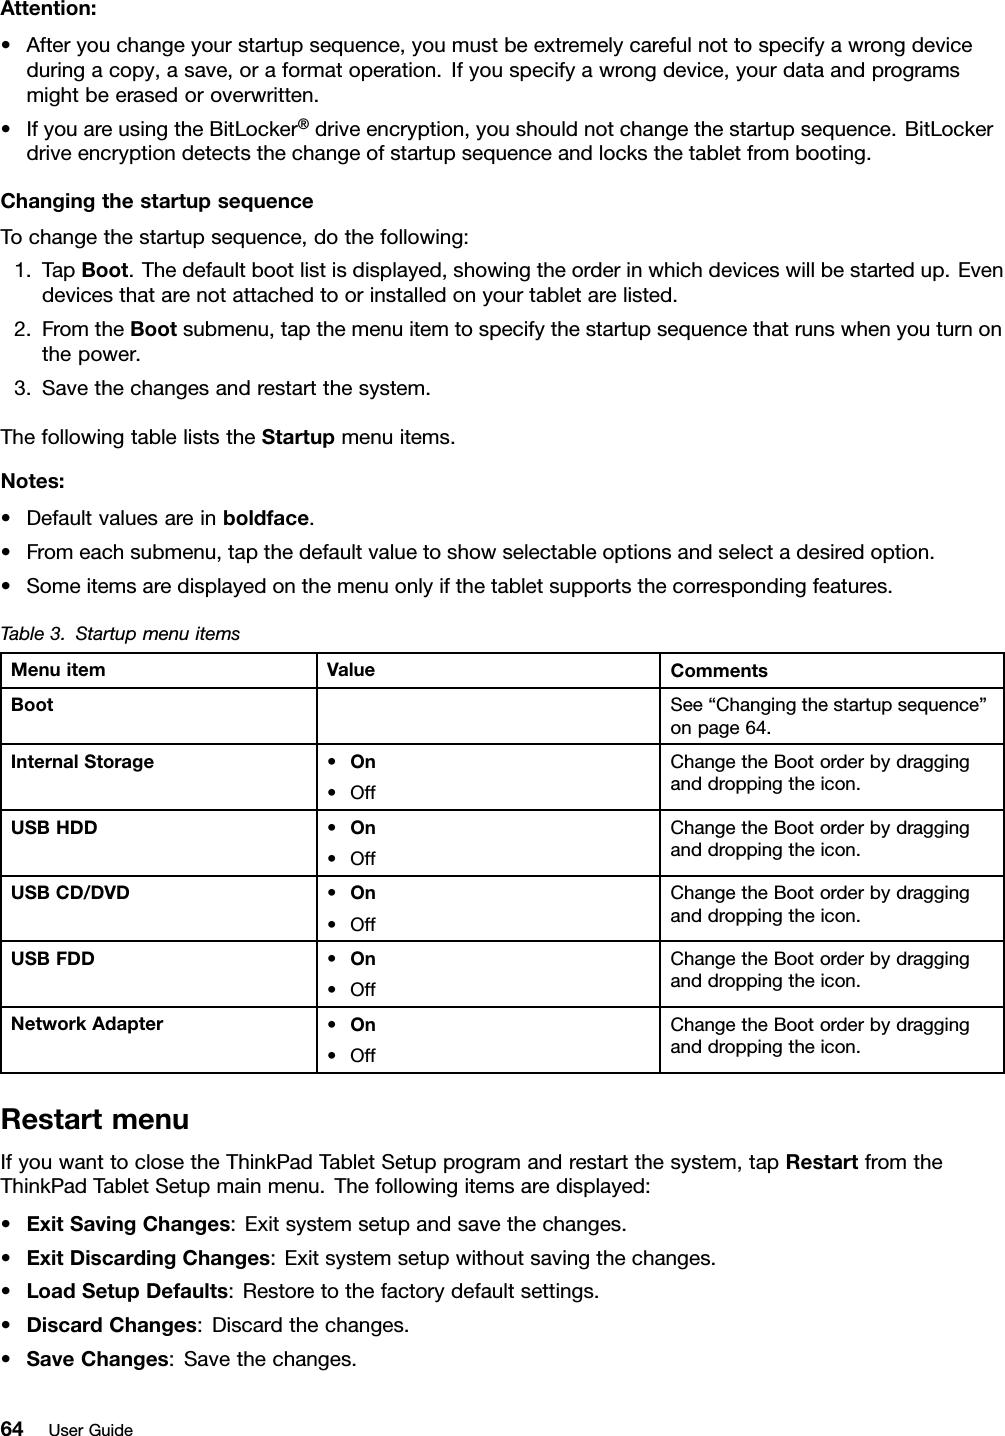
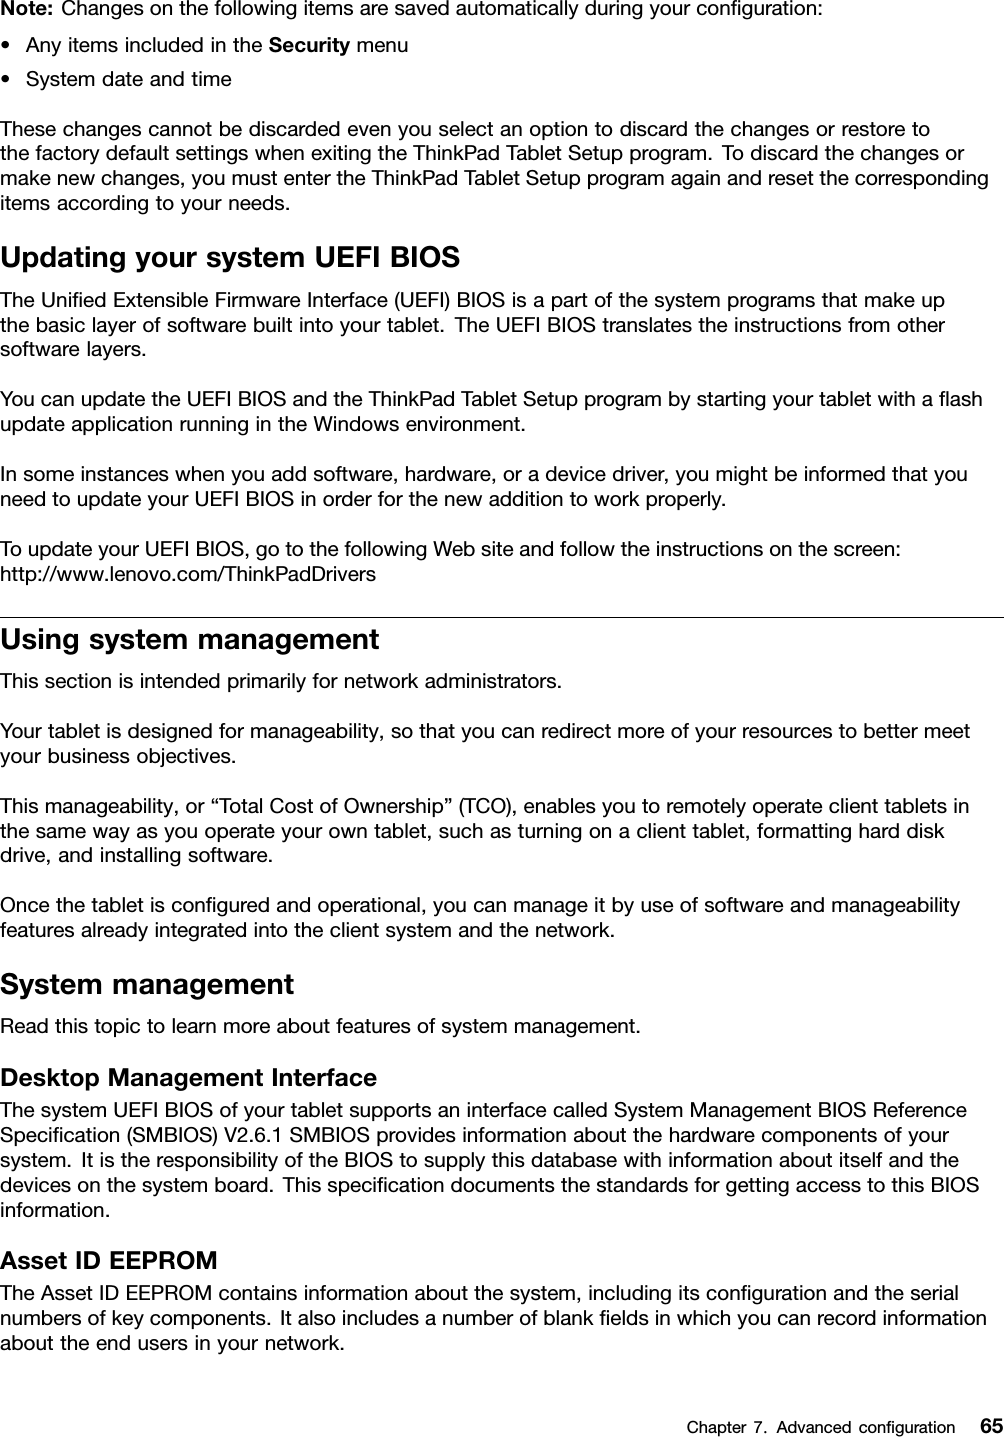
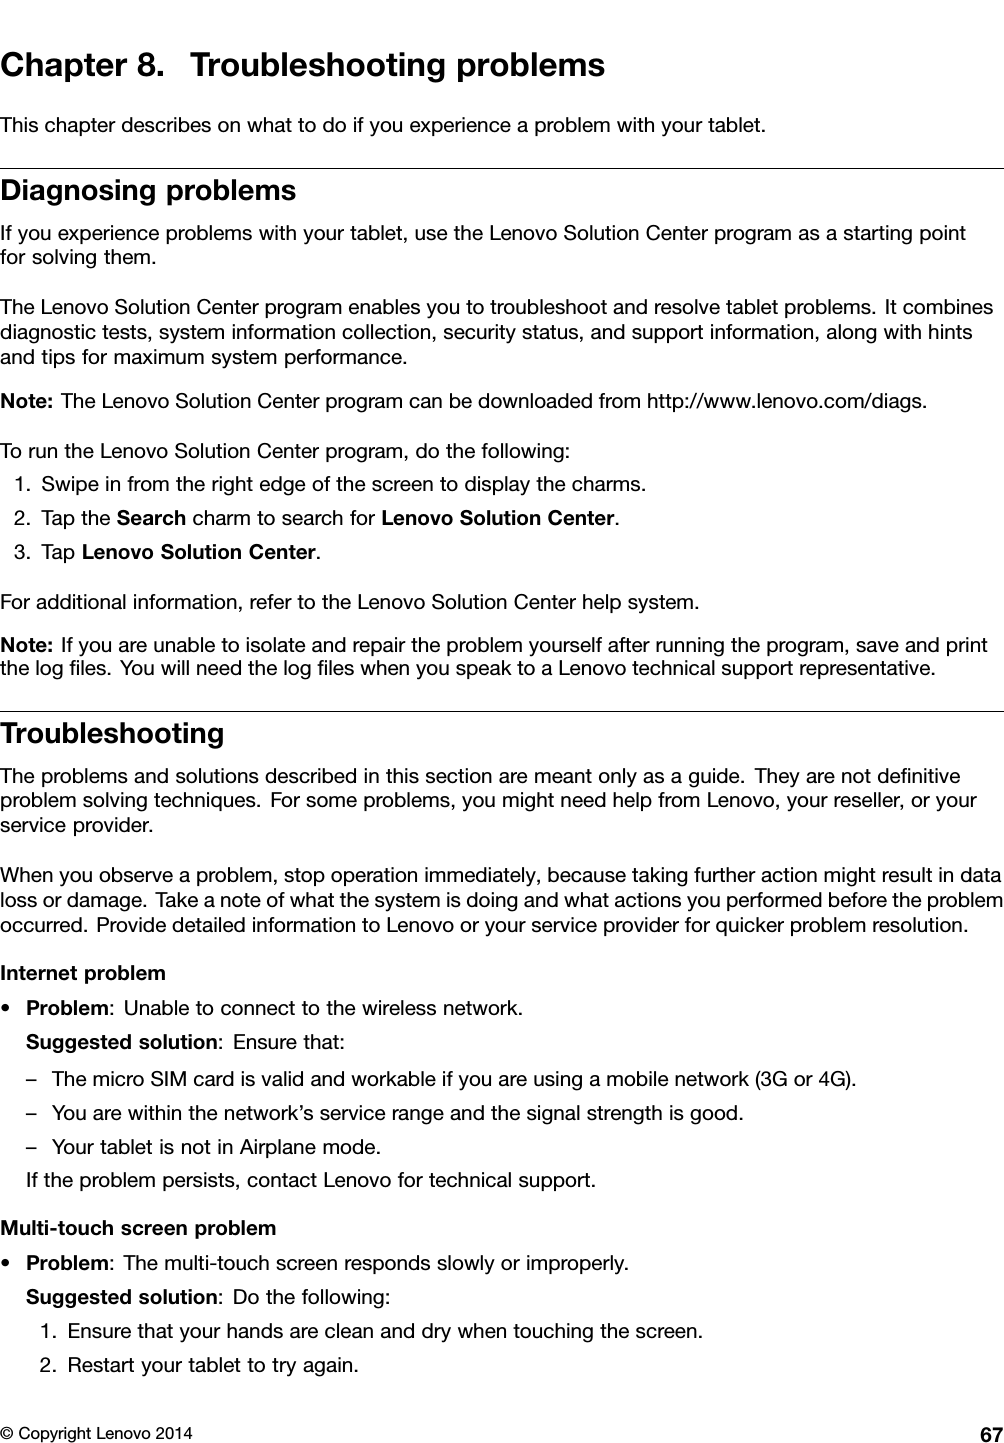
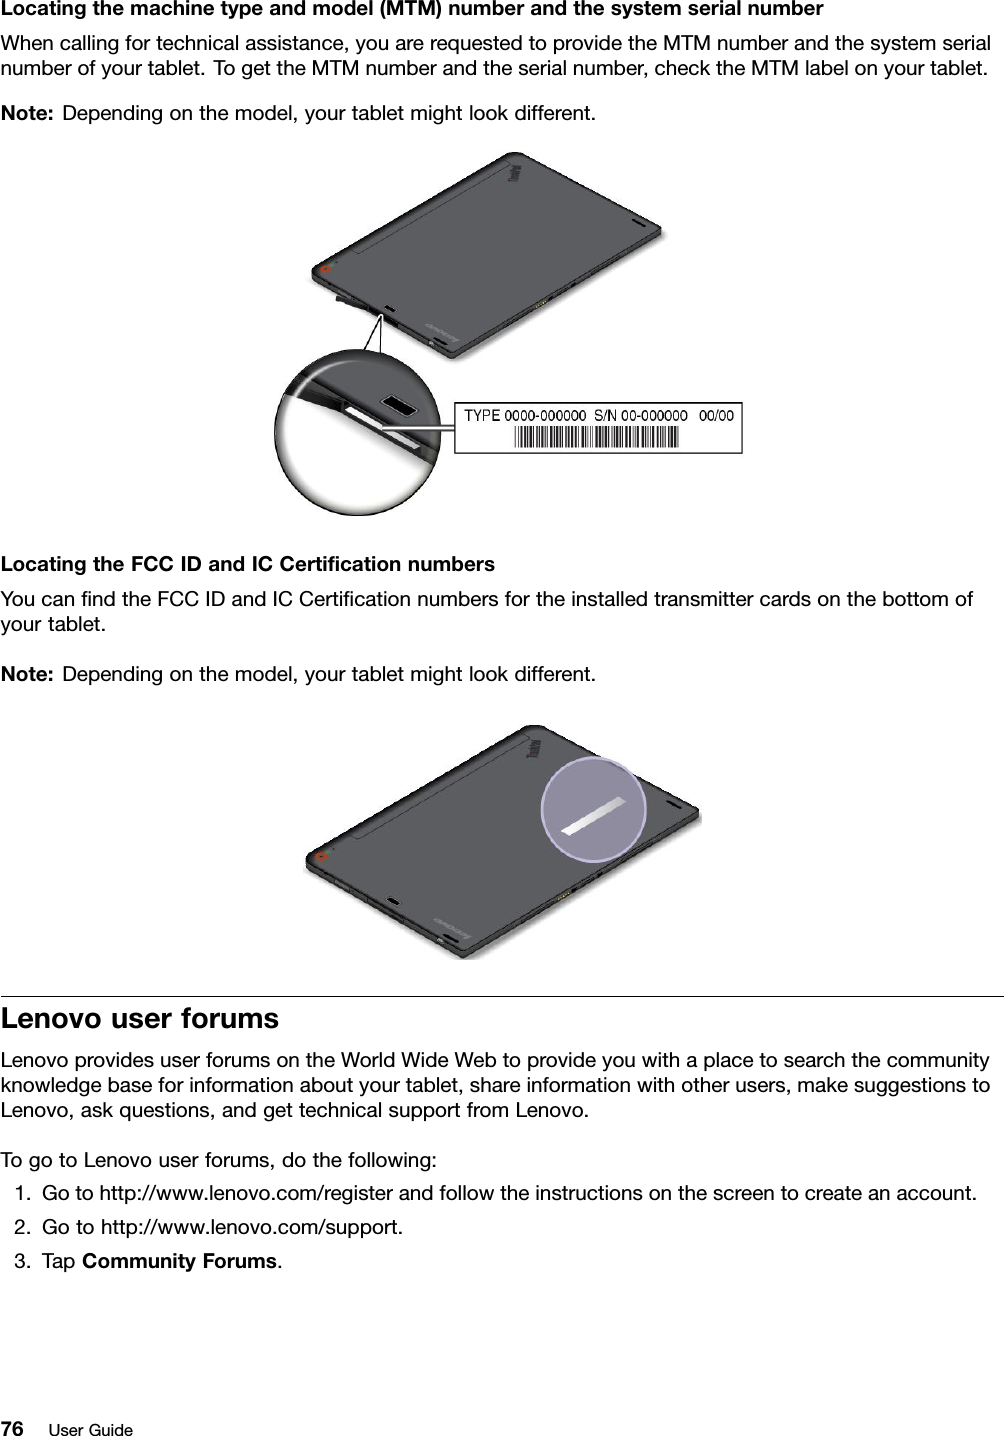
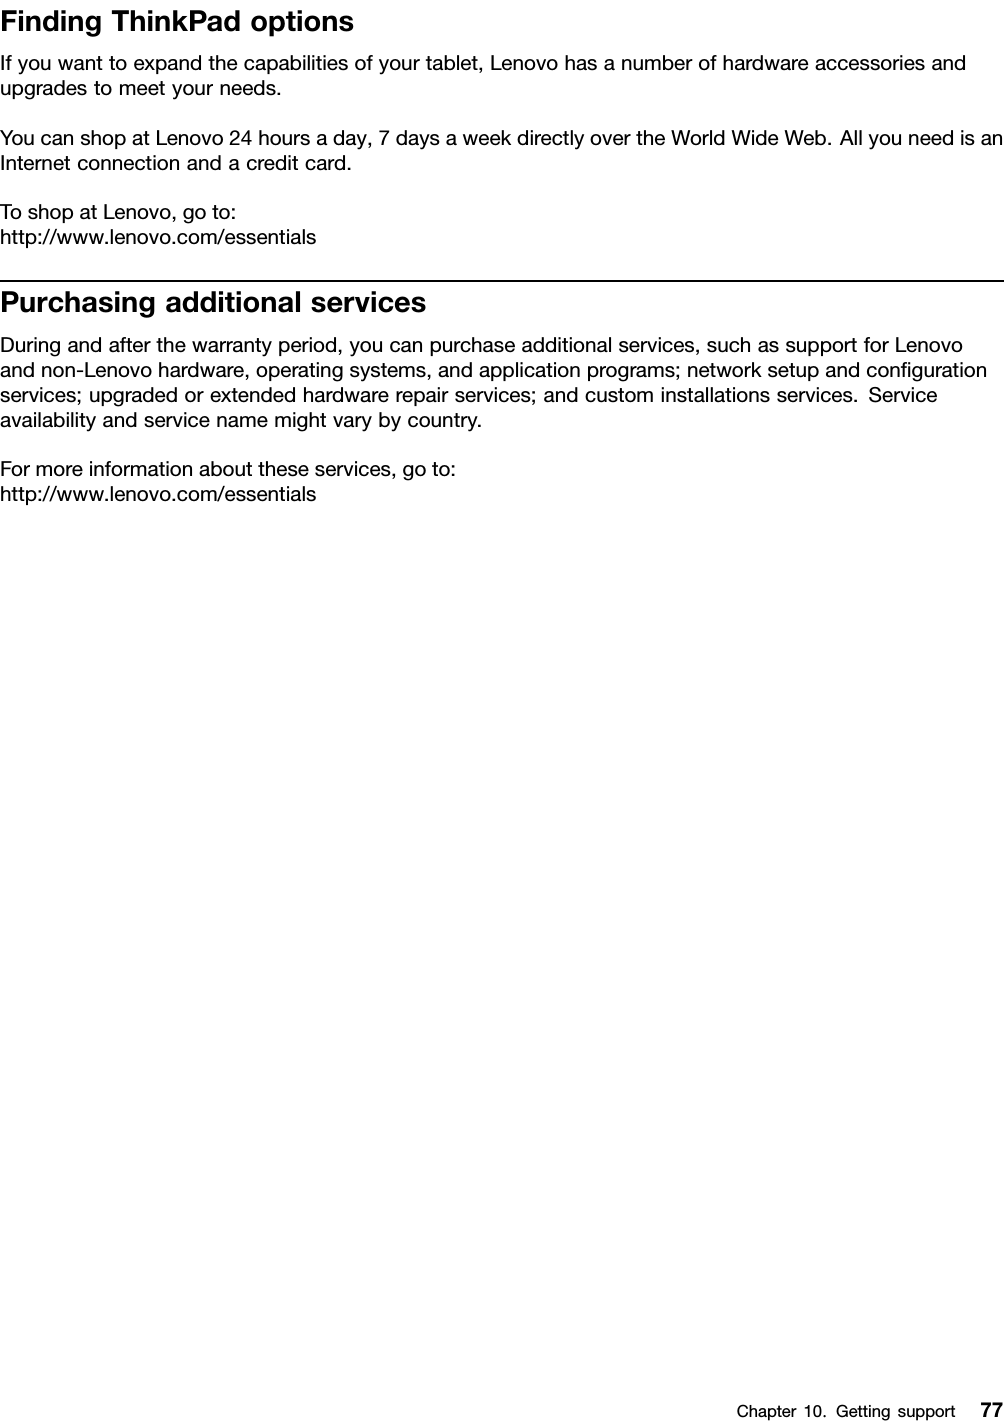
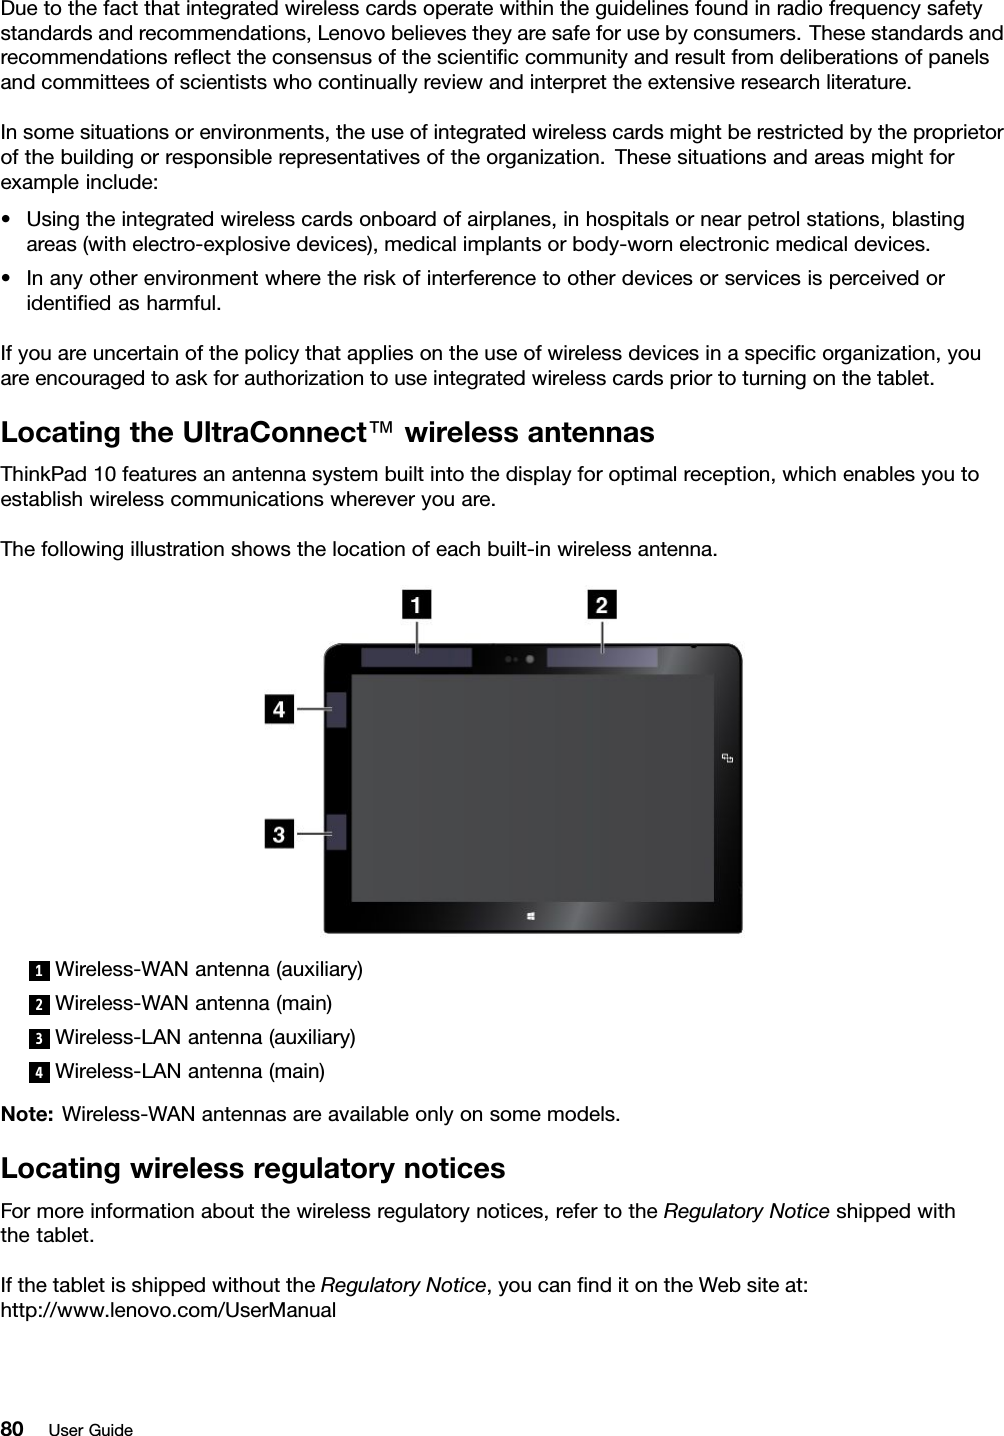
TP00064A Users Manual