Compal Electronics VP-5X Single-Mode PCS CDMA Phone User Manual
Compal Electronics Inc Single-Mode PCS CDMA Phone
UserManual.wiki
>
Compal Electronics
>
VP 5X User Manual
User Manual
Navigation menu
Upload a User Manual
Namespaces
Wiki Guide
HTML
PDF
Info
Views
User Manual
Discussion / Help
Navigation


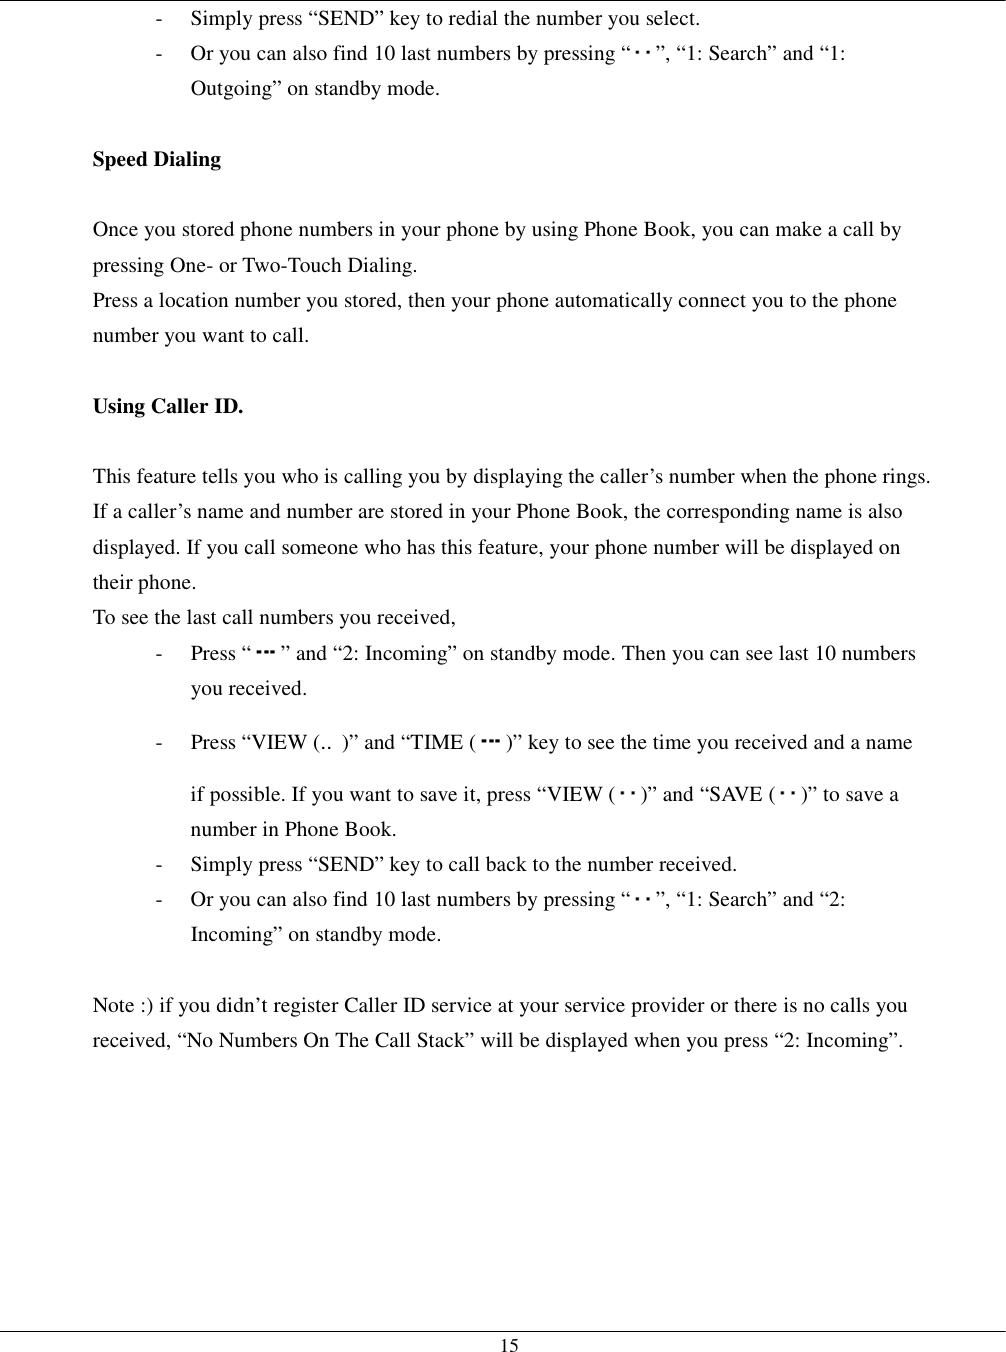
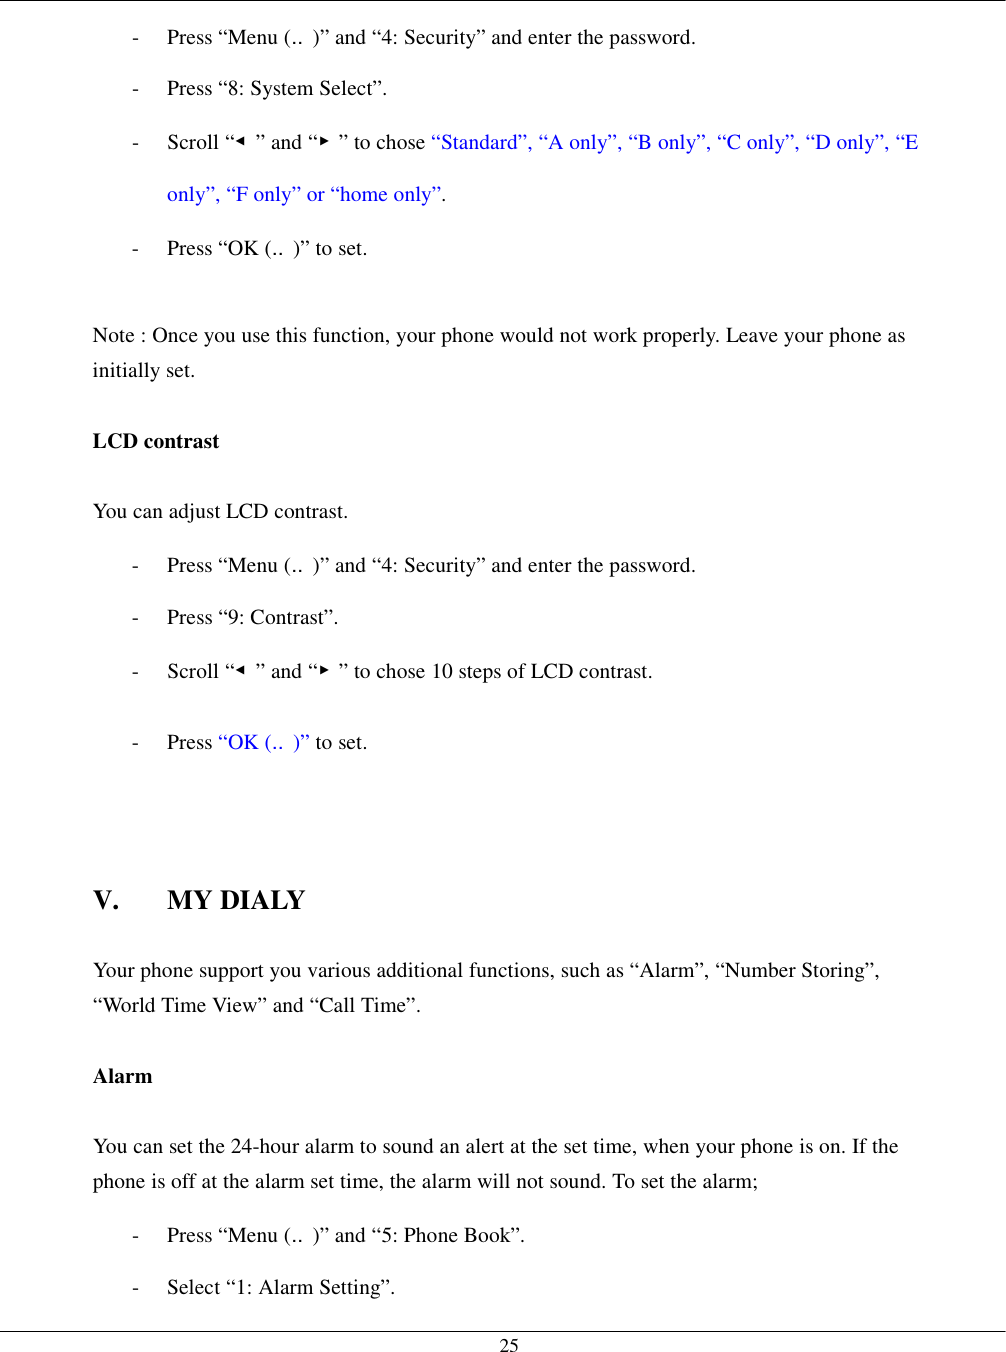
![14Phone numbers for frequently used services are pre-programmed into your phone. To store a number, - After dialing a number, press “ ” key. Then you can see “Location ??? / auto=001” on the display. - Press [NEXT] ( ) to select location numbers or just press [OK] ( ). - Then select “NAME” or “NUMBER EDIT” to store a name. - If you want to edit a number, press “▶NUMBER EDIT” and edit. - Press [SAVE] ( ) to go back to previous menu (“NAME” & “NUMBER EDIT”). - Press [SAVE] “ ” to save the number and name. - For more information, see “V. My Diary” on page . Note ) While you are entering numbers for storing or dialing a phone number, you can enter “Hard Pause”, “Time Pause” and “Hyphen”. To enter “Hard Pause”, “Time Pause” and “Hyphen”, - Press “MENU ( ) when you want to enter them between numbers and select “1-HardPause”, “2-TimePause” or “3-Hyphen”. - And continue entering numbers. Adjusting Earpiece volume during a call To adjust Earpiece volume during a call, - Press “CLR” to increase or decrease Earpiece volume. - During a call, press “MENU ( )” key. - Press “6. Call Vol”. - Press “◀*” to decrease or press “# ▶” to increase Earpiece volume. Last Number Redial You can redial up to 10 last numbers. If you want to redial the last call you made, simply press “SEND” once. Or if you want to redial the last 10 calls you made, - Press “ ” and “1:Outgoing” on standby mode. Then you can see last 10 numbers on logs. - Press “VIEW (‥)” and “TIME ( )” key to see the time you called and the number or “VIEW ( )” and “SAVE ( )” to save a number in Phone Book.](https://usermanual.wiki/Compal-Electronics/VP-5X/User-Guide-277707-Page-14.png)
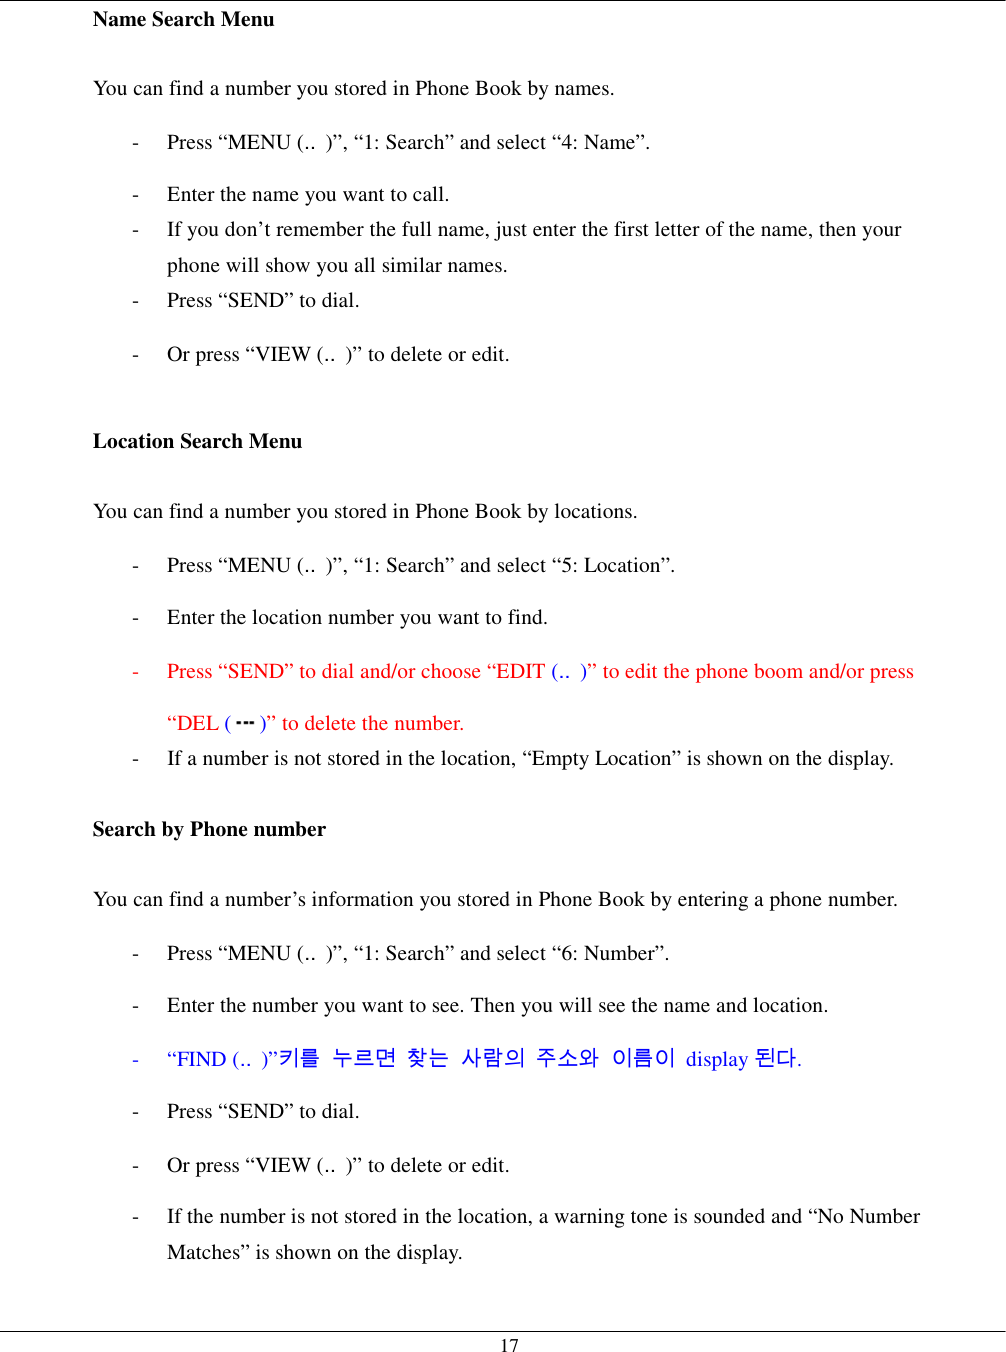
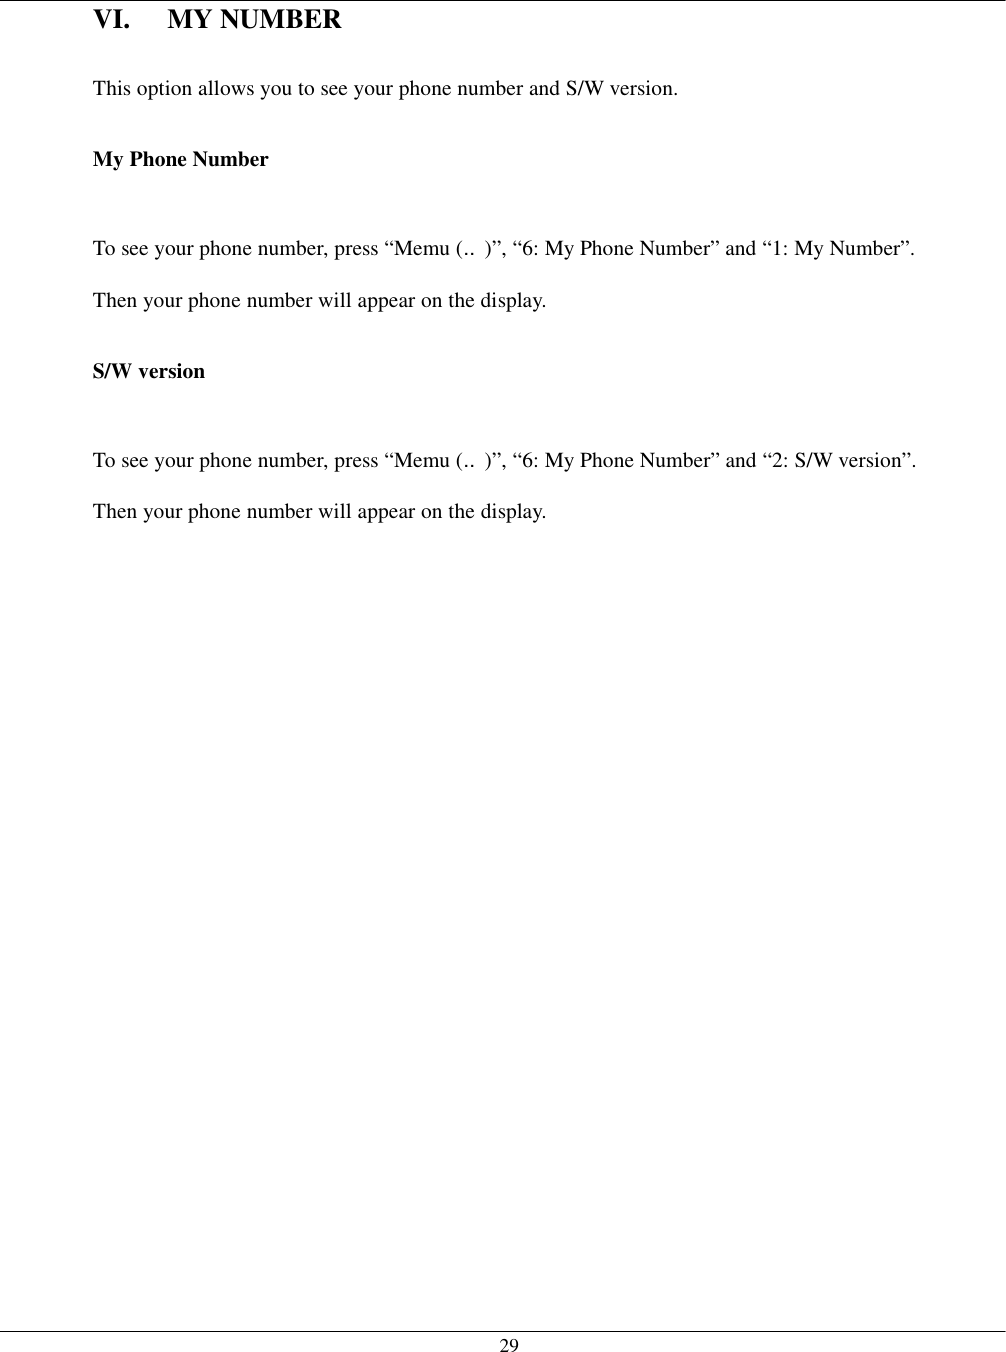
![16MENUS I. SEARCH MENU Last 10 numbers you dialed - Press “MENU (‥)”, “1: Search” and select “1: Outgoing”. Then you can see the last 10 numbers you dialed. It is the same function as “Last 10 number redial” on page . - Select one of them to see the numbers and the time you dialed. - If you want to store it in Phone Book, press [SAVE] ( ). How to store a number, see “Phone Number Store” on page . - Press “SEND” key to redial. Last 10 numbers you received - Press “MENU (‥)”, “1: Search” and select “2: Incoming”. Then you can see the last 10 numbers you received. It is the same function as “Using Caller ID” on page . - Select one of them to see the numbers and the time you dialed. - If you want to store it in Phone Book, press [SAVE] ( ). How to store a number, see “Phone Number Store” on page . - Press “SEND” key to redial. ABC Sequence Menu You can find a number you stored in Phone Book by ABC sequence. - Press “MENU (‥)”, “1: Search” and select “3: ABC sequence”. Then you can see the numbers you stored alphabetically. - Scroll “◀” or “▶” and place the cursor on the number you want. - Press “SEND” to dial. - Or press “VIEW (‥)” to delete or edit.](https://usermanual.wiki/Compal-Electronics/VP-5X/User-Guide-277707-Page-16.png)
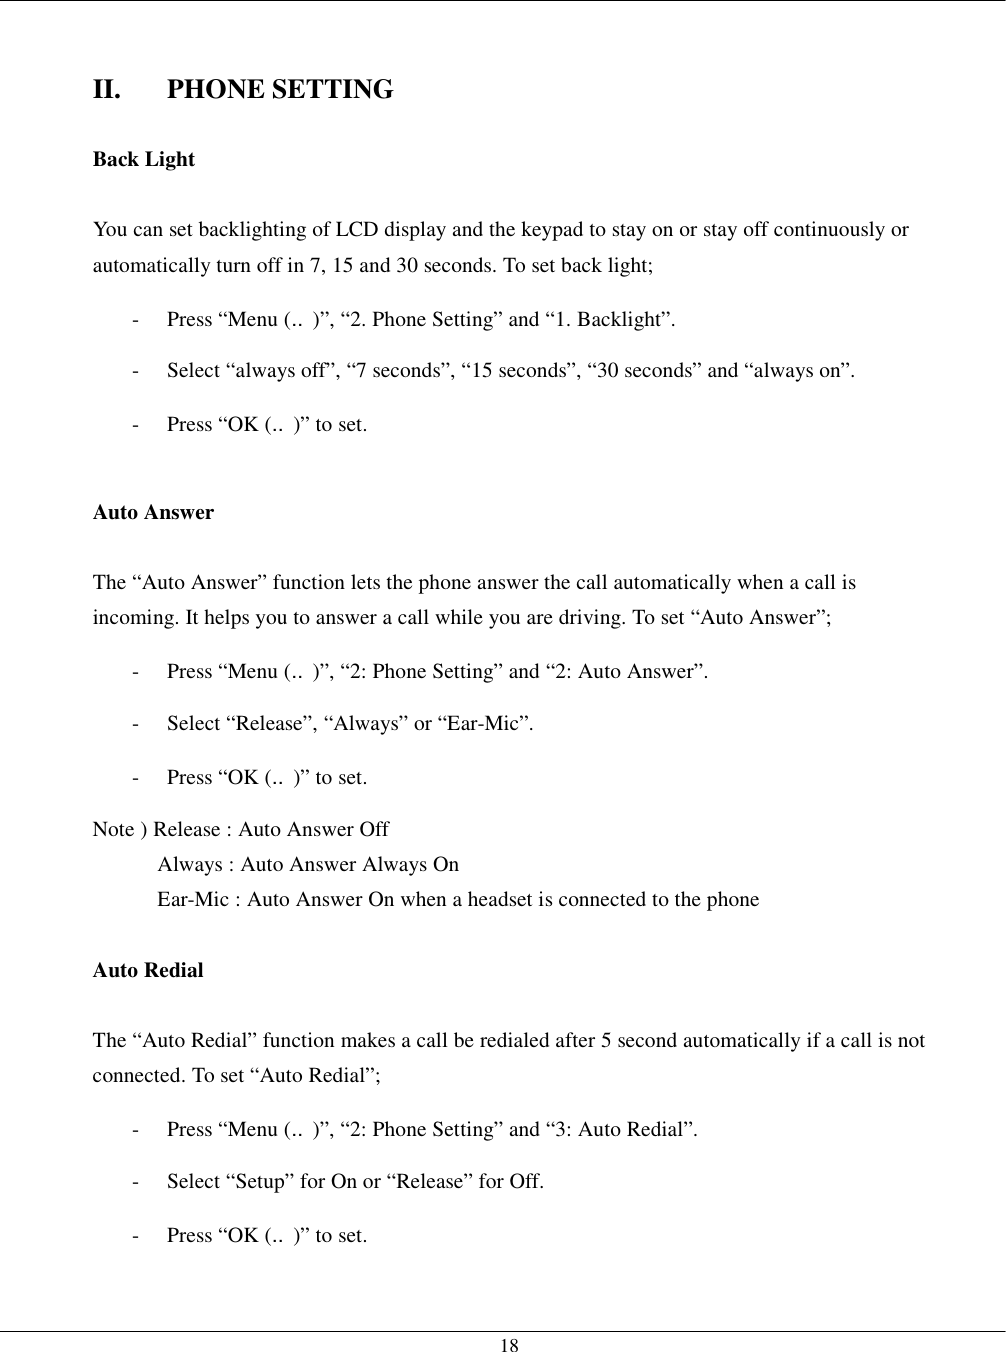

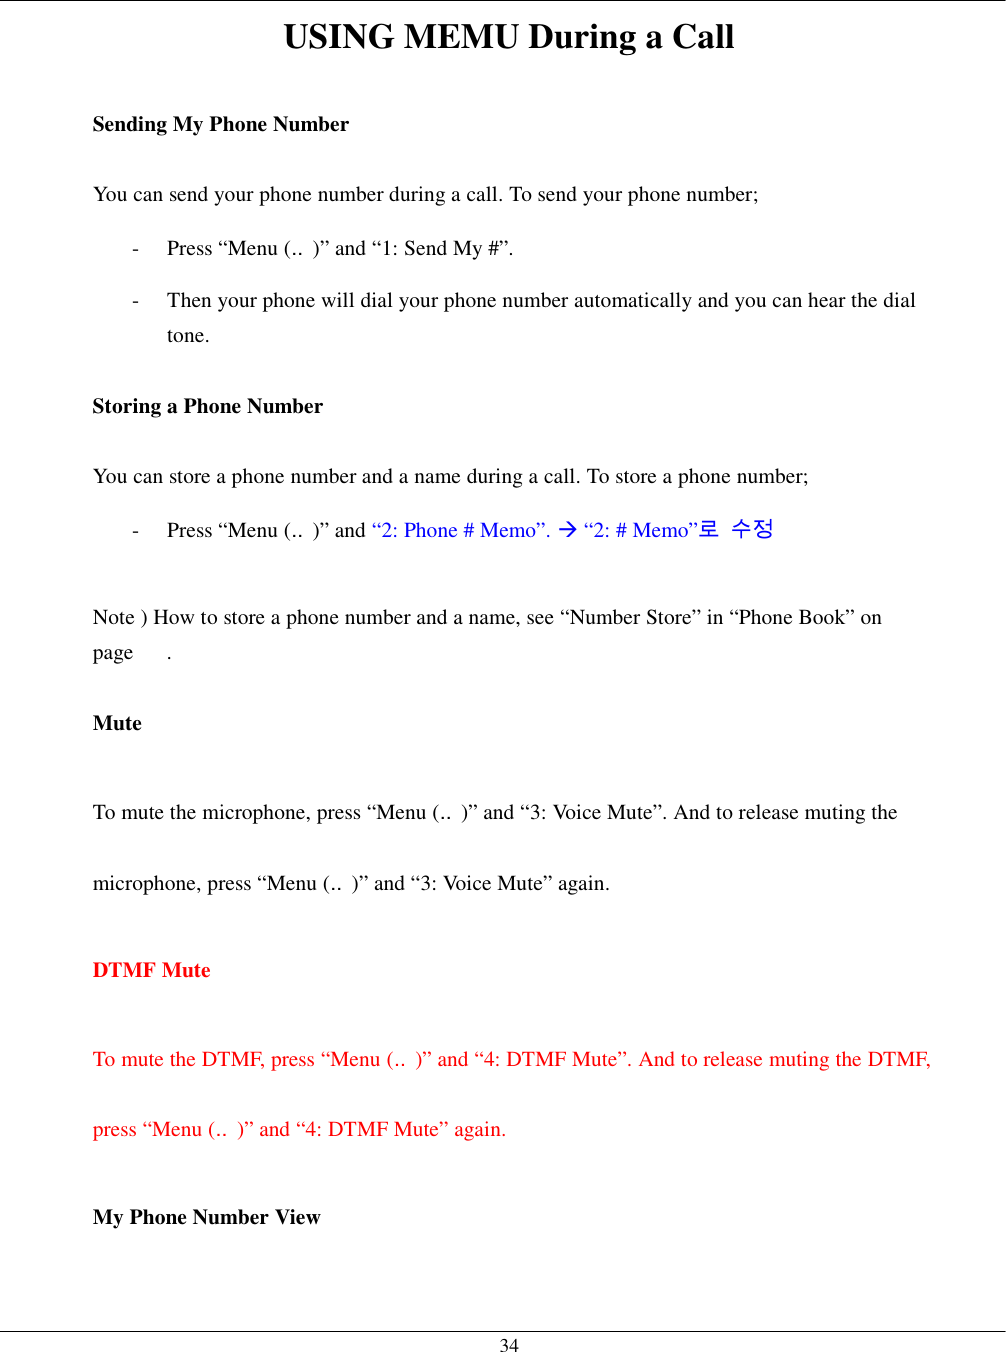
![26 1. Daily Alarm : Once you set the alarm using “Daily Alarm” option, your phone will sound an alert at the set time everyday. - Once you select “1: Alarm Set”, press “1: Daily”. Then “DAILY ALARM” will be shown on the display. - Select “SETUP” and press [OK] ( )”. - Enter the time and AM/PM. - Press [YES] (‥) to set. Note ) If you don’t want your phone alert you on weekend, see “Weekend?” below. And if you want to release the alarm setting, press “Menu(‥‥‥‥)”, “5”, “1”, “1”. Choose “release” and press [OK] (‥‥‥‥). 2. Once Alarm : Once you set the alarm using “Once Alarm” option, your phone will sound an alert at the set time once. - Once you select “1: Alarm Set”, press “2: ONCE”. Then “ONCE ALARM” will be shown on the display. - Select “SETUP” and press [OK] ( )”. - Enter Date, Month, Year, Time and AM/PM. - Press “YES (‥)” to set. Note ) If you want to release the alarm setting, press “Menu(‥‥‥‥)”, “5”, “1”, “2”. Choose “release” and press [OK] (‥‥‥‥). 3. Weekend? : Once you set this option, your phone won’t sound an alert on weekend. - Once you select “1: Alarm Setting”, press “3: Weekend?”. Then “WEEKEND SEL.” will be shown on the display. - Select “NO” and press [OK] ( )”. Note ) If you want your phone alert you on weekend, select “WEEKEND SEL.” “YES”.](https://usermanual.wiki/Compal-Electronics/VP-5X/User-Guide-277707-Page-26.png)
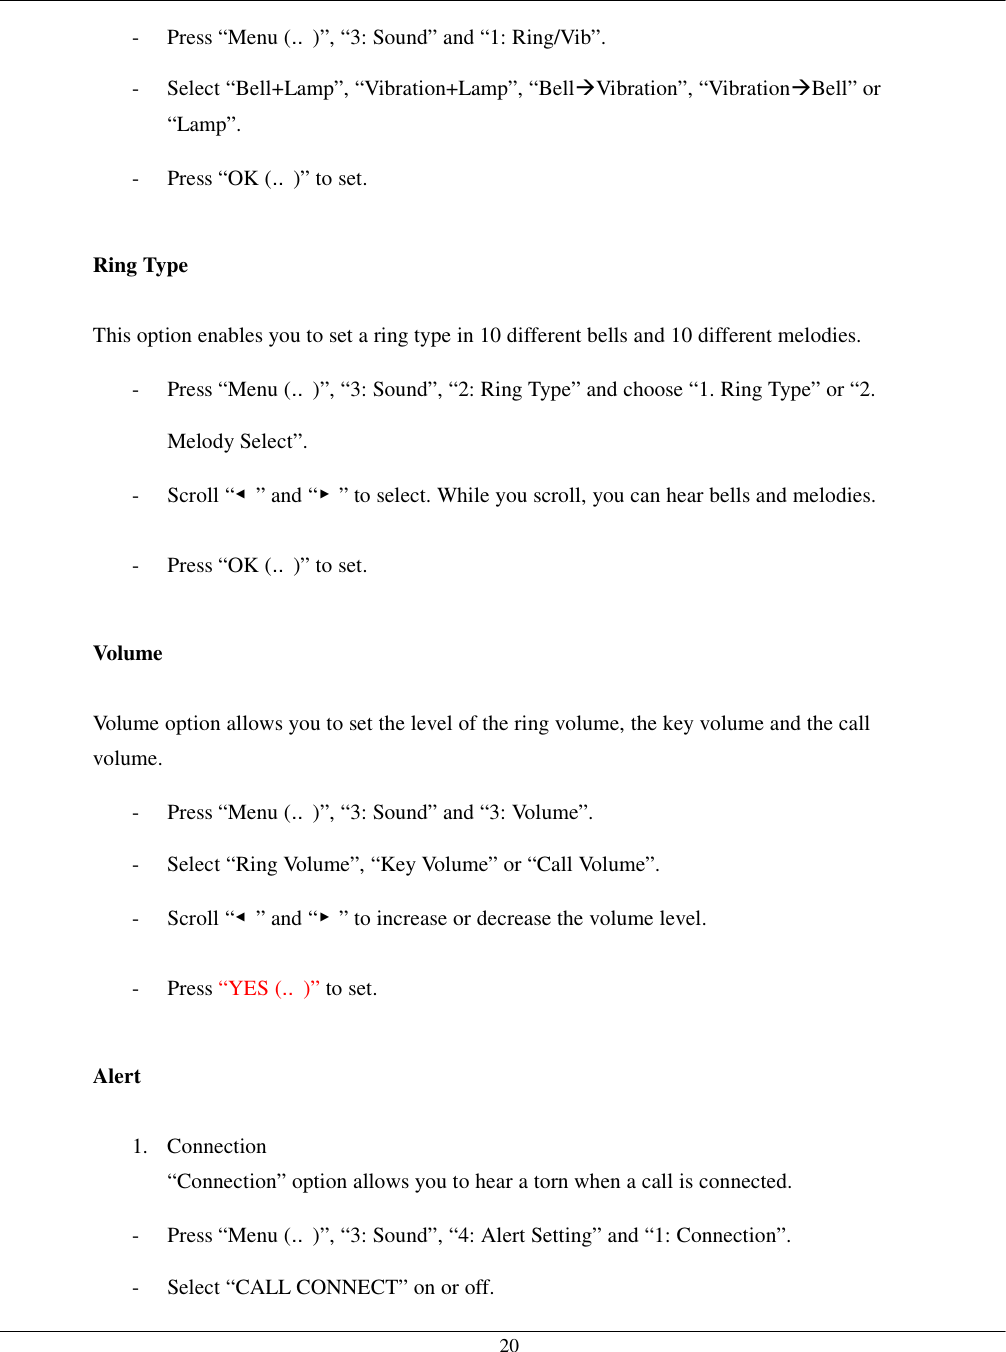
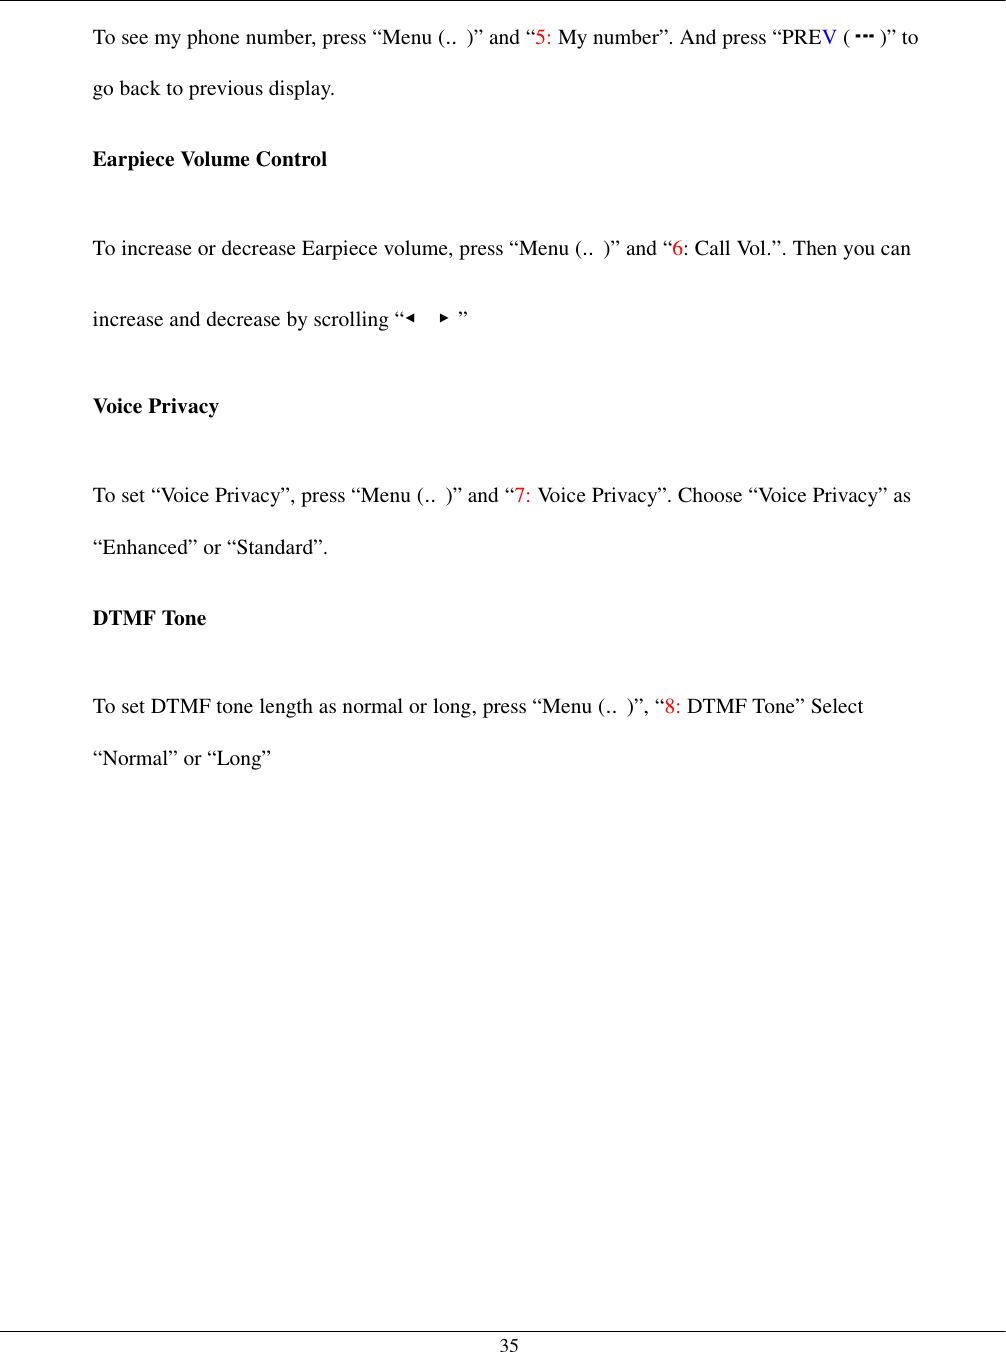
![27Storing a Number and Name You can store phone numbers and associated names in your phone’s memory up to 100 numbers to use for Speed Dialing. Each number you store can be up to 32 digits in length, and names you store can be up to 12 characters in length. A number and a name you want to store is stored in specific memory location together. And you can use Speed Dialing to press and hold the location number. To store phone numbers and a name ; - Press “Menu (‥)”, “5: My Diary” and “2: Number Store”. Then you can see “Location ??? / auto=001” on the display. - Press [NEXT] ( ) to select location numbers or just press [OK] ( ). - Then select “▶NAME” or “▶NUMBER EDIT” to store a name or numbers. Press [YES] ( ). - Enter a name and edit a phone number. - Press [SAVE] “ ” to save the number or press [OK] “ ” to save the name. - Then your phone will show you the result of storing and the total number of stored locations and empty locations. 1. NAME : - After you choose a location number, select “▶NAME” on the display and press [YES] (‥). - Enter the name and press [OK] (‥) to store. 2. NUMBER EDIT - After you choose a location number, select “▶NUMBER EDIT” on the display and press [YES] (‥). - Enter the phone number and press [SAVE] “ ” to store. Note ) While you are entering numbers for storing or dialing a phone number, you can enter “Hard Pause”, “Time Pause” and “Hyphen”. To enter “Hard Pause”, “Time Pause” and “Hyphen”,](https://usermanual.wiki/Compal-Electronics/VP-5X/User-Guide-277707-Page-27.png)
![28- Press “MENU ( ) when you want to enter them between numbers and select “1-HardPause”, “2-TimePause” or “3-Hyphen”. - And continue entering numbers. World Time View Your phone shows you world 77 cities’ current time. To access the world time view; - Press “Menu (‥)”, “5: Phone Book” and “3: World Time”. - [VIEW] “‥”를 누르면 그 도시의 시각을 볼 수 있다. - Use “◀ ▶” or [NEXT] “ ” to scroll cities. Call Time The Call Time function shows the approximate duration of last call and total time in hours and minutes that the phone has been in used and the total number of calls made under the current phone number in the display. - Last Call : Press “Menu (‥)”, “5: Phone Book”, “4: Call Time” and “1: Last Call”. Then your phone indicates the approximate duration of last call you made in minutes and seconds. - Home Calls : Press “Menu (‥)”, “5: Phone Book”, “4: Call Time” and “2:. Home Calls”. Then your phone indicates the approximate total time in hours and minutes that the phone has been used in your provider’s service area. - Roam Calls : Press “Menu (‥)”, “5: Phone Book”, “4: Call Time” and “3: Roam Calls”. Then your phone indicates the approximate total time in hours and minutes that the phone has been used in roaming area. - All Calls : Press “Menu (‥)”, “5: Phone Book”, “4: Call Time” and “4: All Calls”. Then your phone indicates the approximate total time in hours and minutes that the phone has been used in home and roam area.](https://usermanual.wiki/Compal-Electronics/VP-5X/User-Guide-277707-Page-28.png)
![30MESSAGE SERVICES Your phone can receive two types of message service – text messages and voice mail – and you can send a text message (SMS : Short Messaging Service) if these services are available from your service provider. If you subscribe to either or both services, callers can leave you text messages or voice mail. Your service provider then transmits the text messages and voice mail notifications to your phone. I. Text Message Services (SMS : Short Messaging Service) The actual tagging of the text message is dependent on the system used by your service provider. Your service provider transmits messages to your phone. If your phone is on, it receives the messages as described below. If your phone is not turned on, your service provider retains the messages and transmits them again later. When a new text message is received, your phone sounds an alert or vibrates and is shown on the display. Once you read a new message, is disappeared. Note ) Your phone holds up to TBD messages or a maximum of TBD KB of message text. Read Text Messages If your phone is turned ON when it receives a text message, your phone sounds an alert or vibrates and is shown on the display. You have a choice of reading the message immediately by pressing “ ” key or reading it later. To read a new message; - Press “ ” key and “1: View MSG”. - Select “▶ 1 Page/Msg” and press [YES] ( )” to see. Then the time you received, a sender, sender’s phone number and a new text message appear on the display. - You can read the text message by scrolling “◀ ▶” keys. - If you want to see a message which you already read, press “ ” key, “1: View MSG” and select “▶ 1 Old Msg”. Then you can see the message list on the display. Select a message what you want to see again and press [YES] (‥). - If you want to call to a sender back, press “SEND ” while you are reading a message. Then “Call back #” appears on the display.](https://usermanual.wiki/Compal-Electronics/VP-5X/User-Guide-277707-Page-30.png)
![31- If you want to call, press “SEND” again. Or if you want to save sender’s number, press “SAVE (‥)”. Send Text Message (SMS : Short Messaging Service) You can send a text message through your phone. To edit and send a text message; - Press “ ” key and “2: Send MSG”. Then old message lists appear on the display below “▶New MSG”. - Select “▶New MSG” to create a new message or old messages you sent before. In addition, there are 10 messages stored in your phone as “Yes”, “No”, “Call me”, “Need directions”, “Where are you?”, “Will call later”, “Busy”, “On my way”, “Will arrive 15 minutes” and “Thank you”. - Write a new message or edit old and canned messages. - Once you finish to write a message, press [OK] (‥). - Select “▶New NUM” for a new number or the other phone numbers you have sent before. - If you choose “▶New NUM”, enter the dial number and press [OK] (‥). - Enter the receive number, which you wish a receiver to call to, and press [OK] (‥). (There is your phone number displayed for the receive number) - Choose “Priority” as “Normal”, “Interactive”, “Urgent” or “Emergency”. - Choose “Delivery Ack” as “Yes” or “No”. (Delivery Ack 부분을 없애버렸음) - Then your phone displays that a message is being sent. Delete Messages You can delete a message one by one or delete all messages at once. To delete a message; - Press [DEL] (…) key while you are reading a message or on the message list display. - Or press “ ” key and “5: Erase All”.](https://usermanual.wiki/Compal-Electronics/VP-5X/User-Guide-277707-Page-31.png)
![32- Choose “1. Inbox” to erase all messages you received or “2. Outbox” to erase all messages you sent. - Then “Erase ?” appears on the display. Press [OK] (‥) to erase the messages. Note ) If you use “Erase All” option, it also erases voice mails. II. Voice Mail Service Your phone can receive voice mail notification when it is turned ON. If your service provider transmits the notification and your phone is turned OFF, you will receive notification the next time you turn your phone ON. If your phone is turned on when it receives a voice mail notice, your phone sounds an alert or vibrates and is shown on the display. Once you listen a new voice message, is disappeared. Note ) Sometime wouldn’t be disappeared although you check the message already. It depends on service providers’ system conditions. Listen Voice Mails If your phone is turned ON when it receives a voice message, your phone sounds an alert or vibrates and is shown on the display. You have a choice of listening the message immediately by pressing [SEL] “ ” key or listening it later. To listen a new voice message; - Press “ ” key and “1: View MSG”. - Select “▶ 1 Voice” and press [YES] (‥). Then the time you received, a sender and sender’s phone number appear on the display. - If you want to listen a voice message, dial “ X X X ”. Then you can listen the voice messages. - If you want to see messages again, press “ ” key, “1: View MSG” and select “▶ 1 Voice”. Then you can see the voice mail list on the display. Select a message and press [YES] (‥). - If you want delete a message, press [DEL] ( ) while you are reading a voice mail list. - If you want to call to a sender back, simply press “SEND” while you are reading or listening a voice mail.](https://usermanual.wiki/Compal-Electronics/VP-5X/User-Guide-277707-Page-32.png)
![33 Delete Messages You can delete a message one by one or delete all messages at once. To delete a message; - Press [DEL] ( ) key while you are reading a message or on the message list display. - Or press “ ” key and “5: Erase All”. - Choose “1. Inbox” to erase all messages you received including text messages. - Then “Erase ?” appears on the display. Press [OK] (‥) to erase all messages. III. Message Alerts You can set message alerts in 5 different types (Bell, Lamp, Vibrator+Lamp, Bell+Vibrator, Bell+Lamp, Vibrator). - Press “ ” key and “3: Message Alert”. - Select “Bell”, “Lamp”, “Vib.+Lamp”, “Bell+Vib.”, “Bell+Lamp” or “Vib.”. - Press “YES (‥)” to set. Note ) “Vib. = vibrator” IV. Message Save You can save message in 3 different types (Auto Save, Prompt, Not Save). - Press “ ” key and “4: Message Save”. - Select “Auto Save”, “Prompt” or “Not Save”. - Press “YES (‥)” to set.](https://usermanual.wiki/Compal-Electronics/VP-5X/User-Guide-277707-Page-33.png)
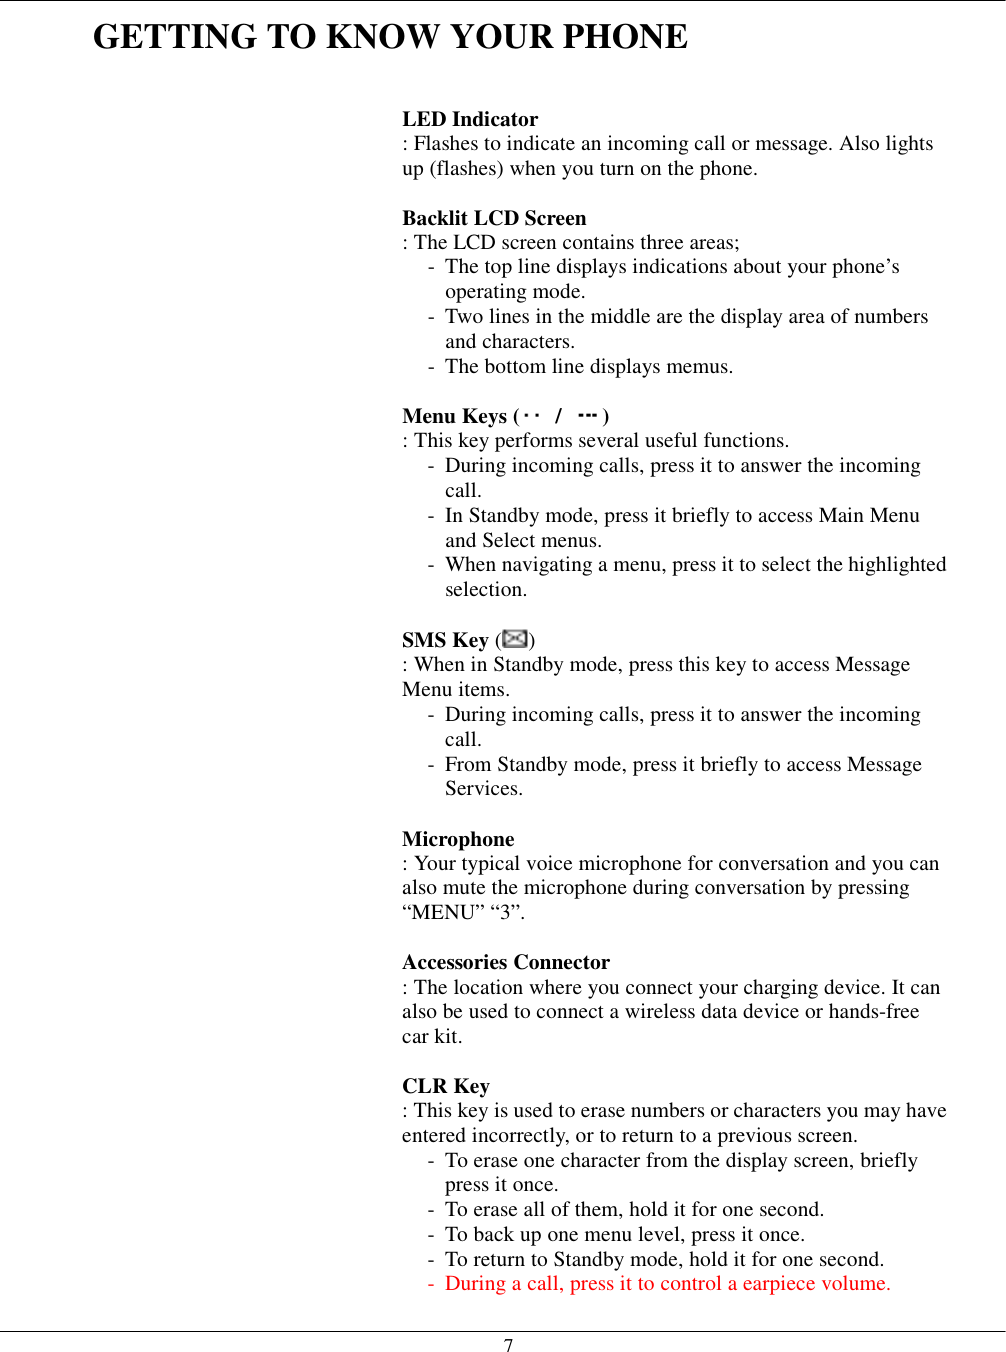
![36ENTERING LETTERS & NUMBERS You can enter letters, as well as numbers, when storing numbers and names into your phone or sending a text message (SMS : Short Messaging Service) by using your phone’s keypad. To enter letters, press the key associated with the letter you wish to enter until it appears on the screen (numbers also appear). When you need to enter letters into your phone, it automatically switches to ABC mode. Once you enter letters, you enter a capital letter. 1. To enter a small letter, press [X ! x] ( ). Then [X! x] changes to [x ! X]. Now you can enter a small letter. 2. To enter a number, press [x ! X] ( ). Then [x ! X] changes to [NUM]. Now you can enter a number. 3. Inserting Punctuation Symbols & Special Characters : When in ABC mode, you can press “0 (OPR)” key and the following special characters appear. You can use these characters when storing names in your phone book or sending a text message. ! @ # % & * < > - _ + = : ” ’ ( ) / \ ? . , { } $ [ ] ; ¡¡¡¡ ¿¿¿¿ << >> 4. While you are entering numbers for storing or dialing a phone number, you can enter “Hard Pause”, “Time Pause” and “Hyphen”. To enter “Hard Pause”, “Time Pause” and “Hyphen”, - Press “MENU ( ) when you want to enter them between numbers and select “1-HardPause”, “2-TimePause” or “3-Hyphen”. - And continue entering numbers.](https://usermanual.wiki/Compal-Electronics/VP-5X/User-Guide-277707-Page-36.png)