Compal Electronics VT-5D Dual Band Tri Mode PCS/AMPS/CDMA Cellular Phone User Manual VT 5D ver0 4
Compal Electronics Inc Dual Band Tri Mode PCS/AMPS/CDMA Cellular Phone VT 5D ver0 4
UserManual.wiki
>
Compal Electronics
>
VT 5D User Manual
User Manual
Navigation menu
Upload a User Manual
Namespaces
Wiki Guide
HTML
PDF
Info
Views
User Manual
Discussion / Help
Navigation


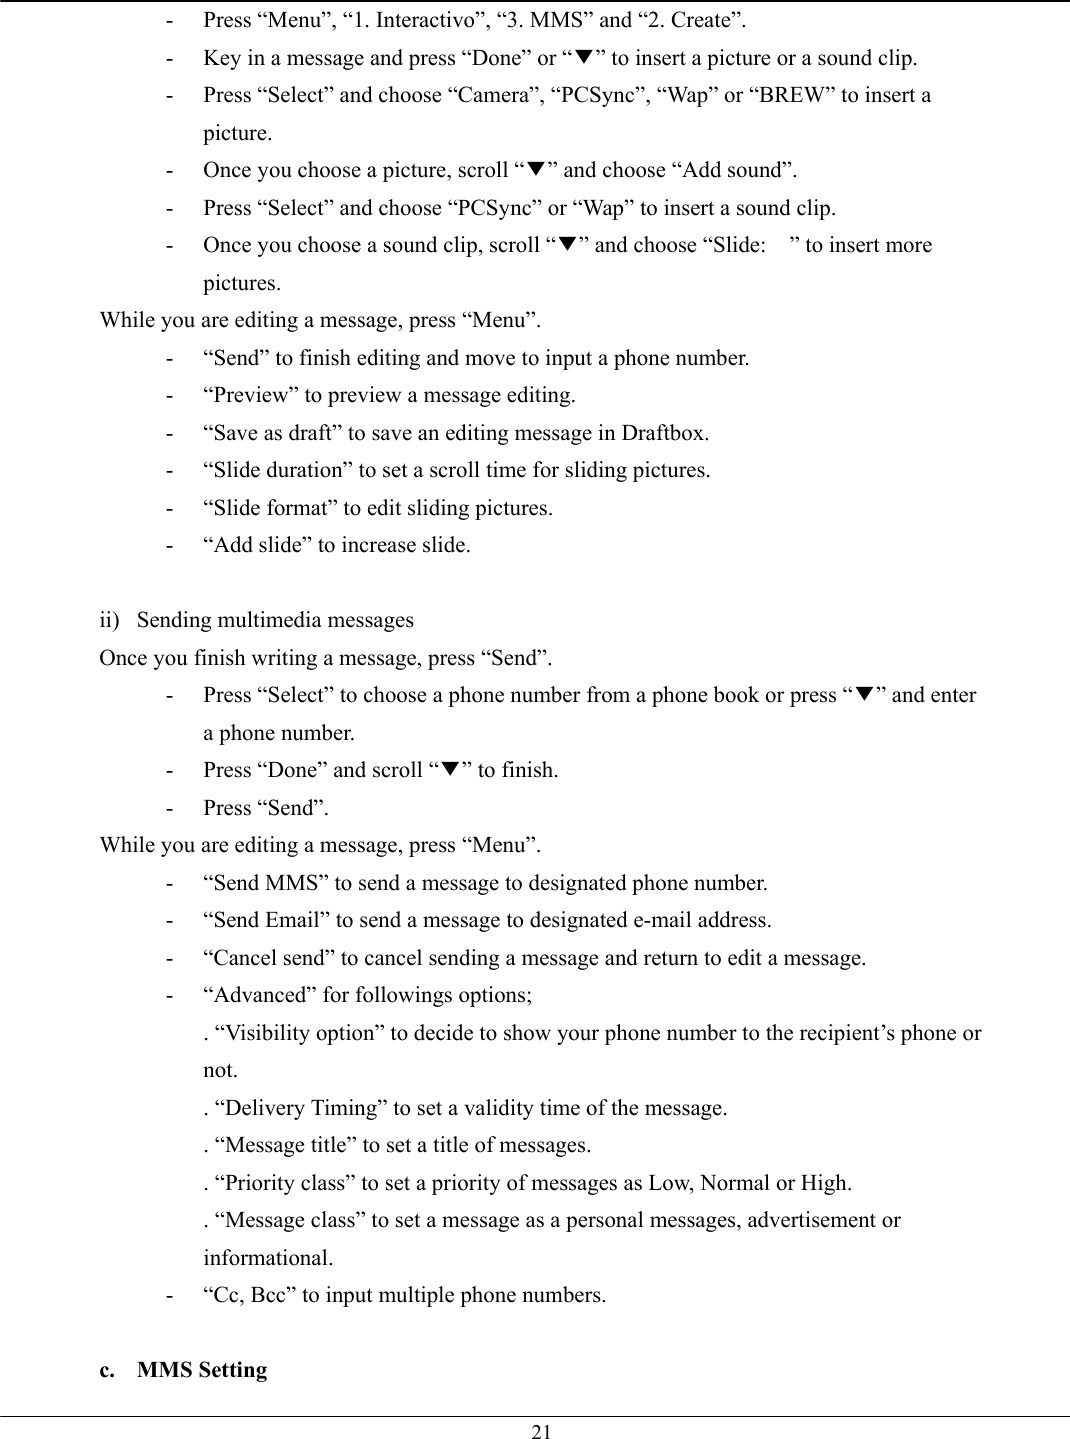


![25 vi) Reminder You can set the phone reminds you the new message; - Press “SMS”, “3. Setting”, and “6. Reminder”. - Choose from “Once”, “Every 2Min” or “Off” and press “OK (‥)” to save. II. Phonebook 1. Adding Entries in the Phonebook After selecting “MENU (‥)”, “2. Phone Book” and “1. PB Add” to add a phone number; - Choose a type of the phone number among the image of Mobile, Home, Office and Etc by scrolling “◀ ▶”. - Scroll “▲/▼” to edit the name, location number, and phone number. - Assign the phone number as a Mobile, Home, Office, or Etc by scrolling “◀/▶”. ※ Note) A yellow frame outlining characters indicates that you can edit or type. For example, if “No Name” has a yellow frame outside of each character, you can enter the name. Or if [001] has a yellow frame outside of each number, you can change the location number. To add Group, E-mail Address, Memo, or Bell Type for CID incoming rings, scroll “◀/▶” before you press “OK (‥)”. - Group: Scroll “◀/▶” to choose Group and press “NEXT (…)” to scroll through Family, Friends, Business, and No Group. - E-mail: Press “EDIT (…)” to enter an e-mail address. Press “OK (‥)” to complete. - Memo: Press “EDIT (…)” to write a memo. Press “OK (‥)” to complete. For more information on writing memos, refer to ‘ENTERING LETTERS & NUMBERS’ on page ___. - Caller Identified Ring: If you are receiving Caller ID service and would like to set a distinctive ring for a recognized phone number, press “NEXT (…)” and choose a desired incoming bell type. - Once finished registering all information for the entry, press “OK (‥)” to store. - Then you can see a message that the number you wanted to store was stored successfully. And it goes to stand-by mode. 2. Phonebook Search Access the Phonebook by pressing “▼” and view the list of all stored entries. Here, phone](https://usermanual.wiki/Compal-Electronics/VT-5D/User-Guide-463723-Page-25.png)