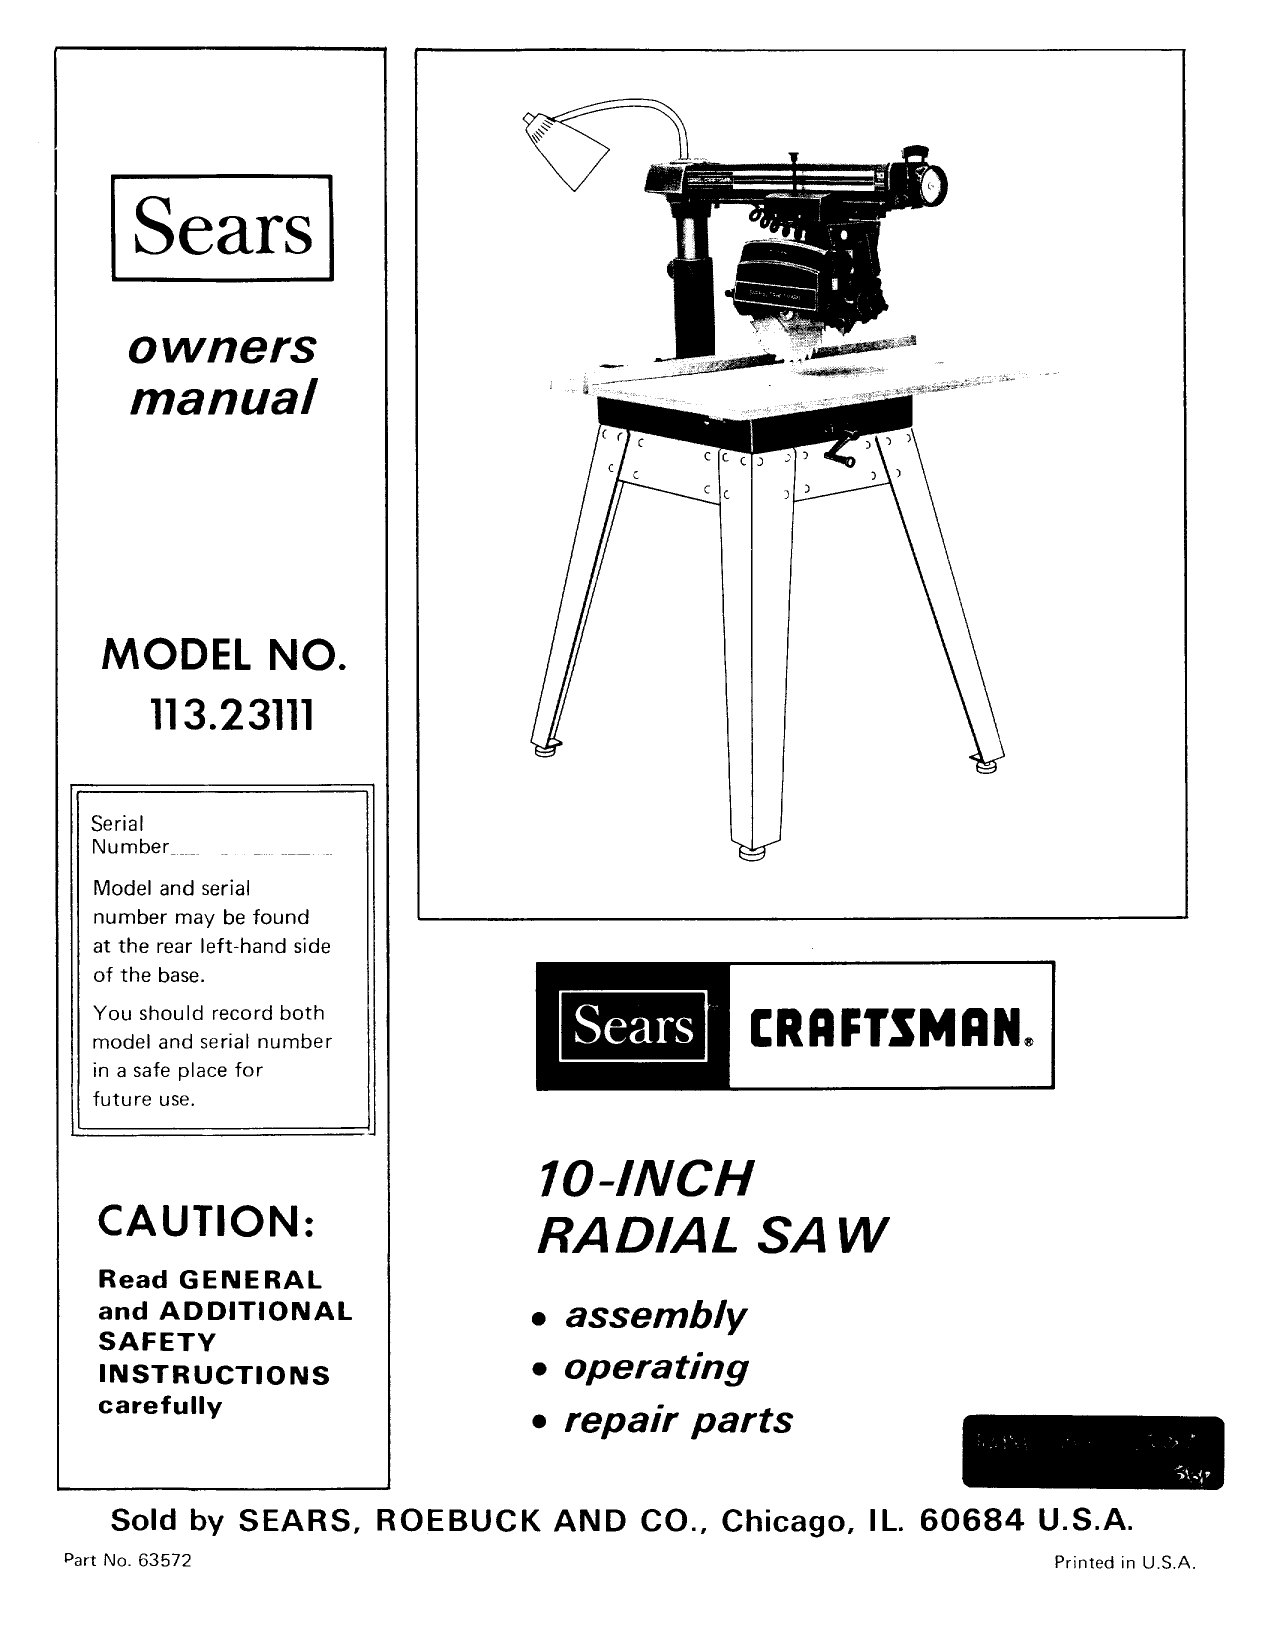
Craftsman 11323111 User Manual 10 INCH RADIAL SAW Manuals And Guides L0905311
CRAFTSMAN Saw Radial Manual L0905311 CRAFTSMAN Saw Radial Owner's Manual, CRAFTSMAN Saw Radial installation guides
User Manual: Craftsman 11323111 11323111 CRAFTSMAN CRAFTSMAN 10 INCH RADIAL SAW - Manuals and Guides View the owners manual for your CRAFTSMAN CRAFTSMAN 10 INCH RADIAL SAW #11323111. Home:Tool Parts:Craftsman Parts:Craftsman CRAFTSMAN 10 INCH RADIAL SAW Manual
Open the PDF directly: View PDF 
Page Count: 36