Craftsman 706650750 User Manual 6 DRAWER PROFESSIONAL CHEST Manuals And Guides L0809034
CRAFTSMAN Tool Chest Manual L0809034 CRAFTSMAN Tool Chest Owner's Manual, CRAFTSMAN Tool Chest installation guides
User Manual: Craftsman 706650750 706650750 CRAFTSMAN 6 DRAWER PROFESSIONAL CHEST - Manuals and Guides View the owners manual for your CRAFTSMAN 6 DRAWER PROFESSIONAL CHEST #706650750. Home:Tool Parts:Craftsman Parts:Craftsman 6 DRAWER PROFESSIONAL CHEST Manual
Open the PDF directly: View PDF ![]() .
.
Page Count: 2
f f
SEARS
CRRFTSMRN°
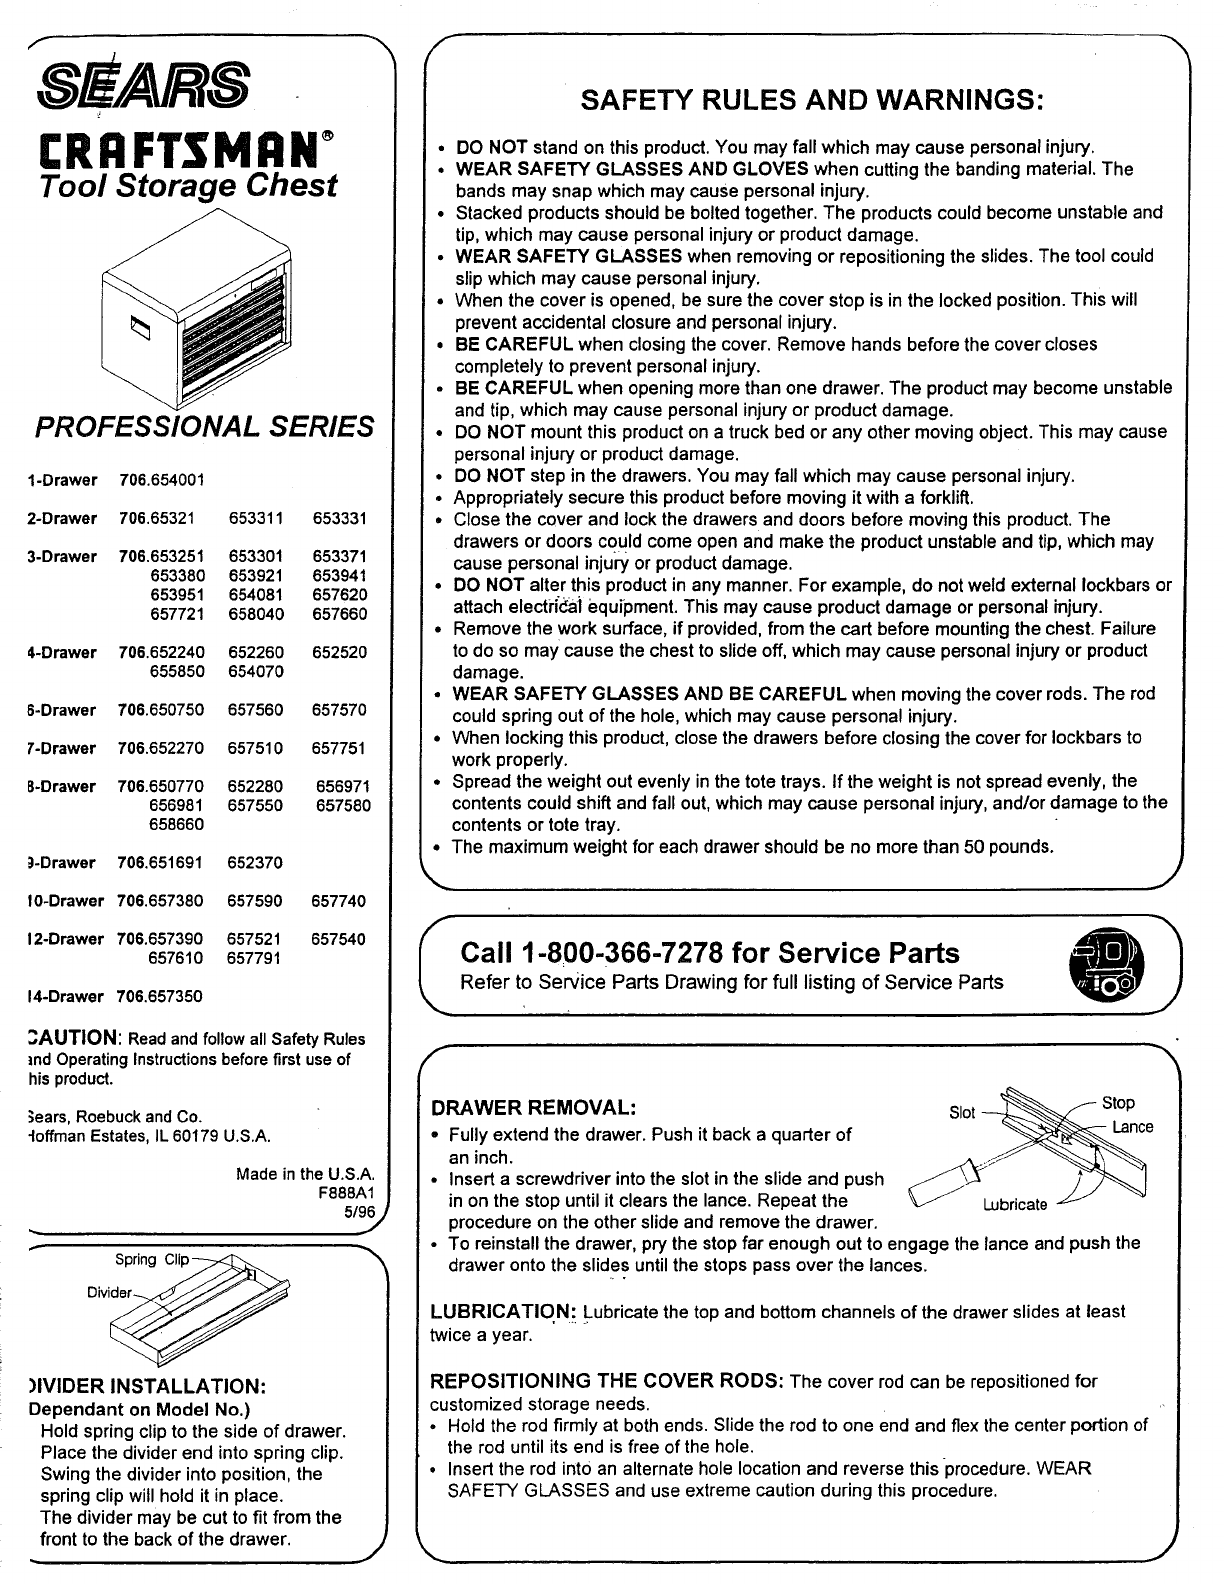
Tool Storage Chest
PROFESSIONAL SERIES
1-Drawer 706.654001
2-Drawer 706.65321 653311 653331
3-D_wer 706.653251 653301 653371
653380 653921 653941
653951 654081 657620
657721 658040 657660
4-Drawer 706.652240 652260 652520
655850 654070
8-Drawer 706.650750 657560 657570
7-Drawer 706.652270 657510 657751
B-Drawer 706.650770 652280 656971
656981 657550 657580
658660
_-Drawer 706.651691 652370
lO-Drawer 706.657380 657590 657740
12-Drawer 706.657390 657521 657540
657610 657791
14-Drawer 706.657350
3AUTION: Read and follow allSafety Rules
_ndOperatingInstructionsbefore first use of
his product.
_ears, Roebuckand Co.
-IoffmanEstates, IL 60179 U.S.A.
Spring
Made in the U.S.A.
F888A1
)IVIDER INSTALLATION:
Dependant on Model No.)
Hold springclipto the sideof drawer.
Place the dividerend intospring clip.
Swingthe dividerintoposition,the
springclipwill holdit in place.
The dividermay be cut to fit from the
front to the backof the drawer. J
SAFETY RULES AND WARNINGS:
• DO NOT stand onthis product. You may fall which may cause personal injury.
• WEAR SAFETY GLASSES AND GLOVES when cuttingthe bandingmaterial.The
bands may snapwhich may cause personalinjury.
• Stacked productsshouldbe boltedtogether.The productscouldbecomeunstable and
tip, which may cause personalinjuryor productdamage.
•WEAR SAFETY GLASSES when removingor repositioningthe slides.The tool could
slipwhich may cause personalinjury.
•When the coveris opened, be surethe coverstop isinthe lockedposition.This will
prevent accidentalclosureand personalinjury.
• BE CAREFUL when closingthe cover. Remove hands before the covercloses
completelyto prevent personalinjury.
• BE CAREFUL when openingmorethan one drawer.The productmay become unstable
and tip, whichmay cause personalinjuryor productdamage.
•DO NOT mountthis producton a truckbed or any other movingobject.This may cause
personalinjuryor productdamage.
• DO NOT step in the drawers.You may fall which may cause personalinjury.
• Appropriately securethisproductbeforemovingit witha forklift.
•Close the cover and lockthe drawersand doorsbeforemovingthisproduct.The
drawers or doorscouldcomeopen and make the productunstableand tip,which may
cause personalinjuryor productdamage.
•DO NOT alter this productinany manner.For example, do notweld external Iockbarsor
attach electri#_.a|equipment.This may cause productdamage or personalinjury.
• Removethe work surface,if provided,from the cart before mountingthe chest. Failure
to do so may cause the chest to slide off,which may cause personalinjuryor product
damage.
° WEAR SAFETY GLASSES AND BE CAREFUL when movingthe coverrods. The rod
couldspringoutof the hole,whichmay cause personalinjury.
•When lockingthisproduct,closethe drawers before closingthe coverfor Iockbarsto
work properly.
•Spread the weight outevenly inthe tote trays. If the weightis notspreadevenly, the
contentscouldshiftandfall out,which maycause personal injury,and/or damage to the
contentsor tote tray.
•The maximumweight for each drawershouldbe no morethan 50 pounds.
Call 1-800-366-7278 for Service Parts
Refer to Service Parts Drawing for full listing of Service Parts
DRAWER REMOVAL:
=Fully extend the drawer. Push it back a quarter of
an inch.
• Insert a screwdriver into the slot in the slide and push
in on the stop until it clears the lance. Repeat the
procedure on the other slide and remove the drawer.
Slot _ Stop
__bricate __
° To reinstall the drawer, pry the stopfar enough out to engage the lance andpush the
draweronto the slidesuntilthe stopspass over the lances.
LUBRICATIO.N. Lubricate the top and bottom channels of the drawer slides at least
twice a year.
REPOSITIONING THE COVER RODS: The cover rod can be repositioned for
customized storage needs.
• Hold the rod firmly at both ends. Slide the rod to one end and flex the center portion of
the rod until its end is free of the hole.
• Insert the rod into an alternate hole location and reverse this procedure. WEAR
SAFETY GLASSES and use extreme caution during this procedure.
J
fSmF,4 /RS
[RRFTSMRN
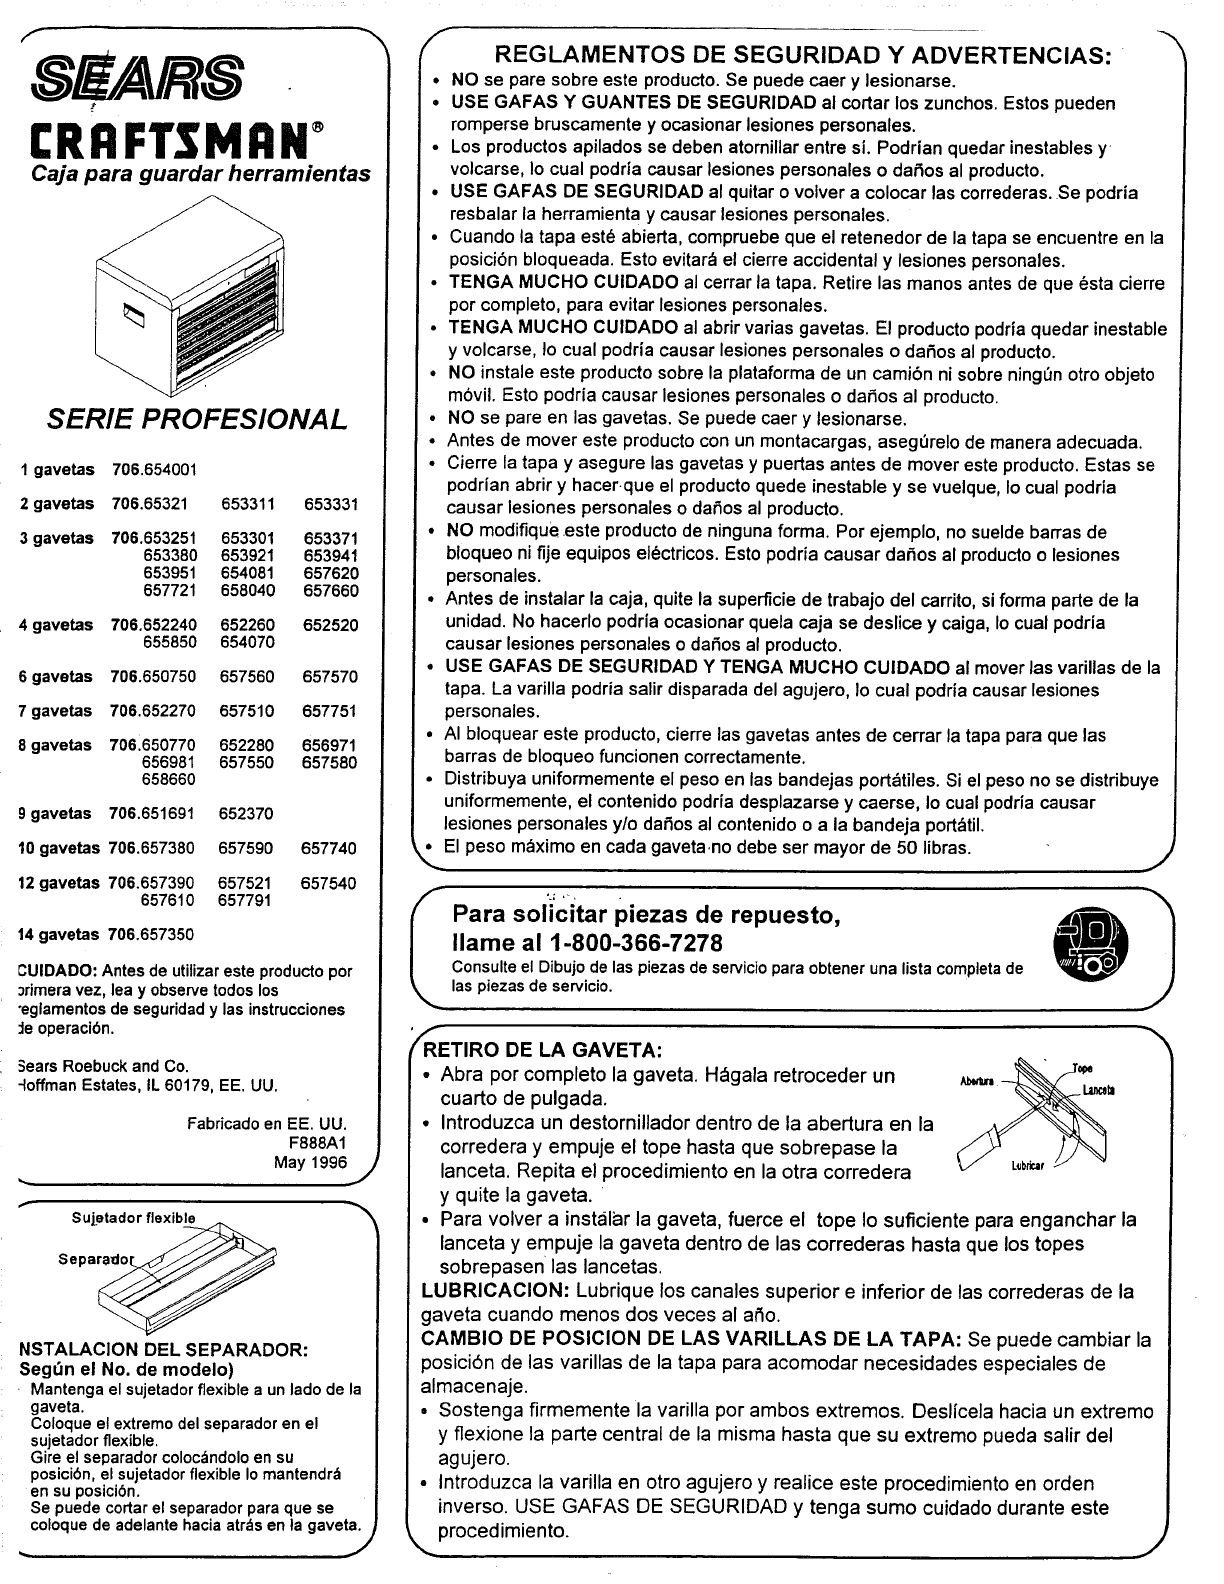
Caja para guardar herramientas
SERIE PROFESIONAL
1 gavetas 706,654001
2 gavetas 706.65321 653311 653331
3 gavetas 706.653251 653301 653371
653380 653921 653941
653951 654081 657620
657721 658040 657660
4 gavetas 706.652240 652260 652520
655850 654070
6 gavetas 706.650750 657560 657570
7 gavetas 706.652270 657510 657751
8 gavetas 706.650770 652280 656971
656981 657550 657580
658660
9 gavetas 706.651691 652370
10 gavetas 706.657380 657590 657740
12 gavetas 706.657390 657521 657540
657610 657791
14 gavetas 706.657350
CUIDADO: Antes de utilizareste productopor
_rimeravez, lea y observetodos los
°eglamentosde seguridady las instrucciones
:leoperaci6n.
SeamRoebuckand Co.
_offman Estates, lL 60179, EE. UU.
Sujetador flexible
Fabricado en EE. UU.
F888A1
May 1996j
NSTALACION DEL SEPARADOR:
Seg_n el No. de modelo)
Mantenga el sujetador flexible a un lado de la
gaveta.
Coloqueel extremodelseparadoren el
sujetador flexible.
Gireel separadorcoloc_ndoloen su
posicibn, el sujetador flexibleIomantendr_
ensuposici6n.
Sepuedecortarelseparadorparaquese
coloquedeadelantehaciaatr_sen lagaveta.
J
REGLAMENTOS DE SEGURIDAD Y ADVERTENCIAS:
• NO se pare sobre este producto.Se puede caer y lesionarse.
• USE GAFAS Y GUANTES DE SEGURIDAD al cortar los zunchos.Estos pueden
rompersebruscamentey ocasionarlesionespersonales.
• Los productosapilados se deben atomillarentre si. Podrian quedarinestablesy
volcarse,Iocual podria causar lesionespersonaleso dar3osal producto.
• USE GAFAS DE SEGURIDAD al quitaro volver a colocar las correderas.Se podria
resbalarla herramientay causarlesionespersonales.
•Cuando la tapa est_ abierta, compruebeque el retenedor de la tapa se encuentreen la
posicibnbloqueada. Esto evitar_el cierreaccidentaly lesiones personales.
• TENGA MUCHO CUIDADO al cerrar la tapa. Retire las manos antesde que _sta cierre
por completo,para evitarlesionespersonales.
•TENGA MUCHO CUIDADO al abrirvariasgavetas. El productopodriaquedar inestable
yvolcarse,Io cual podriacausar lesionespersonaleso daSosal producto.
• NO instale este productosobrela plataformade un camibn nisobre ning0notroobjeto
m6vil. Esto podriacausar lesionespersonaleso da_os al producto.
• NO se pare en las gavetas. Se puede caer y lesionarse.
• Antes de movereste productocon un montacargas,aseg0relode manera adecuada.
• Cierre la tapa y asegure las gavetas ypuertas antes de mover esteproducto.Estas se
podrianabriry hacer-queel productoquede inestabley se vuelque,Iocual podria
causar lesionespersonaleso daSosal producto.
•NO modifiqueeste productode ningunaforma. Por ejemplo, nosueldebarras de
bloqueoni flje equiposel_ctricos.Esto podria causardaSos al productoo lesiones
personales.
•Antes de instalarla caja, quite la superflciede trabajo del carrito,si formaparte de la
unidad.No hacerlopodria ocasionarquela caja se deslice y caiga, Iocual podria
causar lesionespersonaleso daSosal producto.
• USE GAFAS DE SEGURIDAD Y TENGA MUCHO CUlDADO al moverlas varillasde la
tapa. La varillapodria salir disparadadel agujero,Io cual podria causarlesiones
personales.
• AI bloqueareste producto,cierrelas gavetas antes de cerrar la tapa paraque las
barras de bloqueofuncionencorrectamente.
•Distribuyauniformementeel pesoen las bandejasport,tiles. Si el pesonose distdbuye
uniformemente,el contenidopodriadesplazarse y caerse, Iocual podriacausar
lesionespersonalesy/o daSosal contenidoo a la bandeja port_til.
• El peso maximoen cada gaveta.nodebe ser mayorde 50 libras.
Para soli'citar piezas de repuesto,
Ilame al 1-800-366-7278
Consulteel Dibujode laspiezasde servicioparaobtenerunalistacompletade
laspiezas de servicio.
/_RRETIRODE LA GAVETA:
•Abra por completo la gaveta. H_lgala retroceder un Av,_n
cuarto de pulgada. .u_=
•Introduzca un destornillador dentro de la abertura en la
corredera y empuje el tope hasta que sobrepase la
lanceta. Repita el procedimiento en la otra corredera
y quite la gaveta. '
• Para volver a instalar la gaveta, fuerce el tope Io suficiente para enganchar la
lanceta y empuje la gaveta dentro de las correderas hasta que los topes
sobrepasen las lancetas.
LUBRICACION: Lubrique los canales superior e inferior de las correderas de la
gaveta cuando menos dos veces al a#io.
CAMBIO DE POSlCION DE LAS VARILLAS DE LA TAPA: Se puede cambiar la
posici6n de las varillas de la tapa para acomodar necesidades especiales de
almacenaje.
• Sostenga firmemente la varilla por ambos extremos. Deslicela hacia un extremo
y flexione la parte central de la misma hasta que su extremo pueda salir del
agujero.
• Introduzca la varilla en otro agujero y reaiice este procedimiento en orden
inverso. USE GAFAS DE SEGURIDAD y tenga sumo cuidado durante este
procedimiento.
