Creative Labs DAPWLRF01 Creative Wireless MP3 Receiver DAPWL0001 User Manual Introduction
Creative Labs Inc Creative Wireless MP3 Receiver DAPWL0001 Introduction
UserManual.wiki
>
Creative Labs
>
DAPWLRF01 User Manual
Users Manual
Navigation menu
Upload a User Manual
Namespaces
Wiki Guide
HTML
PDF
Info
Views
User Manual
Discussion / Help
Navigation

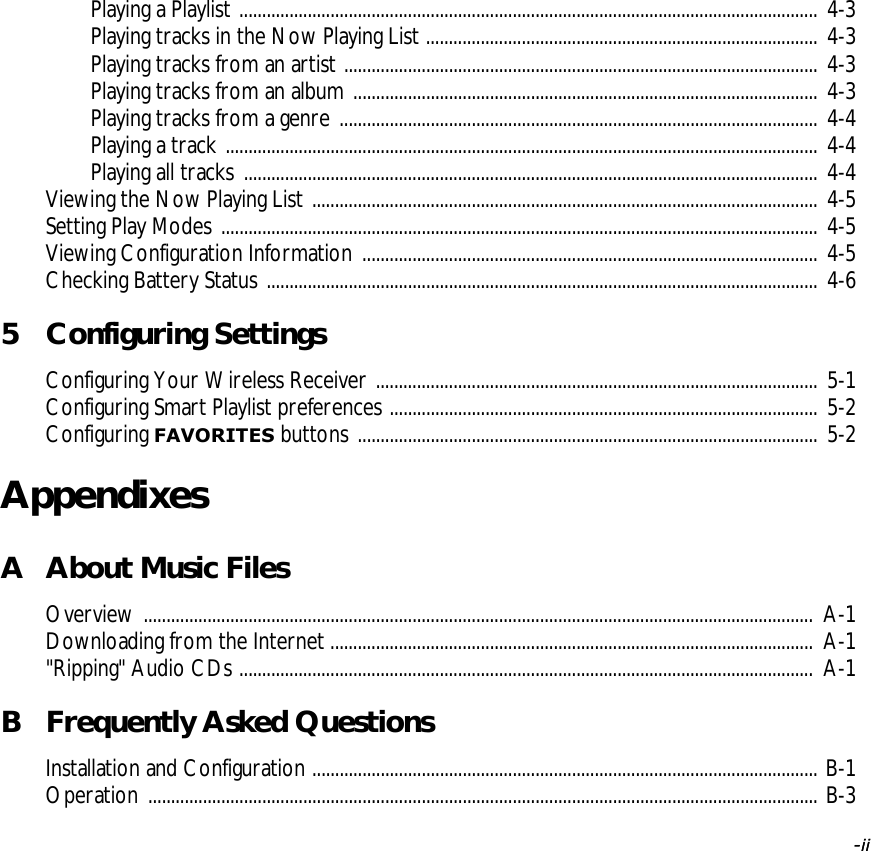


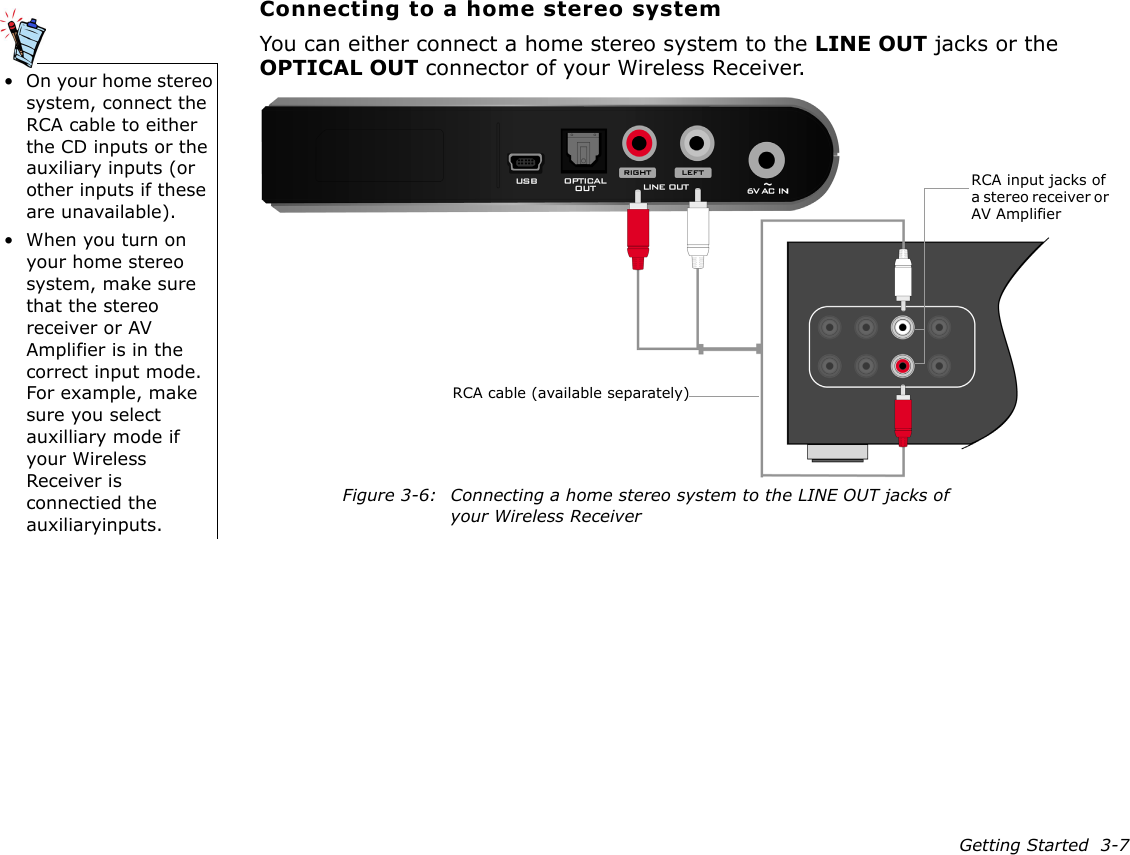
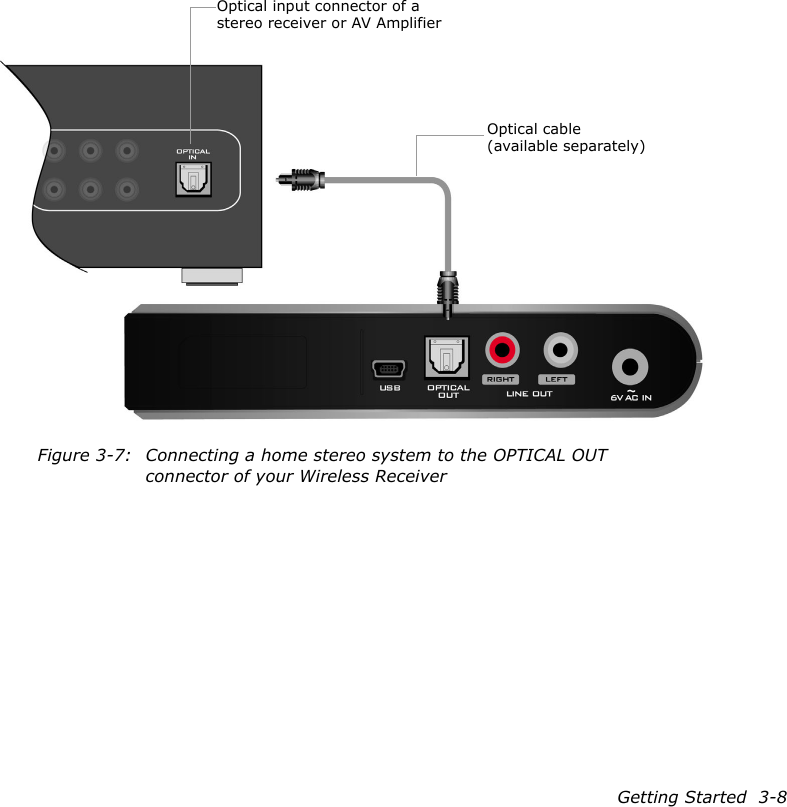
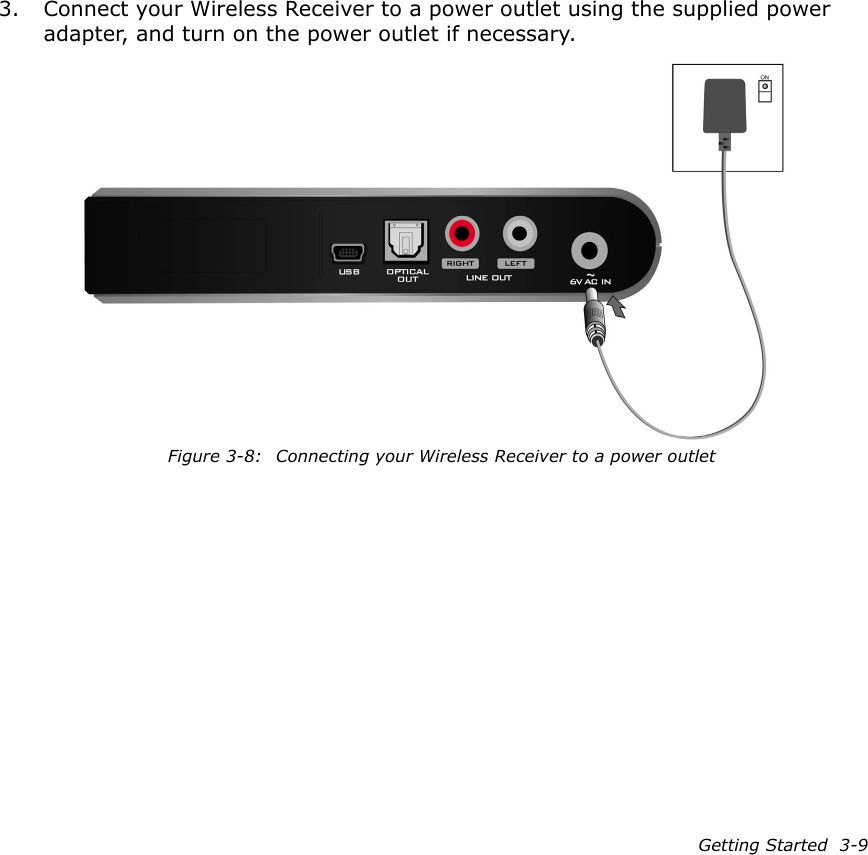
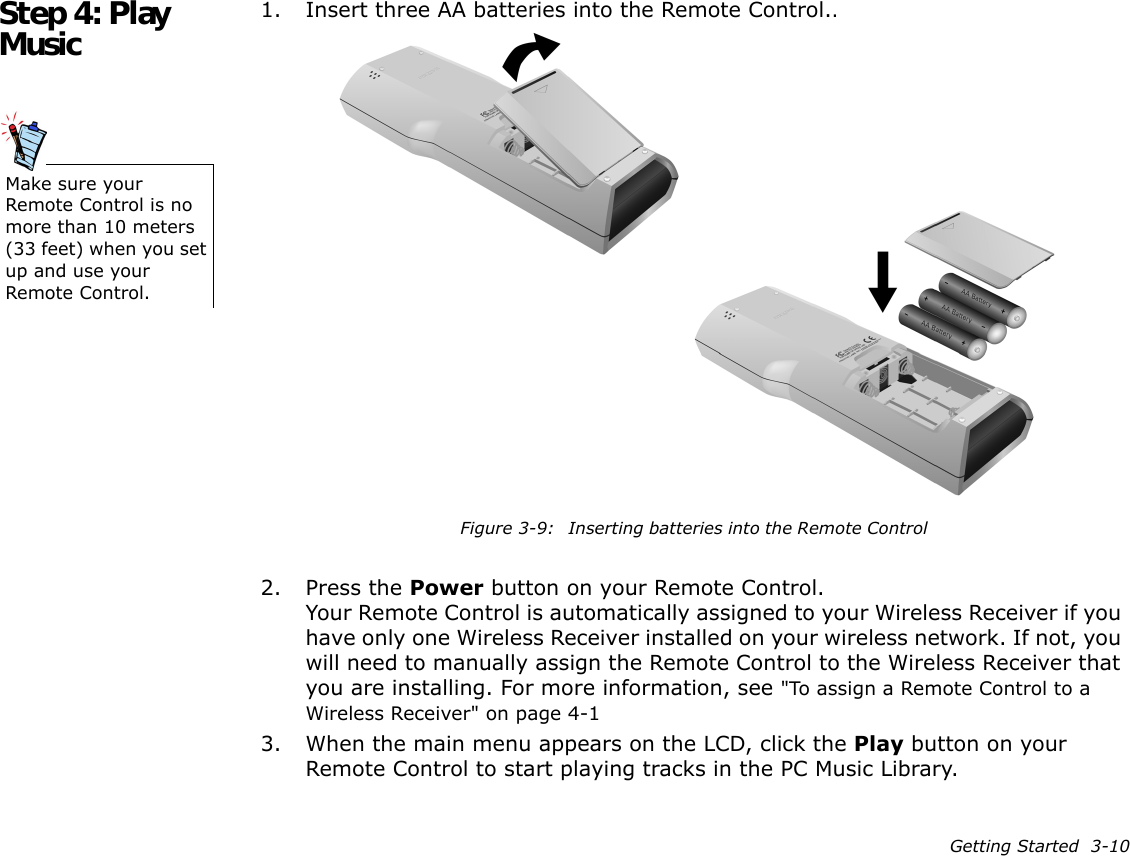
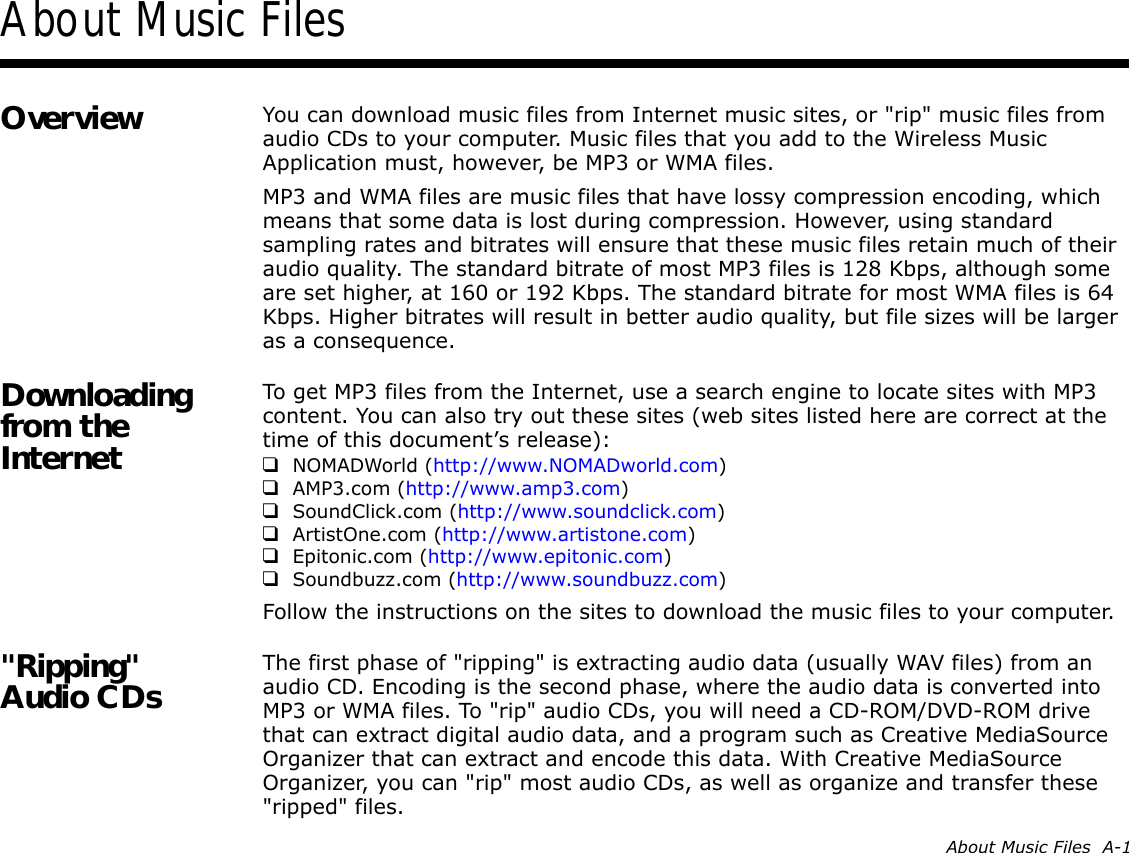
![About Music Files A-2The time needed for a successful audio extraction depends on:❑CD-ROM/DVD-ROM drive speed❑defects, like scratches on the audio CD❑error-checking features on the CD-ROM/DVD-ROM driveTo rip an audio CD using Creative MediaSource Organizer1. Insert an audio CD into your CD-ROM/DVD-ROM drive.2. Launch Creative MediaSource Organizer by clicking the Creative MediaSource Player/Organizer icon on your desktop.3. If you are not already in Creative MediaSource Organizer, click the Player/Organizer View button.4. In the Sources window, select [d:] Audio CD (replace d: with your CD-ROM/DVD-ROM drive).5. In the Task bar, click the Rip Now button.For more information about using Creative MediaSource, refer to its online Help.](https://usermanual.wiki/Creative-Labs/DAPWLRF01/User-Guide-349491-Page-43.png)