D Link AP1155A1 Wireless N 150 Bridge/Access Point User Manual
D Link Corporation Wireless N 150 Bridge/Access Point
D Link >
User Manual
DAP-1155
ENGLISH
Technical Support
Having trouble installing your new product? D-Link’s website contains the
latest user documentation and software updates for D-Link products. U.S.
and Canadian customers can contact D-Link Technical Support through our
website or by phone.
United States
Telephone: (877) 453-5465
Internet: http://support.dlink.com
Canada
Telephone: (800) 361-5265
Internet: http://support.dlink.ca
©2010 D-Link Corporation/D-Link Systems, Inc. All rights reserved. D-Link and the D-Link logo are registered trademarks of D-Link
Corporation or its subsidiaries in the United States and/or other countries. Other trademarks or registered trademarks are the property
of their respective owners. Actual data throughput will vary. Network conditions and environmental factors, including volume of
network trac, building materials and construction, and network overhead, lower actual data throughput rate. Environmental
conditions will adversely aect wireless signal range. Product specications, size and shape are subject to change without notice, and
actual product appearance may dier from that depicted on the package. Visit dlink.com (US) or dlink.ca (Canada) for more details.
Version 1.0 | October 5, 2010 290726001155A10
Quick Install Guide
Wireless N 150 Bridge/Access Point
Thank you for purchasing the DAP-1155. Follow the easy steps in this guide
to properly set up your device. Please verify that all the package contents
listed below are available.
Package Contents
If any of the above items are missing, please contact your reseller.
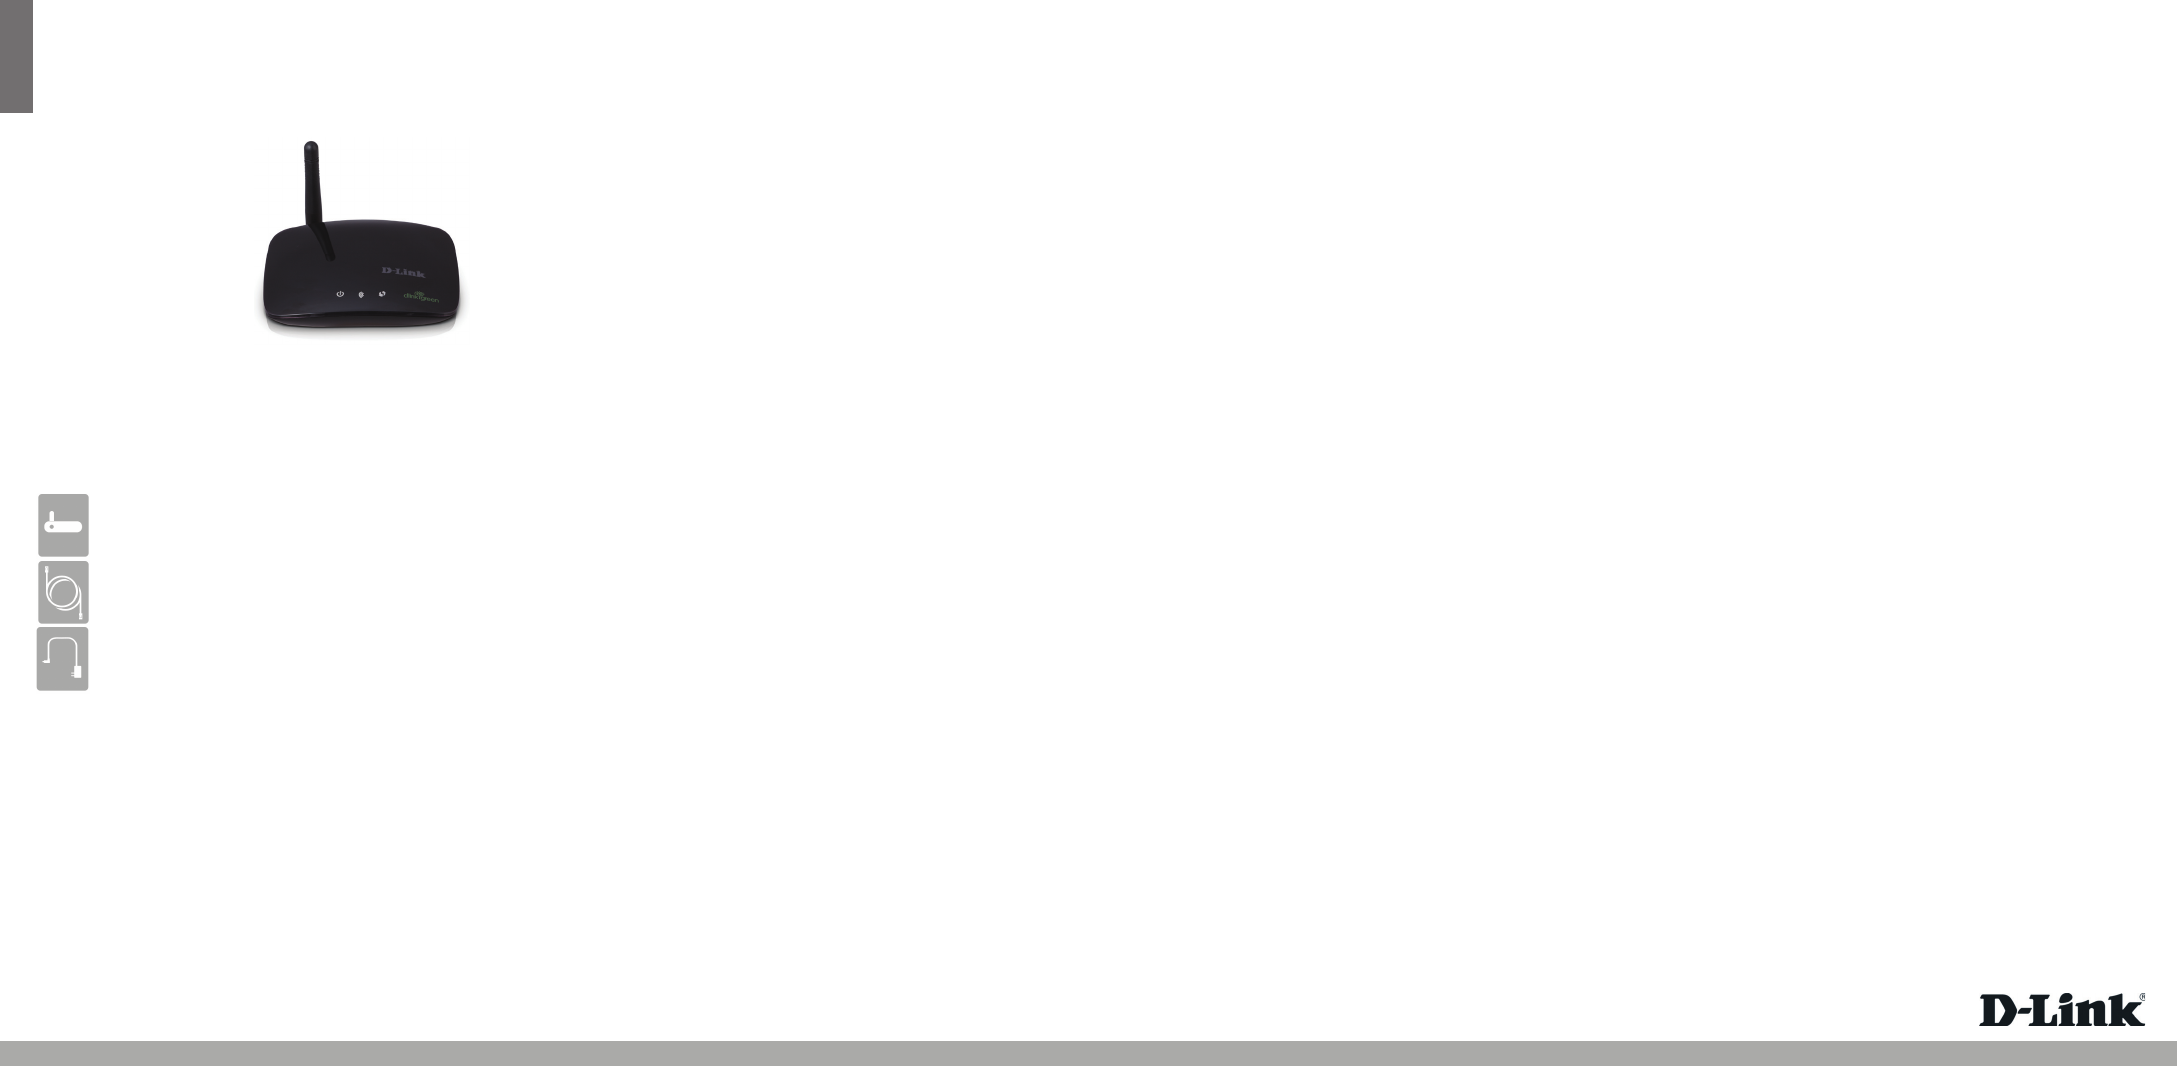
DAP-1155 Wireless N 150 Bridge/Access Point
Ethernet Cable
Power Adapter
Power LED - A solid light indicates a proper connection to the power
supply.
Wireless LED - A blinking green light indicates the wireless function is
working. The light will blink fast during data transmission.
WPS LED - Located on the right side, a solid light indicates a successful
WPS connection. A blinking light indicates the device is trying to establish
a connection.
LEDs
Device Placement
To get the best wireless coverage, place your device in an open area away
from your computer, monitor, and speakers. Try to position the device so
that the signal passes through drywall or open doorways. Materials and
objects such as glass, steel, metal, walls with insulation, water (sh tanks),
mirrors, le cabinets, brick, and concrete will degrade your wireless signal.
Wireless Modes
Access Point Mode - The DAP-1155 acts as a central connection point for
any wireless client that has an 802.11n or backward-compatible 802.11g
wireless network interface and is within range of the AP. Multiple clients
can connect to the AP at the same time.
Bridge Mode - The DAP-1155 acts as a wireless network adapter for your
Ethernet enabled devices (such as a game console or a TV set-top box)
and will connect wirelessly to an existing wireless router or access point.
Step 1 - Connect the DAP-1155 to your computer using the supplied
Ethernet cable. Once you congure the device, you can place it into your
network.
Note: To login to your DAP-1155, you must statically assign an IP address
(192.168.0.x where x is between 2 and 254, and not 50) on your computer.
Step 2 - To access the conguration utility, open a web browser such
as Internet Explorer, enter http://192.168.0.50 in the address eld and
press Enter.
Step 3 - Select the wireless mode from the drop-down menu and then follow
the on-screen instructions to congure your DAP-1155.
Step 4 - Once you are nished conguring your DAP-1155, you may disconnect
the Ethernet cable and place it in your network. Also, change your IP settings
on your computer back to the original settings.
First Time Conguration
Step 1 - Insert the power adapter into the power receptacle located on the
rear panel of the DAP-1155 and plug the adapter into a suitable nearby
power source. (This unit is to be used only with the power supply provided
by the manufacturer.)
Step 2 - Check the status of the DAP-1155 by checking the green LED.
Push the button on the back of the DAP-1155 to initiate a secured wireless
connection.
Step 3 - Within 120 seconds, push the WPS button on your WPS-enabled
router or access point (if the DAP-1155 is in Bridge Mode) or your wireless
clients (AP Mode) to link them together.
Step 4 - Once the WPS button stops blinking, you can move the DAP-1155
to the desired location.
Step 5 - Plug the Ethernet cable between the device you wish to use and
the DAP-1155.
WPS - Push Button Setup

DAP-1155
ENGLISH
Technical Specications
Standards
• IEEE 802.11g
• IEEE 802.3
• IEEE 802.3u
Security
• Wi-Fi Protected Access (WPA, WPA2)®
• Wi-Fi Protected Setup™ (WPS)
- WPS Push Button
- PIN
Interface Type
• 2 10/100 LAN/WAN Port
• 1 Push-Button (for Wi-Fi Protected Setup™)
Antenna Type
• 2dBi Dipole Antenna
Maximum Operating Voltage
• 5V 1A
Modulation
• DQPSK
• DBPSK
• CCK
• OFDM
Frequency Range2
• 2.4GHz to 2.483GHz
LEDs
• Power
• WLAN
• WPS
Operating Temperature
• 32°F to 131°F ( 0°C to 55°C)
Humidity
• 90% maximum (non-condensing)
Safety & Emissions
• FCC Class B
• CE
• C-Tick
• IC
• Wi-Fi®
Dimensions
• W82 x D27 x L102 mm
Weight
• 79g
1Maximum wireless signal rate derived from IEEE Standard 802.11g and 802.11n specications. Actual data throughput will vary. Network conditions and environmental factors, including volume of network trac,
building materials and construction, and network overhead, lower actual data throughput rate. Environmental conditions will adversely aect wireless signal range.
2Range varies depending on country’s regulation.

DAP-1155
ENGLISH
CE Mark Warning:
This is a Class B product. In a domestic environment, this product may cause radio interference, in which case the user may be required to take adequate measures.
Federal Communication Commission Interference Statement
This equipment has been tested and found to comply with the limits for a Class B digital device, pursuant to Part 15 of the FCC Rules. These limits are designed to provide reasonable protection against harmful interference in a residential installation.
This equipment generates, uses and can radiate radio frequency energy and, if not installed and used in accordance with the instructions, may cause harmful interference to radio communications. However, there is no guarantee that interference
will not occur in a particular installation. If this equipment does cause harmful interference to radio or television reception, which can be determined by turning the equipment o and on, the user is encouraged to try to correct the interference
by one of the following measures:
- Reorient or relocate the receiving antenna.
- Increase the separation between the equipment and receiver.
- Connect the equipment into an outlet on a circuit dierent from that to which the receiver is connected.
- Consult the dealer or an experienced radio/TV technician for help.
This device complies with Part 15 of the FCC Rules. Operation is subject to the following two conditions: (1) This device may not cause harmful interference, and (2) this device must accept any interference received, including interference that may
cause undesired operation.
FCC Caution: Any changes or modications not expressly approved by the party responsible for compliance could void the user’s authority to operate this equipment.
IEEE 802.11b or 802.11g operation of this product in the U.S.A. is rmware-limited to channels 1 through 11.
IMPORTANT NOTE:
FCC Radiation Exposure Statement:
This equipment complies with FCC radiation exposure limits set forth for an uncontrolled environment. This equipment should be installed and operated with minimum distance 20cm between the radiator & your body.
This transmitter must not be co-located or operating in conjunction with any other antenna or transmitter.
Industry Canada Statement
This device complies with RSS-210 of the Industry Canada Rules. Operation is subject to the following two conditions:
1) this device may not cause interference and
2) this device must accept any interference, including interference that may cause undesired operation of the device
IMPORTANT NOTE:
IC Radiation Exposure Statement:
This equipment complies with IC radiation exposure limits set forth for an uncontrolled environment. This equipment should be installed and operated with minimum distance 20cm between the radiator and your body.
The availability of some specic channels and/or operational frequency bands are country dependent and are rmware programmed at the factory to match the intended destination. The rmware setting is not accessible by the end user.