D Link DWLG700APB1 AIR PLUS G 2.4GHz WIRELESS ACCESS POINT User Manual DWL G700AP1 manual
D Link Corporation AIR PLUS G 2.4GHz WIRELESS ACCESS POINT DWL G700AP1 manual
D Link >
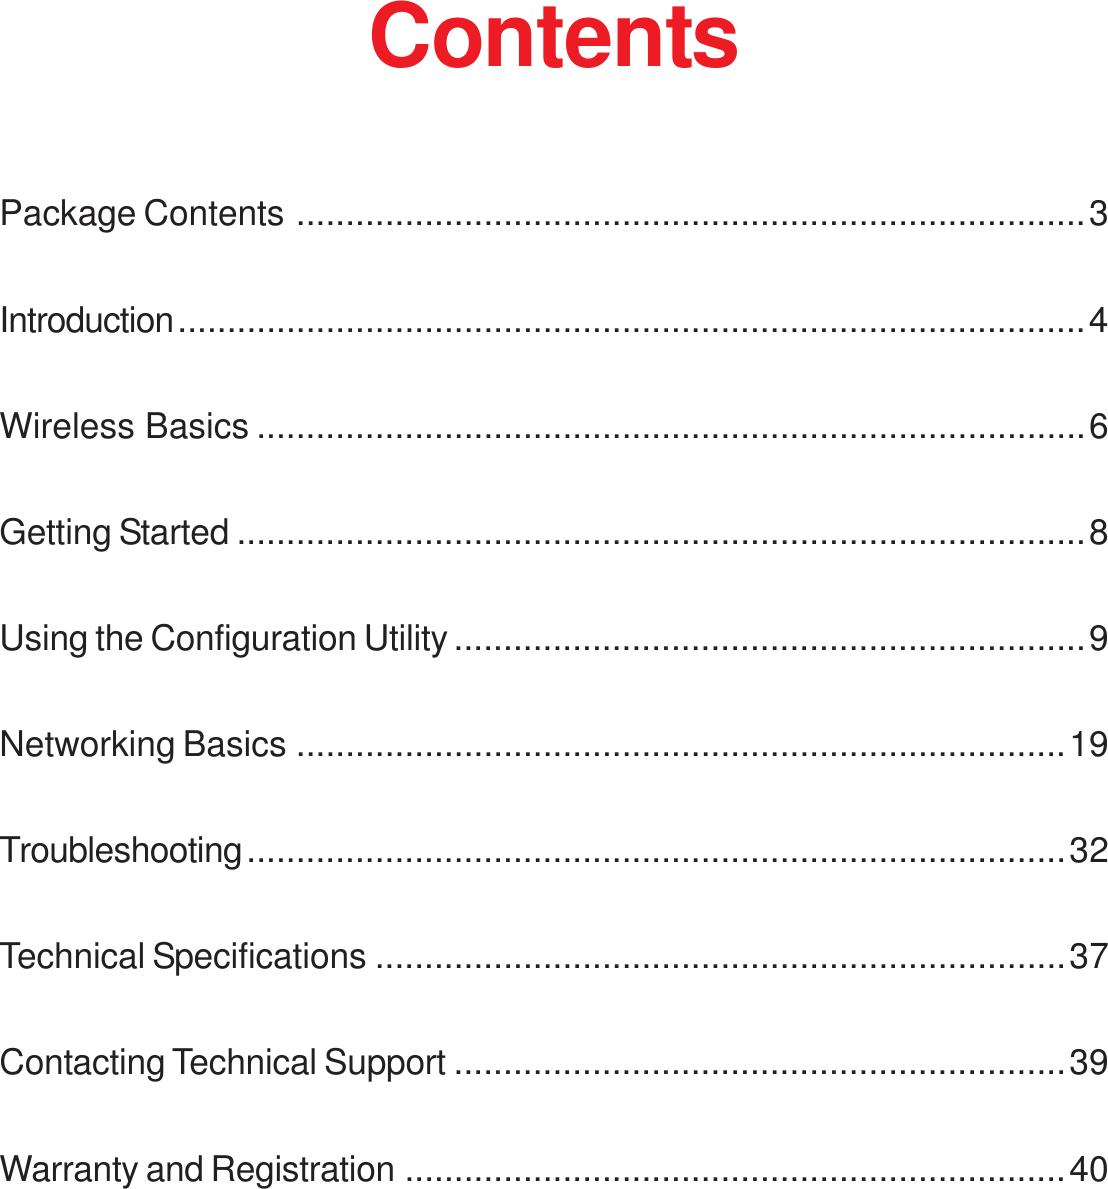
Contents
- 1. USER AMNUAL 1
- 2. USER MANUAL 2
USER AMNUAL 1