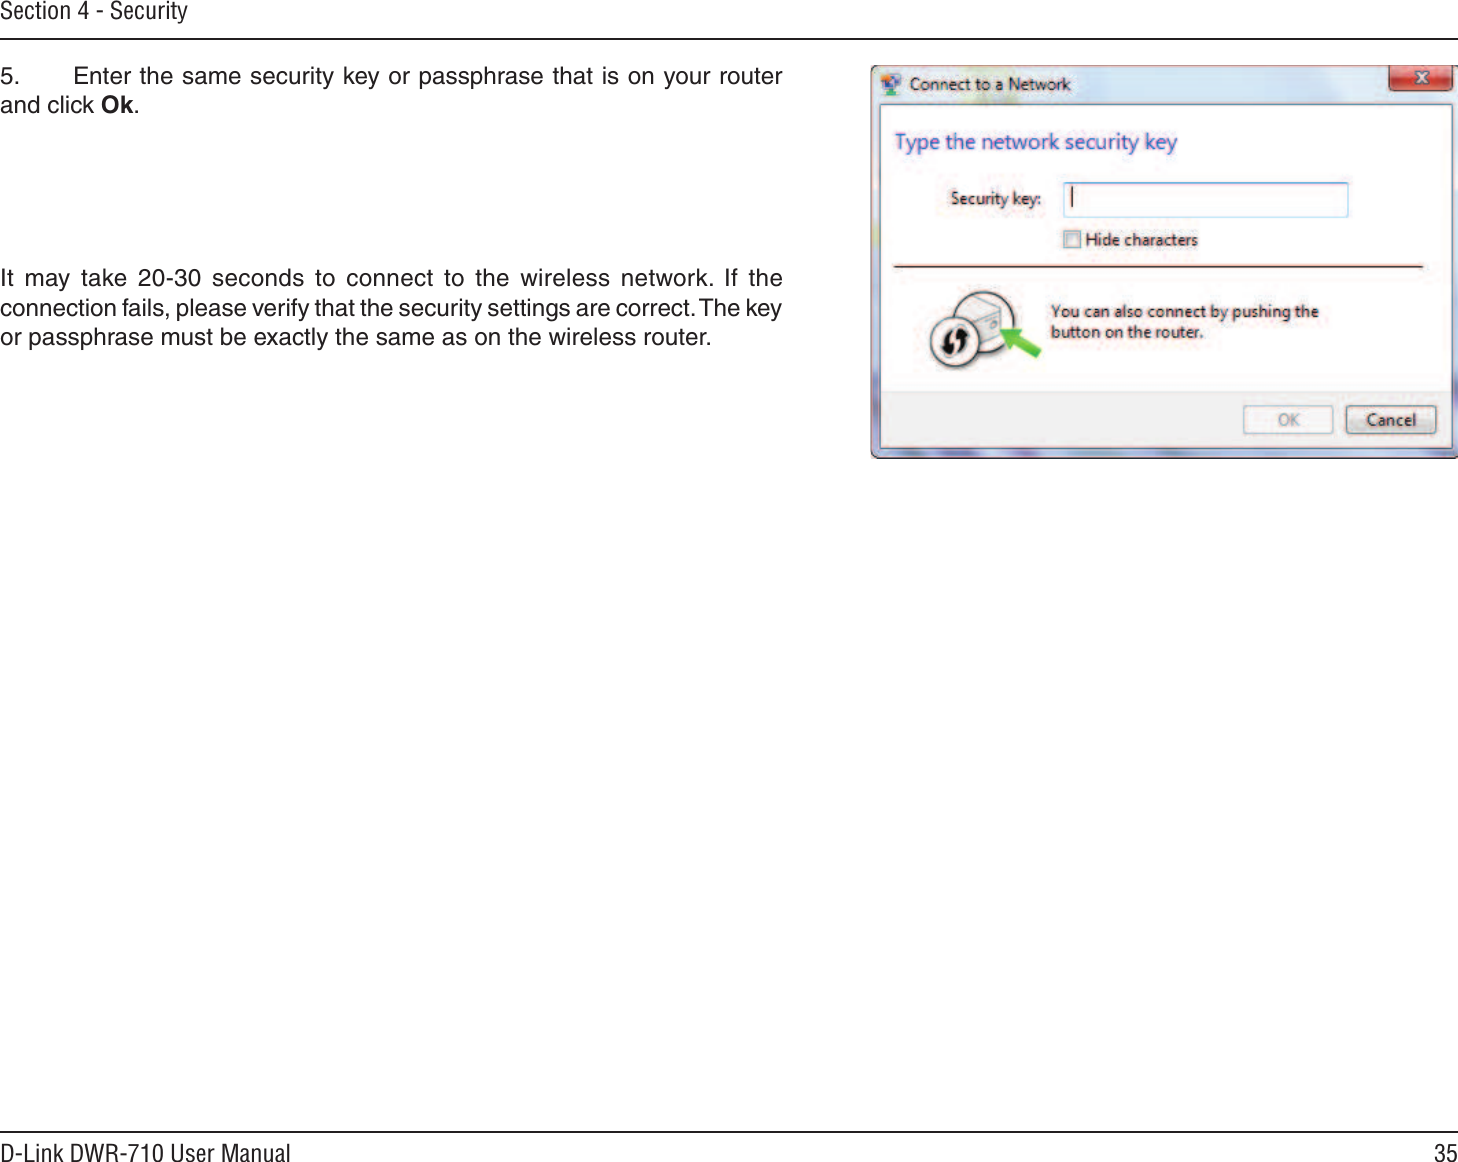
D Link WR710A1 LE PETIT HSPA + ROUTER User Manual DWR 710 A1 Manual 01 WW DRAFT 02 20120403
D Link Corporation LE PETIT HSPA + ROUTER DWR 710 A1 Manual 01 WW DRAFT 02 20120403
UserManual.wiki
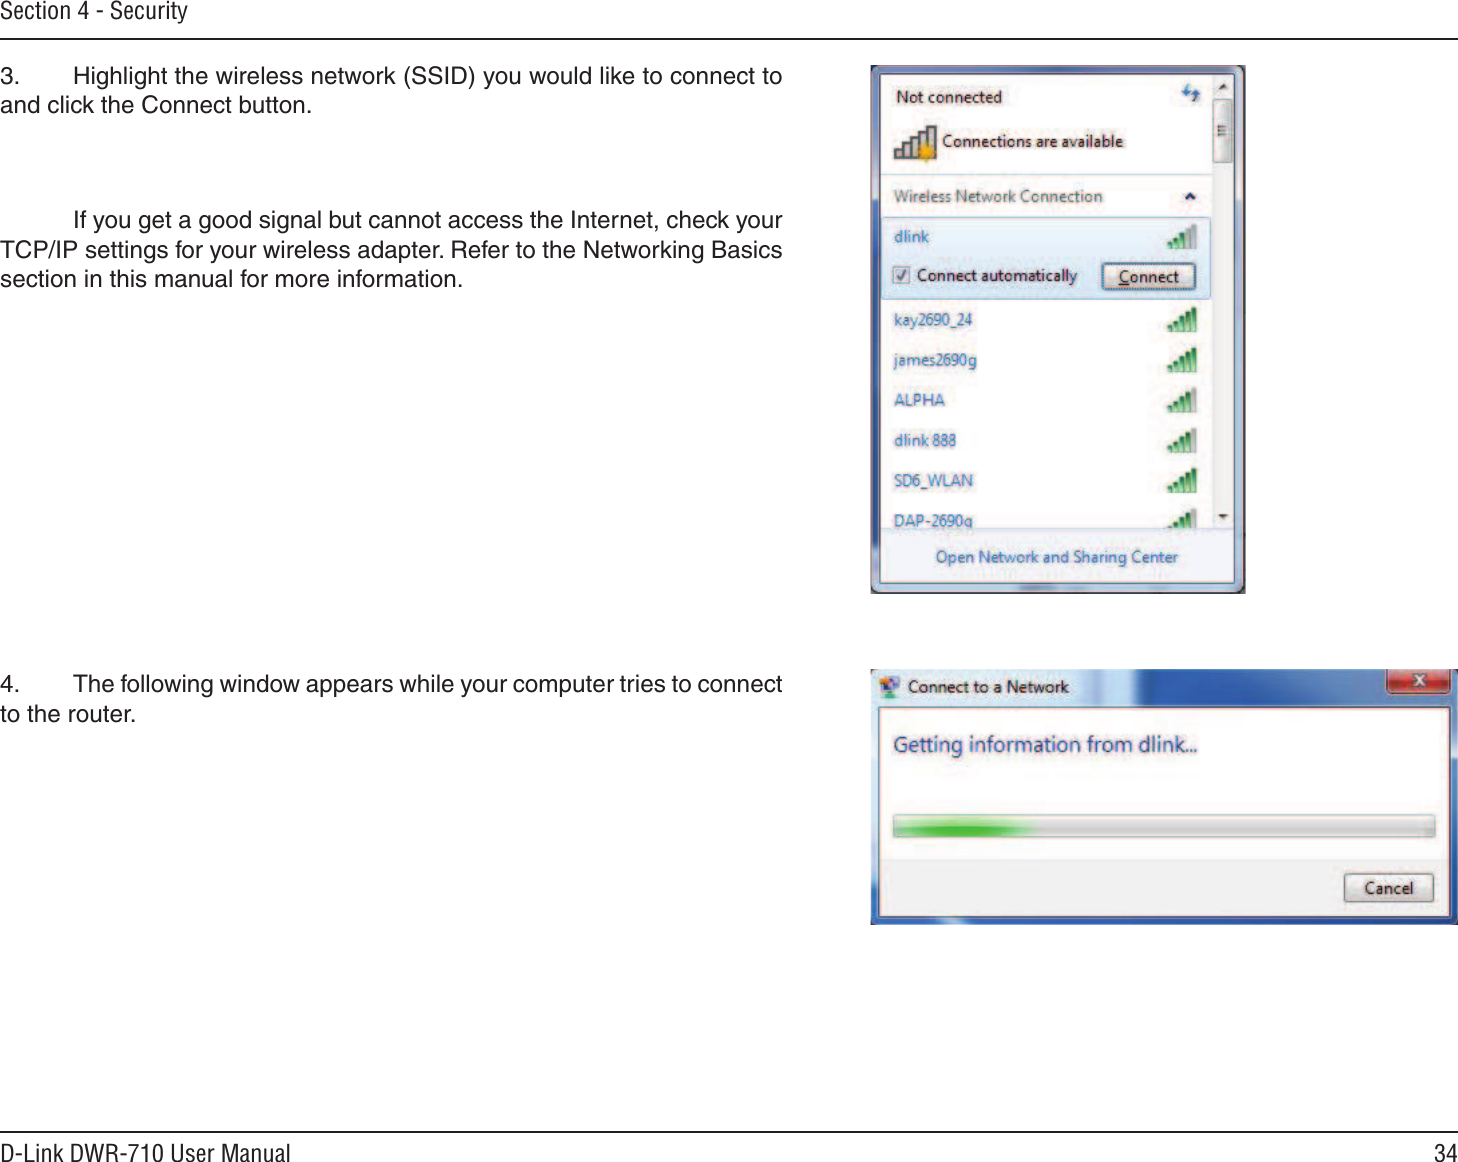
>
D Link
>
WR710A1 User Manual
User Manual
Navigation menu
Upload a User Manual
Namespaces
Wiki Guide
HTML
PDF
Info
Views
User Manual
Discussion / Help
Navigation