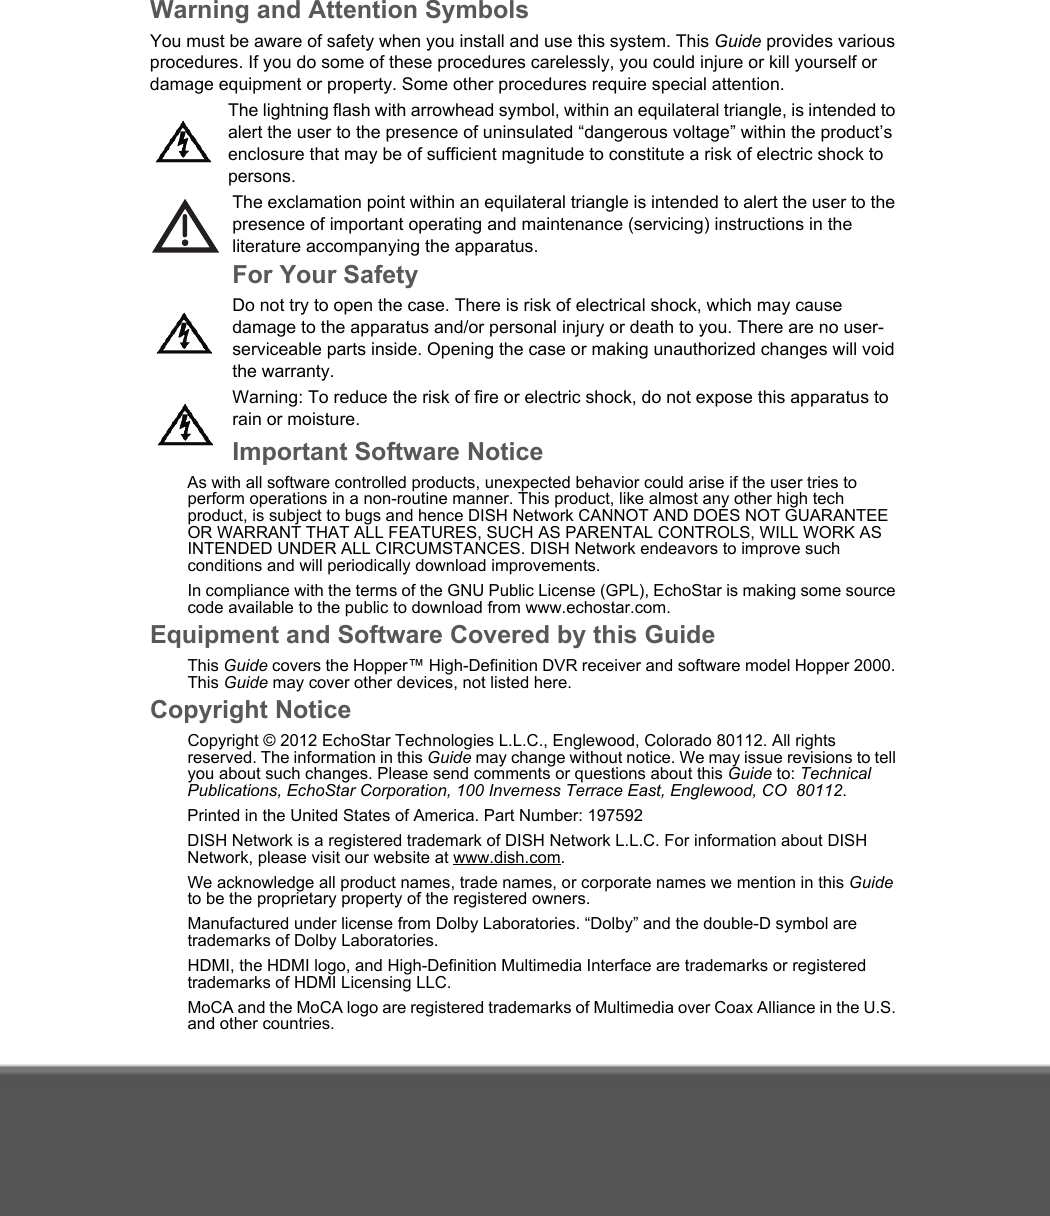
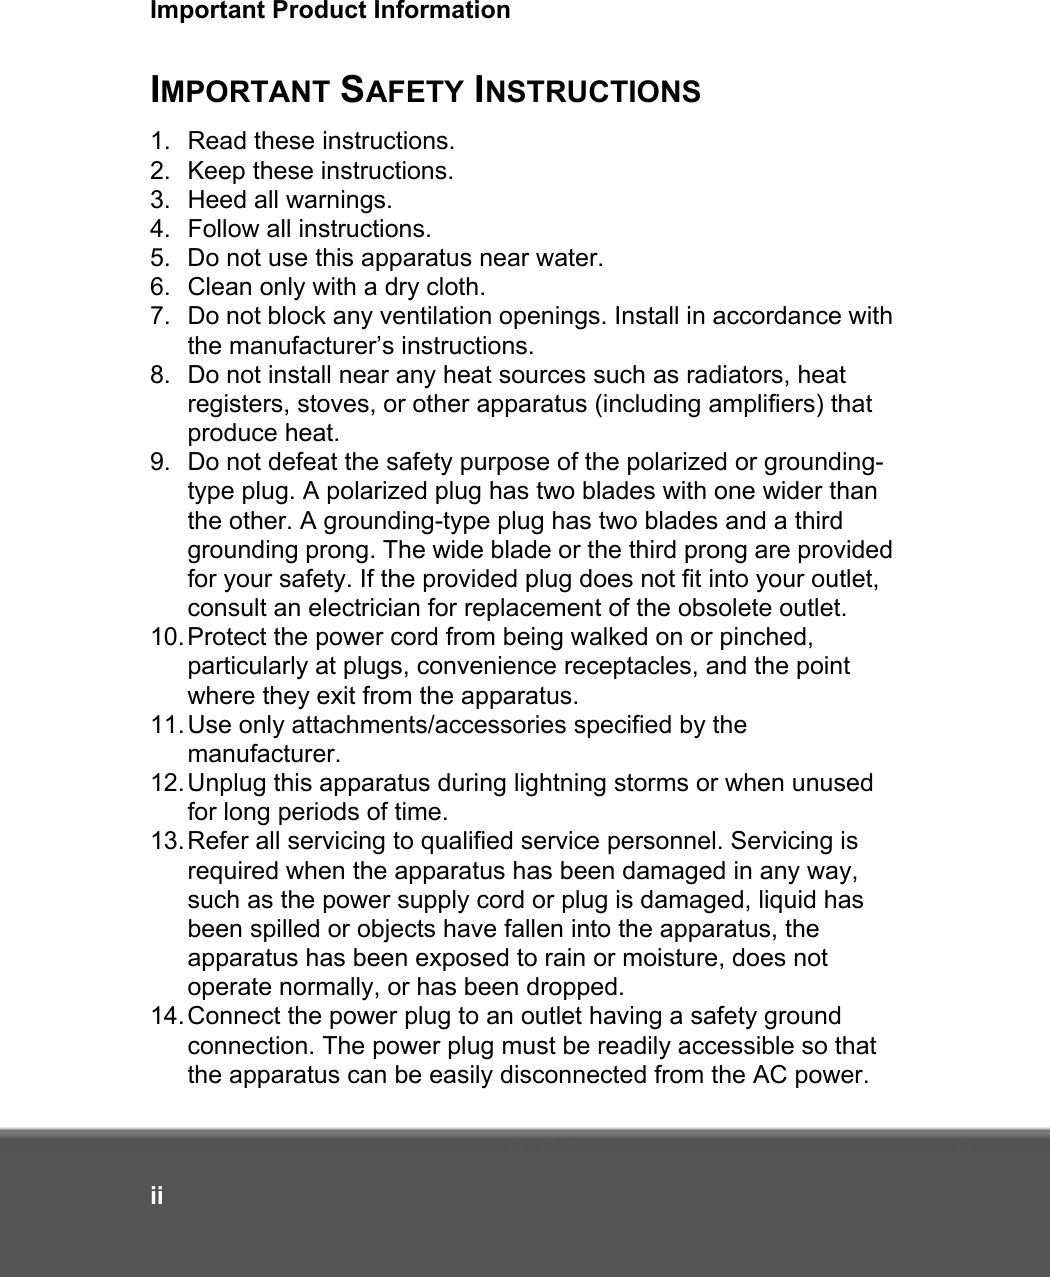
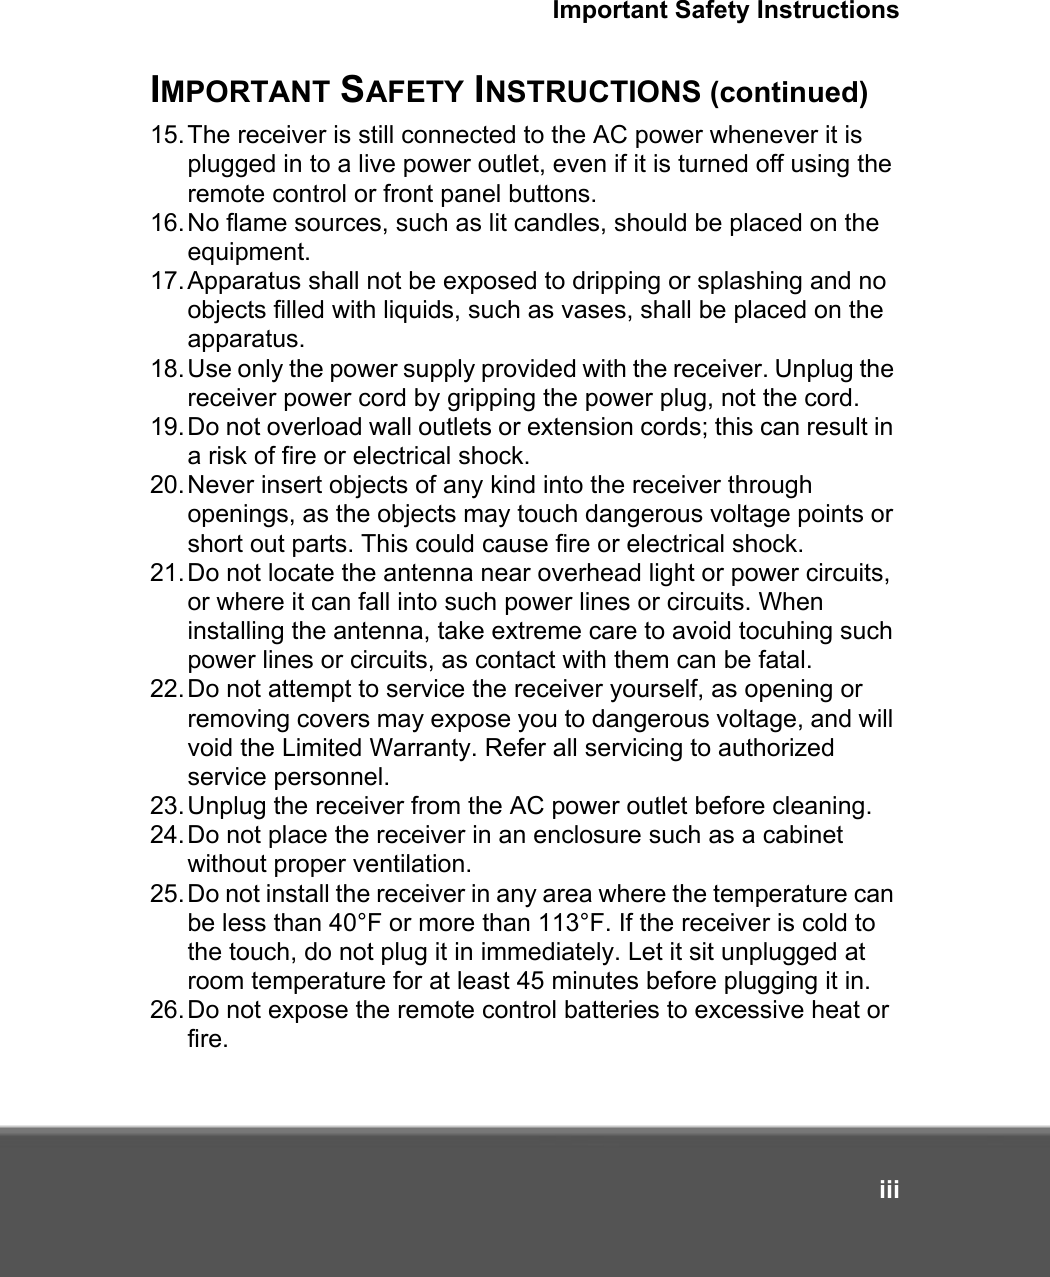
DISH Technologies CB1138 802.11 a/b/g/n WLAN, BT 2.1 and RF4CE SATELLITE SE User Manual

Echostar Technologies LLC 802.11 a/b/g/n WLAN, BT 2.1 and RF4CE SATELLITE SE

Regulatory Manual Insert

Warning and Attention SymbolsYou must be aware of safety when you install and use this system. This Guide provides various procedures. If you do some of these procedures carelessly, you could injure or kill yourself or damage equipment or property. Some other procedures require special attention.The lightning flash with arrowhead symbol, within an equilateral triangle, is intended to alert the user to the presence of uninsulated “dangerous voltage” within the product’s enclosure that may be of sufficient magnitude to constitute a risk of electric shock to persons.The exclamation point within an equilateral triangle is intended to alert the user to the presence of important operating and maintenance (servicing) instructions in the literature accompanying the apparatus.For Your SafetyDo not try to open the case. There is risk of electrical shock, which may cause damage to the apparatus and/or personal injury or death to you. There are no user-serviceable parts inside. Opening the case or making unauthorized changes will void the warranty.Warning: To reduce the risk of fire or electric shock, do not expose this apparatus to rain or moisture. Important Software NoticeAs with all software controlled products, unexpected behavior could arise if the user tries to perform operations in a non-routine manner. This product, like almost any other high tech product, is subject to bugs and hence DISH Network CANNOT AND DOES NOT GUARANTEE OR WARRANT THAT ALL FEATURES, SUCH AS PARENTAL CONTROLS, WILL WORK AS INTENDED UNDER ALL CIRCUMSTANCES. DISH Network endeavors to improve such conditions and will periodically download improvements. In compliance with the terms of the GNU Public License (GPL), EchoStar is making some source code available to the public to download from www.echostar.com.Equipment and Software Covered by this GuideThis Guide covers the Hopper™ High-Definition DVR receiver and software model Hopper 2000. This Guide may cover other devices, not listed here. Copyright NoticeCopyright © 2012 EchoStar Technologies L.L.C., Englewood, Colorado 80112. All rights reserved. The information in this Guide may change without notice. We may issue revisions to tell you about such changes. Please send comments or questions about this Guide to: Technical Publications, EchoStar Corporation, 100 Inverness Terrace East, Englewood, CO  80112. Printed in the United States of America. Part Number: 197592DISH Network is a registered trademark of DISH Network L.L.C. For information about DISH Network, please visit our website at www.dish.com. We acknowledge all product names, trade names, or corporate names we mention in this Guide to be the proprietary property of the registered owners.Manufactured under license from Dolby Laboratories. “Dolby” and the double-D symbol are trademarks of Dolby Laboratories.HDMI, the HDMI logo, and High-Definition Multimedia Interface are trademarks or registered trademarks of HDMI Licensing LLC.MoCA and the MoCA logo are registered trademarks of Multimedia over Coax Alliance in the U.S. and other countries.
iIMPORTANT PRODUCT INFORMATIONIMPORTANT SAFETY INSTRUCTIONS..............IIPROPER CARE OF YOUR EQUIPMENT..........IVLIMITED WARRANTY...................................VIRESIDENTIAL CUSTOMER AGREEMENT......VIIIAGREEMENT ON INTERNET USAGE VIA YOUR RECEIVER................................................XIXFCC COMPLIANCE....................................XXIF YOU NEED HELP...................................XXI
Important Product InformationiiIMPORTANT SAFETY INSTRUCTIONS1. Read these instructions.2. Keep these instructions.3. Heed all warnings.4. Follow all instructions.5. Do not use this apparatus near water.6. Clean only with a dry cloth.7. Do not block any ventilation openings. Install in accordance with the manufacturer’s instructions.8. Do not install near any heat sources such as radiators, heat registers, stoves, or other apparatus (including amplifiers) that produce heat.9. Do not defeat the safety purpose of the polarized or grounding-type plug. A polarized plug has two blades with one wider than the other. A grounding-type plug has two blades and a third grounding prong. The wide blade or the third prong are provided for your safety. If the provided plug does not fit into your outlet, consult an electrician for replacement of the obsolete outlet.10.Protect the power cord from being walked on or pinched, particularly at plugs, convenience receptacles, and the point where they exit from the apparatus.11.Use only attachments/accessories specified by the manufacturer.12.Unplug this apparatus during lightning storms or when unused for long periods of time.13.Refer all servicing to qualified service personnel. Servicing is required when the apparatus has been damaged in any way, such as the power supply cord or plug is damaged, liquid has been spilled or objects have fallen into the apparatus, the apparatus has been exposed to rain or moisture, does not operate normally, or has been dropped.14.Connect the power plug to an outlet having a safety ground connection. The power plug must be readily accessible so that the apparatus can be easily disconnected from the AC power.
Important Safety InstructionsiiiIMPORTANT SAFETY INSTRUCTIONS (continued)15.The receiver is still connected to the AC power whenever it is plugged in to a live power outlet, even if it is turned off using the remote control or front panel buttons.16.No flame sources, such as lit candles, should be placed on the equipment.17.Apparatus shall not be exposed to dripping or splashing and no objects filled with liquids, such as vases, shall be placed on the apparatus.18.Use only the power supply provided with the receiver. Unplug the receiver power cord by gripping the power plug, not the cord. 19.Do not overload wall outlets or extension cords; this can result in a risk of fire or electrical shock. 20.Never insert objects of any kind into the receiver through openings, as the objects may touch dangerous voltage points or short out parts. This could cause fire or electrical shock.21.Do not locate the antenna near overhead light or power circuits, or where it can fall into such power lines or circuits. When installing the antenna, take extreme care to avoid tocuhing such power lines or circuits, as contact with them can be fatal.22.Do not attempt to service the receiver yourself, as opening or removing covers may expose you to dangerous voltage, and will void the Limited Warranty. Refer all servicing to authorized service personnel.23.Unplug the receiver from the AC power outlet before cleaning.24.Do not place the receiver in an enclosure such as a cabinet without proper ventilation.25.Do not install the receiver in any area where the temperature can be less than 40°F or more than 113°F. If the receiver is cold to the touch, do not plug it in immediately. Let it sit unplugged at room temperature for at least 45 minutes before plugging it in.26.Do not expose the remote control batteries to excessive heat or fire.
Important Product InformationivIMPORTANT SAFETY INSTRUCTIONS (continued)27.Use an outlet that contains surge protection or ground fault protection. During an electrical storm or when the receiver is left unattended and unused for long periods of time, unplug the power cord from the wall outlet, disconnect the lines between the reeiver and the antenna, and disconnect the telephone line. These actions provide additional protection against damage caused by lightning or  power line surges. 28.Tighten all the coaxial cable connections only by hand. If you use a wrench, you may overtighten the connections and damage the equipment. CAUTION—To reduce the risk of fire, use only No. 26 AWG or larger telecommunication line cord.PROPER CARE OF YOUR EQUIPMENT• Always handle the receiver carefully. Excessive shock and vibration can damage the hard drive.• If the receiver is turned on and needs to be moved, always turn the receiver off, unplug it, and then let it sit idle for at least 30 seconds before moving it.• The use of accessories or attachments not recommended by the receiver manufacturer will void the Limited Warranty.• Do not stack the receiver on top of or below other electronic devices, as this can cause heat build-up and vibration.On some TVs, the presence of fixed images for extended periods of time may cause them to be permanently imprinted on the screen. Consult your TV user guide on whether this is a problem for your TV, what operating/viewing restrictions apply to avoid this problem, and associated TV war-ranty coverage.
Proper Care of Your EquipmentvIf this equipment does cause harmful interference to radio or television reception, which can be detremined by turning the equipment off and on, then the user is encouraged to try to correct the interference by one or more of the following measures:• Reorient or relocated the antenna assembly.• Increase the separation between the equipment.• Connect the equipment into an outlet on a circuit different from that to which the DISH receiver is connected.• Consult the dealer or an experienced radio/TV technician for help.Note to Installer: This reminder is provided to call the satellite TV system installer's attention to the guidelines for properly grounding the system in accordance with the National Electrical Code (NEC)® as referenced in Articles 250, 810 and 820. These sections cover the conductor insulation, material, size, length and connection requirements.Example of Antenna GroundingAntenna Lead in WireAntenna DischargeUnit(NEC Section 810-20)Ground ClampGround ClampGroundingConductors(NEC Section 810-21) ElectricServiceEquipmentPower Service GroundingElectrode System(NEC Art. 250, Part H)National Electrical Code, 2008
1Getting More HelpGetting More Help•FINDING MORE INFORMATION•TROUBLESHOOTING
2Finding More InformationGetting More HelpFINDING MORE INFORMATIONHow to get help:• If your new High-Definition Hopper 2.0 satellite receiver is not yet paired with at least one remote control, you need to pair the two together to access various forms of on-screen user assistance. See Remote is not working on page 9.• For more information on how to use your remote controls, refer to the Quick Reference Guide that came with your Hopper 2.0 receiver. • You can operate many of the features of your Hopper 2.0 receiver using the front-panel controls, too. Buttons on the front panel include MENU, INFO, SYS INFO, JUMP, LOCATE REMOTE and RESET.• On the Main Menu (accessed by pressing MENU on your paired remote control or touching MENU on the front panel), a Help tile is displayed. Selecting this tile accesses a Help area where you can browse the on-screen user manual, try out the interactive help application, or search for help on any topic for Hopper 2.0 receiver and remote controls. Most information a user needs is available in this area on your receiver.• Beginning on the next page, this guide provides tips for troubleshooting certain kinds of issues you might encounter with your satellite TV system. Also, you can find more information on your new satellite receiver and its remote controls at www.dish.com. Click on Support.
Troubleshooting3Getting More HelpTROUBLESHOOTINGMessage NumbersMessage Number Possible Reason(s) What to Do001 There may be a problem with the multi-dish switch.Check the coaxial cables and their connections to and from the multi-dish switch. Make sure that all required cables are in place, and check that all cable connections are tight and dry (for outdoor cables). Run the Check Switch test, as follows:1. Press MENU on your remote control or the  receiver’s front panel.2. Select the Settings tile, and then scroll down to Point Dish. 3. Access the Point Dish screen and select Check Switch to run the test. If this does not work, call the Customer Service Center at 1-800-333-DISH (3474) for help.002Heavy rain, snow, or cloud cover may be interfering with satellite signal transmission, or there may be other interference.• Note the local weather conditions. Remove any snow or other debris which may have collected on the satellite dish. Make sure that the satellite dish has a clear line of sight to the satellite. Check whether branches or leaves have grown into the line of sight of the dish.• Make sure that the satellite dish is aimed at the satellite. Check the strength of the signal using the Point Dish screen (select the Settings tile and scroll down to Point Dish). Consult with your installer in order to re-aim the dish, if necessary, to obtain the strongest possible signal.003, 004The wrong type of coaxial cable may be used in the system, or the total run length of cable may be too long. There may also be a problem with the multi-dish switch.• Make sure the system uses RG-6 coaxial cable; if not, contact your dealer or installer.• Check the dish-to-receiver cable run length. If your system is labeled DISH Pro, the cable can be as much as 200 feet in length. Check the coaxial cables and their connections to and from the multi-dish switch. Make sure that all required cables are in place, and check that all cable connections are tight and dry (for outdoor cables and connections). If this does not work, run the Check Switch test, as follows:1. Press MENU on your remote control or the receiver’s front panel.2. Select the Settings tile, and then scroll  down to Point Dish.3. Access the Point Dish screen and select Check Switch to run the test.
4TroubleshootingGetting More Help005The receiver may not have received authorization for programming yet. The satellite dish may have moved so that it is no longer picking up the satellite signal. The cable connections may have loosened or have moisture inside. There may be an interruption of the satellite signal.• If you have just authorized your receiver (added it to your account), then wait a few minutes to see if the message has been removed. Make sure that all required cables are in place, and check that all cable connections are both tight and dry (for outdoor cables and connections).• Make sure that the satellite dish has a clear line of sight to the satellite(s). Check whether branches or leaves are in the line of sight of the dish antenna. • Check that the Signal Strength bar on the Point Dish screen (select the Settings tile,  scroll down, and select Point Dish) is green and displays the word Locked. If not, the contact your installer to re-aim the satellite dish, if necessary, to obtain the strongest possible signal. • If you have not authorized the receiver, then call the Customer Service Center at 1-800-333-DISH (3474) and do so.006The receiver may not be connected to an active telephone line or broadband Internet connection.You must keep each installed receiver connected to an active telephone line or broadband Internet connection at all times.011, 012Viewers in specific areas are prohibited from watching certain programs. For example, viewers who live close to a particular football stadium may be prohibited from watching football games that are played in that stadium.Program providers, not DISH Network, specify which programs are blacked out for specific areas.013, 014 You may have tried to tune to a program on a channel to which you don’t subscribe.• You must subscribe to a channel before you can tune to a program on that channel. Call the Customer Service Center at 1-800-333-DISH (3474) to subscribe to one (or more) new channel(s).• If you subscribe to the channel and you see these messages, then press the red reset button behind the small door on the left side of the receiver’s front panel and see if the message has been removed after the reset is complete.• If you believe this message was displayed by mistake, call the Customer Service Center at 1-800-333-DISH (3474).Message Number Possible Reason(s) What to Do
Troubleshooting5Getting More Help015You may have just plugged in the receiver and it is acquiring the satellite signal, or the receiver may have temporarily lost the signal.• Wait a few minutes to see if the message goes away. Make sure that all required cables are in place, and check that all cable connections are both tight and dry (for outdoor cables and connections).• Make sure that the satellite dish has a clear line of sight to the satellite(s). Check whether branches or leaves have grown into the line of sight of the dish antenna.• Check that the Signal Strength bar on the Point Dish screen (select the Settings tile,  scroll down, and select Point Dish) is green and displays the word Locked. If not, then contact your installer to re-aim the satellite dish, if necessary, to obtain the strongest possible signal.059You may have tried to close an installation menu without having performed the Check Switch test on the Point Dish screen.If your setup includes a multi-dish switch, then run the Check Switch test, as follows:1. Press MENU on your remote control or the  receiver’s front panel.2. Select the Settings tile, scroll down, and then select Point Dish. 3. Access the Point Dish screen and select Check Switch to run the test.060You may have aimed the satellite dish at one satellite, but selected the option for another satellite on the Point Dish screen.• Make sure that you have selected the option for the correct satellite on the Point Dish screen (select the Settings tile, scroll down, and select Point Dish).• Make sure that the cable(s) for the satellite that you have selected is connected to the LNBF that receives signals from that satellite. Contact your installer to re-aim the satellite dish, if necessary, at the correct satellite(s).061 The receiver is downloading current software.It is very important for the receiver to get the latest software to function properly. The satellite download may take several minutes. Do not disturb or unplug the receiver during this time.074The receiver gives you three chances to enter the correct password. If you fail to do so, the receiver “times out” and will not allow you to try again for several minutes.Wait a few minutes and then try again to enter the password.Note: The “time out” feature is designed to prevent someone from trying password after password until he or she happens to guess the right one and then gains unauthorized access to the receiver.Message Number Possible Reason(s) What to Do
6TroubleshootingGetting More Help 079, 080You may not have connected the receiver to an active telephone line or broadband Internet connection, or the telephone line or Internet connection may be defective.Connect the receiver to an active telephone line or broadband Internet connection. Make sure that the telephone line or Internet connection to which you connect the receiver is working properly.Note: To order Pay-Per-View programs, you must keep each receiver connected to an active telephone line or broadband Internet connection. The receiver uses the telephone line to make toll-free calls (when the phone is not in use) or the Internet connection to send purchase information to DISH Network.093 You may have selected the Reset to Factory Defaults option. If you want to reset the receiver to its factory default settings, select Yes. If you do not want to reset the receiver to factory defaults, select No.Message Number Possible Reason(s) What to Do
Troubleshooting7Getting More HelpSignal loss on all channels1. Ensure you have selected the correct input/source or channel number on your TV for watching digital channels using your satellite receiver. If you are using the optional USB OTA tuner module and missing local channels, refer to Missing Over-The-Air channels (optional USB Tuner). 2. Try a different satellite TV channel. Sometimes just one channel may be experiencing a problem, while other channels are fine. If just one channel seems to have the problem, go to the next section, Signal loss on one or some channels. If all channels are experiencing the problem, then continue following Step 3.3. Verify that the coaxial cables connecting to your receiver are hand tight, and are properly connected to your DISH Network antenna outside.4. Verify that your DISH Network antenna equipment is still in place and does not appear to have been damaged or moved. If the antenna is out of proper alignment, then you may see signal-loss messages on some or all of your channels. 5. Try resetting your satellite receiver. Press the red reset button behind the small door on the left side of your receiver’s front panel and wait a few seconds. You can also press the POWER button on the remote control to turn it off (in standby mode), then unplug the satellite receiver from the AC power outlet for about 30-45 seconds, plug it back in, and select POWER again to turn it back on (out of standby mode).6. Check the Signal Strength bar for your satellite channels using the Point Dish screen and changing satellite locations and transponders, as needed. Satellite TV transponders with a signal strength below about 40 are likely to experience some loss of video signal.7. Your antenna may need to be adjusted. Contact DISH Network or your local retailer, as applicable, for assistance. If you want to try adjusting the antenna yourself, refer to any instructions accompanying the antenna, or to www.antennaweb.org for over-the-air antenna recommendations and general information on OTA antenna alignment.Signal loss on one or some channels1. Try a different channel. Sometimes just one channel may be experiencing a problem, while other channels are fine. If all channels are experiencing the problem, go to the previous section, Signal loss on all channels. If just one channel or a few channels seem to have a problem, then continue with Step 2 on the next page.
8TroubleshootingGetting More Help2. Press the GUIDE button twice and check if the Program Guide is set to show All Channels or My Channels. If another Favorites list, such as My HD Channels, is being displayed, then certain channels may appear to be missing. If you try to access channels not shown in the current Favorites list, then the receiver skips over them.3. Try resetting your satellite receiver. Press the red reset button behind the small door on the left side of your receiver’s front panel and wait a few seconds. You can also press the POWER button on the remote control to turn it off (in standby mode), then unplug the satellite receiver from the power outlet for at least 30 seconds, plug it back in, and select POWER again to turn it back on (out of standby mode).4. If you are using the optional digital USB tuner and missing local channels, see Missing Over-The-Air channels (optional USB Tuner). Missing Over-The-Air channels (optional USB Tuner)1. Your Hopper 2.0 receiver is able to tune satellite TV channels and local digital channels (with an optional USB OTA tuner). It is possible that some missing channels are channels still broadcasting in analog.2. You can go to the website www.antennaweb.org to find out which local channels in your area are currently broadcasting a digital signal. If the channel you are missing is still broadcasting in analog, you can view the channel using a TV’s analog tuner. To view any analog channels, you may need to change input/source or channels on your TV using the TV’s remote control. When you want to return to watching digital channels using your Hopper 2.0 receiver, change back to the correct input/source or channel on your TV. 3. Check the Signal Strength bar for Over-The-Air (OTA) channels; select  MENU and then the Main Menu’s Settings tile, scroll down, and select Local Channels, then the option to Add a New Channel. Find a channel experiencing problems and verify it has a strong signal. OTA channels with an indicated signal strength below approximately 60 are likely to experience some video loss.4. Your antenna may need to be adjusted. Contact your local installer or antenna retailer, as applicable, for assistance. If you want to try adjusting the antenna yourself, refer to any instructions accompanying the antenna, or visit the  www.antennaweb.org website for over-the-air antenna recommendations and general information on antenna alignment.
Troubleshooting9Getting More HelpRemote is not working1. Verify the batteries are installed according to the diagram inside the remote control’s battery compartment.2. Try changing the batteries in the remote control. Batteries should all be of the same type (for example, alkaline or lithium) and size.3. Confirm your remote is in the correct mode for the device you want to control. For example, to control your satellite receiver, press the SAT  mode button on the remote before the function you want performed.4. Make sure you are using the correct remote control provided for your Hopper 2.0 receiver. These remotes use radio frequency (RF) signals to operate your receiver. Other equipment is usually controlled using infrared (IR) light signals. If you have programmed the remote to control your equipment in other device modes, then the remote control must have a clear line of sight to the front of these other devices.5. Check that the remote-control antenna is hand tightened onto the  Hopper 2.0 back panel connector. The small antenna should not be touching other cables, connectors, or equipment. Adjusting this  antenna to point straight up usually attains the best performance. When pairing a remote, hold it within a couple of feet of this remote antenna.6. Verify that you have paired your remote control to your Hopper 2.0 receiver. Select SYSTEM INFO on the receiver front panel. With the System Info screen displayed, any paired remote control(s) should be listed on the right-hand side of the screen. If your remote is not listed, hold it close to the remote antenna attached to the back of the receiver, and then press and release the SAT mode button. Check several buttons to see if your remote is now paired to and controls your Hopper 2.0 receiver. 7. If your remote still doesn’t work, select Un-pair on the System Info screen and listen for the confirmation tone. After you hear it, you can press the SAT button to pair the remote again. If you do not hear the tone, continue with the next step to un-pair the remote control manually.8. If your remote is not listed or cannot be un-paired on the System Info screen, then do the following:- Access the System Info screen, as in Step 6 above- Press and hold down the SAT button for a few seconds until all the device-mode buttons light up, and then release SAT.- Press the RECALL and 0 (number zero) buttons at the same time (SAT lights up), and then release them.
10TroubleshootingGetting More Help- Press the SEARCH button (SAT lights up).- Press the VOL+ button (SAT lights up) - Press the STOP button (SAT lights up, then un-pair tone is heard).- Go back to Step 6 and repeat steps to re-pair your remote control.Forgot password for Parental Controls1. If you have forgotten your existing password, you must call 1-800-333-3474 (DISH) with your Receiver CA ID number to get more assistance. Locate the Receiver ID number by selecting SYSTEM INFO on the front panel, or alternately, by pressing the MENU button on your remote twice. You can also view detailed information by selecting the Settings tile, scrolling down, and  then selecting the System Info tile. Write down the Receiver ID number (after the letter R and before the dash).2. To reset your password, press MENU to access the Main Menu, select the Settings tile, then select Parental Controls, and then choose the  Edit Password option. When prompted for your old password, you must re-enter your existing password before you can enter and confirm a new password. If you have forgotten your existing password, see the preceding Step 1.Parental Controls issues1. If you have set up parental controls (for example, blocking programs according to their ratings), but the programs are not being blocked, then you may not have locked your Hopper 2.0 receiver. See Parental Controls in the on-screen Manual under the Help tile.2. If you have forgotten your password and therefore cannot unlock your receiver, then see Forgot password for Parental Controls.Program Guide issues1. If you try to display future programs in the Electronic Program Guide (EPG), but are unable to find the program schedule you are looking for, then first try scrolling the guide out far into the future until a guide-information update is triggered. You may also try displaying the Program Guide again later. By that time, periodic updates to the guide information may show the programs for the times you want.2. The Program Guide can display only programs that have not yet ended. The Guide cannot display a time or day earlier than the present.
Troubleshooting11Getting More Help3. If some channels are missing when you are using the Program Guide or Info banner, you may have locked the satellite receiver to hide adult channels, or you may have displayed a Favorites lists like the My HD Channels list instead of All Channels. To show the missing channels, unlock the Hopper 2.0 receiver (see the topics for Parental Controls in the on-screen Manual under the Help tile), or press GUIDE again and choose All Channels or a different Favorites list containing the channels (see Favorites in the on-receiver Help area). Timer issues1. If a program is locked (see Parental Controls in the Help area), you must enter your password first before you may create a timer for that program.2. If you have set up the maximum number of event timers, then your satellite receiver displays an error message when you try to set up an additional one, giving you the option of deleting an existing event timer.3. If you try to extend the end of an event timer and create a conflict with other timers’ start times, then an error message displays.4. If you stop or skip a timer that recurs, the next showing of the program  is not affected. To stop all occurrences, you must delete the event timer. (Timers set to record Once are automatically deleted after they occur.)5. If you set a timer that misses the beginning or end of a program, you may want to change the Start Early or End Late options for that  timer.Events not recording1. Ensure event timers that you want to record programs are listed as DVR (Digital Video Recorder) type timers, not Auto-Tune type timers.2. If you set up a recurring event timer, but it does not record one or more specific showings of the program, then double-check that you set the correct recurrence frequency for that timer (Weekly, Daily, Mon-Fri.).3. If you set up a timer to Record Series, ensure that you have selected the correct choice between Only New Episodes or New and Reruns.4. If you have several timers set for the same or overlapping time periods, then one or more may be skipped. Ensure that you have set the Priority of the recordings correctly. By default, new event timers are set with lower priority than existing timers, but that default can be changed. (Select the Settings tile, then Series Timer Defaults to change it.)
12TroubleshootingGetting More Help5. Press the DVR button on your remote three times, or select  Daily Schedule on the My Media screen, to see what specific events in the near future may be skipped due to timer conflicts. Events disappearing from Recordings list1. If you run out of space for more recordings on your satellite receiver, then existing recordings that are not protected are erased, starting with the oldest unprotected one, as needed, to make room for new recordings as they occur. You should be aware that certain timers you set up may match and record more events than you expected. To view timers scheduled to record events in the near future, press the DVR button on your remote three times, or select Daily Schedule on the My Media screen.2. If you do not want a recording to be deleted, select Protect on the screen for that recording.Network connectivity issues1. If your receiver is connected to the Internet, but you are having trouble accessing certain On Demand options or other Internet-based services from your receiver, then you may have a problem with your broadband Internet connection or home network. For more information on your receiver’s Ethernet connectivity and home networking options, see the dishnetwork.com website. Click on Support on the web page.2. Press MENU and select the Settings tile, then select Broadband Setup. On the Broadband Setup screen, verify that a valid IP address for your home network is listed. If the IP address seems to be invalid or is all zeroes, then select Reset Connection. 3. If the Connection Status is still Not Connected, or one or more items on the Broadband Setup screen say Failed, then troubleshoot your home network, router or gateway device, and broadband modem. See the installation instructions, user guides, help, and support information for the equipment on your home network. Ensure that your existing  computer(s) can access the Internet via this network.4. To connect your satellite receiver to your router or gateway device using a HomePlug-to-Ethernet adapter, like a SlingLink, plug the receiver and SlingLink directly into nearby non-switched, non-GFI power outlets and ensure that no halogen lights, power supply units or adapters are plugged into the same outlets. If you need to restart your router or gateway device, unplug your Hopper 2.0 receiver first, followed by the SlingLink(s), and then your router. Plug them back in in reverse order.
Troubleshooting13Getting More Help5. You may want to check with your Internet Service Provider (ISP) regarding Fair Access Policy (FAP) before using all your receiver’s Internet features. Some of these features may exceed usage limits. Caller ID issues1. If the Caller ID feature is not working, verify that you are currently subscribed to the Caller ID service from your phone service provider.2. Verify that your active telephone line is connected securely to the phone jack on the back of your satellite receiver using No. 26 or larger telecommunication line cord. 3. Check that you have the feature enabled on your receiver by pressing the MENU button on your remote, selecting the Settings tile, scrolling down, and then selecting Caller ID Settings. Telephone issues1. If you hear clicks or no dial tone when trying to make a voice call, the  satellite receiver may have been trying to send Pay-Per-View purchase information to DISH Network. The receiver will hang up automatically if it finds the telephone line is in use, allowing you to obtain a dial tone and try your call again. 2. If you try to send or receive a FAX or modem transmission when the satellite receiver is trying to send Pay-Per-View purchase information to DISH Network, the receiver will disconnect automatically. The original transmission may have been interrupted; if so, it will need to be re-sent after obtaining a new dial tone.
14TroubleshootingGetting More Help
viLIMITED WARRANTYThis Limited Warranty is a legal document. Keep it in a safe place. Remember to retain your Bill of Sale for warranty service! Any items returned without a copy of the Proof of Purchase will be considered out of warranty.What the Warranty CoversThis warranty extends only to the original user of the equipment and is limited to the purchase price of each part.EchoStar Technologies L.L.C. and its affiliated companies (“EchoStar”) warrant this system against defects in materials or workmanship as follows:•Labor: For a period of 1 year from the original date of purchase, if EchoStar determines that the equipment is defective subject to the limitations of this warranty, it will be replaced at no charge for labor. EchoStar warrants any such work done against defects in materials or workmanship for the remaining portion of the original warranty period.•Parts: For a period of 1 year from the original date of purchase, EchoStar will supply, at no charge, new or re-manufactured parts in exchange for parts determined to be defective sub-ject to the limitations of this warranty. EchoStar warrants any such replacement parts against defects in materials or workmanship for the remaining part of the original warranty period. Note: “Parts” means items included in this package, which may include the TV converter and remote control. It does not include other parts purchased separately. What the Warranty Does Not Cover•This warranty does not cover installation of the system. If applicable, such installation will be warranted under a separate installation agreement.•This warranty does not cover consumer instruction, physical setup or adjustment of any consumer electronic devices, remote control batteries, signal reception problems, loss of use of the system, or unused programming charges due to system malfunction.•This warranty does not cover cosmetic damage, damage due to lightning, electrical or tele-phone line surges, battery leakage, fire, flood, or other acts of Nature, accident, misuse, abuse, repair or alteration by other than authorized factory service, use of accessories not recommended by the TV converter manufacturer, negligence, commercial or institutional use, or improper or neglected maintenance.•This warranty does not cover equipment sold AS IS or WITH ALL FAULTS, shipping and handling, removal or reinstallation, shipping damage if the equipment was not packed and shipped in the manner prescribed, nor equipment purchased, serviced, or operated outside the continental United States of America.If You Need Assistance1 Call the customer support number at 1-800-333-DISH (3474) or visit our website at www.dish.com. Have the date of purchase and your receiver ID number available. To dis-play the receiver ID number, press the MENU on the remote control, select Settings, scroll down, and then select System Info. The Receiver ID begins with the letter R.2 A Customer Service Representative will assist you. If the Representative determines you should return any equipment, you will be given steps and an address for which to return your equipment. Whether under warranty or not, you will be responsible for the cost of ship-ping back the defective equipment.
Limited Warranty, cont’dvii3 Returned equipment must be packaged properly, using either the original shipping materials or other appropriate packaging. Include a copy of the Bill of Sale. Any items returned with-out a copy of the Proof of Purchase will be considered out of warranty. 4 Follow the instructions given to you by the Customer Service Representative when return-ing your equipment for service.Legal LimitationsREPLACEMENT AS PROVIDED UNDER THIS WARRANTY IS YOUR EXCLUSIVE REMEDY. EchoStar SHALL NOT BE HELD LIABLE FOR ANY INCIDENTAL OR CONSEQUENTIAL DAMAGES FOR BREACH OF ANY EXPRESSED OR IMPLIED WARRANTY ON THIS SYSTEM, NOR FOR ANY INCIDENTAL OR CONSEQUENTIAL DAMAGES RESULTING FROM THE USE OF, OR INABILITY TO USE, THIS SYSTEM. UNDER NO CIRCUMSTANCES SHALL EchoStar'S LIABILITY, IF ANY, EXCEED THE PURCHASE PRICE PAID FOR THIS SYSTEM. EXCEPT TO THE EXTENT PROHIBITED BY APPLICABLE LAW, ANY IMPLIED WARRANTY OF MERCHANTABILITY OR FITNESS FOR A PARTICULAR PURPOSE ON THIS SYSTEM IS LIMITED IN DURATION TO THE PERIOD OF THIS WARRANTY. EchoStar RESERVES THE RIGHT TO REFUSE TO HONOR THIS WARRANTY IF EchoStar DETERMINES ANY OF THE ABOVE EXCEPTIONS TO HAVE CAUSED THIS SYSTEM NOT TO HAVE PERFORMED PROPERLY. THIS WARRANTY SHALL BE VOID IF ANY FACTORY-APPLIED IDENTIFICATION MARK, INCLUDING BUT NOT LIMITED TO SERIAL OR CONDITIONAL ACCESS NUMBERS, HAS BEEN ALTERED OR REMOVED. THIS WARRANTY SHALL ALSO BE VOID IF THE TV CONVERTER HAS BEEN OPENED BY AN UNAUTHORIZED PERSON.If You Need Assistance1. Call the Customer Service Center at 1-800-333-DISH (3474). Have the date of purchase and either your customer account number, the receiver conditional access number, or the receiver model number ready. Display the System Info menu to find these numbers.2. A Customer Service Representative will assist you. 3. If the Representative determines you should return any equipment, you will be directed to call a Return Authorization representative. Before shipping any equipment, you must talk to a Return Authorization representative and must obtain a Return Authorization (RA) number.4. You will be given the appropriate address for which to return your equipment. Whether under warranty or not, you will be responsible for the cost of shipping back the defective equipment. For faster service, see the Advance Exchange Program below.5. Returned equipment must be packaged properly, using either the original shipping materials or the packaging in which the replacement equipment is shipped. Include a copy of the Bill of Sale. Any items returned without a copy of the Proof of Purchase will be considered out of warranty. Follow the instructions given to you by the Customer Service Representative.6. Write the RA number in large, clearly visible characters on the outside of the shipping box that you use to return the equipment. To avoid confusion and misunderstandings, ship-ments without an RA number clearly visible on the outside of the box will be returned to you at your expense.
xxAgreement on Internet Usage via Your ReceiverThe software contained in the receiver may reference, display, link to, and provide users access to web services, sites, and information located worldwide through the Internet. Because EchoStar Technologies and DISH Network have no control over such sites and information, we make no representations, warranties or guarantees as to such sites and information, including but not limited to: (a) the accuracy, availability, sequence, completeness, timeliness, copyright compliance, legality, content, validity, or quality of any such sites or informa-tion, or (b) whether using the software may result in locating unintended, inappropri-ate, or objectionable content.  Because some of the content on the Internet consists of material that is adult-oriented, restricted to viewers at least 18 years of age or the age of majority where you live, or otherwise objectionable to some people or viewers, under the age of 18, the results of using the software may automatically and unintentionally result in the generation or display of sites, links, or references to such objectionable and/or adult-oriented material. By using the software, you acknowledge that neither EchoStar Technologies L.L.C. nor DISH Network L.L.C. makes any representations, or warranties, or guarantees with regard to any sites or information displayed by or accessed by in connection with use of the software. EchoStar Technologies L.L.C., DISH Network L.L.C., their respective direct and indirect subsidiaries and parents, and the officers, directors, and shareholders of any of the foregoing companies shall not, directly or indirectly, be liable in any way to you or to any other person or entity for the content you receive using the software or for any inaccuracies, errors in, or omissions from the content. EchoStar Technologies L.L.C., DISH Network L.L.C., and their respective affiliates and licensors reserve the right to change, suspend, remove, or disable access to any services at any time without notice. In no event will EchoStar Technologies L.L.C., DISH Network L.L.C., their respective direct and indirect subsidiaries and parents, or the officers, directors, and shareholders of any of the foregoing companies be liable for the removal of or disabling of access to any such services. EchoStar Technologies L.L.C., DISH Network L.L.C., and their respective affiliates and licensors may also impose limits on the use of or access to certain services, in any case, and without notice or liability.
FCC Compliance, cont’dxxiFCC COMPLIANCEThe following text is extracted from Federal Communications Commission (FCC) regulations, as of the publication date of this Guide. Contact the FCC (see following) or your library for the complete text of the regulations.Telephone CommunicationThis equipment complies with Part 68 of the FCC rules and the requirements adopted by the ACTA. On the back panel of this equipment is a label that contains, among other information, a product identifier in the format US:AAAEQ##TXXXX. If requested, this number must be provided to the telephone company.A plug and jack used to connect this equipment to the premises wiring and telephone network must comply with the applicable FCC Part 68 rules and requirements adopted by the ACTA. A compliant telephone cord and modular plug is provided with this product. It is designed to be connected to a compatible modular jack that is also compliant, such as RJ-11. See installation instructions for details.The REN is used to determine the number of devices that may be connected to a telephone line. Excessive RENs on a telephone line may result in the devices not ringing in response to an incoming call. In most but not all areas, the sum of RENs should not exceed five (5.0). To be certain of the number of devices that may be connected to a line, as determined by the total RENs, contact the local telephone company. For products approved after July 23, 2001, the REN for this product is part of the product identifier that has the format US:AAAEQ##TXXXX. The digits represented by ## are the REN without a decimal point (e.g., 03 is a REN of 0.3). For earlier products, the REN is separately shown on the label.If this equipment causes harm to the telephone network, the telephone company will notify you in advance that temporary discontinuance of service may be required. But if advance notice isn't practical, the telephone company will notify the customer as soon as possible. Also, you will be advised of your right to file a complaint with the FCC if you believe it is necessary.The telephone company may make changes in its facilities, equipment, operations or procedures that could affect the operation of the equipment. If this happens the telephone company will provide advance notice in order for you to make necessary modifications to maintain uninterrupted service.If trouble is experienced with this equipment, for repair or warranty information, please contact DISH Network at 1-800-333-DISH (3474). If the equipment is causing harm to the telephone network, the telephone company may request that you disconnect the equipment until the problem is resolved.There are no user serviceable parts inside. Connection to party line service is subject to state tariffs. Contact the state public utility commission, public service commission or corporation commission for information.If your home has specially wired alarm equipment connected to the telephone line, ensure the installation of this equipment does not disable your alarm equipment. If you have questions about what will disable alarm equipment, consult your telephone company or a qualified installer.
xxiiCompliance Information StatementThis device complies with Part 15 of the FCC Rules. Operation is subject to the following two conditions: (1) this device may not cause harmful interference, and (2) this device must accept any interference received, including interference that may cause undesired operation.This equipment has been tested and found to comply with the limits for a Class B digital device, pursuant to Part 15 of the FCC Rules. These limits are designed to provide reasonable protection against harmful interference in a residential installation. This equipment generates, uses and can radiate radio frequency energy and, if not installed and used in accordance with the instructions, may cause harmful interference to radio communications. However, there is no guarantee that interference will not occur in a particular installation. If this equipment does cause harmful interference to radio or television reception, which can be determined by turning the equipment off and on, the user is encouraged to try to correct the interference by one or more of the following measures:•Reorient or relocate the receiving antenna.•Increase the separation between the equipment and receiver.•Connect the equipment into an outlet on a circuit different from that to which the receiver is connected.•Consult the dealer or an experienced radio/TV technician for help.Do not make changes or modifications to this equipment. This could void the user’s authority to operate the equipment.IF YOU NEED HELP1. Review the Hopper User Guide available at mydish.com/manuals2. On your Hopper, select the Help tile from the Main Menu.3. Visit mydish.com/chat for 24/7 support.4. Call the Customer Service Center at 1-800-333-DISH (3474).For additional information, please refer to the Residential Customer Agreement on page viii and available at mydish.com/legal. Printed in the United States of America.Product must be installed at least 20cm (~8 inches) from typical person locations per FCC RF exposure regulations. Operation of Wi-Fi on channels within 5150 - 5250 MHz is restricted to indoor use only.

Navigation menu