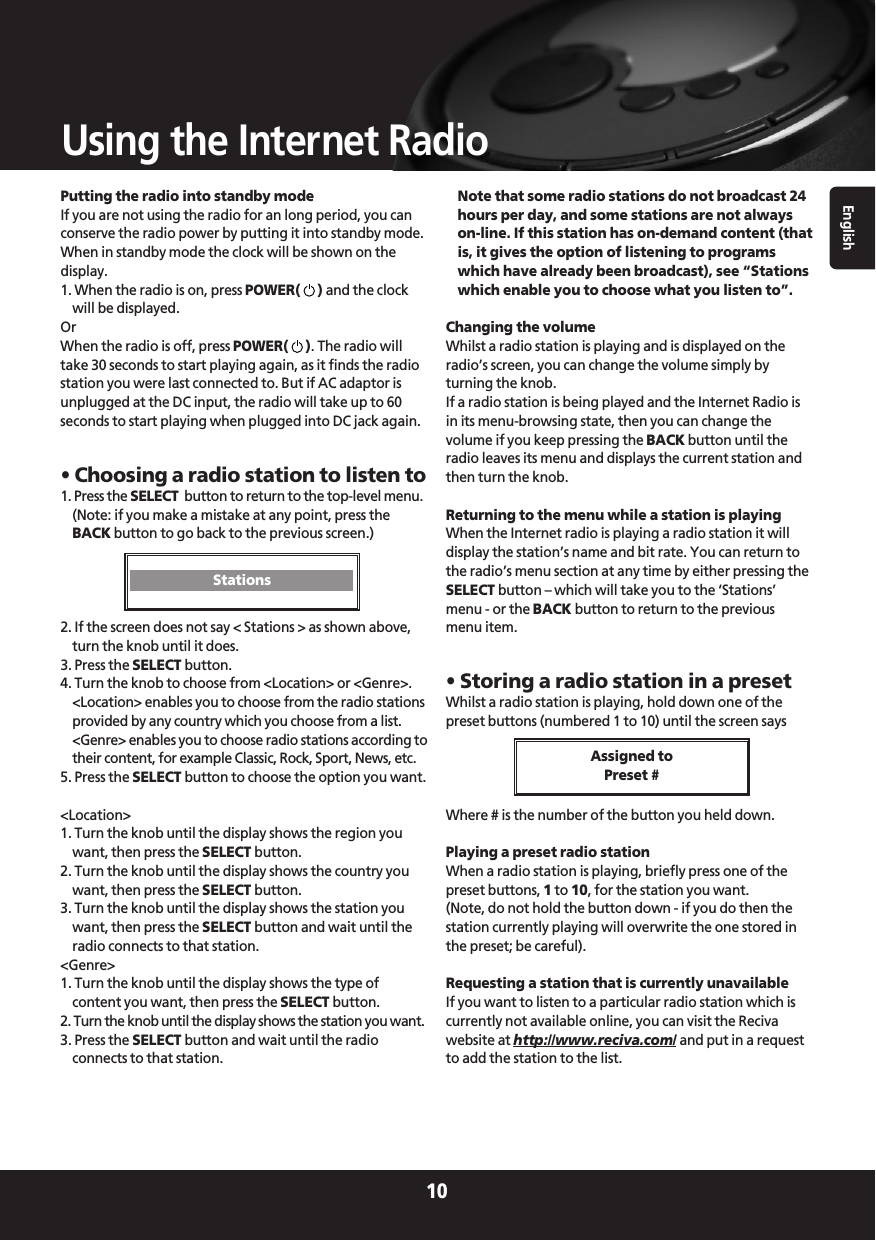
DM Technology IS07N Internet Radio device User Manual IB Starry7FM ENG 20071109
DM Technology Co., Ltd. Internet Radio device IB Starry7FM ENG 20071109
UserManual.wiki
>
DM Technology
>
IS07N User Manual
Users Manual
Navigation menu
Upload a User Manual
Namespaces
Wiki Guide
HTML
PDF
Info
Views
User Manual
Discussion / Help
Navigation

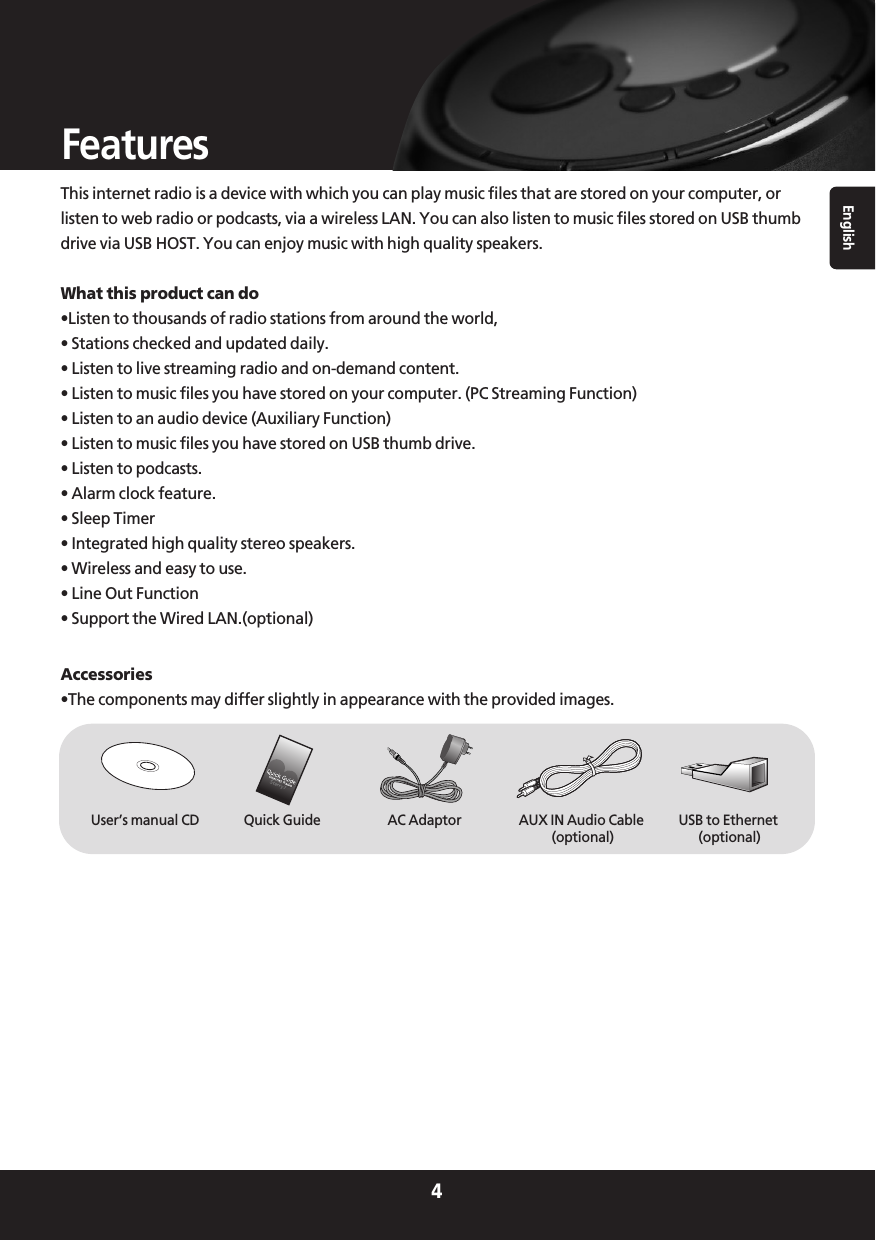

![English9Getting startedStep 3 Connect to the wireless networkWhen the ESSID for the access point you want to connectto is displayed on the screen, press the SELECT button.If your network is not configured to need an encryptioncode, the screen should say:Then:If the screen displays either:Or Then the network is using one of the encryption systems:Wired Equivalent Privacy (WEP) or Wi-Fi ProtectedAccess (WPA). You therefore need to enter the correctWEP or WPA code into the radio to get it tocommunicate with your network.Only the person who set up the network in the first placeknows this code; if that person is not you then you needto find out what it is.After 3 seconds, the display goes into the code entrymode. To enter the code, use the knob to select eachcharacter of the code in turn, pressing the SELECTbutton after each character. Note that WEP and WPA codes are sensitive to upper andlower case characters so you must enter them exactly.Make sure the character you want is shown in the centerof the display before you press SELECT.After the final character, use the knob to select the [END]character and press the SELECT button.The radio should now be able to connect to the network.Note. Before using the Internet Radio, You need tosetup the language in advance.You can select the language in the followingmenu. (Configure > Language)• Using the Wired LAN function(optional)This product supports the Wired LAN function using theexternal “USB to Ethernet dongle” optionally. The usershould use the external “USB to Ethernet dongle” thatprovided with your the Internet Radio.The user has to plug “USB to Ethernet dongle” in USBHOST jack before powering the unit.If you use the the external “USB to Ethernet dongle”, Youcan select the network in the following menu. (Configure> Network Config> Wired/Wireless) depending on yournetwork conditions.There are three selections in the network options as ‘Auto’,‘Wired Only’, ‘Wireless Only’.Connecting to networkNetwork OKEnter WEP KeyEnter WPA Key](https://usermanual.wiki/DM-Technology/IS07N/User-Guide-897123-Page-10.png)
![English14Using the Media PlayerThe Media Player allows you to play audio files (AAC, AIFF,AU, MP3, RM, WAV and WMA) and playlists (M3U) storedon a networked PC. It has been verified to work onWindows 2000, Windows XP and Windows vista.To be able to play music files that you have stored on yourPC via the media player, please ensure that:1. The music files are one of the allowed type of audio(AAC, AIFF, AU, MP3, RM, WAV and WMA).2. Music files are not ‘protected’.3. Music files are stored in the correct location on your PCand ‘File Sharing’ is switched on.4. Music files can be shared on the network.Note. This product don’t support the music files thatbuilt in DRM properties (Digital Rights Management).• Windows sharesSet up your Windows PC to allow the radio to accessyour audio files via Windows Shares1. Please ensure that your PC is available on the networkfor your Internet radio, then, using Windows Explorer,locate the folder where your audio files are stored. 2. Right click on the folder.3. Select ‘Properties’.4. Click on ‘Sharing’.5. Select ‘Share this folder on the network’ and ‘Allownetwork users to change my files’. Please note, do not try to make your ‘My Documents’ orany of its sub-folders (e.g. ‘My Music’) shareable.Locate the shared audio files using the radio1. Power up the radio.2. Wait for ‘Stations’ to be displayed on the radio, or pressthe BACK button repeatedly until ‘Stations’ is displayed.3. Turn the knob until the radio display shows 'MediaPlayer' and press SELECT.4. Tturn the knob until ‘Windows Shares’ is displayed andpress SELECT.5. Turn the knob until ‘Scan for PCs’ is displayed and pressSELECT again.6. The radio will now display ‘Finding PCs’. Once the radiohas finished, turn the knob to highlight the correct PCand press the SELECT. The radio will search for sharedfolders.7. Turn the knob to highlight the correct shared folder andpress SELECT.8. The radio will display 'File Scan…' as it scans through themedia files in the shared folder. If you have a large number of audio files this could takeseveral minutes to complete.9. Once the radio has finished scanning, it will display 'ByAlbum'. You can now browse through the scannedmedia files, which will now be organized ‘By Album’, ‘ByArtist’ and ‘Playlists’ – if available.Note that the first time the file scan is done a file called‘.reciva_media_cache’ is written to the folder where theaudio files are stored. This is in order to speed upsubsequent file scans.Listening to a single shared track1. Turn the knob until ‘By Artist’ is displayed and press theSELECT button.2. Turn the knob until the required artist is displayed andpress the SELECT button.3. Turn the knob until the required album name isdisplayed and press the SELECT button.4. ‘[Add to Queue]’ will be displayed. Turn the knob untilthe required track is displayed and press the SELECTbutton. The track will begin playing.Listening to a complete shared album1. Turn the knob until ‘By Artist’ is displayed and press theSELECT button.2. Turn the knob until the required artist is displayed andpress the SELECT button.3. Turn the knob until the required album name isdisplayed and press the SELECT button.4. ‘[Add to Queue]’ will be displayed, press the SELECTbutton. The album will begin playingQueuing up tracks for playback later1. Highlight the required track.2. Press the SELECT button. ‘Track Added To Queue’ willbe displayed.Queuing up albums for playback later1. Highlight the required album and press the SELECT button.2. Turn the knob until ‘[Add To Queue]’ is displayed andpress the SELECT button. ‘Tracks Added to Queue’ willbe displayed.](https://usermanual.wiki/DM-Technology/IS07N/User-Guide-897123-Page-15.png)
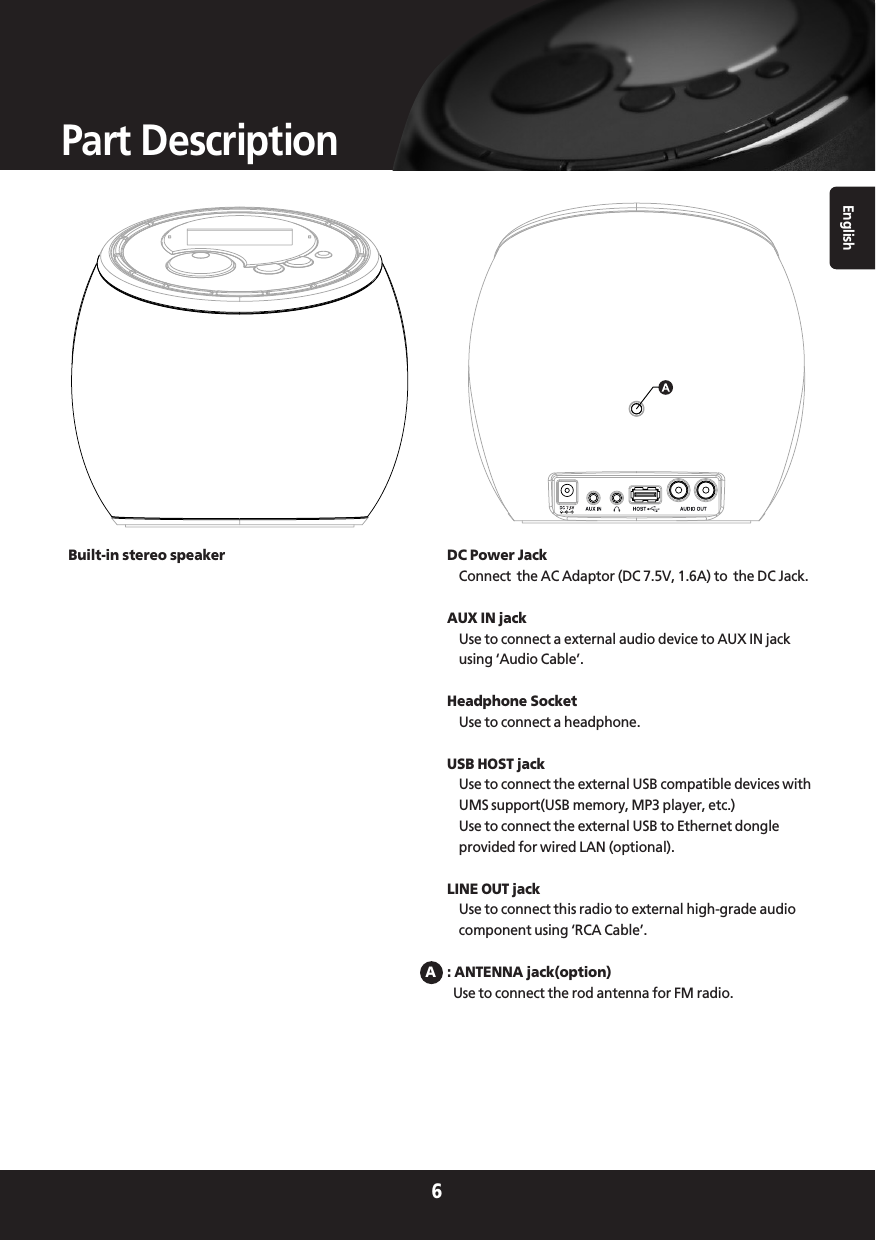
![English16Using the Media Playerc. Press SELECT and the radio will scan for all available UPnP servers. Note, this may take a few seconds for the radio tocomplete its scan and before the scan has completed, the radio will display ‘[Empty]’. The radio will continue todisplay ‘[Empty]’ if no UPnP servers are found.d. After a successful scan, select your UPnP server, by rotating the knob if there is more than one UPnP server, and thenpress SELECT (note, your radio will display ‘Access Denied’ at this stage).4. Your PC will now prompt you that a device has attempted to connect to your UPnP server. In order to allow the radioto have access to the media files, you will need to click the ‘Library’ tab from Windows Media Player 11 and select the‘Media Sharing…’ item to open the ‘Media Sharing’ window.Selecting ‘Media Sharing…’ for Windows Media Player 11:5. From the ‘Media Sharing’ window, the radio will be listed as an unknown device. Click on the unknown device listed, then click the ‘Allow’ button and then click ‘OK’.Allowing the Radio to Connect:](https://usermanual.wiki/DM-Technology/IS07N/User-Guide-897123-Page-17.png)
![English17Using the Media PlayerLocating and playing media files using the radio andUPnP1. Once the UPnP server is configured to share media fileswith the Internet radio, you can play the files by doingthe following on the radio.2. Keep pressing BACK to get to the radio’s top-level menuand then turn the knob to select ‘Media Player’.3. Press SELECT and then turn the knob to highlight ‘UPNPServers’.4. Press SELECT and the radio will scan for all availableUPnP servers. Note, this may take a few seconds for theradio to complete its scan and before the scan hascompleted, the radio will display ‘[Empty]’. The radio willcontinue to display ‘[Empty]’ if no UPnP servers are found.5. After a successful scan, select your UPnP server, byrotating the knob if there is more than one UPnPserver, and then press SELECT.6. The radio will now list the media categories availablefrom the UPnP server, e.g. ‘Music’, ‘Playlists’ etc.Turn the knob to select which category you wish tobrowse, press SELECT and turn the knob to highlight asub category and press SELECT again. For example, youcould select ‘Music’ and then ‘Album’.7. Turn the knob to highlight the media files that you wishto play and press SELECT.8. The radio will display ‘[Add to Queue]’, press SELECTand the radio will add the tracks to its queue and beginplaying them automatically.Browsing the list of tracks currently queued up forplayback1. Press the 4/BROWSE button. The currently playing trackname will be displayed.2. Turn the knob to see which tracks are queued up forplayback.3. If you want to jump to a particular place in the queuethen press the SELECT button when the requiredtrack is displayed.4. It is important to note here that media files scannedfrom the radio’s ‘Windows Shares’ function can also beadded to the radio’s queue.Queuing up UPnP tracks for playback later1. Highlight the required track.2. Press the SELECT button. ‘Track Added To Queue’ willbe displayed.Queuing up albums for playback later1. Highlight the required album and press the SELECT button.2. Turn the knob until ‘[Add To Queue]’ is displayed andpress SELECT button. ‘Tracks Added to Queue’ will bedisplayed.Controlling playback1. Use the 5/STOP button to stop playback.2. Use the 6/PLAY/PAUSE button to either pause acurrently playing track or to restart a currently pausedtrack or to restart a stopped track.3. Use the 7/SKIP TO PREVIOUS TRACK button to startplayback of the previous track in the queue.4. Use the 8/SKIP TO NEXT TRACK button to startplayback of the next track in the queue.Removing tracks from the queue1. Press the 4/BROWSE button. The currently playing trackname will be displayed.2. Turn the knob to select the track you want to removefrom the queue.3. Press and hold the 5/STOP button for 2 seconds.4. Turn the knob to highlight ‘Yes’ or ‘No’.5. Press SELECT to confirm whether you actually want todelete the track from the queue.6. If ‘Yes’ was selected then ‘Removed From Queue’ will bedisplayed.7. To remove all tracks from the queue, keep pressingBACK until the ‘Media Player’ menu item is selected,press SELECT and then turn the knob to select ‘ClearQueue’ and press SELECT again.](https://usermanual.wiki/DM-Technology/IS07N/User-Guide-897123-Page-18.png)