DOPPIO MOBILE SG402 3G Smart Phone User Manual San Francisco
DOPPIO MOBILE INTERNATIONAL LIMITED 3G Smart Phone San Francisco
UserManual.wiki
>
DOPPIO MOBILE
>
SG402 User Manual
User Manual
Navigation menu
Upload a User Manual
Namespaces
Wiki Guide
HTML
PDF
Info
Views
User Manual
Discussion / Help
Navigation


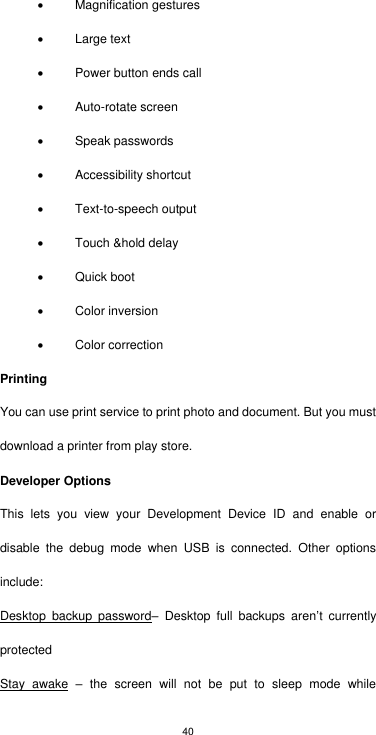
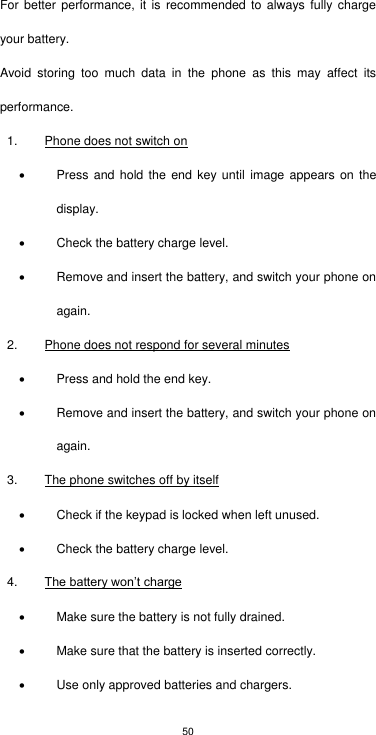
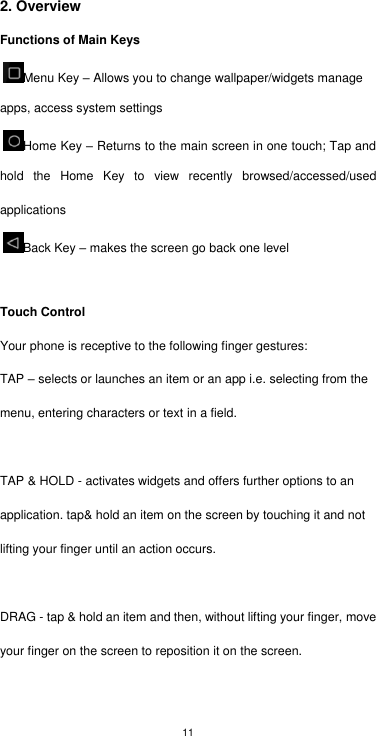
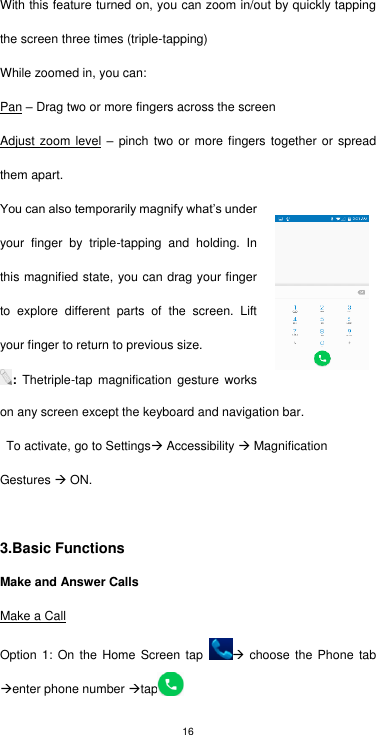
![9 Drag the icon to the right, depending on your screen lock pattern. : To set Screen Lock pattern, go to Menu Settings Security Screen Lock choose from options. Security Codes The mobile phone and the SIM card support several passwords in order to prevent misuse. When prompted to enter any of the codes mentioned below, type in the correct code and then confirm by tapping the OK key. To access the phone’s settings for these codes, go to Menu [ ] Settings Security Set up SIM card lock Choose which card to lock Lock SIM Card enter SIM PIN OK Personal Identification Number (PIN) Local network service providers furnish each SIM card with a unique set of codes including the PIN, PIN2 and PUK. If the PIN is incorrectly entered for three successive times, the SIM card will be locked. To unlock the SIM card, you need to enter the PUK or the Personal Unlocking Key.](https://usermanual.wiki/DOPPIO-MOBILE/SG402/User-Guide-3261097-Page-9.png)
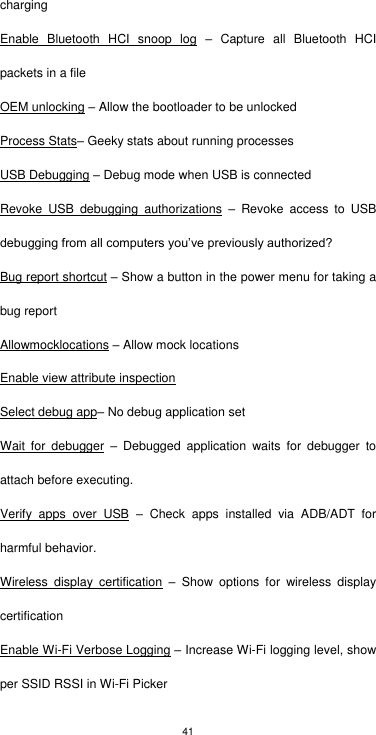
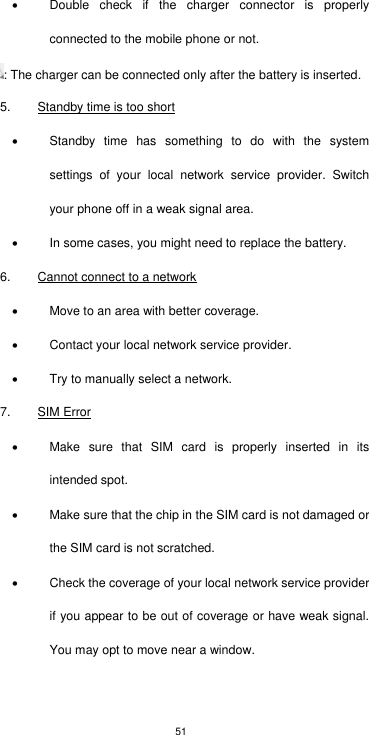
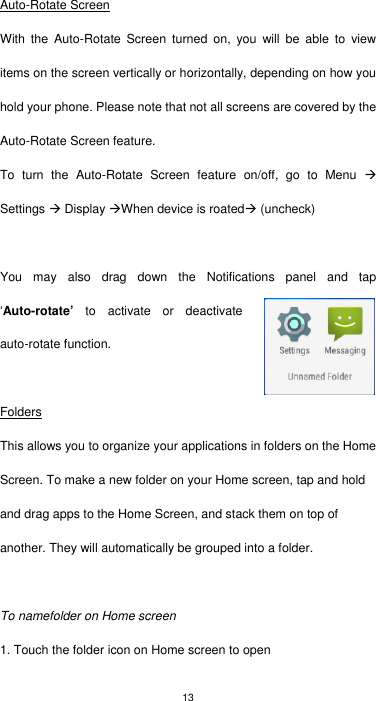
![12 SWIPE OR SLIDE - lets you scroll the screen up, down, left or right. It is also used when unlocking the screen. Lightly and quickly touch and slide your finger across the screen without pausing to avoid dragging an item instead. DOUBLE-TAP - lets you zoom in or out a screen Tap quickly twice on a webpage, map, or other screen to zoom. PINCH - lets you zoom in or out a screen by placing two fingers on the screen at once and pinching them together (to zoom out) or spreading them apart (to zoom in). Customize the Home Screen Change the Wallpaper: Tap and hold any clear part of the Screen Choose wallpaper from Gallery, Live Wallpapersand Wallpapers. Remove Items from Your Home Screen Tap Home Key to return to the Home Screen. Tap and hold the item to be removed and drag it towards the [X Remove] icon at the top of the screen.](https://usermanual.wiki/DOPPIO-MOBILE/SG402/User-Guide-3261097-Page-12.png)
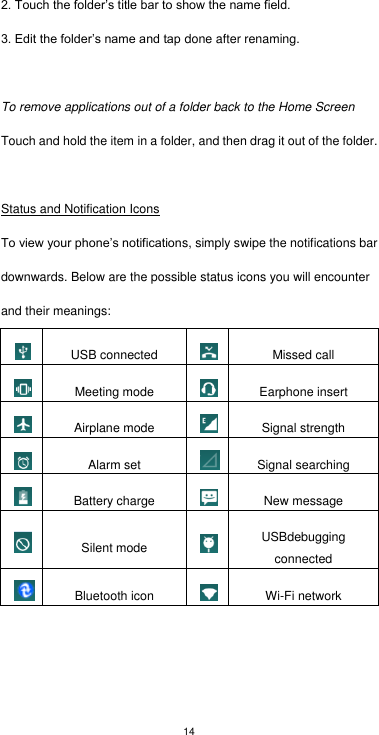
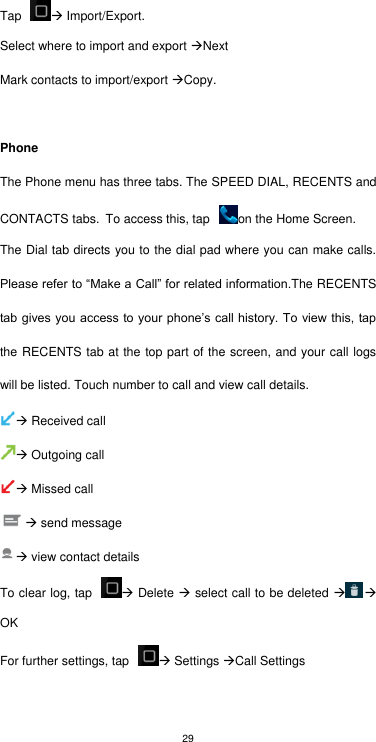
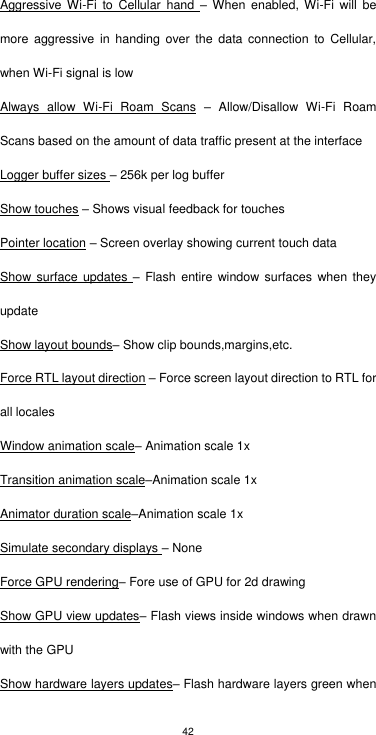
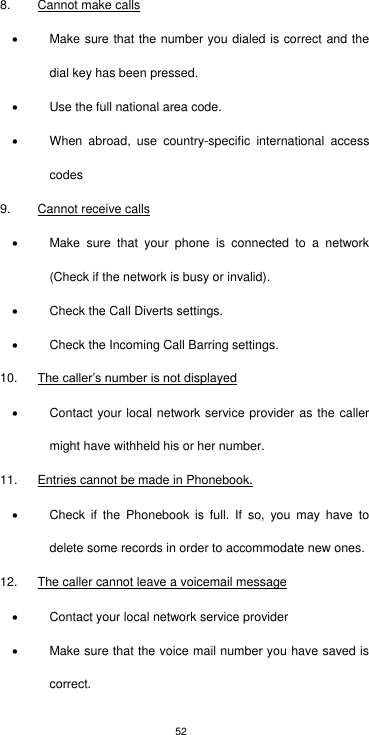
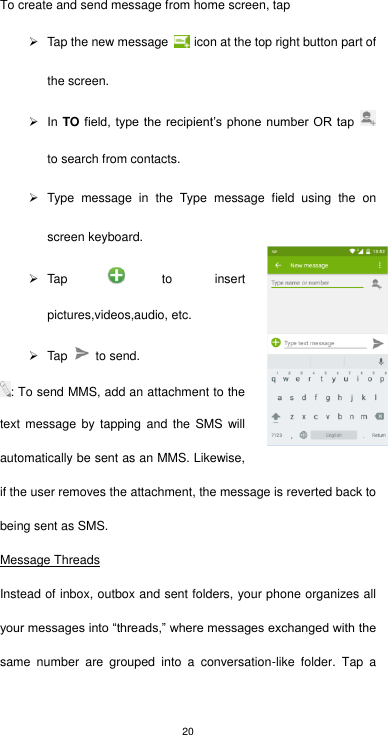
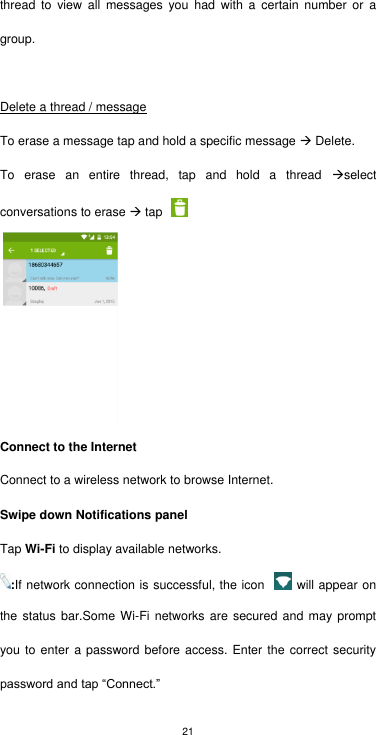
![19 Contacts You can add contacts on your phone and synchronize them with the contacts in your Google account or other accounts that support contact syncing.To manage your contacts,go to Contacts [ ]. - Create contact. Store the contact toSIM/phone tap Done. - Search. Type name or number of contact you wish to find Next. - Groups. Create group under account, tap Phone group’s name Type person’s nameDone. - Favorites. To add contacts to Favorites, tap chosen contact from list. Then, tap on the upper right corner of the screen -Send message Messaging](https://usermanual.wiki/DOPPIO-MOBILE/SG402/User-Guide-3261097-Page-19.png)
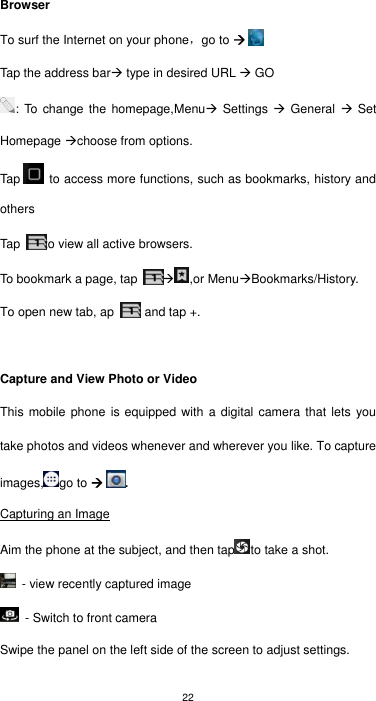
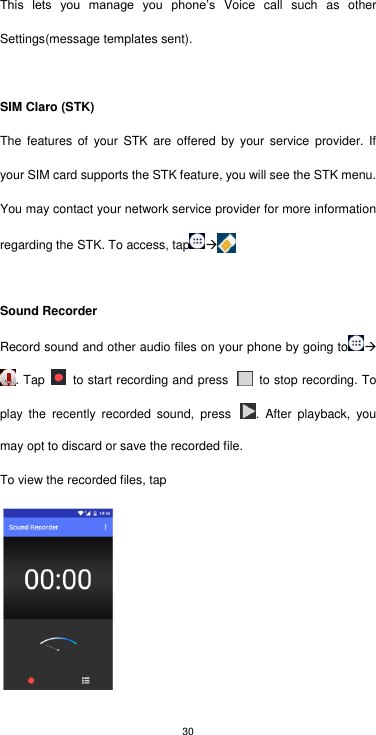
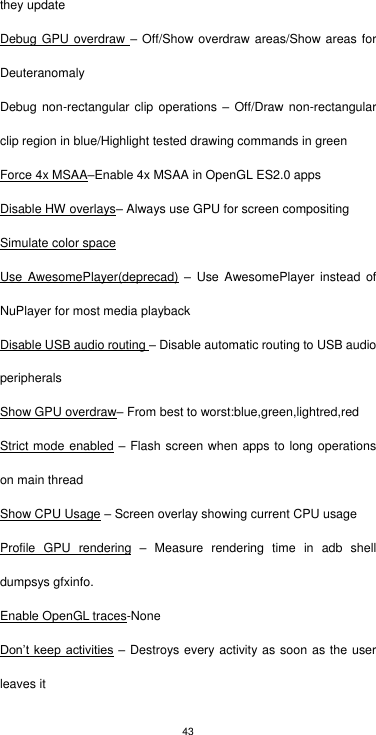
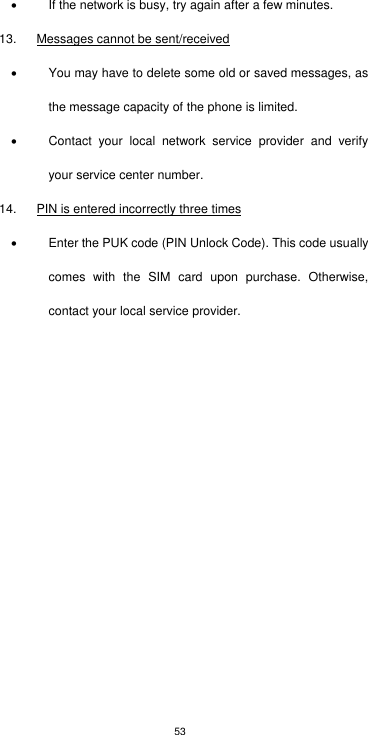
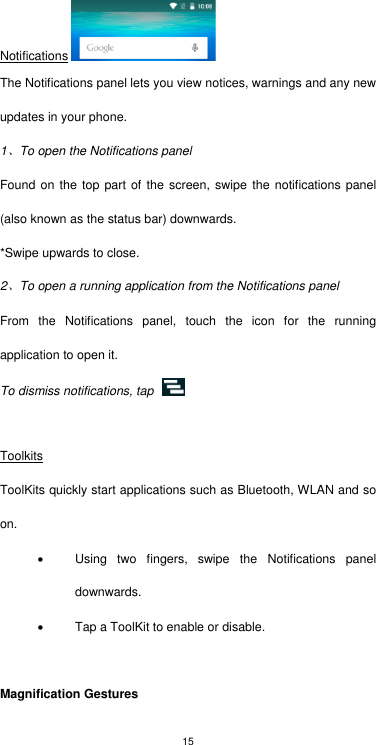
![23 - Panorama mode -Face beauty mode Tap for more camera settings Capturing a Video On Camera mode, tap Aim the phone at the subject. To start/stop recording, select . - switch to front camera. - launch settings. 4. Main Menu The Main Menu displays all the applications your phone has. You may access the Main menu by tapping on the Menu icon [ ] from the Home Screen. Browser Please see “Browser”. Calculator This mobile phone is equipped with a calculator to facilitate simple](https://usermanual.wiki/DOPPIO-MOBILE/SG402/User-Guide-3261097-Page-23.png)