DVS Korea VXA-4000 4 Inch Wide Touch Screen Navigation User Manual 4000 EN 070123 Page 1
DVS Korea Co., Ltd. 4 Inch Wide Touch Screen Navigation 4000 EN 070123 Page 1
UserManual.wiki
>
DVS Korea
>
VXA 4000 User Manual
Manual
Navigation menu
Upload a User Manual
Namespaces
Wiki Guide
HTML
PDF
Info
Views
User Manual
Discussion / Help
Navigation


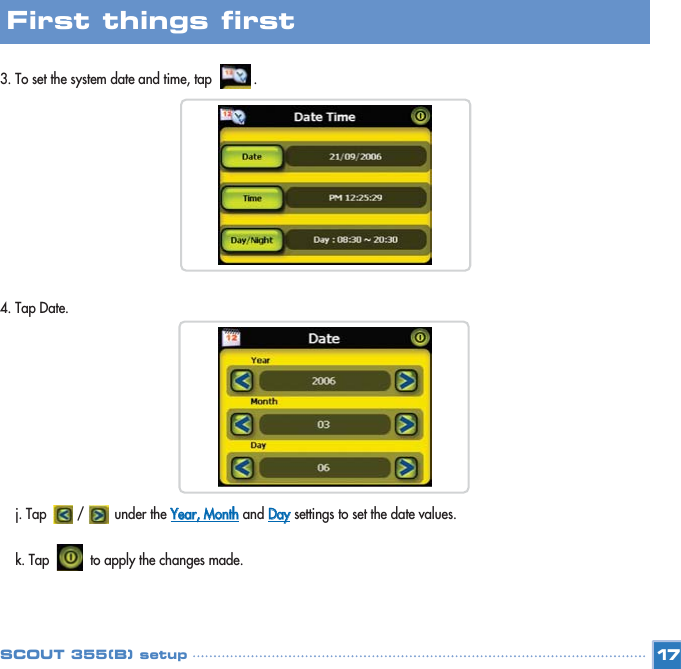
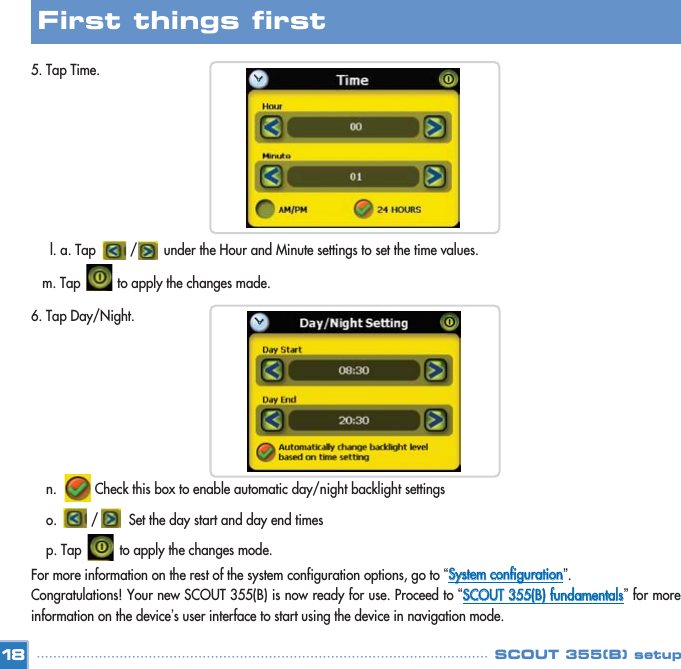


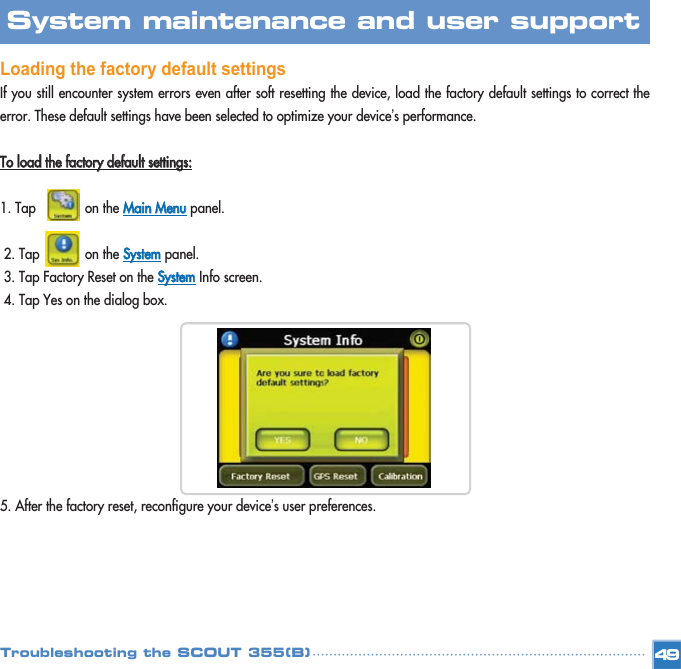
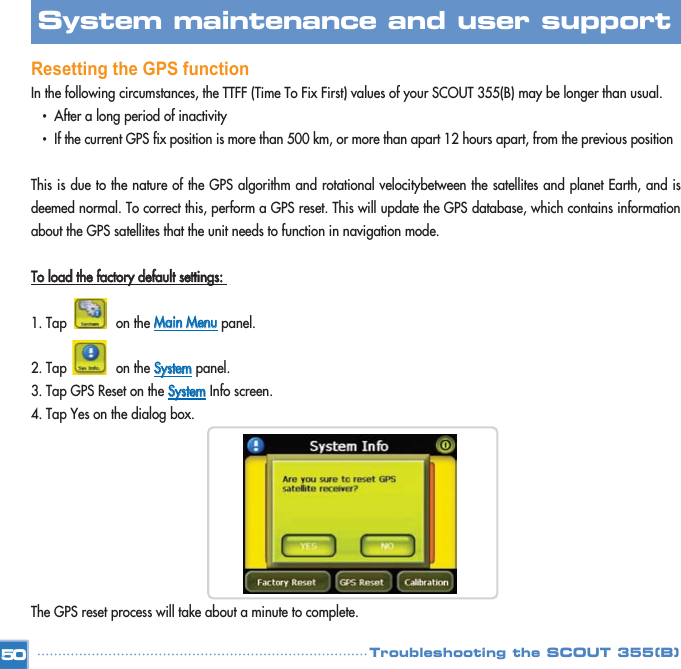
![Customer supportTechnical assistanceIf you encounter a problem with your SCOUT 355(B), review the following first: •“TTrroouubblleesshhoooottiinngg yyoouurr SSCCOOUUTT 335555((BB))”section •“FFAAQQss”section Product warrantyRefer to the SCOUT 355(B) Portable Navigator Customer support and Product InquiryThe product warranty period begins from the date of purchase. Please note your purchase date and keep your sales receipt to ensure proper warranty service.[Warranty service cannot be provided without a sales receipt clearly indicating the original purchase date from alicensed Plenio retailer.]CCuussttoommeerr SSeerrvviiccee CCeenntteerrYou can make an inquiries about the product through our call center or via email. Please check the customer service website for troubleshooting tips before calling or emailing. Also, please check and install the latest downloadable software patches from our website, and check backperiodically for product news and announcements. TEL : 408 970 3387FAX : 408 970 3390EMAIL : cs.dvs@dvs.co.krCUSTOMER SERVICE HOME PAGE : www.dvssales.com/support53System maintenance and user support Customer support](https://usermanual.wiki/DVS-Korea/VXA-4000/User-Guide-770307-Page-54.png)