Dayton PM90R2 Digital HRM Watch User Manual Deckblatt PM90 0409 indd
Dayton Industrial Co., Ltd. Digital HRM Watch Deckblatt PM90 0409 indd
UserManual.wiki
>
Dayton
>
PM90R2 User Manual
Users Manual
Navigation menu
Upload a User Manual
Namespaces
Wiki Guide
HTML
PDF
Info
Views
User Manual
Discussion / Help
Navigation
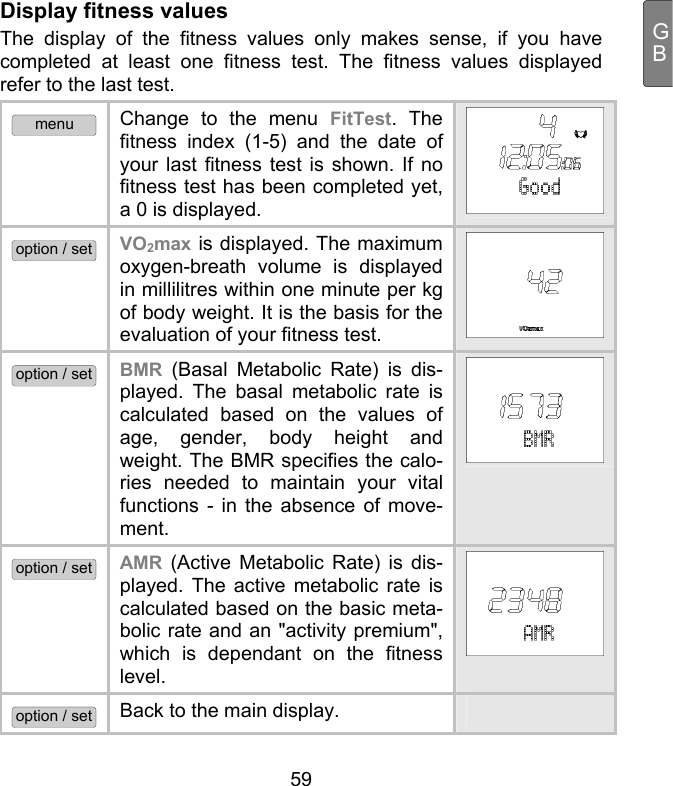
![18 Display 1 Top line 2 Middle line 3 Bottom line 4 Scale to display the current speed in [km/h] 5 Symbols Alarm clock is activated. Heart rate is being received. Training zone has been exceeded. Training zone has been underrun. Acoustic alarm for key tone and for exit from the training zone is activated. An explanation of the display abbreviations can be found in the list of abbreviates at the end of the operating instructions.](https://usermanual.wiki/Dayton/PM90R2/User-Guide-1606061-Page-20.png)


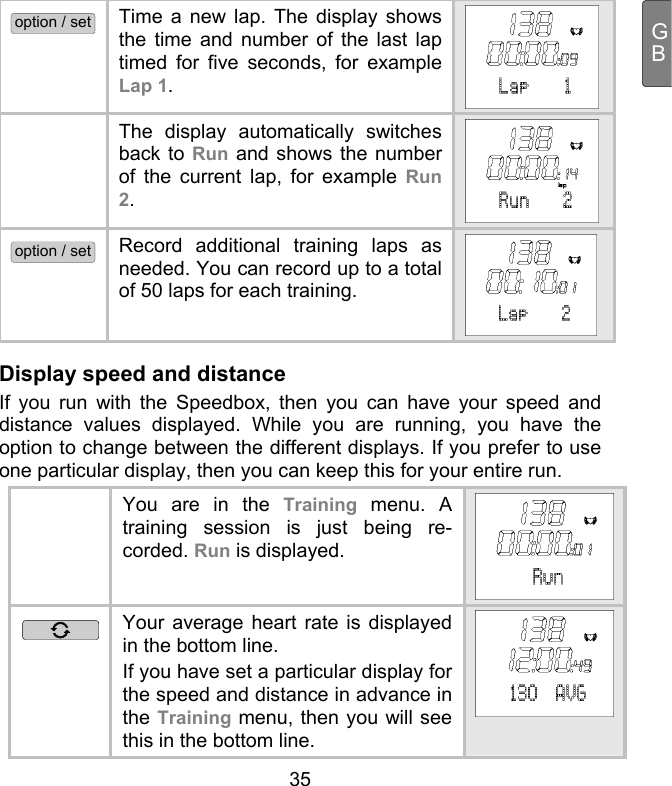
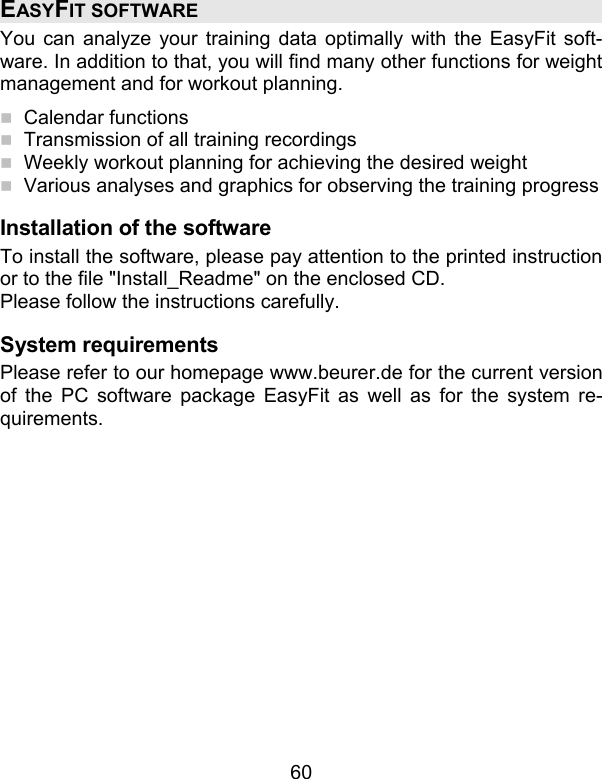
![30 Display speed and distance If you run with the Speedbox, then you can have your speed and distance values displayed. While you are running, you have the option to change between the different displays. If you prefer to use one particular display, then you can keep this for your entire run. menu Change into the Time menu. Your average heart rate is displayed in the bottom line. If you have set a particular display for the speed and distance in advance in the Time menu, then you will see this in the bottom line. Your total training time [Hrs:Min:Sec] is displayed in the bottom line. This display allows you to activate two functions: start / stop Start and stop the training time. option / set Stop a new lap. The dis-play shows the Lap symbol for 2 seconds. Your current laps and the lap time [Hrs:Min] are displayed in the bottom line. This display allows you to activate two functions:](https://usermanual.wiki/Dayton/PM90R2/User-Guide-1606061-Page-32.png)

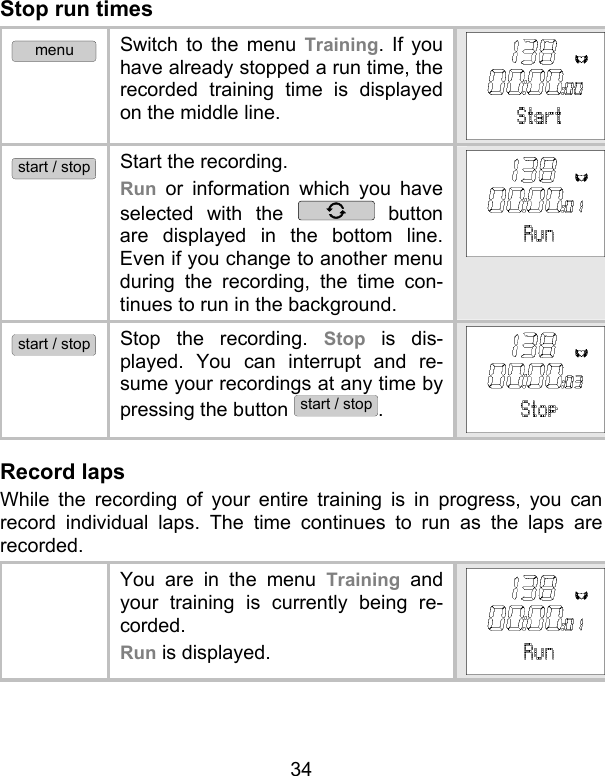
![36 Your current laps and the lap time [Hrs:Min] are displayed in the bottom line. Your current speed is displayed in the bottom line. The current frequency of your pace is displayed [steps/minute]. Your average speed is displayed in the bottom line. The distance previously covered is displayed in the bottom line. Back to the main display. Stop and store recording Please note that after finishing and saving, you can no longer have the data displayed in the Result and Lap Result menus. You are in the menu Training. You have just recorded a training. Stop is displayed. start / stop 5 sec Save the recording. You can store up to 10 hours. Hold Save is displayed.](https://usermanual.wiki/Dayton/PM90R2/User-Guide-1606061-Page-38.png)
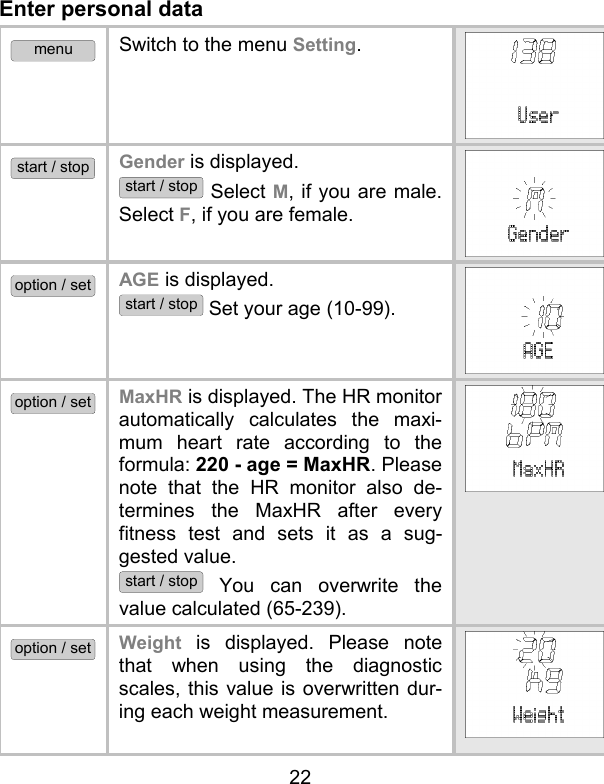
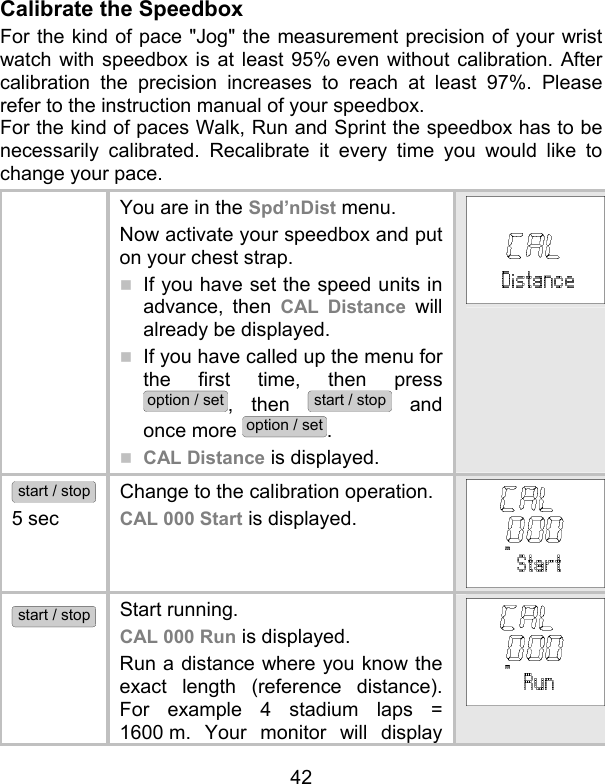
![39 GBSPEED AND DISTANCE Overview IMPORTANT: All settings in this menu only have an effect if the Speedbox is used! You can also use the Speedbox only to measure your pace. In the Spd’nDist menu you can: Change the speed units. In the basic setting [cm], you can change from [km/h] to [min/km], in the basic setting [inch] from [mi/h] to [min/mi]. Activate the automatic lap function and set a lap distance between 400 and 10,000 metres. Calibrate the Speedbox. With , information on the speed/distances can be displayed in the bot-tom line. As soon as you are in the Spd’nDist menu, your HR monitor changes automatically into the main display. This displays the current speed in the middle line. The bottom line displays the average heart rate. By pressing the button you can change the information in the bottom line.](https://usermanual.wiki/Dayton/PM90R2/User-Guide-1606061-Page-41.png)
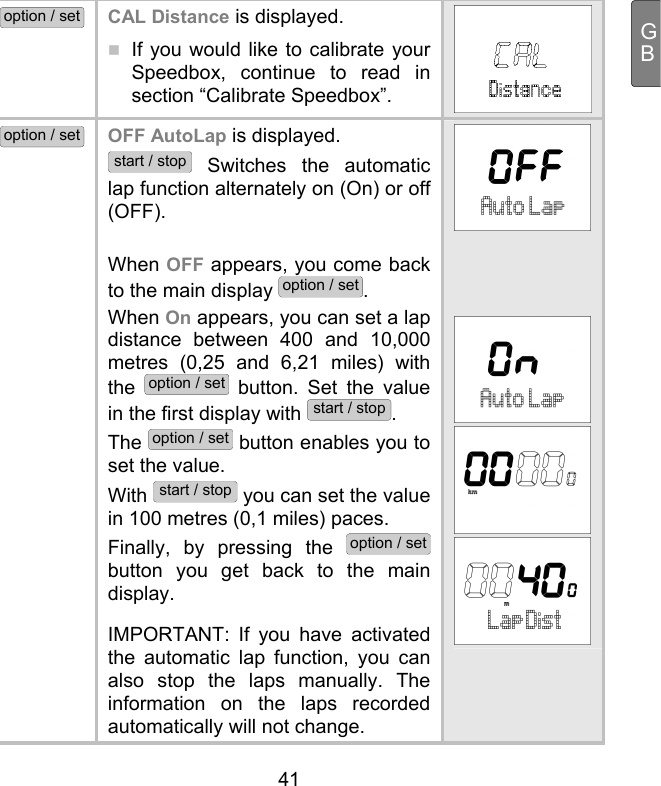
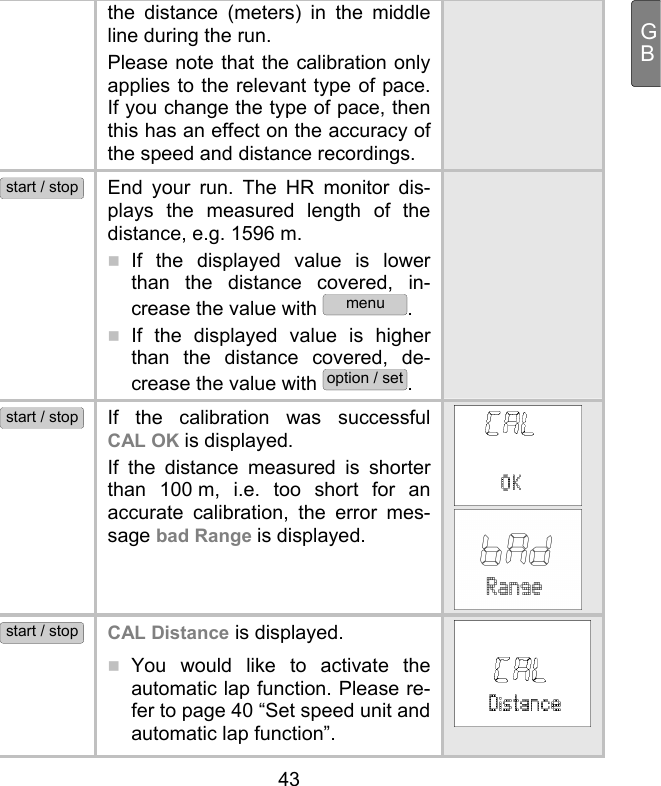
![40 Set the speed unit and automatic lap function There are two functions available in this setting menu. As some people prefer to have the speed display in a particular unit when training, two different units are offered as an option. Many runners prefer the information in min/km instead of km/h. With the automatic lap function you can set your own specified dis-tance between 400 and 10,000 metres. The HR monitor then acti-vates for example a new lap every 400 metres. Example: You run several 400-metre laps in the stadium and would like to check your running times. Thanks to the lap function you do not need to press the option / set button as soon as you reach the finish line. You just have to set the lap distance of 400 metres in this menu once at the beginning of your training and then the laps will be automatically recorded and saved through the distance measurement. menu Change into the Spd’nDist menu. option / set 2 sec Set Spd’nDist is displayed. start / stop By pressing repeatedly you can change between the speed units. In the basic setting [cm]: min/km (minutes per kilometer) or km/h (kilometer per hour) is displayed. In the basic setting [in]: min/mi (minutes per mile) or mi/h (miles per hour) is displayed.](https://usermanual.wiki/Dayton/PM90R2/User-Guide-1606061-Page-42.png)
![44 If you would like to leave the menu, press the menu button. Display speed and distance If you run with the Speedbox, then you can have your speed and distance values displayed. While you are running, you have the option to change between the different displays. If you prefer to use one particular display, then you can keep this for your entire run. menu Change into the Spd’nDist menu The main display shows the current speed in the middle line. The bottom line displays the aver-age heart rate. If you have set a specific display for speed and dis-tance in advance in the Spd’nDist menu, you will see this in the bottom line. Your total training time [Hrs:Min:Sec] is displayed in the bottom line. This display allows you to activate two functions: start / stop Start and stop the training time. option / set Stop a new lap. The dis-play shows the symbol Lap for 2 seconds. Your current laps and the lap time [Hrs:Min] are displayed in the bottom line.](https://usermanual.wiki/Dayton/PM90R2/User-Guide-1606061-Page-46.png)
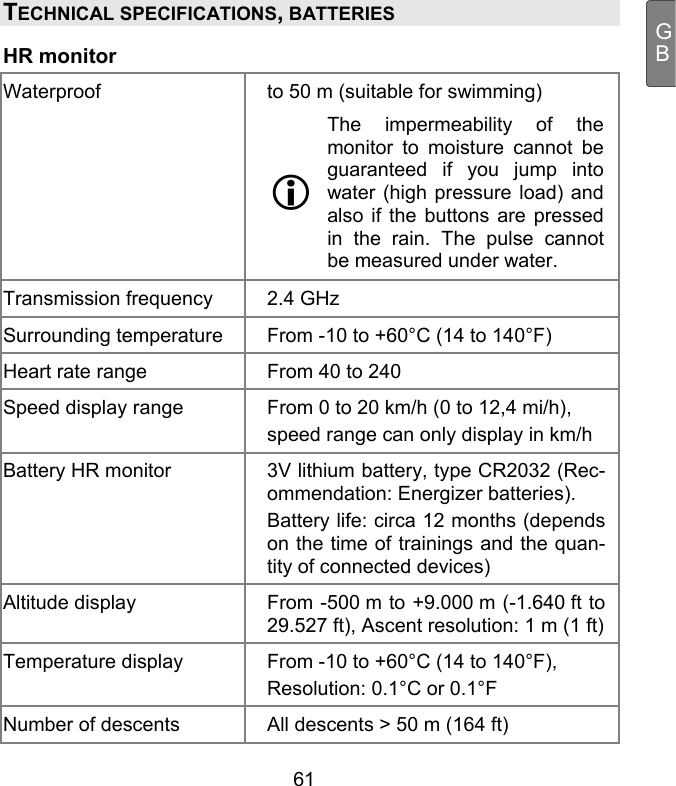
![48 option / set You can switch between two units of measure for the temperature. By pressing the start / stop button repeatedly, you can switch between the units °C (Celsius) or °F (Fahren-heit). option / set Back to the main display. Display altitude profile, temperature and air pressure menu Change into the Alti/Temp menu. The main display shows in the mid-dle line the current altitude and any information selected with the button in the lower line. The total ascent during a training session [in metres or feet] is dis-played in the bottom line. IMPORTANT! The training session must have started at this stage. The total descent during a training session [in metres or feet] is dis-played in the bottom line. IMPORTANT! The training session must have started at this stage.](https://usermanual.wiki/Dayton/PM90R2/User-Guide-1606061-Page-50.png)
![49 GB The maximum altitude [in metres or feet] is displayed in the bottom line. IMPORTANT! The training session must have started at this stage. The descent or ascent speed is displayed in the bottom line. IMPORTANT! The data is displayed in the unit [m/min], even if the unit [feet] is set. The number of descents is displayed in the bottom line. All descents of more than 50 metres will be dis-played. A descent is counted only if an ascent is recorded between two descents. Tip: When skiing, you can count the number of downhills! IMPORTANT! The training session must have started at this stage. The temperature is displayed in the bottom line. IMPORTANT! In order to determine the temperature exactly, the monitor should be removed from your wrist for approx. 2 hours. Other-wise your body temperature will alter the measurement.](https://usermanual.wiki/Dayton/PM90R2/User-Guide-1606061-Page-51.png)
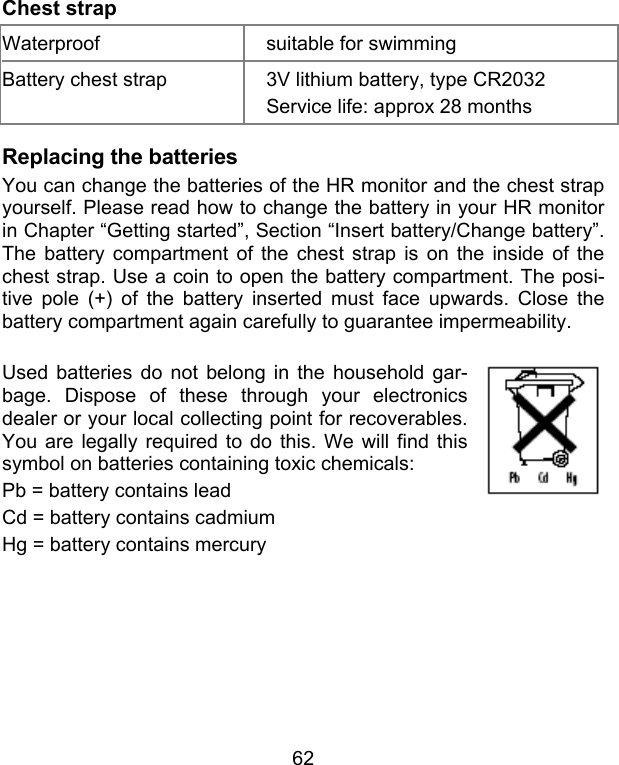
![52 option / set HRmax (maximum training heart rate) is displayed. option / set In [min] (time within the training zone) is displayed. option / set Lo [min] (time below the training zone) is displayed. option / set Hi [min] (time above the training zone) is displayed. option / set [kcal] (the total calorie consump-tion during the recording of the training session) is displayed. The calculation is conducted based on moderately fast jogging. The basis for the display of the calorie consumption and fat burning are: Personal data (basic settings) the time and heart rate meas-ured during the training ses-sion.](https://usermanual.wiki/Dayton/PM90R2/User-Guide-1606061-Page-54.png)
![53 GBoption / set Fat[g] (Fat burning during the entire training recording) is dis-played. option / set Back to the main display. Transmit weight management data to the monitor You can transmit your weight data and your body fat from the diag-nostic scale to the HR monitor. Your HR monitor can store up to 10 recordings of the scale with the current date and time. If you record more than ten times, then the oldest recordings will be overwritten. You can transmit one recording per day to the monitor. If a second recording within one day is transmitted, then the previous recording of the same day is overwritten. Hold your HR monitor in your hand during transmission and proceed as follows: menu Change into the Result menu. TrData is displayed. option / set WMData (Weight management) is displayed. Activate your scale by tapping the standing surface briefly but with pressure. Select the storage place where you would like to store your personal data by pressing the “User” button on the scale several times. It is dis-played one after the other until the](https://usermanual.wiki/Dayton/PM90R2/User-Guide-1606061-Page-55.png)
![54 display “0.0” appears. Step onto the scale barefoot. Pay attention that you are standing calmly on the stainless steel electrodes. start / stop The scale calculates your weight and your body fat and transmit both values to the monitor. For a short period during the transmission hori-zontal lines are shown on the dis-play. Please note that the body fat can only be measured and transmit-ted, if you have set the personal user data on the scale. You can however also transmit your weight without measuring your body fat. Your weight is automatically updated during the measurement in the Set-ting menu. Your weight which was calculated by the scale Weight[kg] is displayed. If you do not measure your weight, then the last weight stored will be displayed. option / set Your body fat which was calculated by the scale BF[%] is displayed. If you do not measure your body fat, then the last body fat stored will be displayed. option / set Press the button again and again until you get into the main display.](https://usermanual.wiki/Dayton/PM90R2/User-Guide-1606061-Page-56.png)

![63 GBLIST OF ABBREVIATIONS Abbreviations on the display in alphabetical order: Abbreviation English °C, °F Degrees Celsius, degrees Fahrenheit AGE Age Alarm Alarm ALTI Altitude AMR Calories needed for the activity AutoLap Automatic lap function AVG Average heart rate during training AVG Run Average heart rate during training BF [%] Body Fat [%] BMR Basal Metabolism BPM Heart beats per minute bPM AVG Average heart rate during training, beats per minute bPM Hrmax Maximal heart rate during training, beats per minute CAD Cadence (pace frequency, number of paces per minute) CAL Calibration cm/inch Centimeter/Inch Day Day Desc Descents (>50 metres) FitTest Fitness Test Ft Feet f female Fat [g] Fat in gram Fri Friday Gender Gender Height Height Hi Time above the training zone Hi limit Highest training limit Hold Save Save the recording Hour Hour](https://usermanual.wiki/Dayton/PM90R2/User-Guide-1606061-Page-65.png)
![64 Abbreviation English hPa Air pressure in hectopascal [hPa] HR Heart Rate HR Search Heart Rate Search HR-Belt Heart Rate Belt Found HRmax Max. heart rate during training In Time within the training zone Kcal Calorie consumption in Kcal kg Kilogram kg/lb Kilogram/pound km/h Kilometer per hour (speed) km/h AVG Average speed L1 Lap 1 lap Lap LapDist Lap distance LightMan LightManager (automatic illumination function) Limits Training limits Lo Time below the training zone Lo limit Lowest training limit M Metre m male MaxHR Maximum Heart Rate (formula: 220 - age) MEM Memory MEM Delete Memory Delete Minute Minute mi/h Miles per hour (speed) Min Minute min/km Minutes per kilometer min/mi Minutes per Mile Mon Monday Month Month PAIr NewDev Pair New Device](https://usermanual.wiki/Dayton/PM90R2/User-Guide-1606061-Page-66.png)