Dell 5880-08 Notebook PC User Manual book
Dell Inc. Notebook PC book
UserManual.wiki
>
Dell
>
5880-08 User Manual
>
User manual
Contents
1.
User manual warning statement
2.
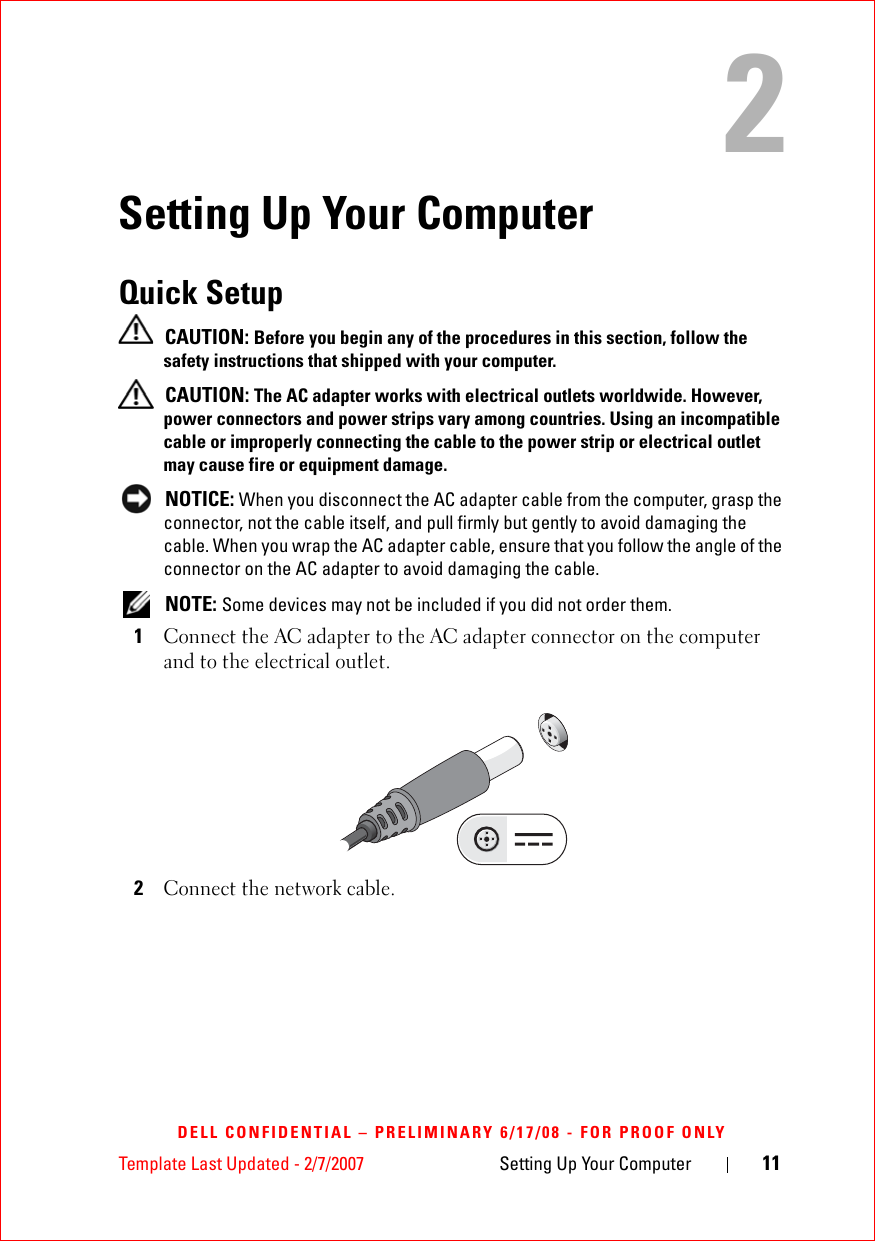
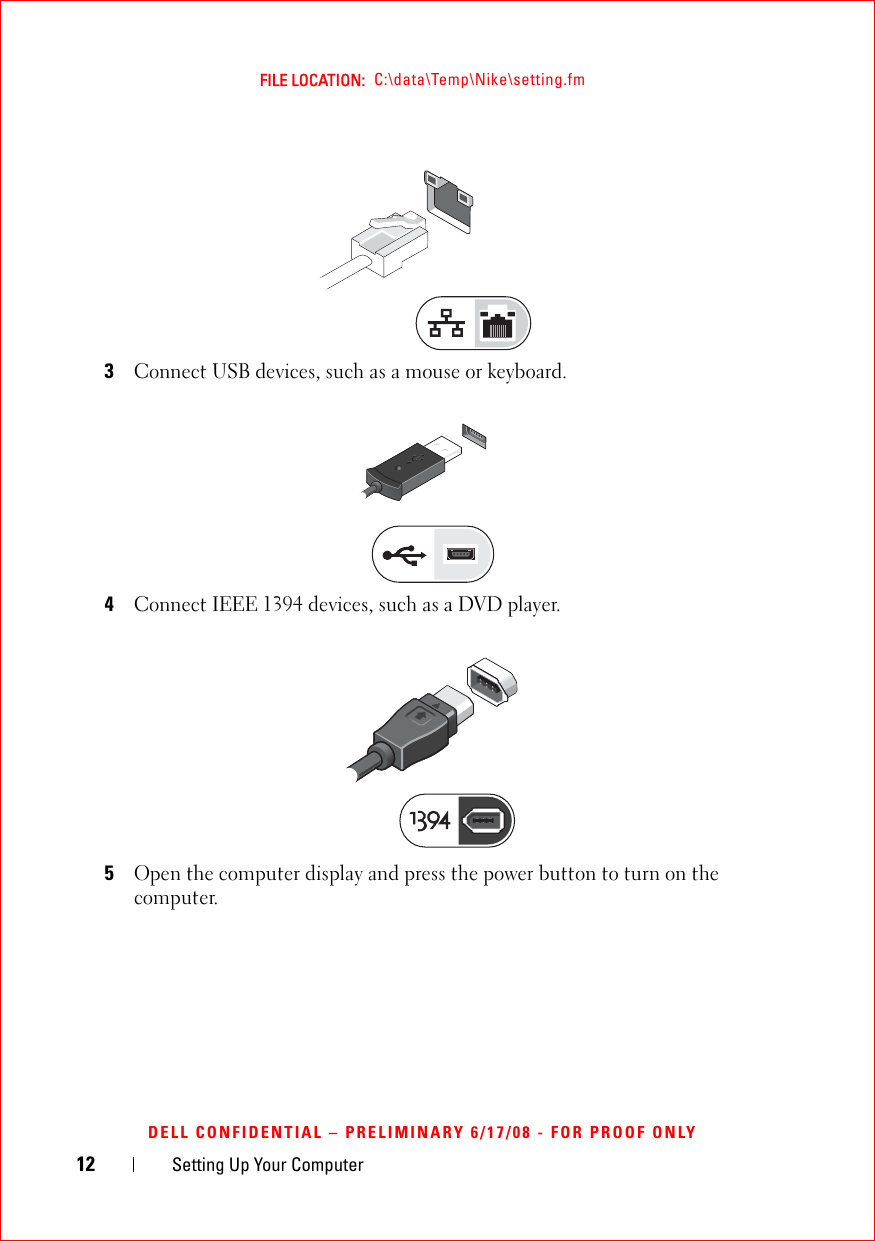
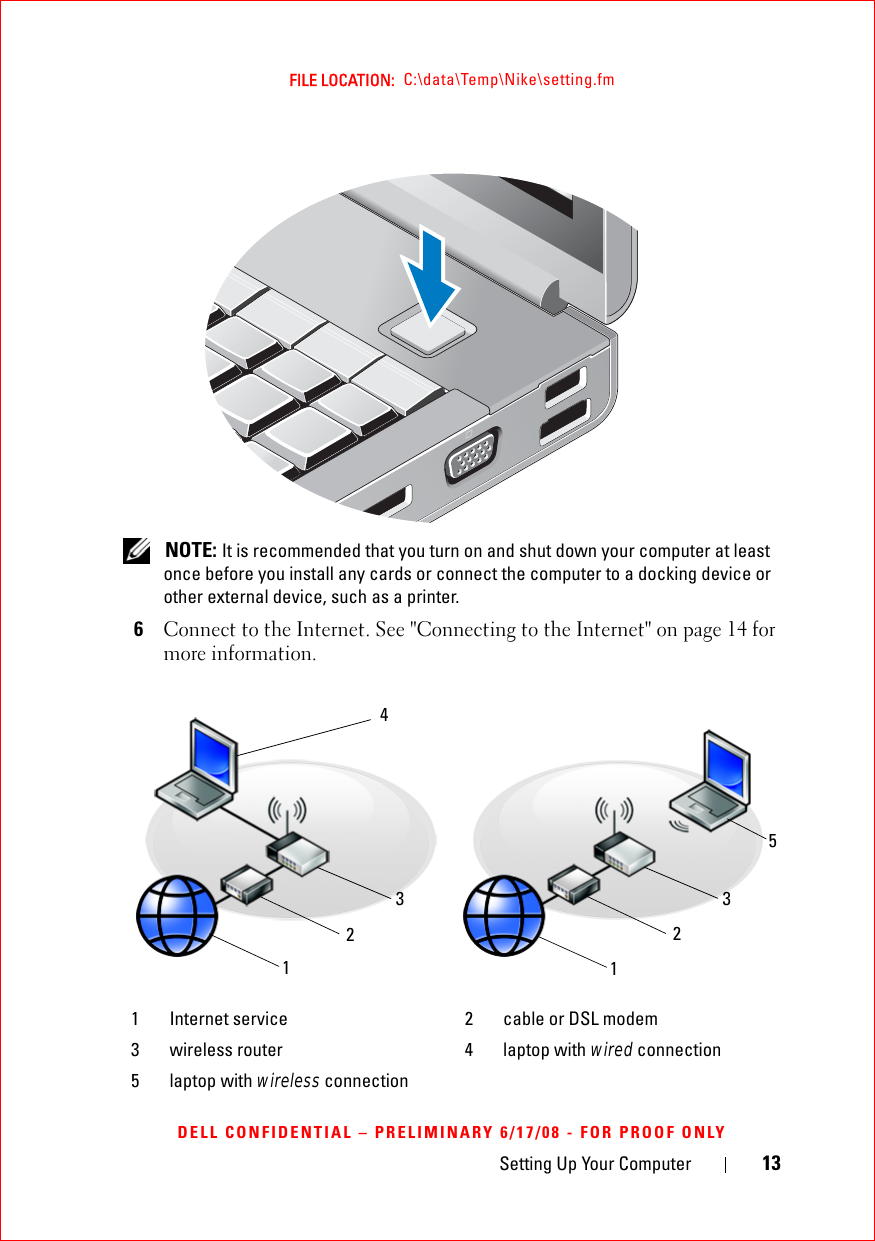
User manual
User manual
Navigation menu
Upload a User Manual
Namespaces
Wiki Guide
HTML
PDF
Info
Views
User Manual
Discussion / Help
Navigation


![Reinstalling Software 335Reinstalling SoftwareDriversIdentifying DriversIf you experience a problem with any device, identify whether the driver is the source of your problem and, if necessary, update the driver.Windows XP:1Click Start→ Control Panel.2Under Pick a Category, click Performance and Maintenance, and click System.3In the System Properties window, click the Hardware tab, and click Device Manager. Windows Vista:1Click the Windows Vista Start button™ , and right-click Computer.2Click Properties→ Device Manager. NOTE: The User Account Control window may appear. If you are an administrator on the computer, click Continue; otherwise, contact your administrator to continue.Scroll down the list to see if any device has an exclamation point (a yellow circle with a [!]) on the device icon.If an exclamation point is next to the device name, you may need to reinstall the driver or install a new driver (see "Reinstalling Drivers and Utilities" on page 34).](https://usermanual.wiki/Dell/5880-08.User-manual/User-Guide-985175-Page-33.png)