Delta Electronics WAP125 Dual Band Desktop Access Point with PoE User Manual wap125 qsg en US
Delta Networks, Inc. Dual Band Desktop Access Point with PoE wap125 qsg en US
UserManual.wiki
>
Delta Electronics
>
WAP125 User Manual
Users Manual
Navigation menu
Upload a User Manual
Namespaces
Wiki Guide
HTML
PDF
Info
Views
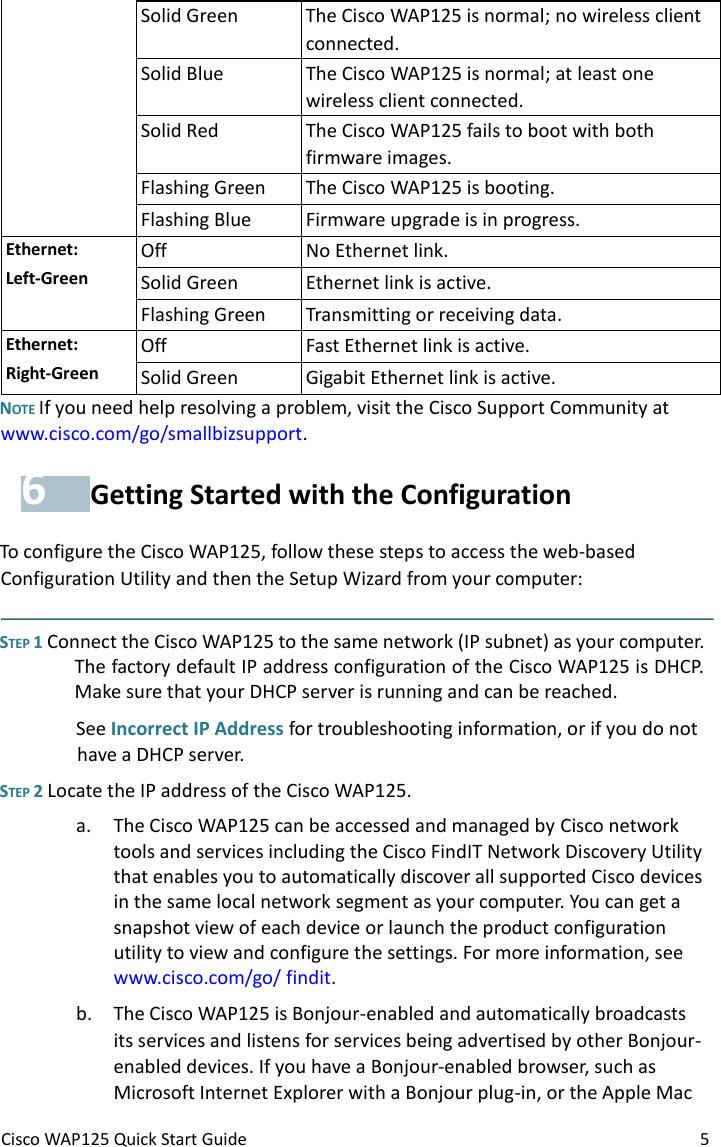
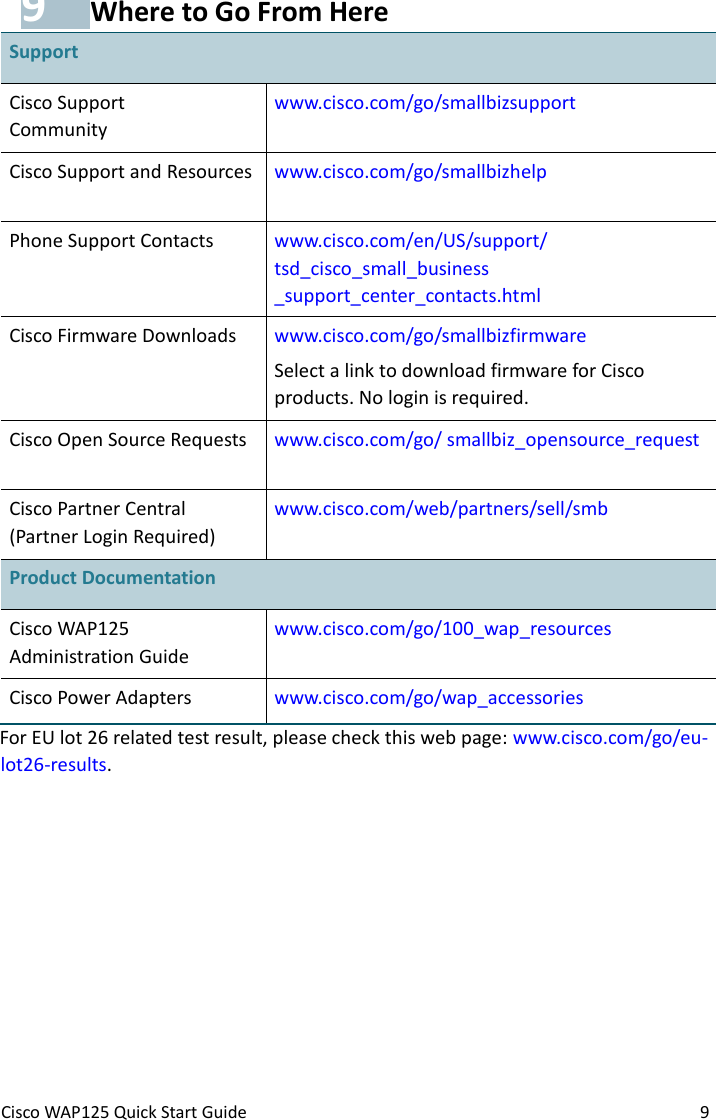
User Manual
Discussion / Help
Navigation