Dexcom 9495 Wireless glucose monitor User Manual
Dexcom, Inc. Wireless glucose monitor Users Manual
UserManual.wiki
>
Dexcom
>
9495 User Manual
Users Manual
Navigation menu
Upload a User Manual
Namespaces
Wiki Guide
HTML
PDF
Info
Views
User Manual
Discussion / Help
Navigation
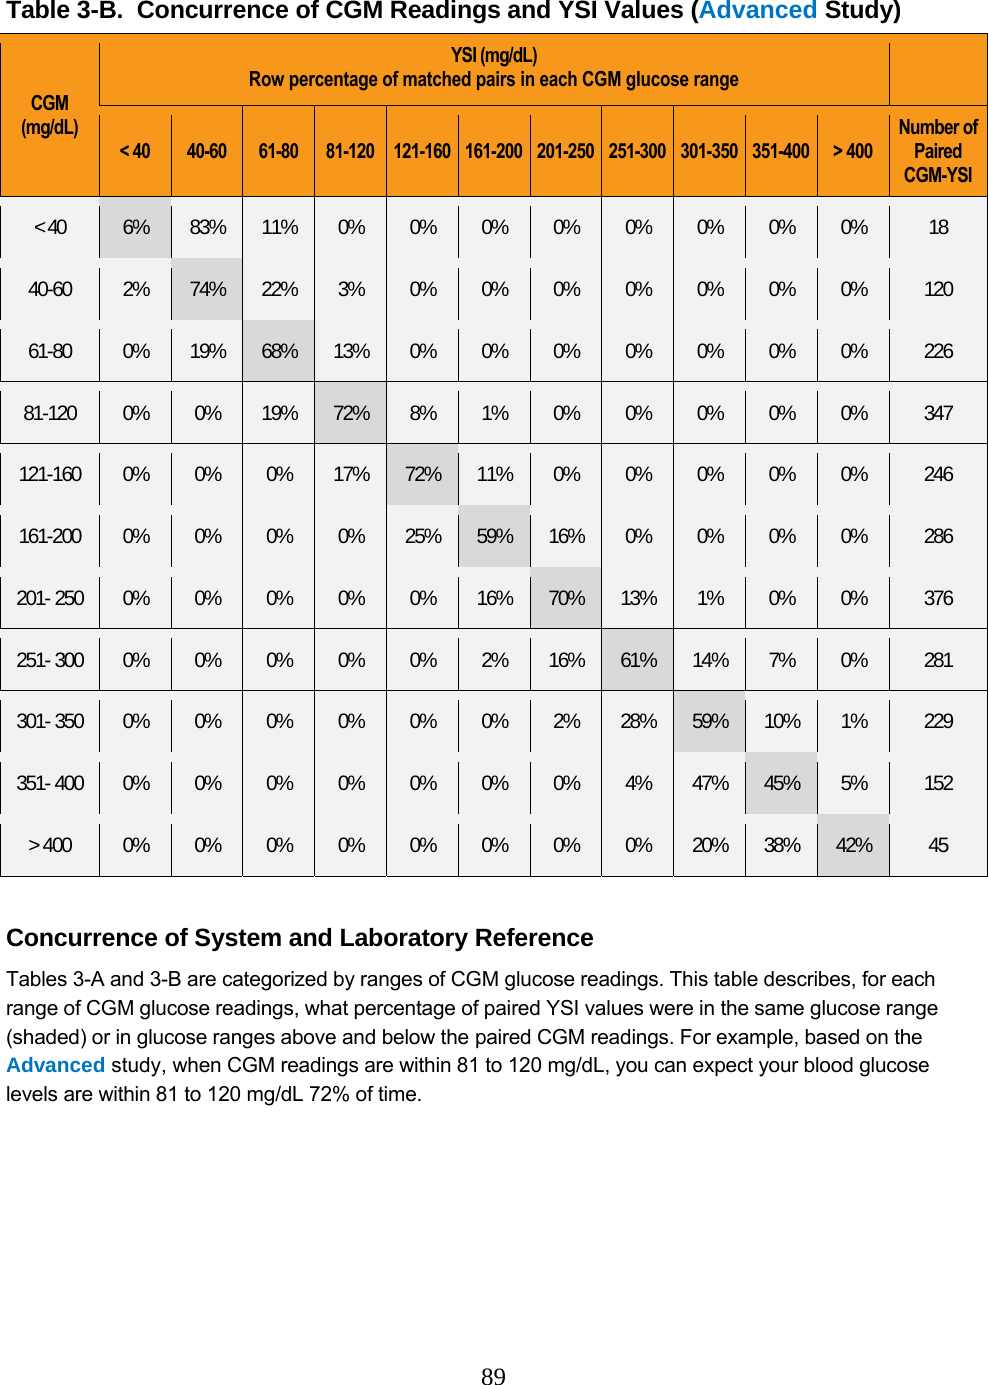
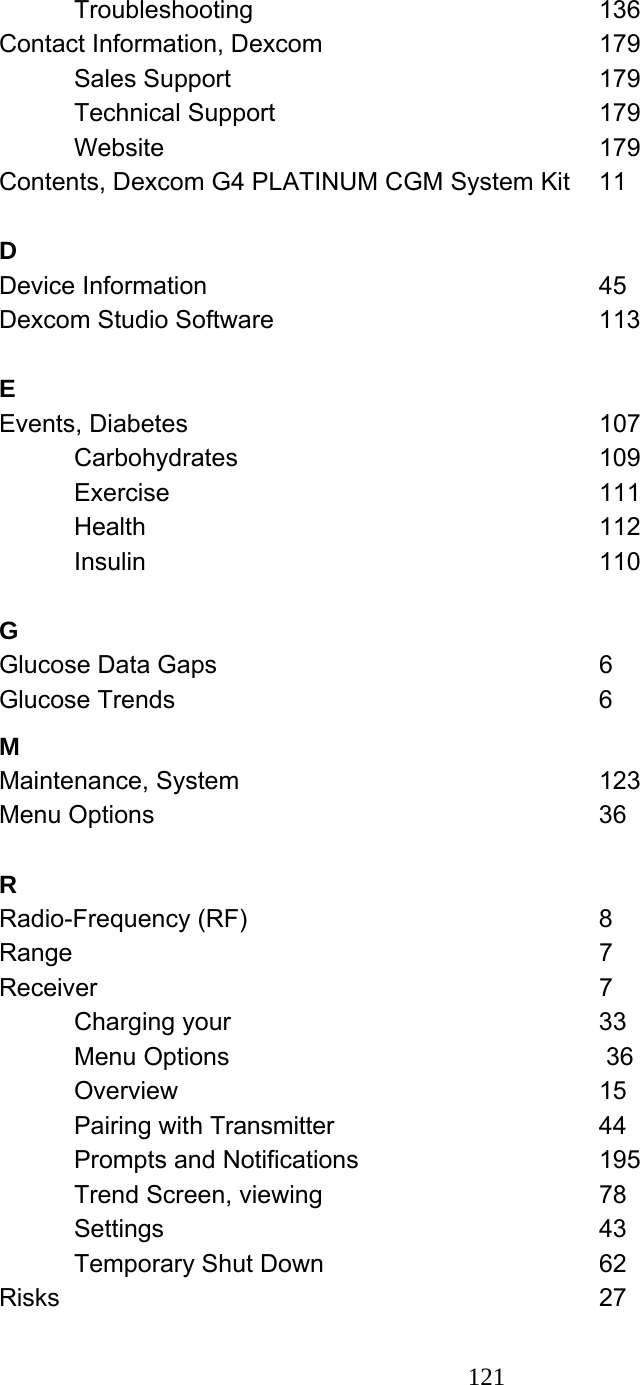
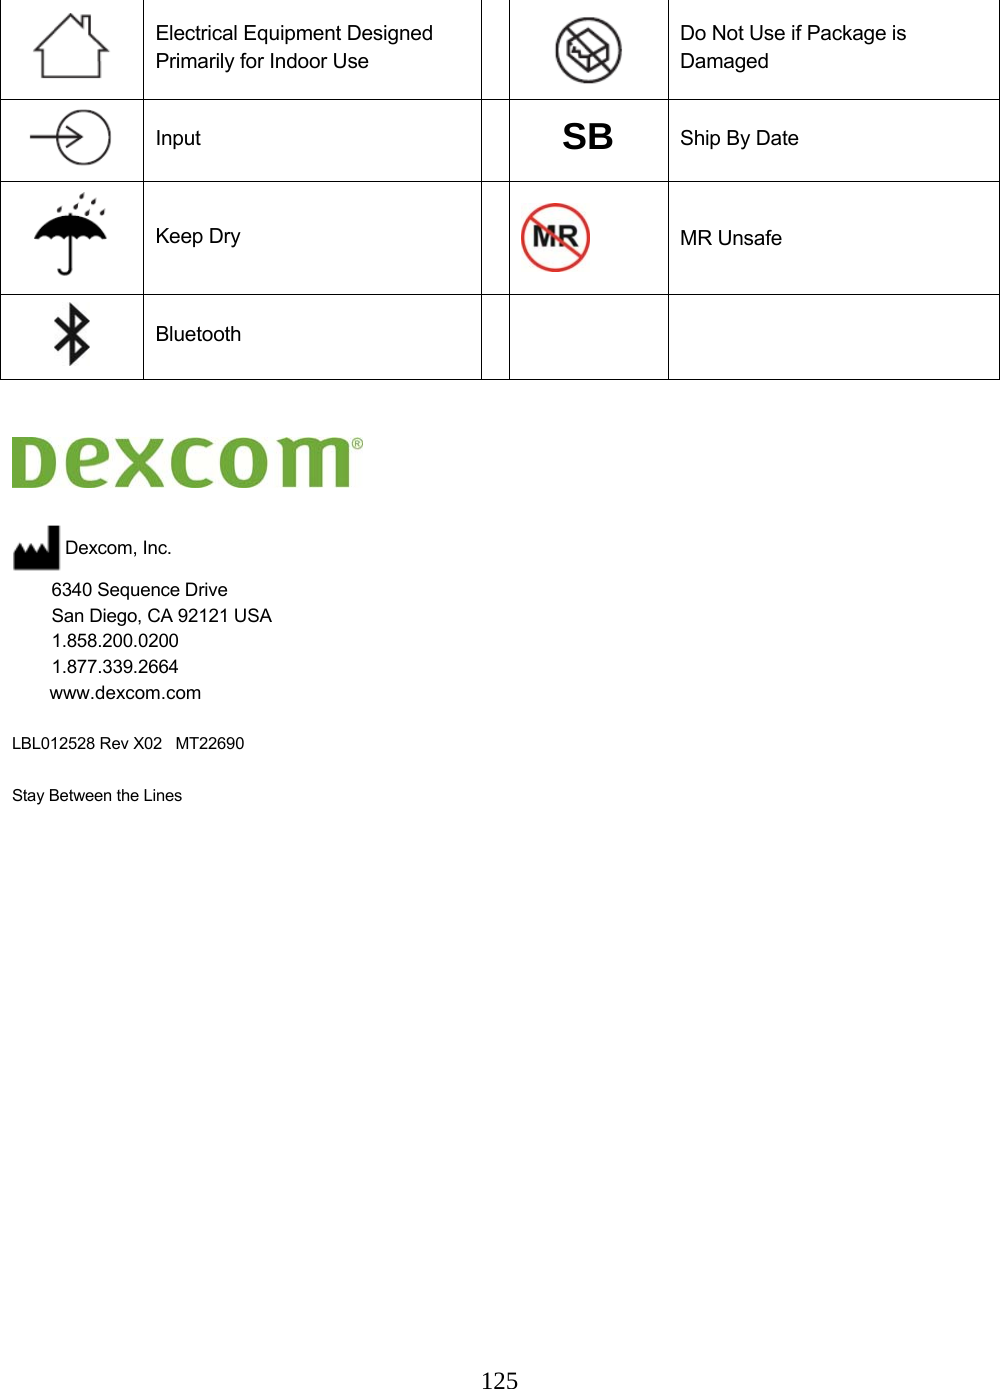
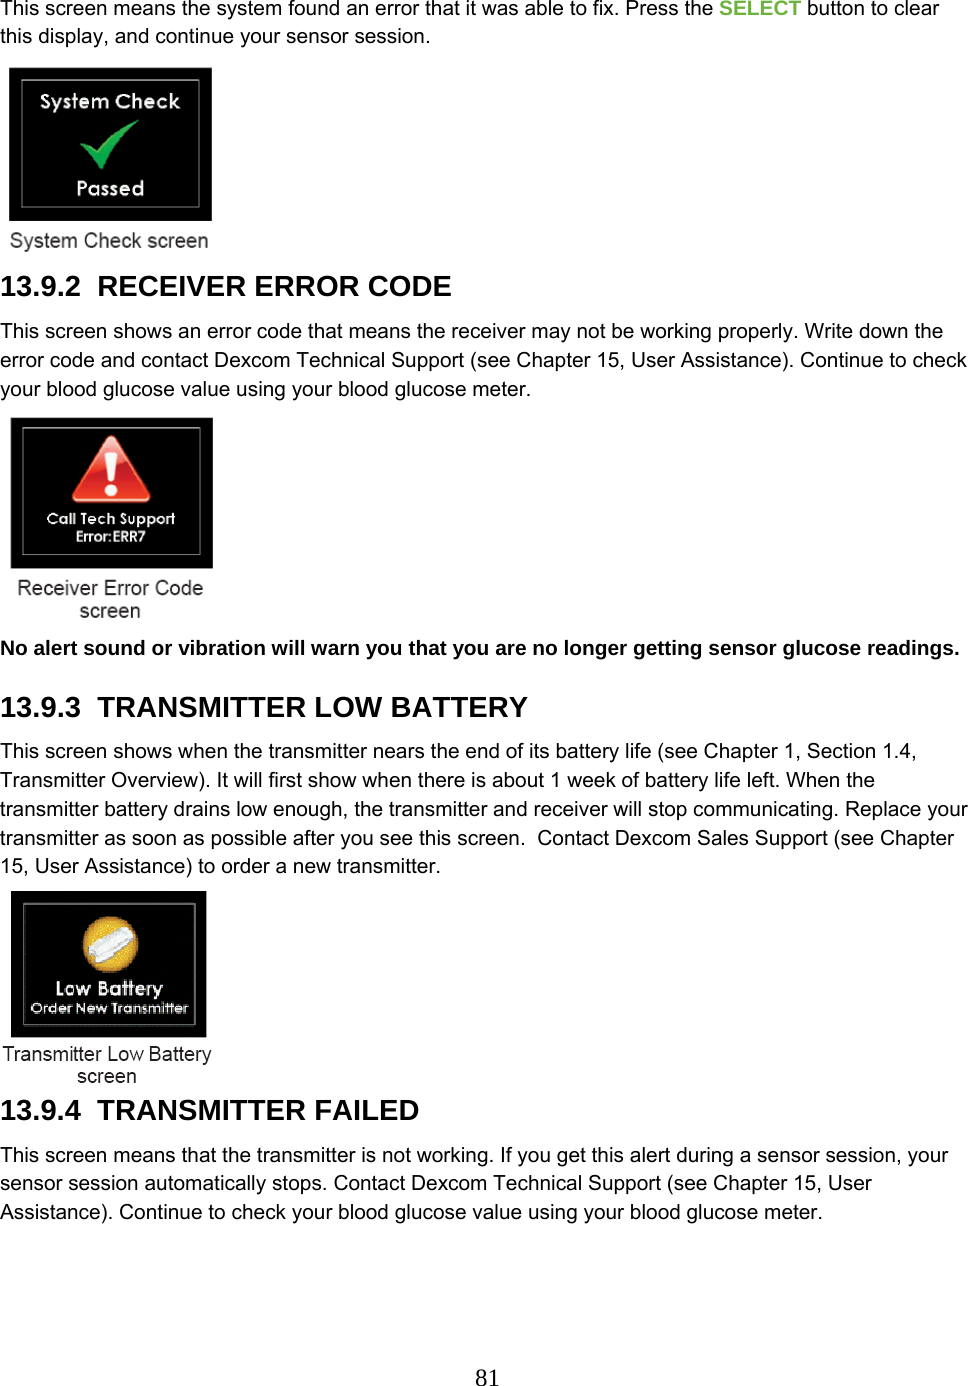
![2 DEXCOM G4 PLATINUM CONTINUOUS GLUCOSE MONITORING SYSTEM table of contents [Page numbering will be updated after professional layout] GLOSSARY 6 CHAPTER 1: DEXCOM G4 PLATINUM CONTINUOUS GLUCOSE MONITORING (CGM) SYSTEM DESCRIPTION 9 1.1 System Contents 11 1.2 Introduction 12 1.3 Sensor Overview 13 1.4 Transmitter Overview 14 1.5 Receiver Overview 15 1.6 Share Overview CHAPTER 2: INDICATIONS FOR USE AND SAFETY STATEMENT 17 2.1 INDICATIONS FOR USE 19 2.2 IMPORTANT USER INFORMATION 19 2.3 CONTRAINDICATIONS 20 2.4 WARNINGS 20 2.5 PRECAUTIONS 22 2.6 CAUTION 24 CHAPTER 3: RISKS AND BENEFITS 25 3.1 Risks 27 3.2 Benefits 28 CHAPTER 4: CHARGING YOUR RECEIVER AND THE RECEIVER MAIN MENU 31 4.1 Charging Your Receiver Battery 33 4.1.1 Charging Your Receiver Battery from an AC Power Outlet 34 4.1.2 Charging Your Receiver Battery from a Windows Compatible Computer 35 4.1.3 Knowing Your Receiver is Charged 36 4.2 Receiver Menu Options 36 CHAPTER 5: DEXCOM G4 PLATINUM SYSTEM SETUP 39 5.1 Setting Up the Receiver and Pairing with Your Transmitter 41 5.2 The Settings Menu 43 5.2.1 Getting to the Settings Menu 43 5.2.2 Setting Your Receiver Time and Date 43 5.2.3 Entering Your Transmitter ID 5.2.4 Turning On Share On Your Receiver 44 5.3 Checking Information About Your Dexcom G4 PLATINUM System 45 5.4 Transmitter and Receiver Communication 46](https://usermanual.wiki/Dexcom/9495/User-Guide-2452558-Page-2.png)
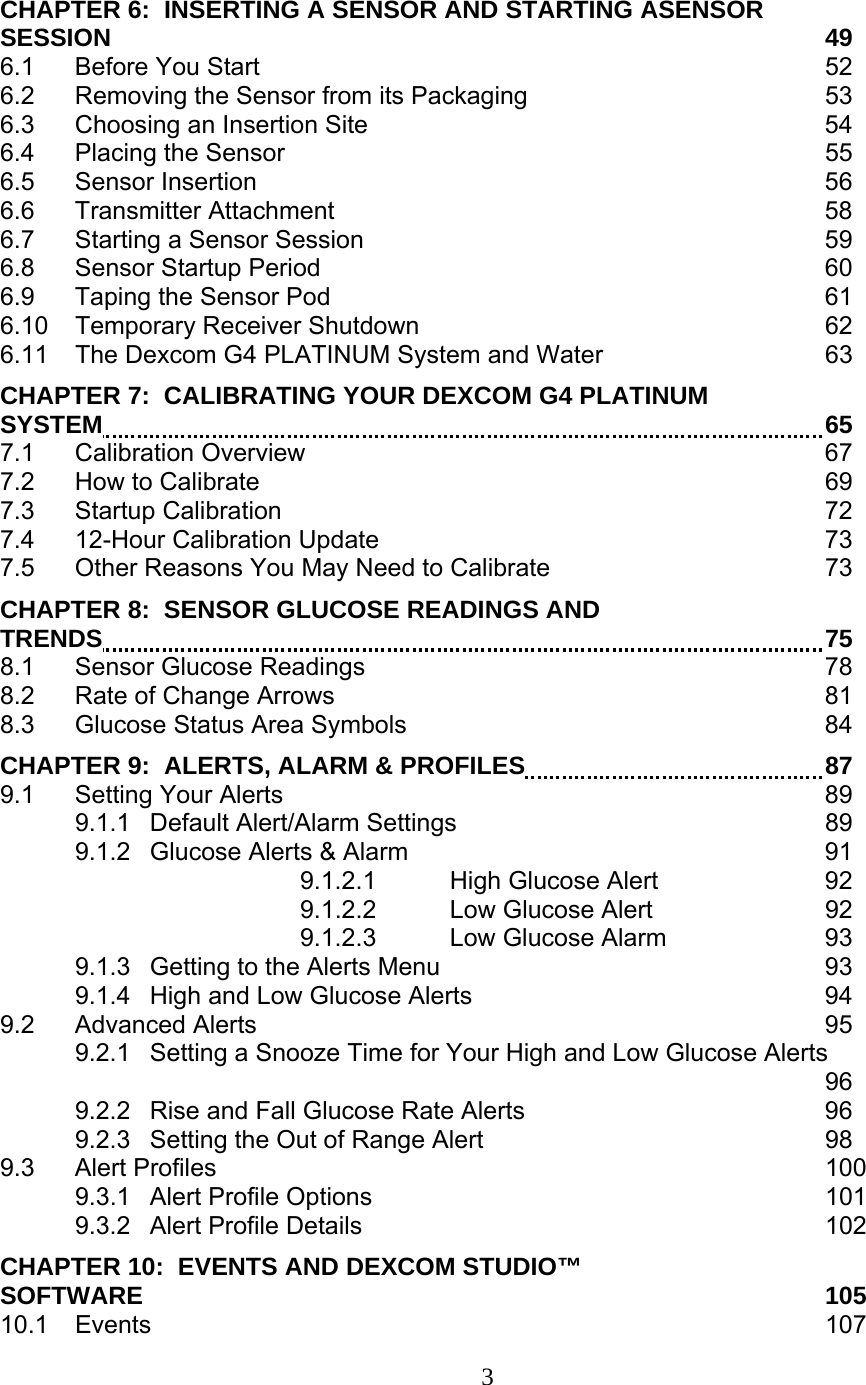

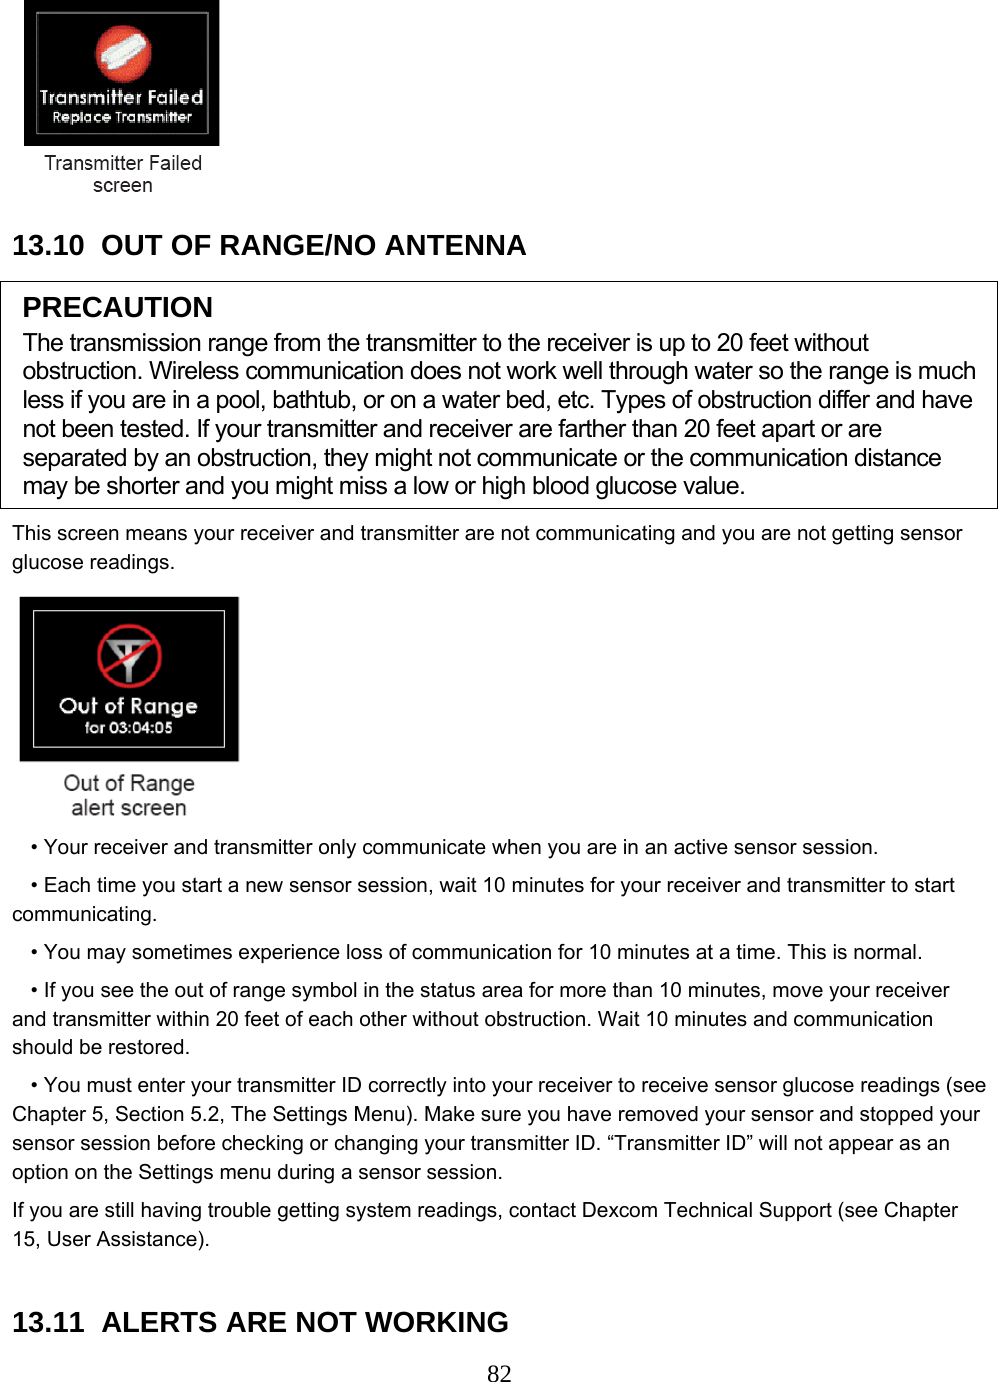
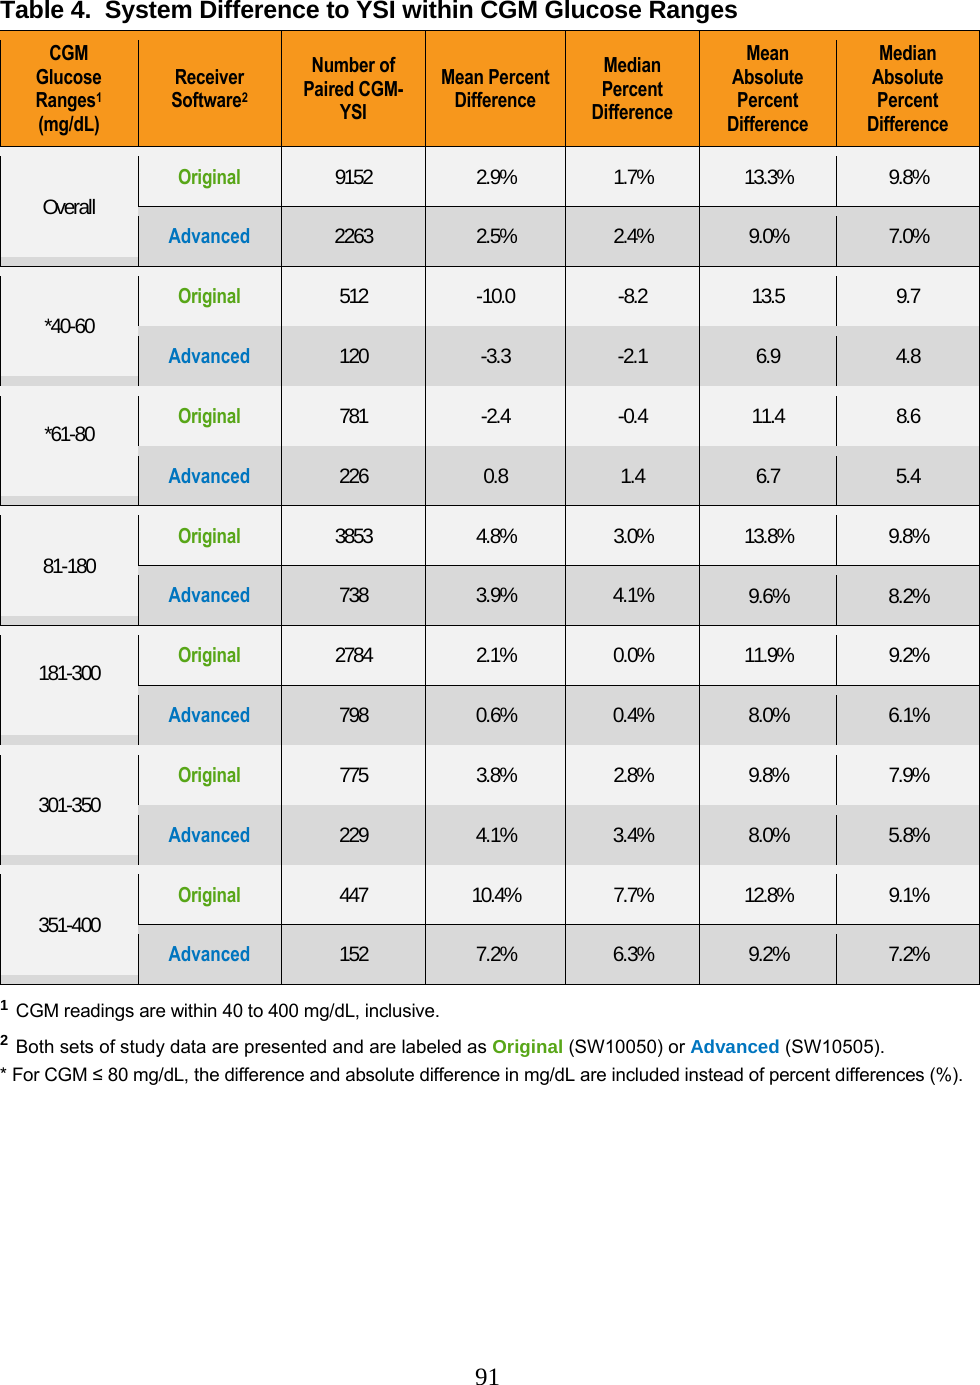
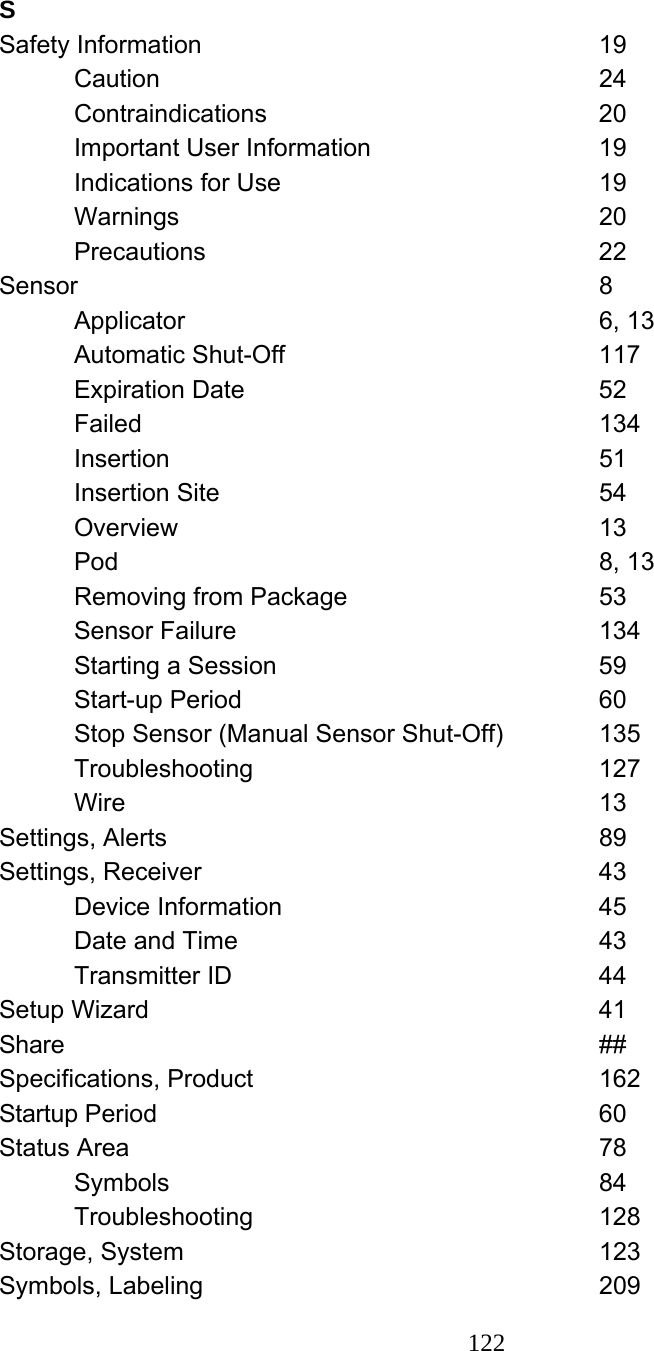
![84 CHAPTER 14: TECHNICAL INFORMATION [Section 14.1 will be updated to reflect the labeling changes approved for P120005/S018] 14.1 DEVICE PERFORMANCE CHARACTERISTICS NOTE: We recommend that you review the information in this chapter with your healthcare provider to understand how well the Dexcom G4 PLATINUM System performs. The Dexcom G4 PLATINUM System (the System) uses a glucose sensor to continuously measure and monitor your glucose levels. The sensor is “calibrated” using a commercially available blood glucose meter; and once calibrated the System reports glucose readings up to every 5 minutes. The System was evaluated in a clinical study in which System readings were compared to blood glucose values to assess its performance and how well the System readings compare to a laboratory test method that measures blood glucose values. Additionally, subjects performed self-monitoring blood glucose meter tests at home to assess the System performance in real use environment. Although the performance characteristics of the System are presented in the following, there is no commonly accepted statistical approach for capturing performance of continuous glucose monitors (CGMs), such as the Dexcom G4 PLATINUM System. CLINICAL STUDY OVERVIEW The System performance was evaluated in two separate prospective clinical studies: the Original Receiver Software Study (SW10050) and the Advanced Receiver Software Study (SW10505). Differences between the studies include the number of subjects enrolled, the number of Systems worn by each participant, the SMBG meter used, and the number of clinic days each subject participated in during the study. An overview of each study is provided below. Both sets of study data are presented in the tables that follow and are labeled as Original Study or Advanced Study from this point forward. The Original Study enrolled 72 subjects, and the Advanced Study enrolled 51 subjects. All subjects had Type 1 or Type 2 diabetes mellitus, and required insulin or oral medication to manage their diabetes. In the Original Study, 83% of subjects had Type 1 diabetes, and 17% of subjects had Type 2 diabetes. In the Advanced Study, 86% of subjects had Type 1 diabetes, and 14% of subjects had Type 2 diabetes. Both studies included subjects greater than 18 years of age.](https://usermanual.wiki/Dexcom/9495/User-Guide-2452558-Page-84.png)