Diasonic Technology Co DMP310R MP3 Player User Manual
Diasonic Technology Co Ltd MP3 Player
UserManual.wiki
>
Diasonic Technology Co
>
DMP310R User Manual
User Manual
Navigation menu
Upload a User Manual
Namespaces
Wiki Guide
HTML
PDF
Info
Views
User Manual
Discussion / Help
Navigation
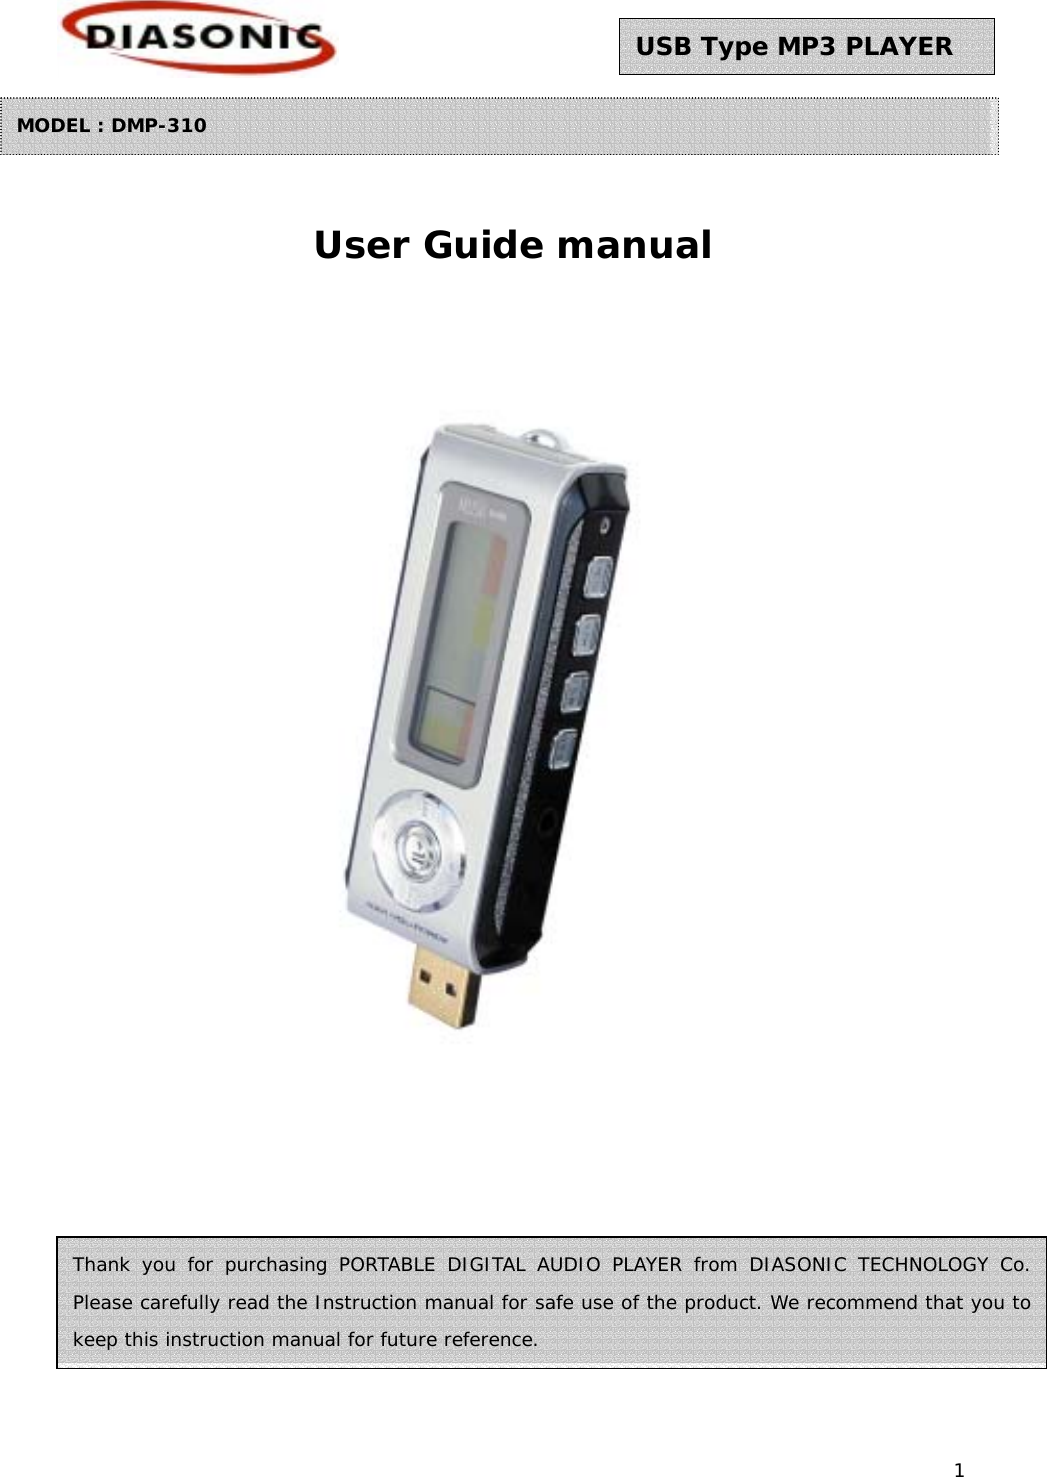
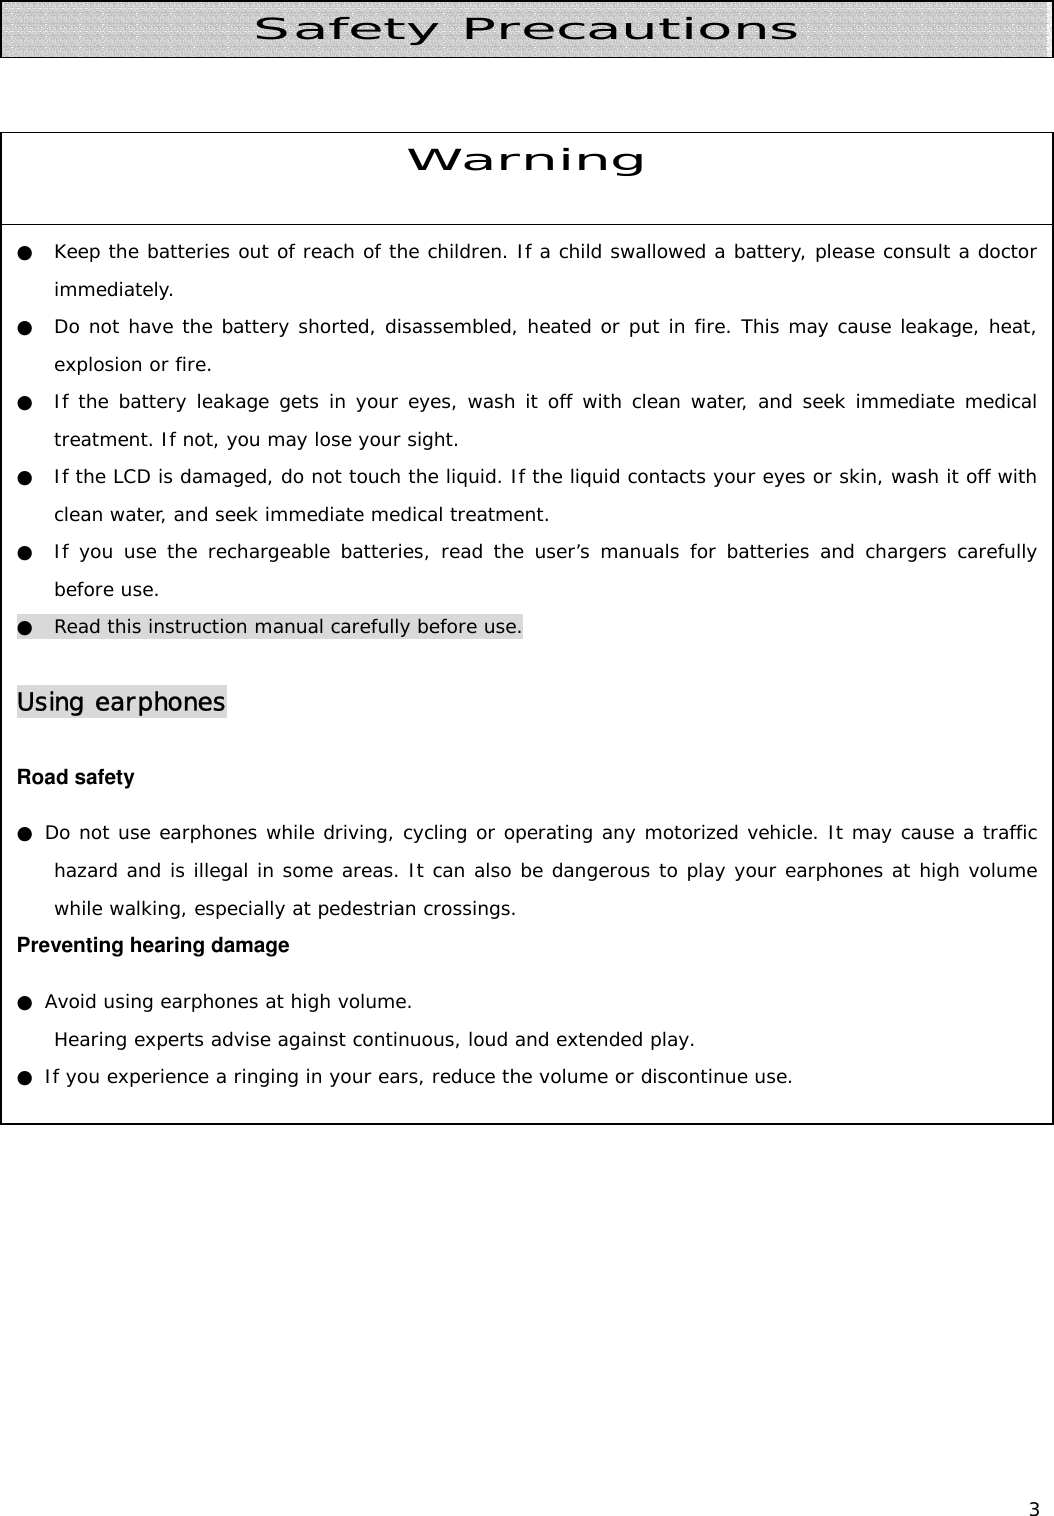
![2 Thank you for purchasing Diasonic MP3 Player. Please read this instruction manual carefully before use. If you find any defect during the use of this unit, please contact A/S Center [Tel 031-474-0852; Head Office]. Precautions: ● Do not repair, disassemble or modify the unit at your own discretion. ● The memory content may be changed or lost due to misuse, static electricity or electric shock during the repair or battery change. Be sure to make a note of important content. ● Diasonic assumes no responsibility for any damage caused by change or loss of memory content. ● Do not drop the unit in the water or keep it in any damp environment. ● This instruction manual is subject to change without notice for the purpose of product improvement. Copyright ● The MP3 files created for MP3 conversion shall not be used for any commercial or public purposes. Any violation of the prohibition may be a breach of copyright laws. ● Any unauthorized reproduction of recorded files for any other purposes than personal use is strictly prohibited by the relevant laws and regulations. Note This instruction manual is required for the effective use of Diasonic MP3 Player. Pay special attention not to lose the manual as it is not provided separately from the unit. Preface](https://usermanual.wiki/Diasonic-Technology-Co/DMP310R/User-Guide-420684-Page-2.png)
![12 It supports USB Mass Storage and it can be used as hard drive. It can be connected to PC directly without any application by Plug & play method on Window Me, 2000, XP except for Windows 98SE. ☜ How to install Drive (1) In case of WIDOWS ME, 2000, XP When connecting device to PC by USB port, “new hardware detected” is shown and installation begins automatically. * If you click [My Computer], the MP3 Player is recognized as a portable disk (F:) on [My Computer] window. (*WINDOWS XP). (2) In case of WINDOW 98 SE ○1 Connect device to USB port. Click ‘next’. Setting PC Environment](https://usermanual.wiki/Diasonic-Technology-Co/DMP310R/User-Guide-420684-Page-12.png)
![13 ○2 Check ‘Find appropriate driver ’ and click ‘next’. ○3 Check ‘designating location’ and click [Retrieval] button. ○4 Find installation program on [Folder Retrieval] window.](https://usermanual.wiki/Diasonic-Technology-Co/DMP310R/User-Guide-420684-Page-13.png)
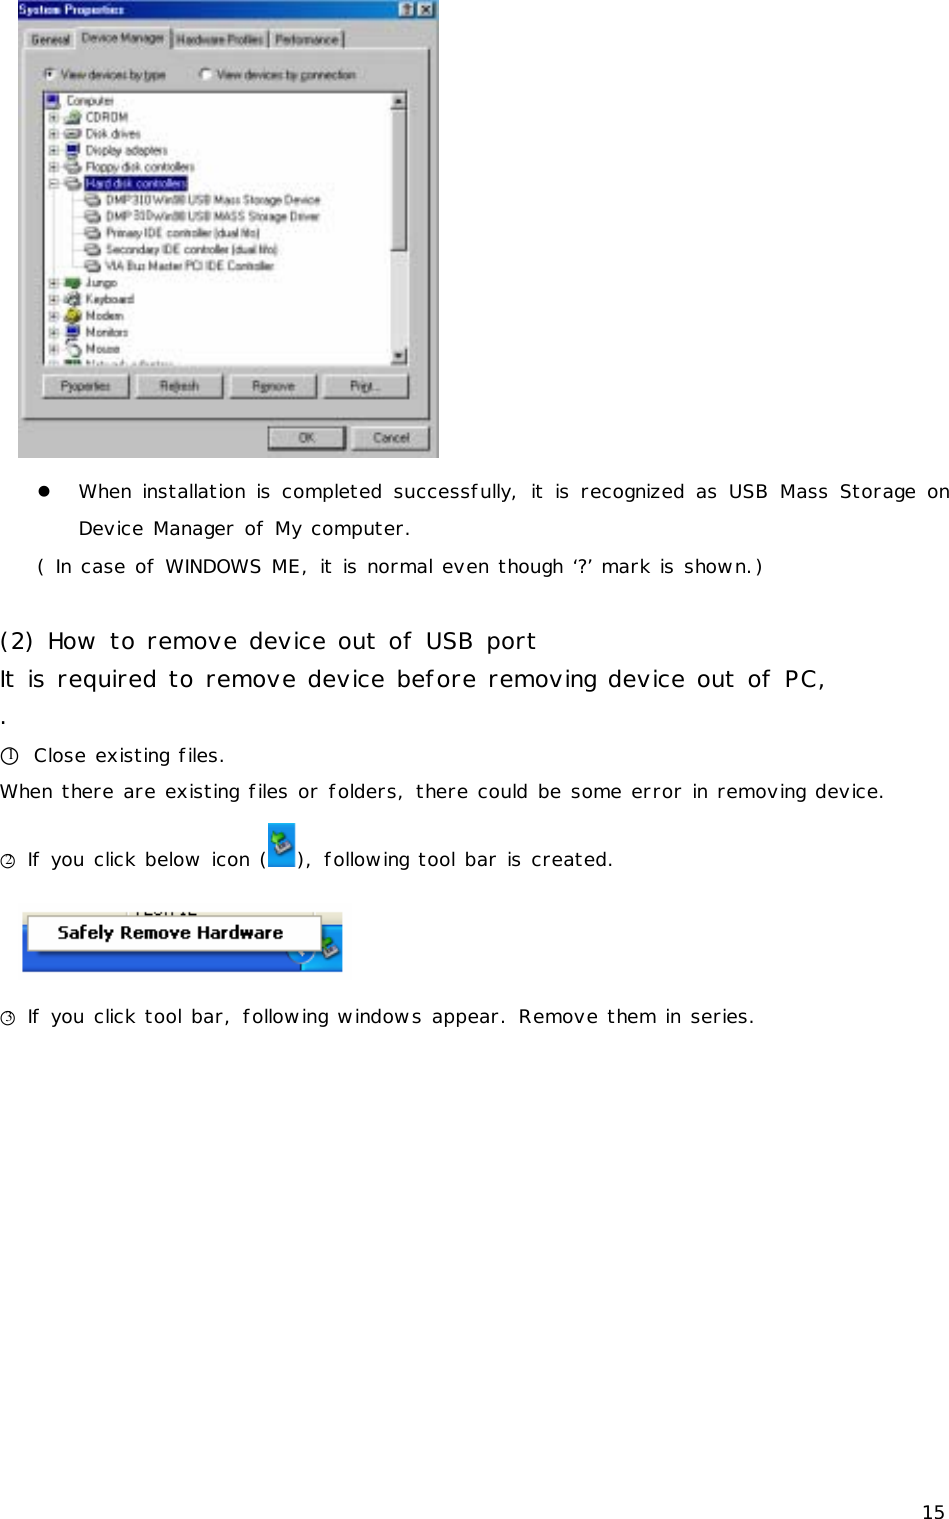
![14 ○5 Click ‘next’ on [New hardware wizard] window. ○6 Below window is shown when installation is completed. ○7 Check finally whether installation has been completed successfully. [My Computer]-[Control Panel]-[System]-[Device Manager]-[Hard Disk Controller]](https://usermanual.wiki/Diasonic-Technology-Co/DMP310R/User-Guide-420684-Page-14.png)
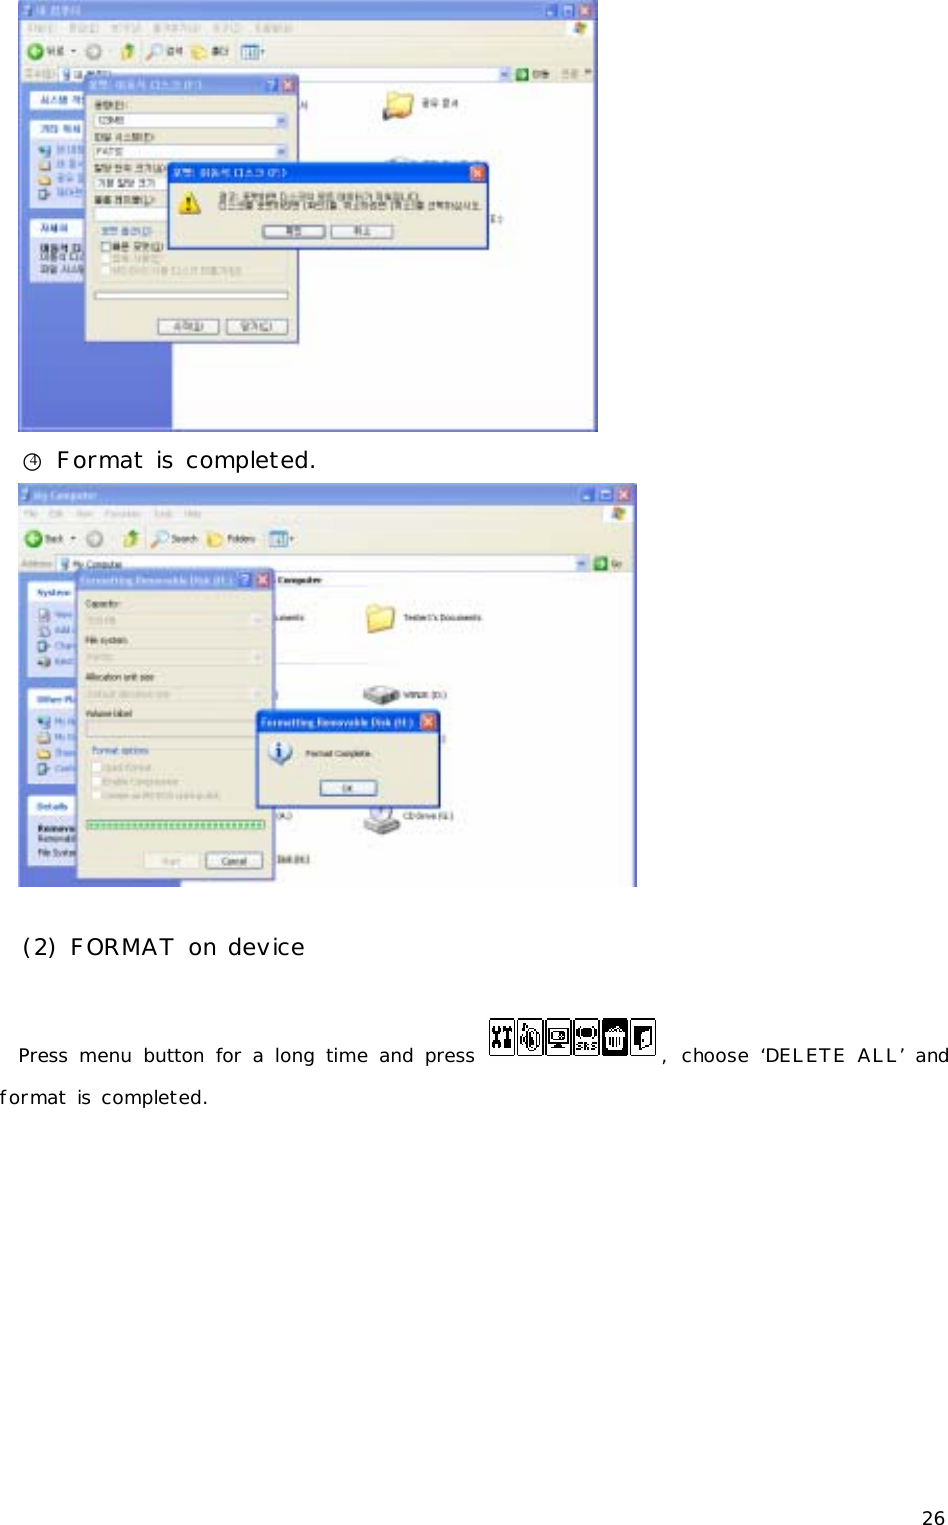
![25 (1) FORMAT on PC ○1 Go to [My Computer], choose portable disk(F:) and click right button of mouse. Following toolbar appears. At the time, click format. ○2 Click ‘start’ when following window appears. ○3 Click ‘confirm’. FORMATTING File](https://usermanual.wiki/Diasonic-Technology-Co/DMP310R/User-Guide-420684-Page-25.png)