Digital Cynos DCM-20WT TFT LCD TV MONITOR User Manual DCM 20WT 2
Digital Cynos Co., Ltd. TFT LCD TV MONITOR DCM 20WT 2
UserManual.wiki
>
Digital Cynos
>
DCM 20WT User Manual
Users Manual
Navigation menu
Upload a User Manual
Namespaces
Wiki Guide
HTML
PDF
Info
Views
User Manual
Discussion / Help
Navigation
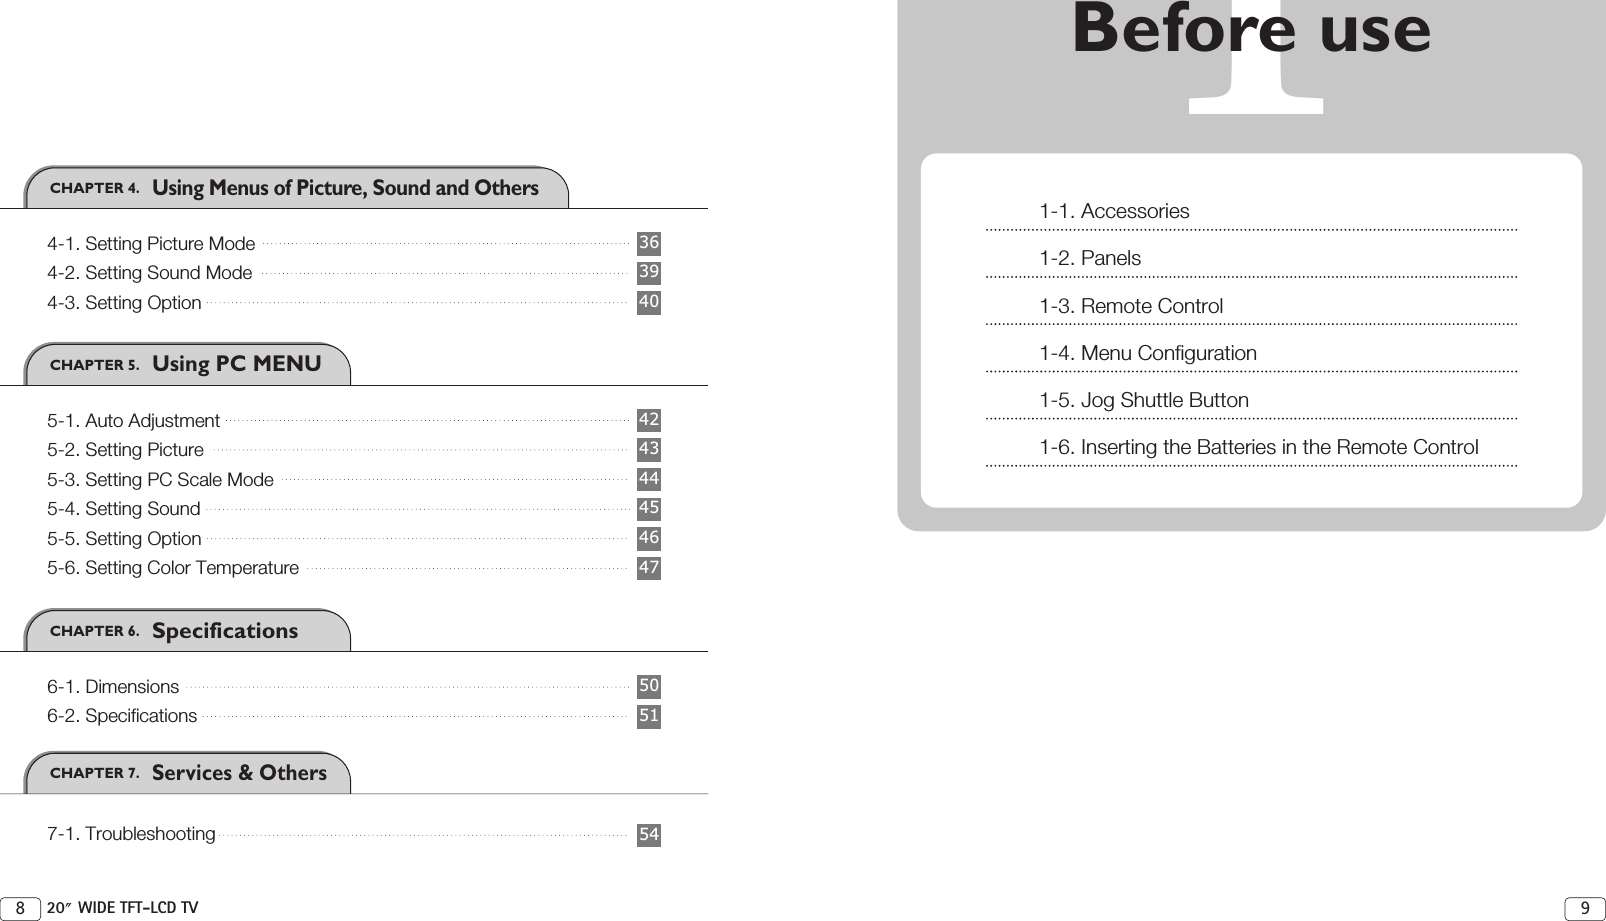
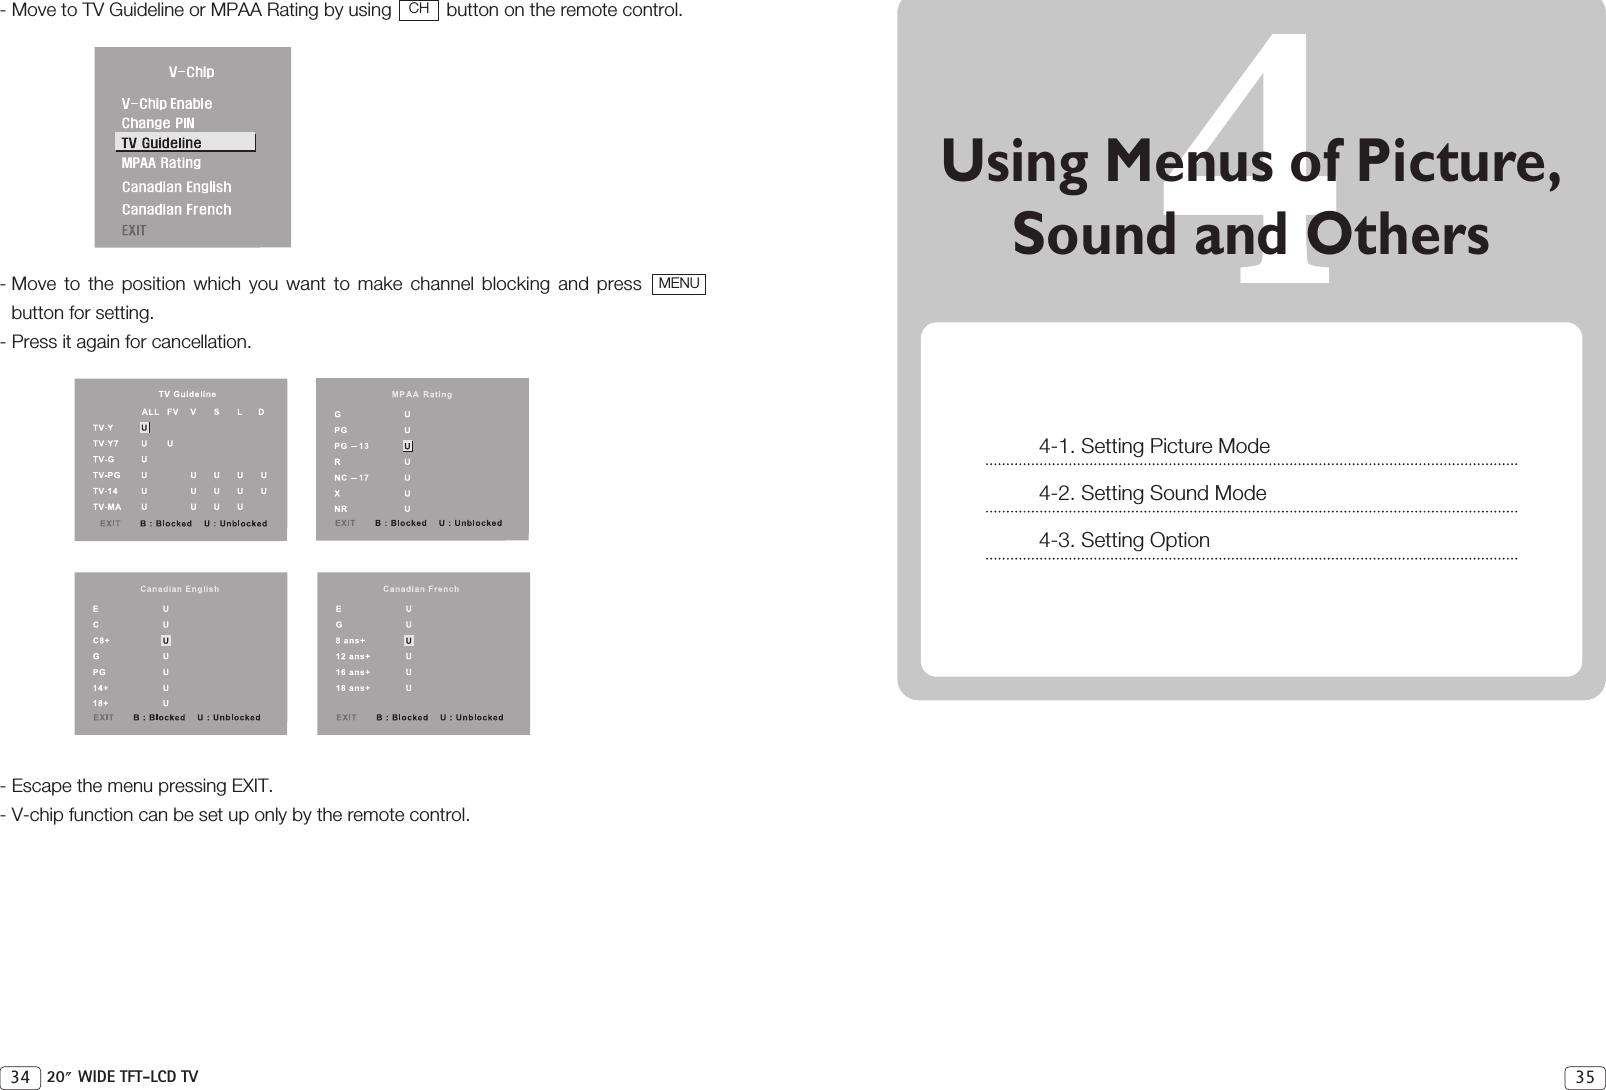
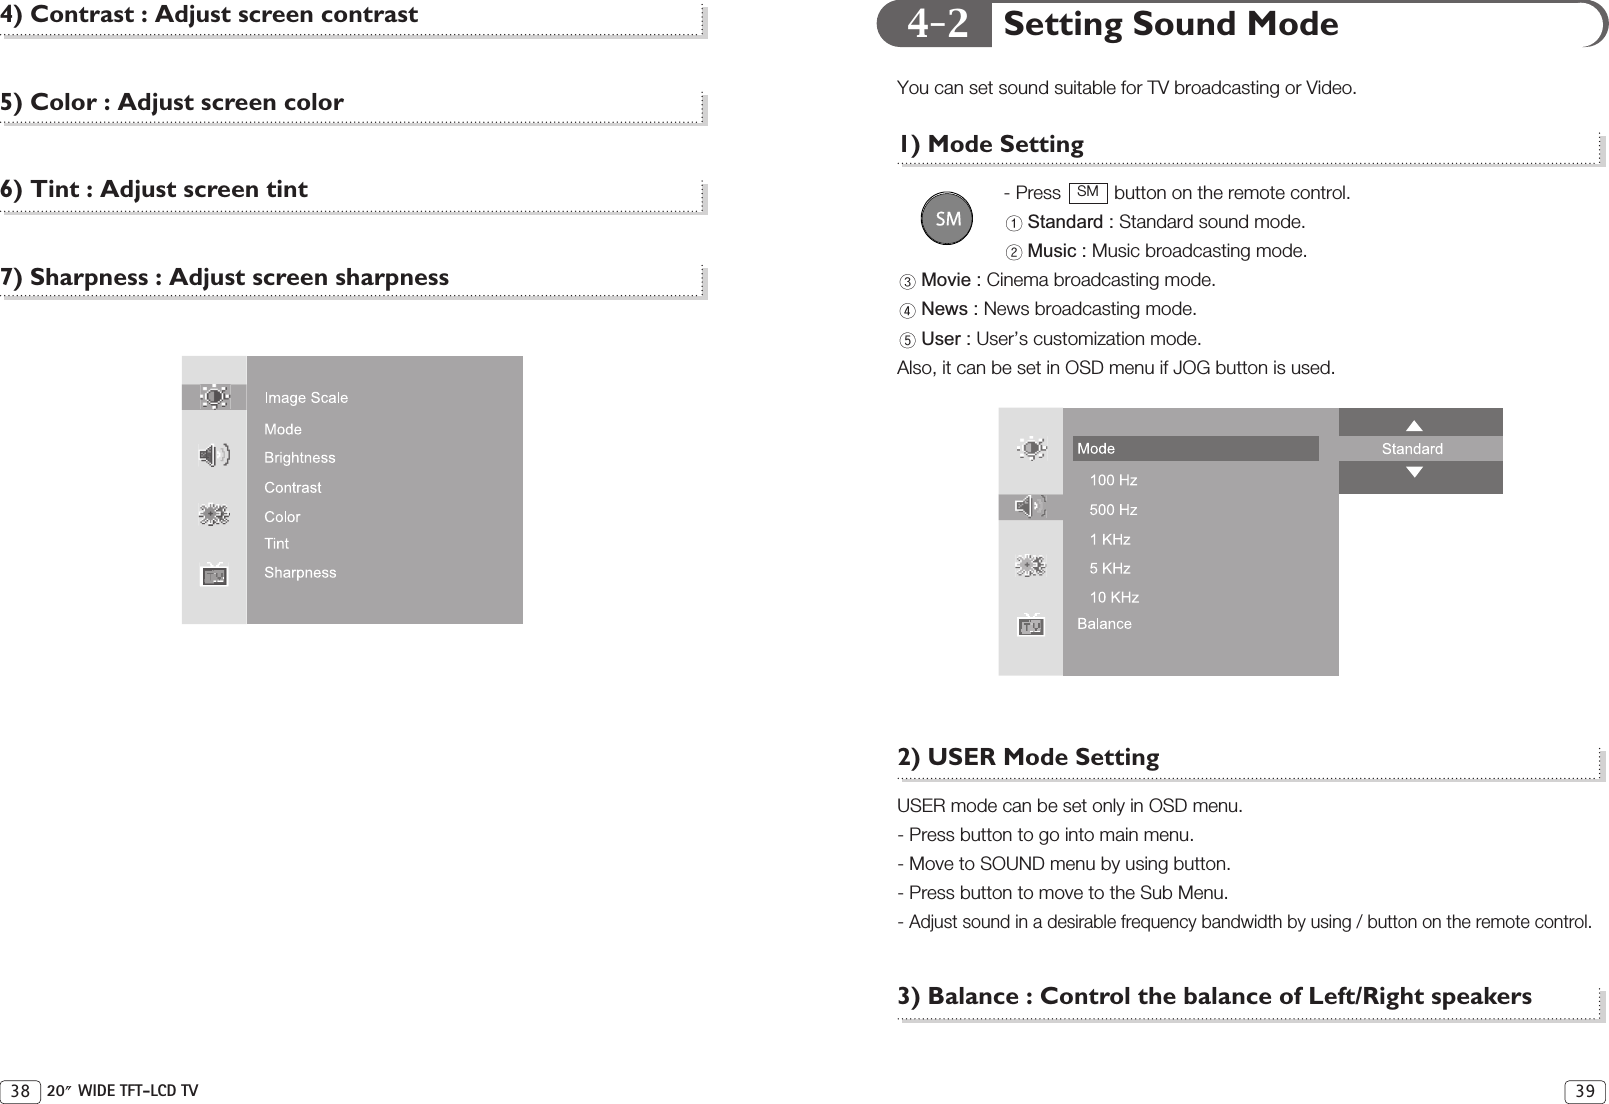
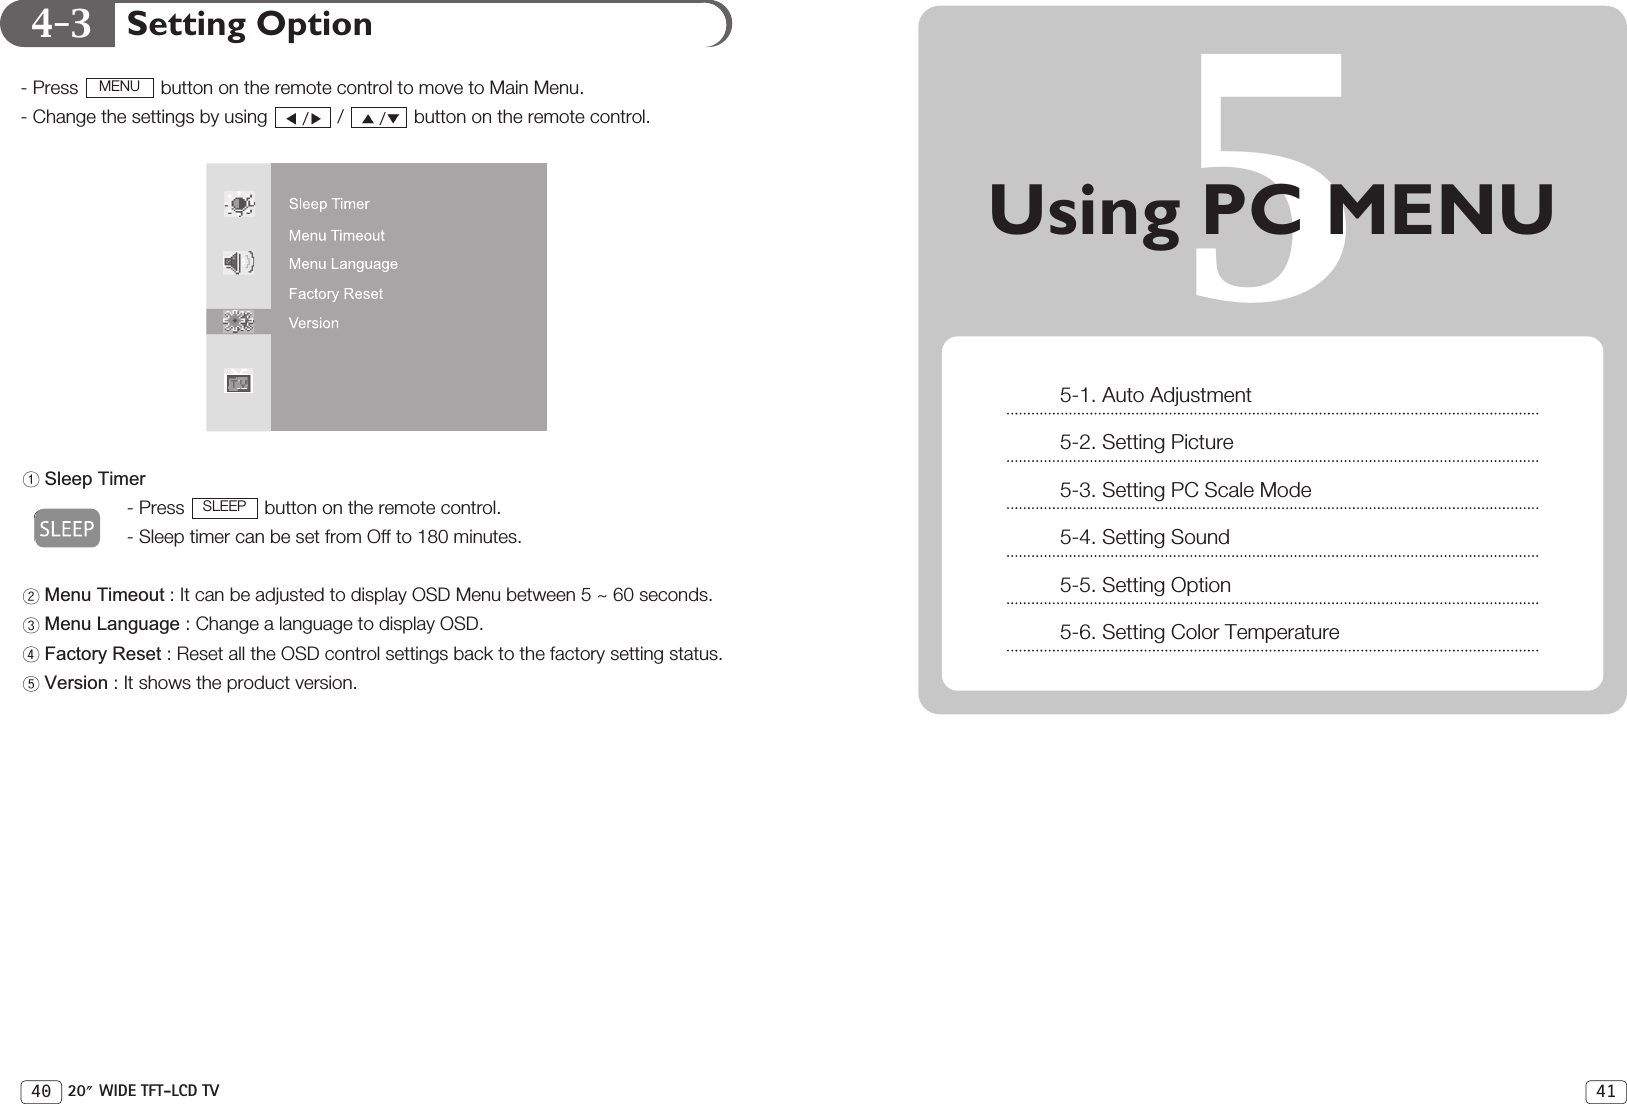
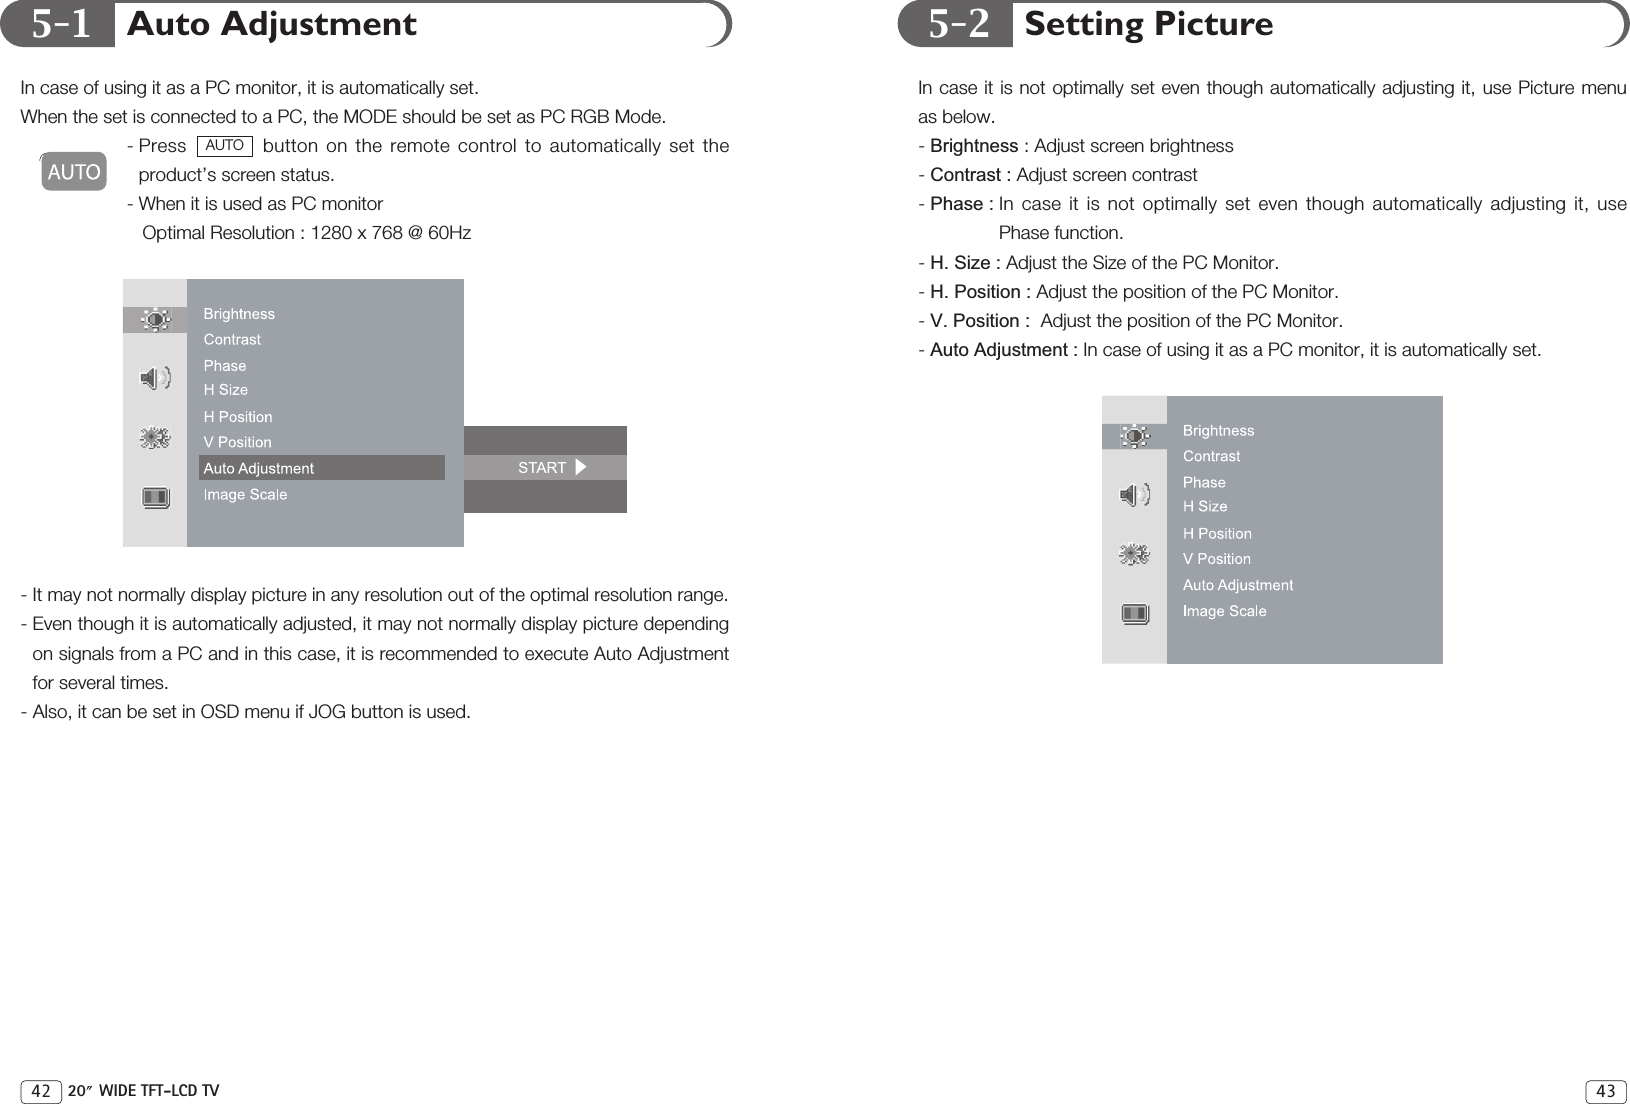
![CHAPTER 2. ConnectionCHAPTER 3. Using TV Menus76 20 WIDE TFT-LCD TVCHAPTER 1. Before Use1-1. Accessories1-2. Panels1-3. Remote Control1-4. Menu Configuration1-5. Jog Shuttle Button1-6. Inserting the Batteries in the Remote Control2-1. Connecting Power2-2. Connecting TV Antenna2-3. Connecting PC2-4. Connecting DVD2-5. Connecting HDTV2-6. Connecing VIDEO / S-VIDEO2-7. Connecting Headphone (Speaker)3-1. Watching TV3-2. Channel Search & Fine Tune3-3. Add/Remove Channel3-4. Channel Swap3-5. Change TV Channel Mode3-6. Closed Caption3-7. V-Chip Function3029282623222221212020161411101818313233ContentsOperating Temperature 0~40˚CStorage Temperature -10~50˚COperating Humidity 10~60% RHStorage Humidity 10~90% RHFor dot defect [dead pixel] of LCD ;TFT-LCD produced by using high-end semiconductor technology with precision of99.9% above is used for this TV (3,147,264 pixels). However the pixels of R.G.B. & White color seem to be right sometimes or some ofblack pixels could be seen on the LCD. This is not from bad quality or functionalproblem and you can use it without any problem.When used as a PC monitor ;Optimal Resolution: 1280 768 @ 60Hz. Available Temperature & Humidity](https://usermanual.wiki/Digital-Cynos/DCM-20WT/User-Guide-598824-Page-4.png)