My Google Pay Integration Guide V1.1.1
User Manual:
Open the PDF directly: View PDF ![]() .
.
Page Count: 22
Google Pay™ - Merchant IntegrationGuide
Version: 1.1.1
Copyright © Moneris Solutions, 2017
All rights reserved. No part of this publication may be reproduced,
stored in retrieval systems, or transmitted, in any form or by any means,
electronic, mechanical, photocopying, recording, or otherwise, without
the prior written permission of Moneris Solutions Corporation.
Google Pay™ - Merchant IntegrationGuide
Table of Contents
System and Skills Requirements 3
Getting Help 4
1 Getting Started With Google Pay™ 5
1.1 Getting Started – Google Pay™ In-App 5
1.1.1 Building a Google Pay™ Demo App 5
1.1.2 Integrating Your Demo App with Moneris Gateway 6
1.2 Getting Started – Google Pay™ Web 7
1.2.1 Building a Google Pay™ Web Demo Checkout Page 7
1.2.2 Integrating Your Demo Checkout Page With Moneris Gateway 8
2 Building Transactions in Google Pay™ 10
2.1 Google Pay™ Transaction Types 10
2.2 Transaction Request Builder 10
2.3 Recurring Billing Transactions – Recur Builder 11
2.4 Google Pay™ Transaction Process Flow 12
3 Testing Your Solution - Google Pay™ 13
3.1 Testing Your Google Pay™ In-App Integration 13
3.2 Testing Your Google Pay™ Web Integration 13
3.3 Getting a Unique Test Store ID and API Token 13
3.4 Test Store Credentials 14
3.5 Getting the Web Merchant Key for Google Pay™ Web 14
4 Moving to Production for Google Pay™ 15
4.1 Moving to Production – Google Pay™ In-App 15
4.2 Moving to Production - Google Pay™ Web 15
4.3 Requesting Production Access from Google 15
4.4 Getting a Production Store ID and API Token 16
4.5 Configuring Your Store for Production – In-App 16
4.6 Configuring Your Store for Production – Web 16
5 Verifying Your Transactions 17
Appendix A Definition of Response Fields 18
Appendix B Security Requirements 22
October 2018

Google Pay™ - Merchant IntegrationGuide
System and Skills Requirements
lAndroid Studio Version 2.2 or higher
lKnowledge of Java
lAndroid OSKit Kat (4.4) or higher
lRefer toGoogle Pay documentation for information on supported browsers
lYour Store ID and APItoken (testing and production)from Moneris
October 2018
Google Pay™ - Merchant IntegrationGuide
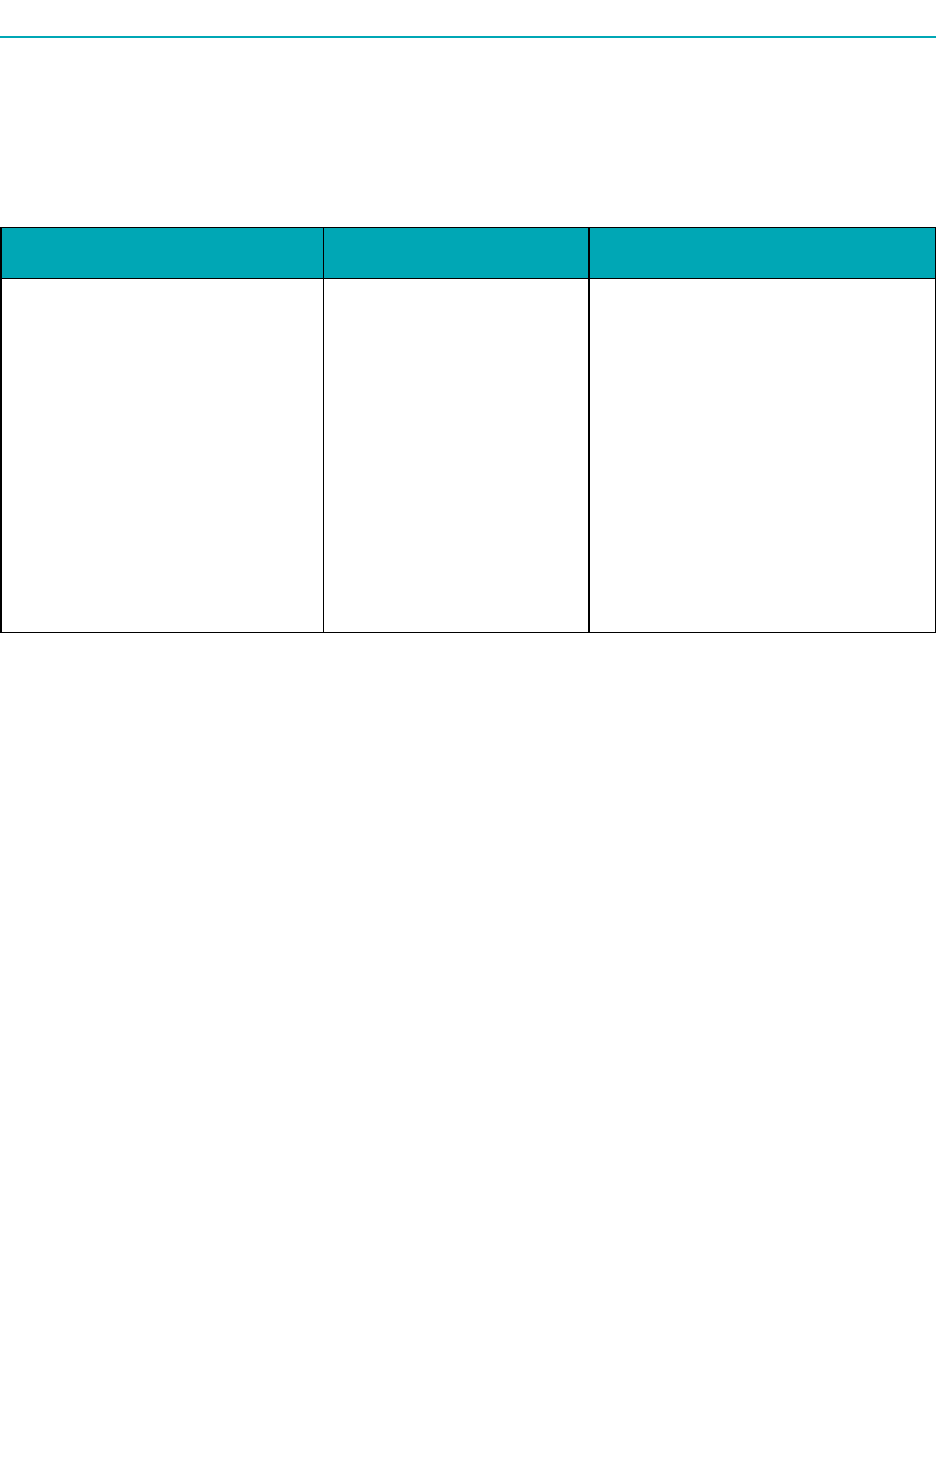
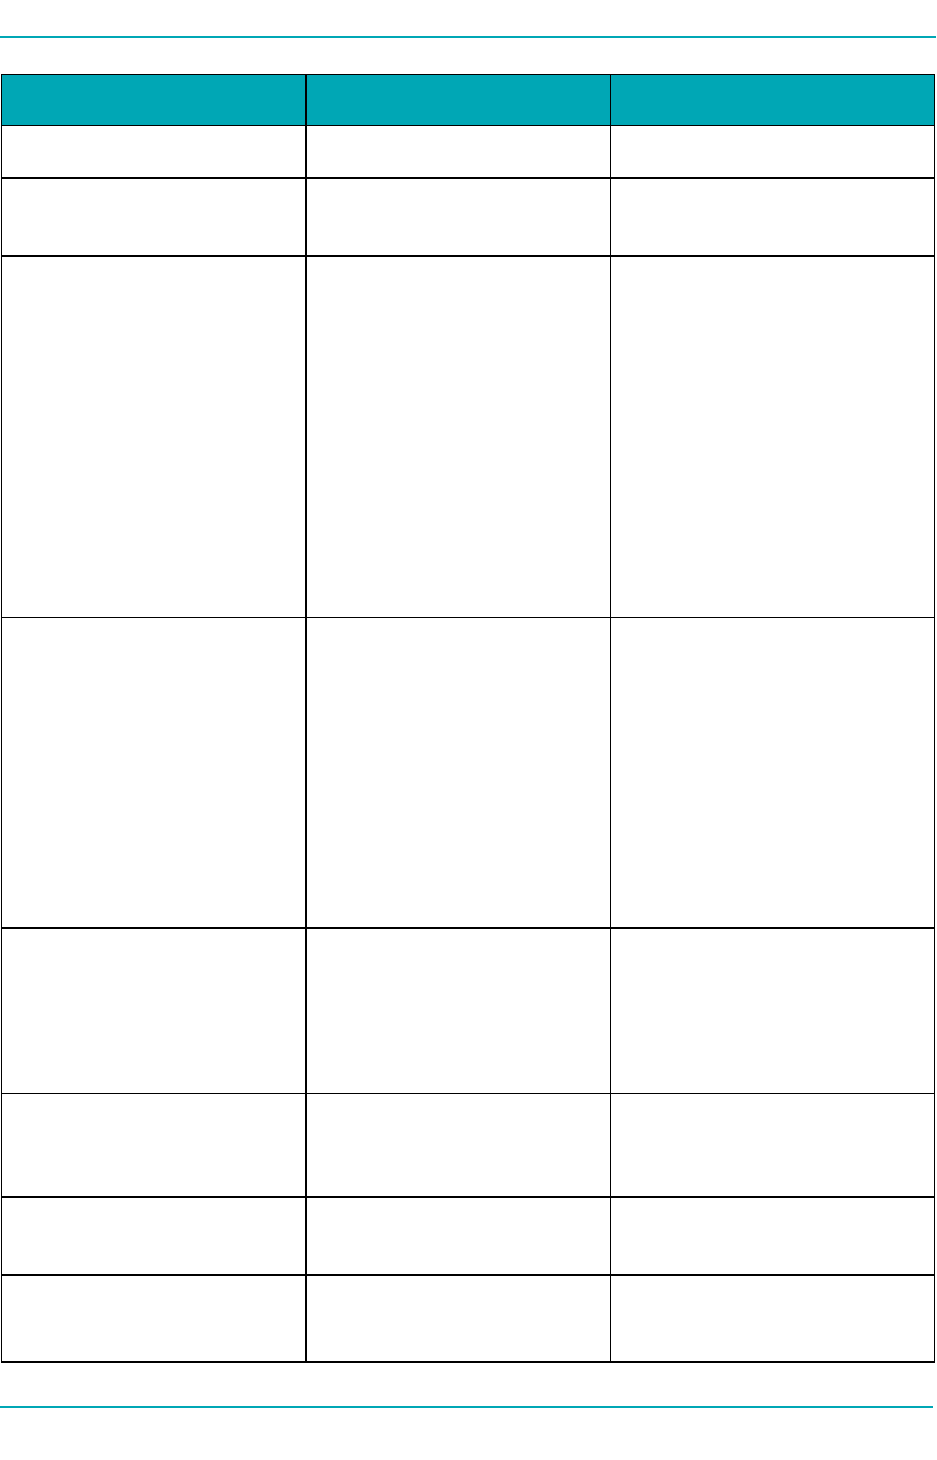
Getting Help
Moneris has help for you at every stage of the integration process.
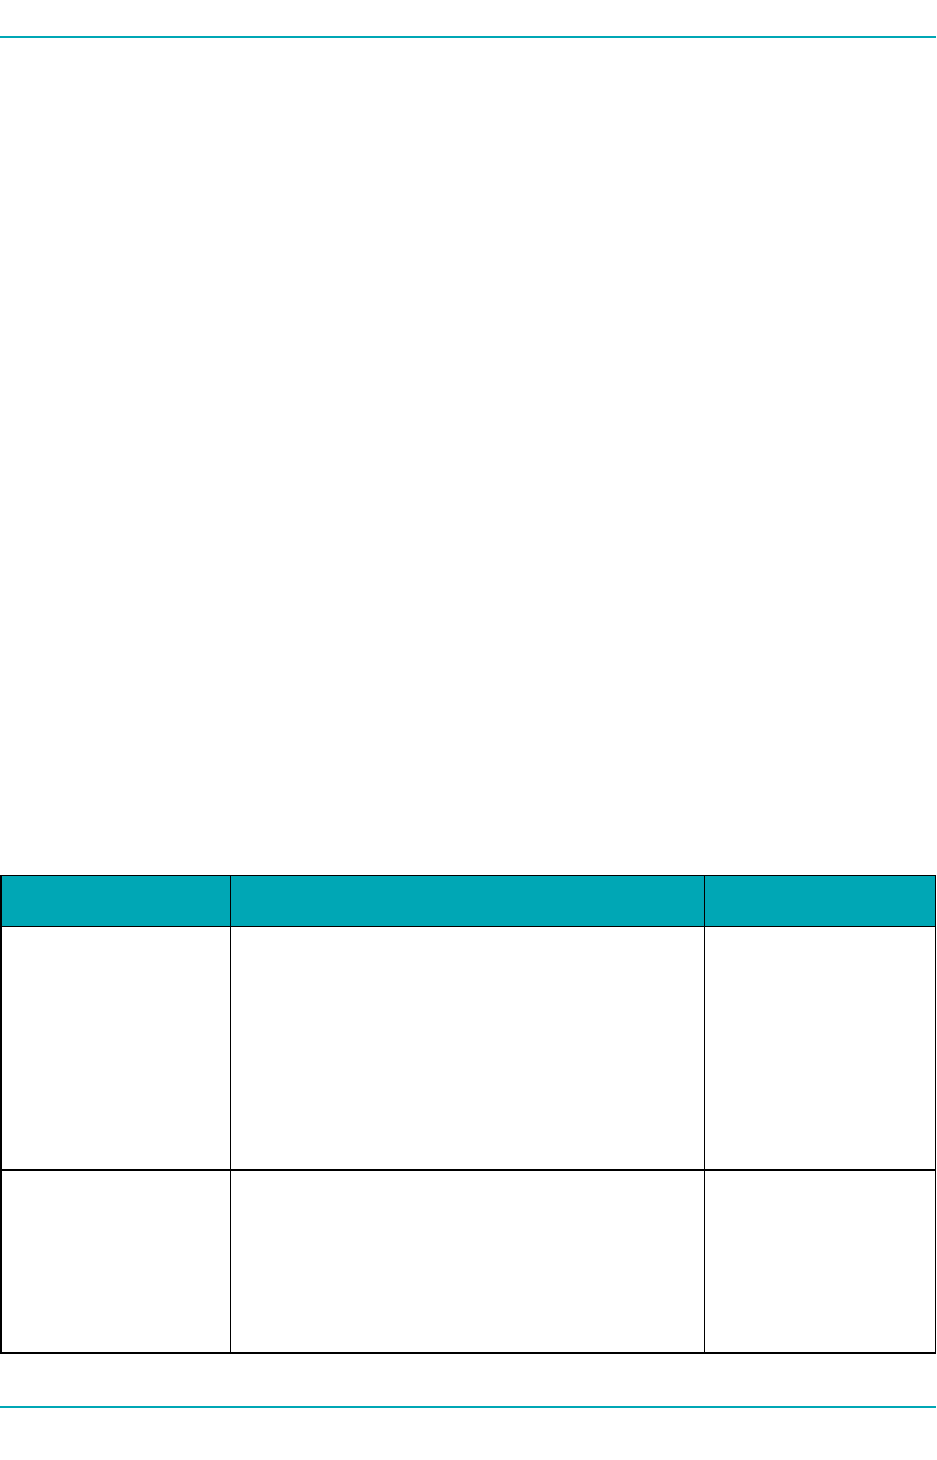
Getting Started During Development Production
Contact our Client
IntegrationSpecialists:
clientintegrations@moneris.com
Hours:Monday – Friday, 8:30am
to 8 pm ET
If you are already working
with an integration spe-
cialist and need technical
development assistance,
contact our eProducts
Technical Consultants:
1-866-319-7450
eproducts@moneris.com
Hours: 8am to 8pm ET
If your application is already live
and you need production support,
contact Moneris Customer Service:
onlinepayments@moneris.com
1-866-319-7450
Available 24/7
For additional support resources, you can also make use of our community forums at
http://community.moneris.com/product-forums/
October 2018
1 Getting Started With Google Pay™
1 Getting Started With Google Pay™
In order to integrate your Google Pay™ payment solution with Moneris, there are a few basic tasks you
need to do:
For Google Pay™ In-App, follow these steps:
1. Build a demo application for Google Pay™ In-App SDK
2. Customize your demo app's code to work with the Moneris Gateway
3. Compile and run your application
4. Verify the transactions using the Merchant Resource Center.
For Google Pay™ Web, follow these steps:
1. Build a demo web checkout page for Google Pay™Web
2. Customize your demo site's code to work with the Moneris Gateway
3. Compile and run your application
4. Verify the transactions using the Merchant Resource Center.
For additional information on Google Pay™ development, consult Google's developer site:
In-App (Android):https://developers.google.com/pay/api/android/
Web: https://developers.google.com/pay/api/web/
1.1 Getting Started – Google Pay™ In-App
l1.1.1 Building a Google Pay™ Demo App
l1.1.2 Integrating Your Demo App with Moneris Gateway
1.1.1 Building a Google Pay™ Demo App
A demo checkout application is required as part of the integration process for Google Pay™. Google
provides code for a Google Pay™ demo application to make it easy.
To build a Google Pay demo application:
1. Go toGoogle's Google Pay quick start page on Github at https://github.com/google-
pay/android-quickstart
2. Git clone the Android-Quickstart library to your computer
3. Unzip the project library
4. Open Android Studio and import this project as a gradle project
5. Sync the gradle
October 2018 Page 5 of 22

Google Pay™ - Merchant IntegrationGuide
1.1.2 Integrating Your Demo App with Moneris Gateway
To begin testing your integration, you need to modify code in your Google Pay™ demo application pro-
ject to enable it to communicate with the Moneris Gateway.
To integrate your demo app with the Moneris Gateway, do the following:
1. In the file Constants.java,
a. set the GATEWAY_TOKENIZATION_NAME to "moneris"
b. change exampleGatewayMerchantId to your testing Store ID
2. In the file CheckoutActivity.java
a. in the sectionLOAD_PAYMENT_DATA_REQUEST_CODEof onActivityResult, replace this
code
PaymentData paymentData = PaymentData.getFromIntent(data);
handlePaymentSuccess(paymentData);
with the following field after the PaymentData is received:
PaymentData paymentData = PaymentData.getFromIntent(data);
try {
com.moneris.googlepay.api.Recur recurInfo = new Recur.Builder()
.setRecurAmount("1.00") // Amount to be
sent when managed recur transaction is triggered
.setStartDate("2018/09/01") // First day
the recurring starts
.setStartNow("false") // true to charge
the transaction amount now or false to register the sequence
.setNumRecurs("5") // Number of recurs
.setPeriod("day") // The period for the
recur, can be "day", "week", "month", or "eom"
.build();
com.moneris.googlepay.api.Purchase purchase = (com.moneris.googlepay.api.Purchase) new
com.moneris.googlepay.api.Request.Builder()
.setTransactionType(Constants.TransactionCode.PURCHASE)
// Mandatory
.setOrderId("GooglePayTest-"+new Date().getTime()) // Man-
datory, must be unique for all transactions
.setPaymentData(paymentData) // Mandatory, data returned
from Google
.setAmount(PaymentsUtil.microsToString(mBikeItem.-
getPriceMicros()+mShippingCost)) // Transaction amount processed
.setRecur(recurInfo) // Optional, only apply to recurring
registration
.setCustId("Customer 1") // Optional, to display Customer
Id for transaction
.build();
// Transaction transport structure
com.moneris.googlepay.api.MonerisHttpsPost monerisHttpsPost = new com.-
moneris.googlepay.api.MonerisHttpsPost.Builder()
.setStoreId(com.-
google.android.gms.samples.wallet.Constants.GATEWAY_TOKENIZATION_PARAMETERS.get(0).second)
// Mandatory, should be securely stored.
.setApiToken
("spedguy") // Mandatory, should be securely stored.
.setRequest(purchase)
Page 6 of 22 October 2018

1 Getting Started With Google Pay™
// Mandatory from line above
.setTestMode(true) //
Optional, default is testMode false;
.build();
// Send transaction
com.moneris.googlepay.api.Response resp = monerisHttpsPost.send();
// Simple test to check if transaction is approved.
int numRespCode = Integer.parseInt(resp.getResponseCode());
if ( numRespCode < 50 )
{
// Approved complete the transaction.
handlePaymentSuccess(paymentData);
}
else
{
// Declined transaction
handleError(numRespCode);
}
}
catch (Exception ex)
{
Log.e("ERROR", "Failed to send transaction with error: "+ex.getMessage());
// send -1 for a catch all error
handleError(-1);
}
b. in the code snippet above, change the exampleApiToken value to your testing APItoken
1.2 Getting Started – Google Pay™ Web
l1.2.1 Building a Google Pay™ Web Demo Checkout Page
l1.2.2 Integrating Your Demo Checkout Page With Moneris Gateway
1.2.1 Building a Google Pay™ Web Demo Checkout Page
A demo website checkout page is required as part of the integration process for Google Pay™ Web.
Google provides code for a Google Pay™-enabled demo checkout page to make it easy.
To build a Google Pay™ Web demo checkout page:
1. Go toGoogle's developer tutorial page for Google Pay Web at
https://developers.google.com/pay/api/web/guides/paymentrequest/tutorial
2. Copy the code shown under the subheading "Putting it all together" and paste it into your code
editor
3. After the initial div, add the following script tag:
<script async src="https:/ <script async
src="https://esqa.moneris.com/googlepay/googlepay-api.js"
onload="MonerisGooglePay.onReady()"></script>
October 2018 Page 7 of 22

Google Pay™ - Merchant IntegrationGuide
4. Below that script, add a div with the id "moneris-google-pay", substituting your test values for
Store ID and Web Merchant Key in place of the store-id and web-merchant-key as shown below:
<div id="moneris-google-pay" store-id=”MONERIS-GATEWAY-STORE-ID" web-
merchant-key=”WEB-MERCHANT-KEY"></div>
5. In function onBuyClicked, under createPaymentRequest(), insert these lines:
paymentData["orderId"] = "Unique Order Id”;
paymentData["amount"] = “Same as GoogleTransactionInfo()[‘TotalPrice’]”
1.2.2 Integrating Your Demo Checkout Page With Moneris Gateway
To begin testing your integration, you need to modify code in your Google Pay™ Web demo checkout
page project to enable it to communicate with the Moneris Gateway.
To integrate your demo checkout page with the Moneris Gateway, do the following:
1. In the code for your demo checkout page, in the object tokenizationSpecification:
a. Set the parameter gateway to the value to 'moneris'
b. Set gatewayMerchantId to your test store ID value
2. After the initial div, add the following script tag:
<script async src="https:/ <script async
src="https://esqa.moneris.com/googlepay/googlepay-api.js"
onload="MonerisGooglePay.onReady()"></script>
3. Below that script, add a div with the id "moneris-google-pay", substituting your test values for
Store ID and Web Merchant Key in place of the values for store-id and web-merchant-key as
shown below:
<div id="moneris-google-pay" store-id=”MONERIS-GATEWAY-STORE-ID" web-
merchant-key=”WEB-MERCHANT-KEY"></div>
4. In function onBuyClicked, under createPaymentRequest(), insert these lines:
paymentData["orderId"] = "Unique Order Id”;
paymentData["amount"] = “Same as GoogleTransactionInfo()[‘TotalPrice’]”
5. In the same function onBuyClicked, underneath the line .then(function(response) {, add
the code below to call the transaction builder, as shown for a Purchase transaction:
MonerisGooglePay.purchase(paymentData, function(response) {
if ( response && response.receipt && response.receipt.ResponseCode
&& !isNaN(response.receipt.ResponseCode) )
{
if ( parseInt(response.receipt.ResponseCode) < 50 ) {
alert("Looks like the transaction is approved.");
}
else {
alert("Looks like the transaction is declined.");
}
}
else {
Page 8 of 22 October 2018

1 Getting Started With Google Pay™
throw ("Error processing receipt.");
}
});
October 2018 Page 9 of 22
2 Building Transactions in Google Pay™
2 Building Transactions in Google Pay™
2.1 Google Pay™ Transaction Types
The Moneris Gateway can process the following transaction types via integration with the Google Pay™
In-App and Google Pay™ Web SDK:
lGoogle Pay Purchase
lGoogle Pay Pre-Authorization
lRecurring Billing transactions
Transactions are carried out by automated builders according to Google's current development stand-
ards for applications.
lThe transaction request builder will build out Google Pay Purchase and Google Pay Pre-Author-
ization transactions
lThe Recur builder creates the Recur object, which contains the details of a recurring transaction
lThe Moneris httpspost builder performs the necessary communications between the Moneris
Gateway and Google Pay™.
2.2 Transaction Request Builder
Transaction requests inGoogle Pay are built by Google's transaction request builder. Below are the
request variables which get built into the transaction request.
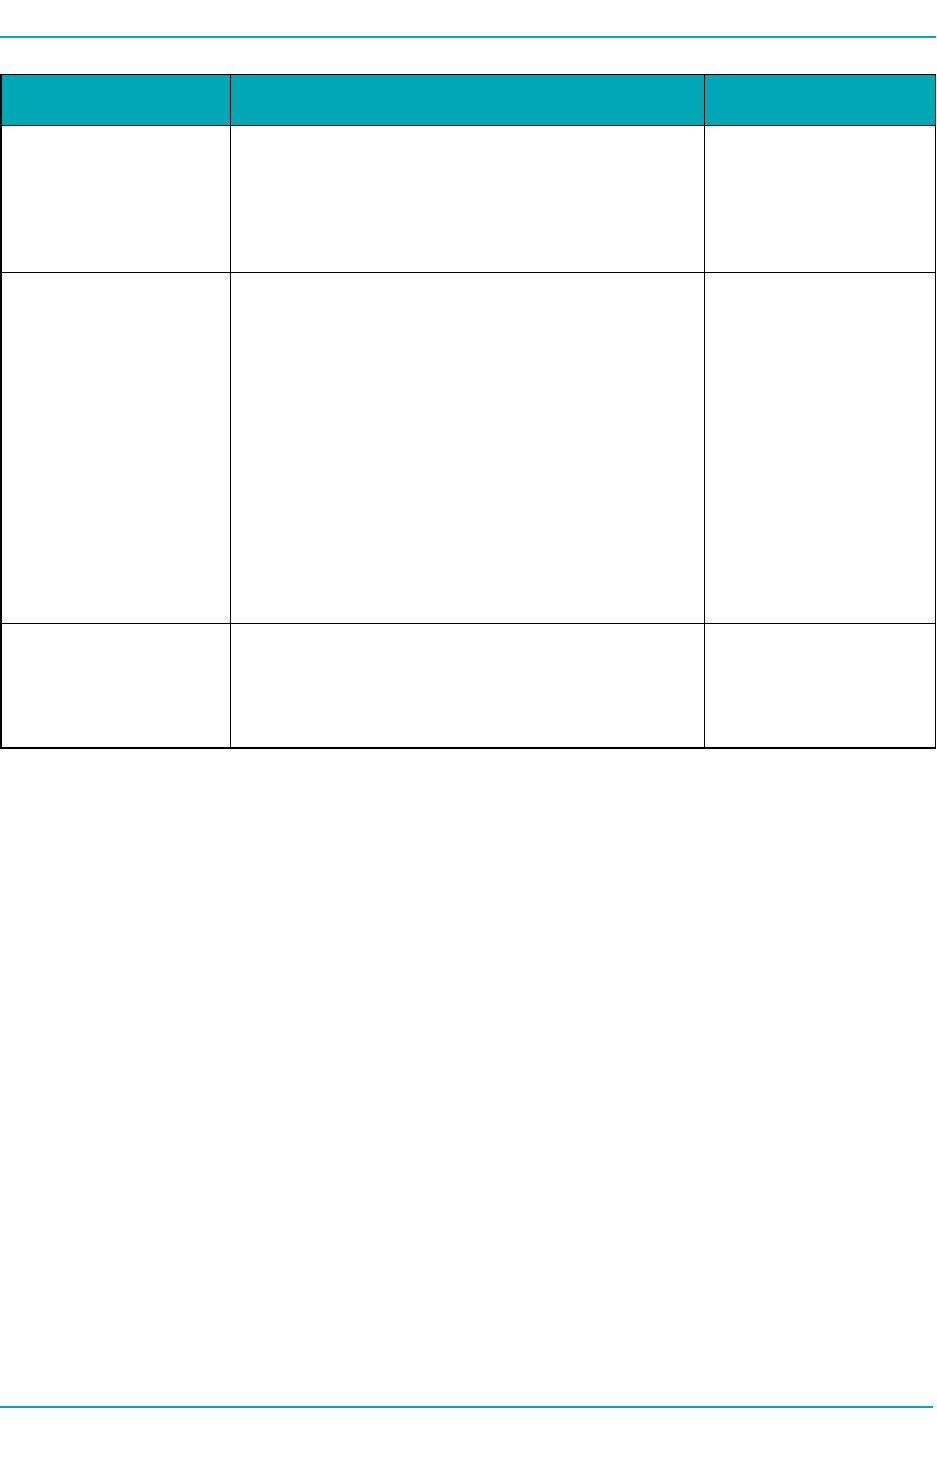
Variable Set Method Description
TransactionType .setTransactionType
(Constants.TransactionCode.PURCHASE)
The type of trans-
action being sent
Possible values:
PURCHASE
PREAUTH
OrderID .setOrderId("GooglePayTest-"+new Date
().getTime()
Merchant-defined
transaction identifier
that must be unique
for every Google Pay
Purchase and Google
Pay Pre-Authorization
Table 1: Transaction Request Variables – Required Fields
October 2018 Page 10 of 22
Google Pay™ - Merchant IntegrationGuide
Variable Set Method Description
transaction
No two transactions of
these types may have
the same order ID
Payment Data .setPaymentData(data) Object representing
the payment data
response
fromGoogle, which
contains the neces-
sary payment result to
complete the pay-
ment
For more on this, see
Google's APIsfor
Android doc-
umentation
Amount .setAmount
(PaymentsUtil.microsToString
(mBikeItem.getPriceMicros
()+mShippingCost))
Transaction amount
2.3 Recurring Billing Transactions – Recur Builder
For Recurring Billing transactions, you should send the optional Recur value in the Purchase request.
Page 11 of 22 October 2018
2 Building Transactions in Google Pay™
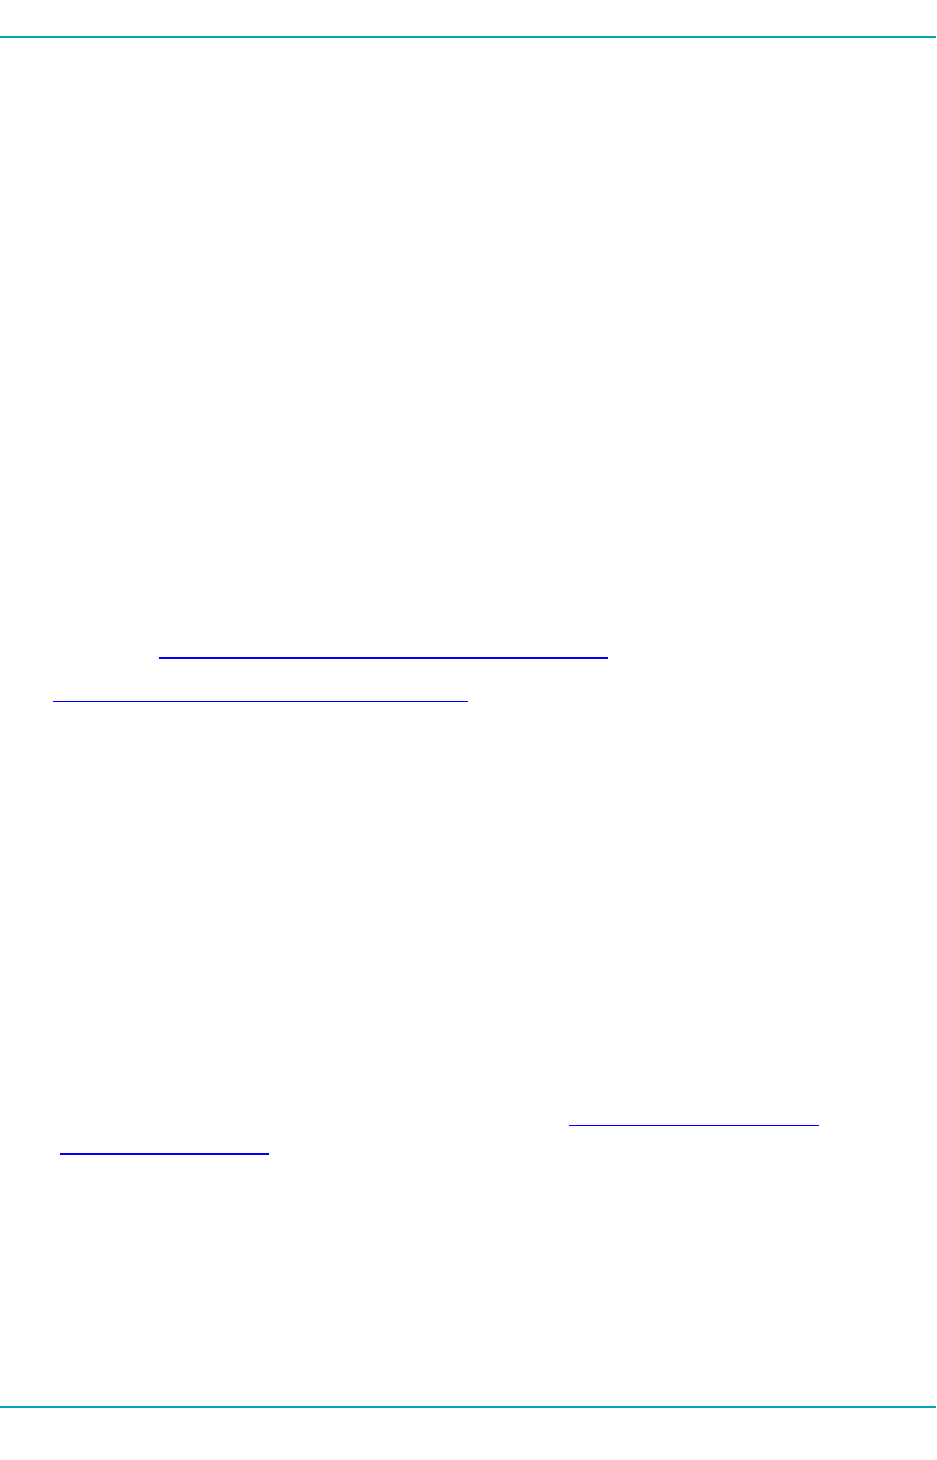
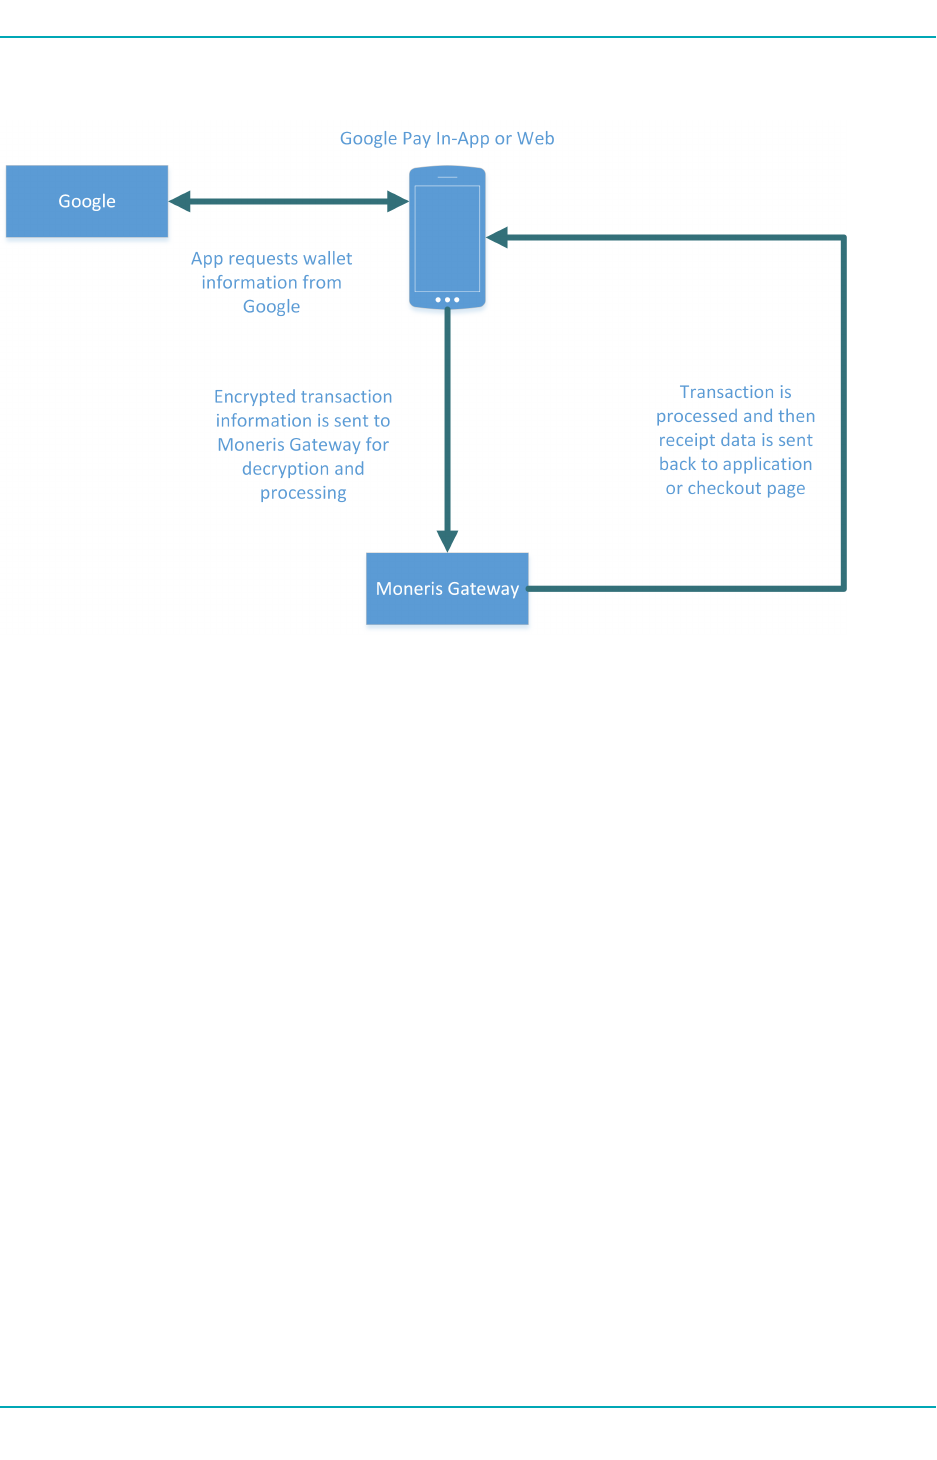
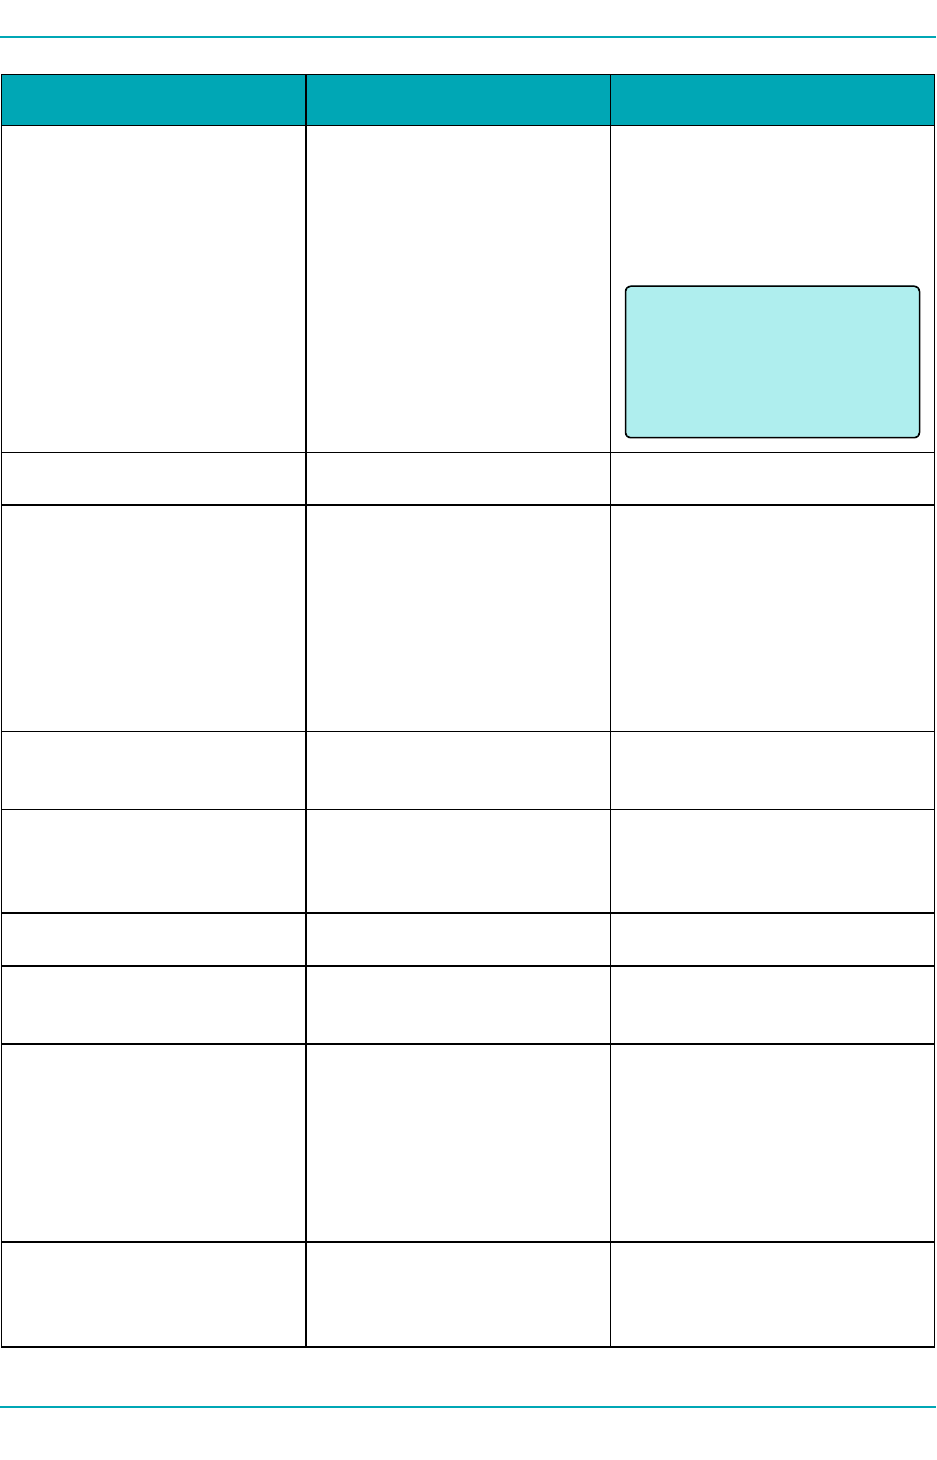
2.4 Google Pay™ Transaction Process Flow
October 2018 Page 12 of 22

Google Pay™ - Merchant IntegrationGuide
3 Testing Your Solution - Google Pay™
l3.1 Testing Your Google Pay™ In-App Integration
l3.2 Testing Your Google Pay™ Web Integration
l3.3 Getting a Unique Test Store ID and API Token
l3.4 Test Store Credentials
l3.5 Getting the Web Merchant Key for Google Pay™ Web
3.1 Testing Your Google Pay™ In-App Integration
Once you have built your Google Pay™ demo app, you can test your Google Pay™ In-App integration
with the Moneris Gateway.
For testing, you will need to have:
lGoogle Wallet with a valid payment card added to the wallet
lTest APItoken and store ID fromMoneris
3.2 Testing Your Google Pay™ Web Integration
Once you have built your Google Pay™ demo checkout page, you can test your Google Pay™ Web integ-
ration with the Moneris Gateway.
For testing, you will need to have:
lGoogle Wallet with a valid payment card added to the wallet
lTest APItoken and store ID fromMoneris
lGoogle Pay™ web merchant key from Moneris
3.3 Getting a Unique Test Store ID and API Token
Transactions requests via the Moneris Gateway API will require you to have a Store ID and a cor-
responding APItoken.
For testing purposes, you can either use the pre-existing test stores with the corresponding test
APItokens, or you can create your own unique test APItoken and a unique test store where you will only
see your own transactions.
To get your unique Store IDand APItoken for testing:
1. Log in to the Developer Portal at https://developer.moneris.com
2. In the MyProfile dialog, click the FullProfile button
Page 13 of 22 October 2018
3 Testing Your Solution - Google Pay™
3. Under My Testing Credentials, select RequestTesting Credentials
4. Enter your Developer Portal password and select your country
5. Record the Store IDand APItoken that are given, as you will need them for logging in to the Mer-
chant Resource Center (StoreID) and for APIrequests (APItoken).
Alternatively, you can use the pre-existing test stores already set up in the Merchant Resource Center as
described in 3.4 Test Store Credentials.
For production, you will use the StoreID given to you in your Moneris activation letter and an APItoken
retrieved from the production Merchant Resource Center. For more on this, see 4.4 Getting a Production
Store ID and API Token.
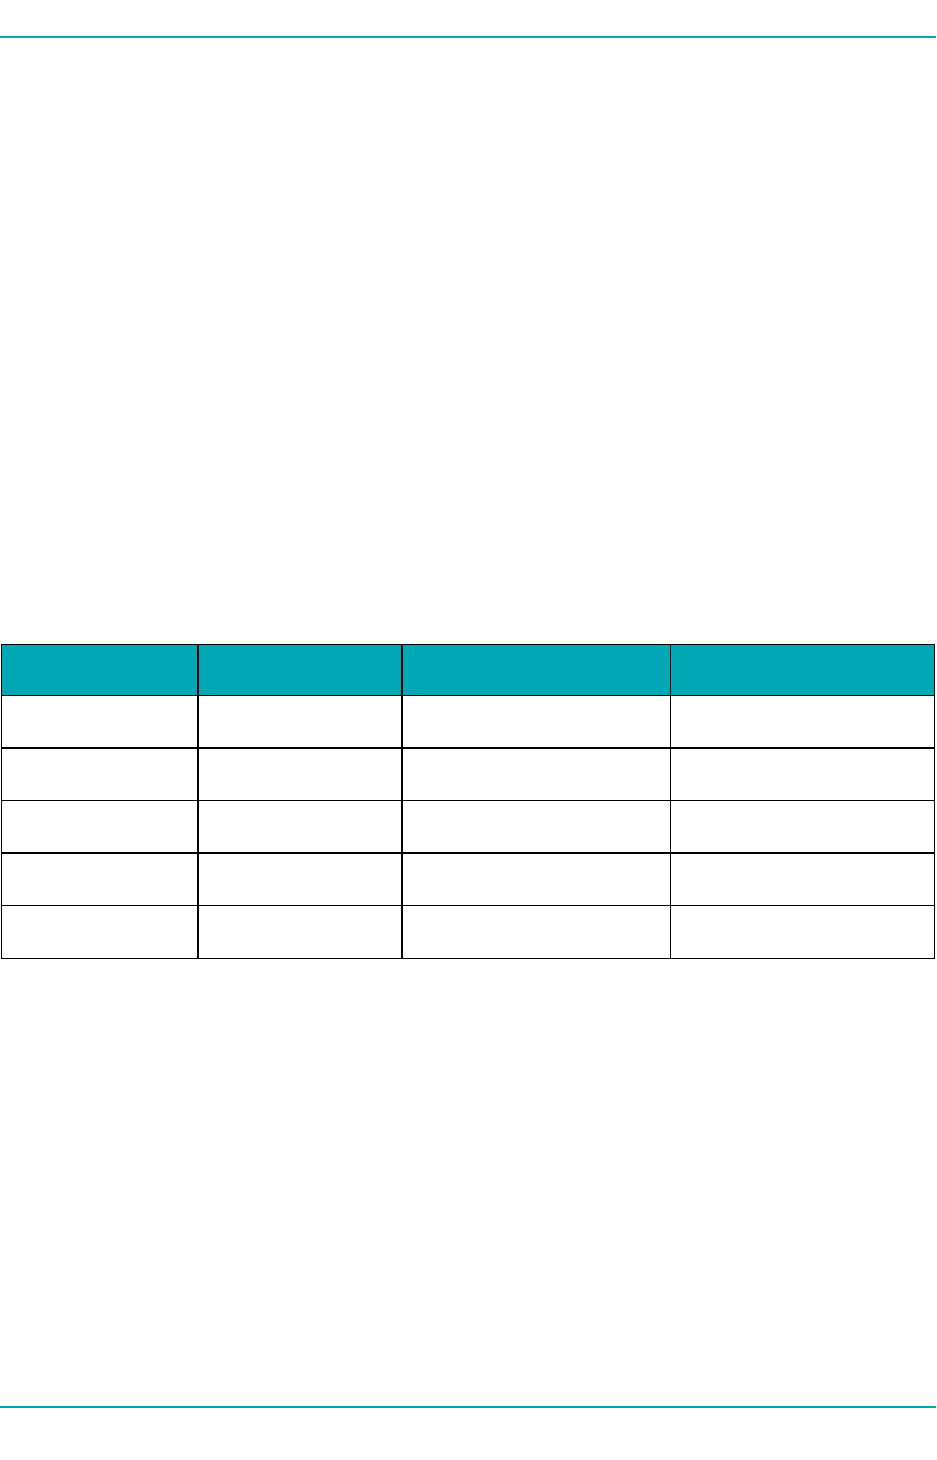
3.4 Test Store Credentials
For testing purposes, you can either use the pre-existing test stores with the corresponding test
APItokens, or you can create your own unique test APItoken and a unique test store where you will only
see your own transactions. If you want to use pre-existing stores, use the test credentials provided in the
following tables.
Store ID APIToken MRCUsername MRCPassword
store1 yesguy demouser password
store2 yesguy demouser password
store3 yesguy demouser password
store4 yesguy demouser password
store5 yesguy demouser password
Table 1: Test Server Credentials - Canada
Alternatively, you can create and use a unique test store where you will only see your own
transactions.For more on this, see 3.3 Getting a Unique Test Store ID and API Token
3.5 Getting the Web Merchant Key for Google Pay™ Web
You can find your Google Pay Web Merchant Key in the Moneris Merchant Resource Center under
Admin >Google Pay at:
Testing:https://esqa.moneris.com/mpg
Production:https://www3.moneris.com/mpg
Use the Web Merchant Key that corresponds to whichever stage of development you are in (testing vs.
production).
October 2018 Page 14 of 22
4 Moving to Production for Google Pay™
4 Moving to Production for Google Pay™
l4.1 Moving to Production – Google Pay™ In-App
l4.2 Moving to Production - Google Pay™ Web
l4.3 Requesting Production Access from Google
l4.4 Getting a Production Store ID and API Token
l4.5 Configuring Your Store for Production – In-App
l4.6 Configuring Your Store for Production – Web
4.1 Moving to Production – Google Pay™ In-App
In order to move your Google Pay™ In-App SDKsolution into production, gather the following cre-
dentials:
lYour production Store ID, given in the activation letter sent to you by Moneris
lYour productionAPItoken, obtained in the production Merchant Resource Center. To learn how,
see Getting a Production Store ID and API Token (page 1)
Once you have these credentials, the next step is to configure your production store to work with the
Moneris Gateway. To learn how, see 4.5 Configuring Your Store for Production – In-App.
4.2 Moving to Production - Google Pay™ Web
In order to move your Google Pay™ Websolution into production, gather the following credentials:
lYour production Store ID, given in the activation letter sent to you by Moneris
lYour productionAPItoken, obtained in the production Merchant Resource Center. To learn how,
see 4.4 Getting a Production Store ID and API Token
lProduction access fromGoogle. To learn how, see 4.3 Requesting Production Access from Google
4.3 Requesting Production Access from Google
Once you have completed testing your Google Pay integration, you must request production access
from Google. Google will evaluate your integration against their integration checklist.
Both the integration checklist and the production access request are found onGoogle's developer site at:
In-App
https://developers.google.com/pay/api/android/guides/test-and-deploy/integration-checklist
Web
https://developers.google.com/pay/api/web/guides/test-and-deploy/integration-checklist
October 2018 Page 15 of 22

Google Pay™ - Merchant IntegrationGuide
4.4 Getting a Production Store ID and API Token
In production, you use the Store IDthat was given in your activation letter from Moneris. You obtain the
production APItoken from the production Merchant Resource Center.
To get your production APItoken:
1. If you have not already done so, activate your production account at
https://www.moneris.com/activate
The activation process provides you with your first administrator user for the Merchant Resource
Center.
2. Once activated, log in to the production Merchant Resource Center at
https://www3.moneris.com/mpg
3. Select the Admin menu and choose Settings. Your production APItoken is located under the
APItoken heading on the page.
4.5 Configuring Your Store for Production – In-App
Once you have completed your testing you are ready to point your store to the production host. You do
this by changing the values of your Store IDand APItoken from their testing values to the production val-
ues.
To configure your store for production:
1. In the file Constants.java,
a. change exampleGatewayMerchantId to your production Store ID
2. In the file CheckoutActivity.java,
a. change the exampleApiToken value to your production APItoken
b. change setTestMode to (false)
4.6 Configuring Your Store for Production – Web
In the code for your demo Google Pay™ checkout page, change testing values to production values:
1. In the object tokenizationSpecification, set the parameter gatewayMerchantId to your pro-
duction store ID
2. In the div with the id "moneris-google-pay", change the values for store-id and web-mer-
chant-key to your production store ID and production web merchant key
Page 16 of 22 October 2018

5 Verifying Your Transactions
5 Verifying Your Transactions
To verify your transactions have processed:
1. Log in to the Merchant Resource Center at https://esqa.moneris.com/mpg (testing) or
https://www3.moneris.com/mpg (production)
2. Find your transactions under Reports >Transactions
October 2018 Page 17 of 22

Appendix A Definition of Response Fields
Appendix A Definition of Response Fields
Variable Size/Type Description
ReceiptId 50-character alphanumeric The order id specified in the
request will be echoed back in
the response. This field is recom-
mended to be displayed on the
receipt for tracking and
troubleshooting purposes.
ReferenceNum 18-character numeric This is a bank transaction ref-
erence number. The entire ref-
erence number must be
displayed on the receipt. This
information should also be
stored by the merchant. The fol-
lowing illustrates the breakdown
of this field where
"660123450010690030” is the ref-
erence number returned in the
message.
660123450010690030
• 66012345: Terminal ID
• 001: Shift number
• 069: Batch number
• 003: Transaction number
within the batch.
ReponseCode 3-character numeric Transaction Response Code < 50:
Transaction approved >= 50:
Transaction declined NULL: Trans-
action was not sent for author-
ization
Custom Google Pay™ Response
Code 900:Global Error means
that Moneris Gatewaywas
unable to decrypt payload.
Table 1: Definition of Response Variables - Google Pay™
October 2018 Page 18 of 22
Google Pay™ - Merchant IntegrationGuide
Variable Size/Type Description
ISO 2-character numeric ISO response code
AuthCode 8-character alphanumeric Authorization code returned
from the issuing institution
TransTime HH:II:SS Processing host time stamp.
Time of the transaction. Must be
displayed on the transaction
receipt.
HH = 2-digit hour, 24 hour clock
(“0” left padded | 02 = 2am, 14 =
2pm)
II = 2-digit minute (“0” left pad-
ded)
SS = 2-digit seconds (“0” left pad-
ded
TransDate YYYY-MM-DD Processing host date stamp.
Date of the transaction. Must be
displayed on the transaction
receipt.
YYYY = 4-digit year
MM = 2-digit month (“0” left pad-
ded | Jan = 01)
DD = 2 digit day of month (“0”
left padded)
TransType alphanumeric Type of transaction that was per-
formed
00 = Purchase
01 = Pre-authorization
Complete true/false Transaction was sent to author-
ization host and a response was
received
Message 100-character alphanumeric Response description returned
from issuing institution
TransAmount nnnnnnN.NN Returns the amount sent in
request for processing. The
Page 19 of 22 October 2018
Appendix A Definition of Response Fields
Variable Size/Type Description
9-character decimal (variable
length)
amount represents the amount
that the cardholder was
charged/refunded. The amount
must be displayed on the
receipt.
NOTE:
The amount will always contain one (1)
dollar value and two (2) cent values sep-
arated by a period “.”.
N = always returned
n = returned when required
TransID 20-character alphanumeric Gateway Transaction identifier
CardType 2-character alphanumeric Credit Card Type
M =MasterCard
V = Visa
AX = American Express
P= INTERAC®
TimedOut true/false Transaction failed due to a pro-
cess timing out
BankTotals Object Response data returned in a
Batch Close and Open Totals
request.
Ticket n/a Reserved field
CorporateCard true/false Indicates whether the card is a
corporate card or not
CAVV 40-character alphanumeric Decrypted CAVV value for the
transaction
Returned for Google Pay™
Purchase/Pre-Authorization
transaction if payload is suc-
cessfully decrypted
IsVisaDebit true/false/null Indicates whether the card that
the transaction was performed
on is Visa debit
October 2018 Page 20 of 22
Google Pay™ - Merchant IntegrationGuide
Variable Size/Type Description
true = Card is Visa Debit
false = Card is not Visa Debit
null = there was an error in identi-
fying the card
RecurSuccess true/false Indicates whether the trans-
action successfully registered
Page 21 of 22 October 2018
Appendix B Security Requirements
Appendix B Security Requirements
All Merchants and Service Providers that store, process, or transmit cardholder data must comply with
PCI DSS and the Card Association Compliance Programs. However, validation requirements vary by busi-
ness and are contingent upon your "Merchant Level" or "Service Provider Level". Failure to comply with
PCI DSS and the Card Association Compliance Programs 3.2 may result in a Merchant being subject to
fines, fees or assessments and/or termination of processing services. Non-compliant solutions may pre-
vent merchants boarding with Moneris Solutions.
As a Moneris Solutions client or partner using this method of integration, your solution must demon-
strate compliance to the Payment Card Industry Data Security Standard (PCI DSS) and/or the Payment
Application Data Security Standard (PA DSS) 3.2. These standards are designed to help the cardholders
and merchants in such ways as they ensure credit card numbers are encrypted when transmitted/stored
in a database and that merchants have strong access control measures, logging, secure software
updates, secure remote access and support.
For further information on PCI DSS and PA DSS requirements, please visit www.pcisecuritystandards.org.
For more information on how to get your application PCI-DSS compliant, please contact our Integration
Specialists and visit https://developer.moneris.com to view the PCI-DSS Implementation Guide.
October 2018 Page 22 of 22
