HPM Digital Electronic Timer Instructions
User Manual: HPM-Digital-Electronic-Timer-Instructions
Open the PDF directly: View PDF ![]() .
.
Page Count: 4
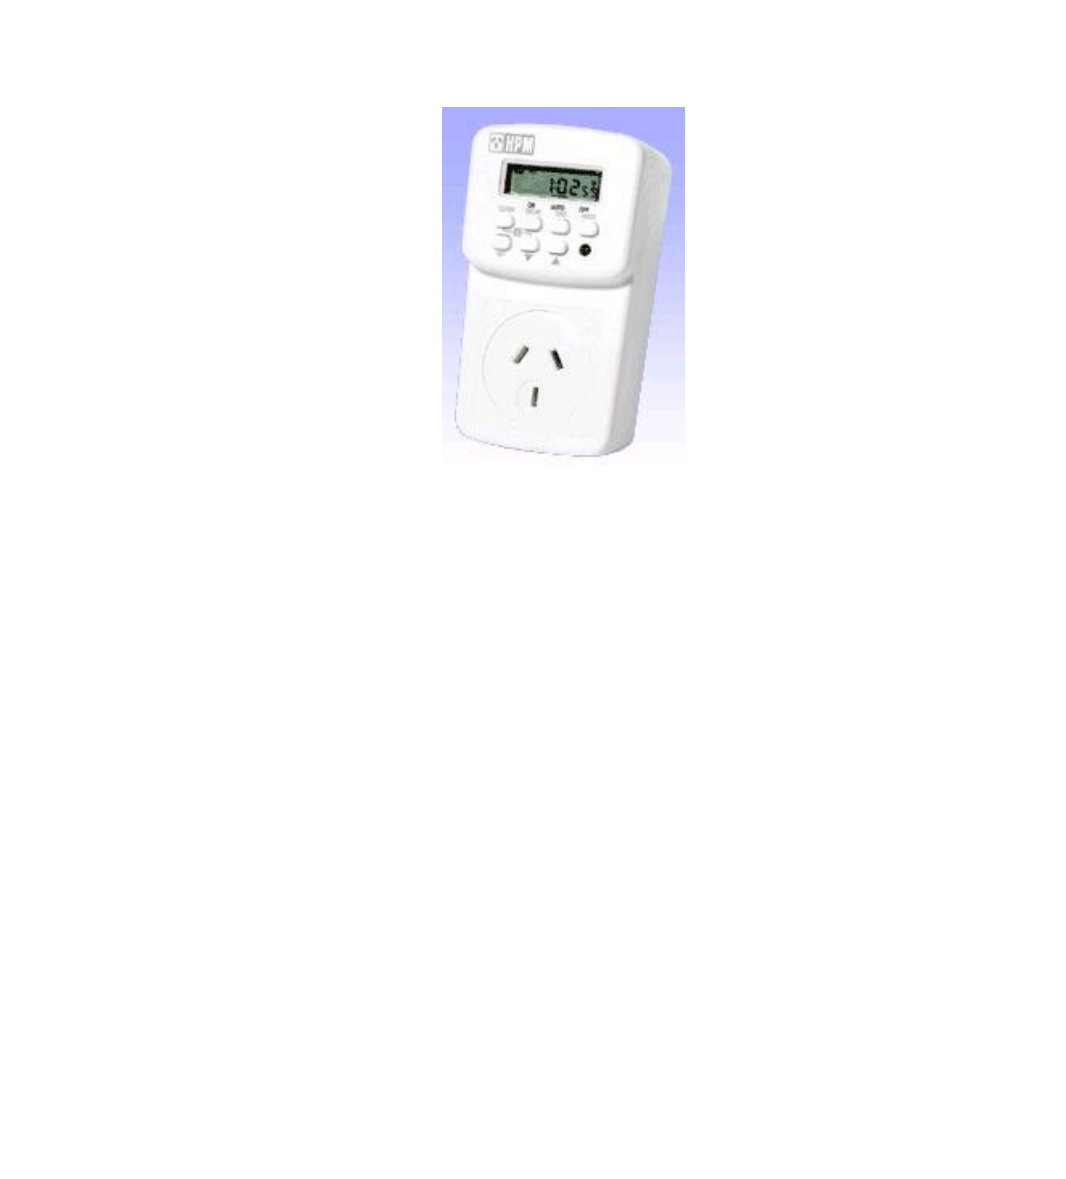
HPM Digital Electronic Timer Instructions
Time Display
To change from 12-hour display to
24-hour display, or vice versa, press
the CLOCK button and hold it until the LCD display changes.
Setting the day and time
Press and hold the SET Button until the day shown on the LCD
flashes.
Press either the ▲ or ▼ button to select the correct day of the
week.
NOTE: Holding down either the ▲ or ▼ button speeds up the
selection process.
Press the SET Button again to confirm your selection.
The hour will now start flashing on the LCD. Repeat steps above
to set the correct hour and repeat again to select the correct
minutes.
Setting the timer
With the timer on Clock mode, press the ▲ button once to
change to Program mode. “1ON” will be shown on the lower left
corner of the LCD. This indicates that Program Block 1 out of a
possible 14 blocks is now selected and the switch ON time can
be set.
http://waterheatertimer.org/Woods-timers-and-manuals-old.html#13568

NOTE: If the timer has been previously programmed the current
setting will appear on the LCD. You can re-set the Digital Timer
at any stage by removing the battery.
Begin programming by pressing the SET button. The LCD will
now show 12:00 or whatever was previously set, and the day(s)
of the week will be flashing.
The timer has pre-set days already programmed into it to make
it easier to program and to maximise the available program
blocks.
Make your selection by pressing the ▲ button and the LCD will
display the following in sequence:
MO TU WE TH FR SA SU (all days of the week selected)
MO→TU→WE→TH→FR→SA→SU (select individual days)
MO WE FR (only Monday, Wednesday and Friday
selected)
TU TH SA (only Tuesday, Thursday and Saturday
selected)
SA SU (only Saturday and Sunday selected)
MO TU WE (only Monday, Tuesday and Wednesday
selected)
TH FR SA (only Thursday, Friday and Saturday selected)
MO TU WE TH FR (everyday but Saturday and Sunday
selected)
MO TU WE TH FR SA (everyday except for Sunday
selected)
You can navigate through the selection sequence by using the▲
or ▼ buttons. Press the SET button to confirm your selection.
The hour now starts to flash on the LCD. Select the desired hour
by using the ▲ or ▼ button. Press the SET button to confirm
your selection.
The minute now starts flashing on the LCD. Select the desired
minute by using the ▲ or ▼ button. Press the SET button to
confirm your selection.
The LCD display should now be steady, with nothing flashing.
This allows you to verify that the correct day/s, hour/s and
minute/s has been entered.
Press the ▲ button to program the switch OFF time. “1OFF” will
be shown on the lower left corner of the LCD. This indicates that
Program Block 1 out of a possible 14 is now selected and the
switch OFF time can now be set.
Repeat the above steps to set the switch OFF time.
Press the ▲ button to select the next program block OR press
the CLOCK button to finish programming OR refrain from
pressing any mote buttons and the timer will automatically
revert back to Clock mode.
Setting the timer delay function

This feature allows you to set a time for a delayed switch ON or
switch OFF.
With the Timer in Clock mode press the ▼ button. The Bottom
left hand corner on the LCD will show “d ON (or OFF)” indicating
the timer is now in delay mode.
Press the SET button until the ON or OFF display flashes.
Pressing the ▲ or ▼ buttons changes the status from ON to OFF
and visa versa.
Pressing the SET button again confirms the selection and allows
you to set the Hour, if so desired, or press the SET button again
to se the Minute/s and again if you want to set the seconds.
NOTE: Pressing the SET button will allow you to navigate
through the sequence of:
Status (ON/OFF)→Hour(s)→Minute(s)→Second(s)
You need only to set or change the components that you want.
For example: If you wish a table lamp to remain ON for 10
minutes after you leave the house, set the Status to ON and if
the time on the LCD is all zeros you can proceed straight to the
Minute and set that to 10.
After setting the required Delay period press the CLOCK button
to return the Timer to Clock mode.
Activating the delay function
The delay function can only be activated when the Timer is in
Clock mode and only when the Timer is plugged into an outlet.
Ensure the Timer is in Clock mode.
1. Press the “MODE” button so that the horizontal bar on the
bottom of the LCD moves and sits above the AUTO that is
printed on the front of the Timer.
2. Press the DELAY button to start the function. Pressing the
DELAY button again cancels the operation.
3. NOTE: After pressing the DELAY button the word ON or
OFF will appear flashing on the LCD.
4. Flashing ON: This means that the Timer will remain ON
for the period that was programmed in the Delay mode.
5. Flashing OFF: This means that the Timer will remain OFF
for the period that was programmed in Delay mode.
Activating the random function
The Random Function will turn an appliance ON or OFF on an
irregular basis. Listed below are the criteria governing this
operation:
Minimum OFF time: 26 minutes
Maximum OFF time: 42 minutes
Minimum ON time: 10 minutes
Minimum ON time: 26 minutes

To activate the random function ensure that the Timer is in
Clock mode and that it’s plugged into an outlet.
Press the RND button once. The bottom left hand corner of the
LCD will now show a flashing “r OFF”. This indicated the Timer is
now in Random mode and it will remain in the OFF condition for
a period anywhere between 26 to 42 minutes. It will then switch
PN for a period anywhere between 10 to 26 minutes and then
switch OFF again.
Pressing the RND button will cancel the Random Function.
Clock mode
During clock mode, the LCD displays:
Day of the week (Monday at system reset)
Clock (0:00 at system reset)
Switching status (OFF at system reset)
'R' character if random switching is selected. (No 'R'
displayed at system reset)
Override/Resume Preset Program
Press the “MODE” button to override or resume a preset
program. The horizontal bar on the bottom of the LCD will move
and sit about one of the three positions as listed below:
1. ON : override the preset program and Timer remains ON
all the time
2. AUTO : resume preset program, Timer will turn ON and
OFF automatically according to its present program
3. OFF : override the preset program and Timer remains
OFF all the time
NOTE: When Timer is in Random mode the Delay function
cannot be activated.
