IGEL Universal Desktop Linux User Guide ONE INITIAL SETUP_EN SETUP EN
User Manual: IGEL ONE INITIAL SETUP_EN
Open the PDF directly: View PDF ![]() .
.
Page Count: 4
- 1 General Information
- 2 Before you begin
- 3 Unpack the terminal and set up the hardware
- 4 Boot IGEL one
- 5 Choose a digital service
- 6 The IGEL Linux desktop
- 7 GUI-Language (User Interface → Language)
- 8 Keyboard and mouse (User Interface → Input)
- 9 Display parameters (User Interface → Display)
- 10 Network parameters (Network)
- 11 Save changes
- 12 Initiate a session (Sessions)
- 13 Reset to factory defaults
IGEL Thin Clients
IGEL one
Initial Setup of the Thin Client
Copyright © 2009 IGEL Technology Ver. one-20090515 05/2009

1 General Information
IGEL one is the entry device of the IGEL thin client family, designed for SMB and Soho environments
without the need for central management. The IGEL one offers support for one single protocol, which
is chosen during the initial boot. Thus makes the IGEL one the perfect end device for server-based
computing in small homogeneous environments.
These brief setup instructions will introduce you to the feature set of IGEL one and help you with the
quick set up of your clients. You will find more detailed information on the sytems' configuration in the
IGEL user instructions for linux thin clients.
2 Before you begin
Before connecting your IGEL one terminal, please check whether the following peripheral devices and
services are available:
•1x VGA monitor
•1x Keyboard PS/2 or USB
•1x Mouse USB
•1x 10/100 UTP network connection
You can connect any VGA monitor to your IGEL terminal. The device can be connected to a PS/2 or
USB keyboard and a USB mouse.
IGEL one can be operated on all power networks with voltages of 100V to 250V (50Hz-60Hz). The
connection to a socket with overload protection is recommended.
Your IGEL terminal is equipped with a 10/100 UTP auto sensing port for ethernet network
connections. If needed, you can set the transfer rate in the network setup of your IGEL terminal to
10Mb/s or 100Mb/s (Setup → Network → Advanced).
The device is pre-configured for using DHCP, so if a DHCP server is available in your network no
changes on the network configuration of the client are necessary.
3 Unpack the terminal and set up the hardware
Your terminal comes in reusable packaging. We recommend to retain the packaging for any possible
returns to your supplier or for an exchange under warranty.
Please bolt together the terminal and its base for upright operation and take care of adequate
ventilation of the device. An optional VESA mount (wall/monitor mount) is available for IGEL one.
Connect the UTP ethernet network cable to the ethernet jack of your terminal. Do not connect any
other type of cable (such as a telephone cable) to this jack, as this could cause serious damage.
Carefully connect the monitor cable to the video output jack to avoid bending contact pins. The use of
screws to secure the video plug to the terminal is recommended.
Copyright © 2009 IGEL Technology Ver. one-20090515 05/2009
Note: Connection cables of computer components and peripheral units equipped with a USB interface
must not be connected while the units are under power. Hot plugging of non-USB units can lead to
serious damage.
4 Boot IGEL one
The boot procedure will last for only a few seconds and during this time the IGEL startup image is
displayed along with a progress bar. While booting, a series of services and settings is initiated,
including the network configuration. If your network is configured for the use of DHCP, no changes
are required
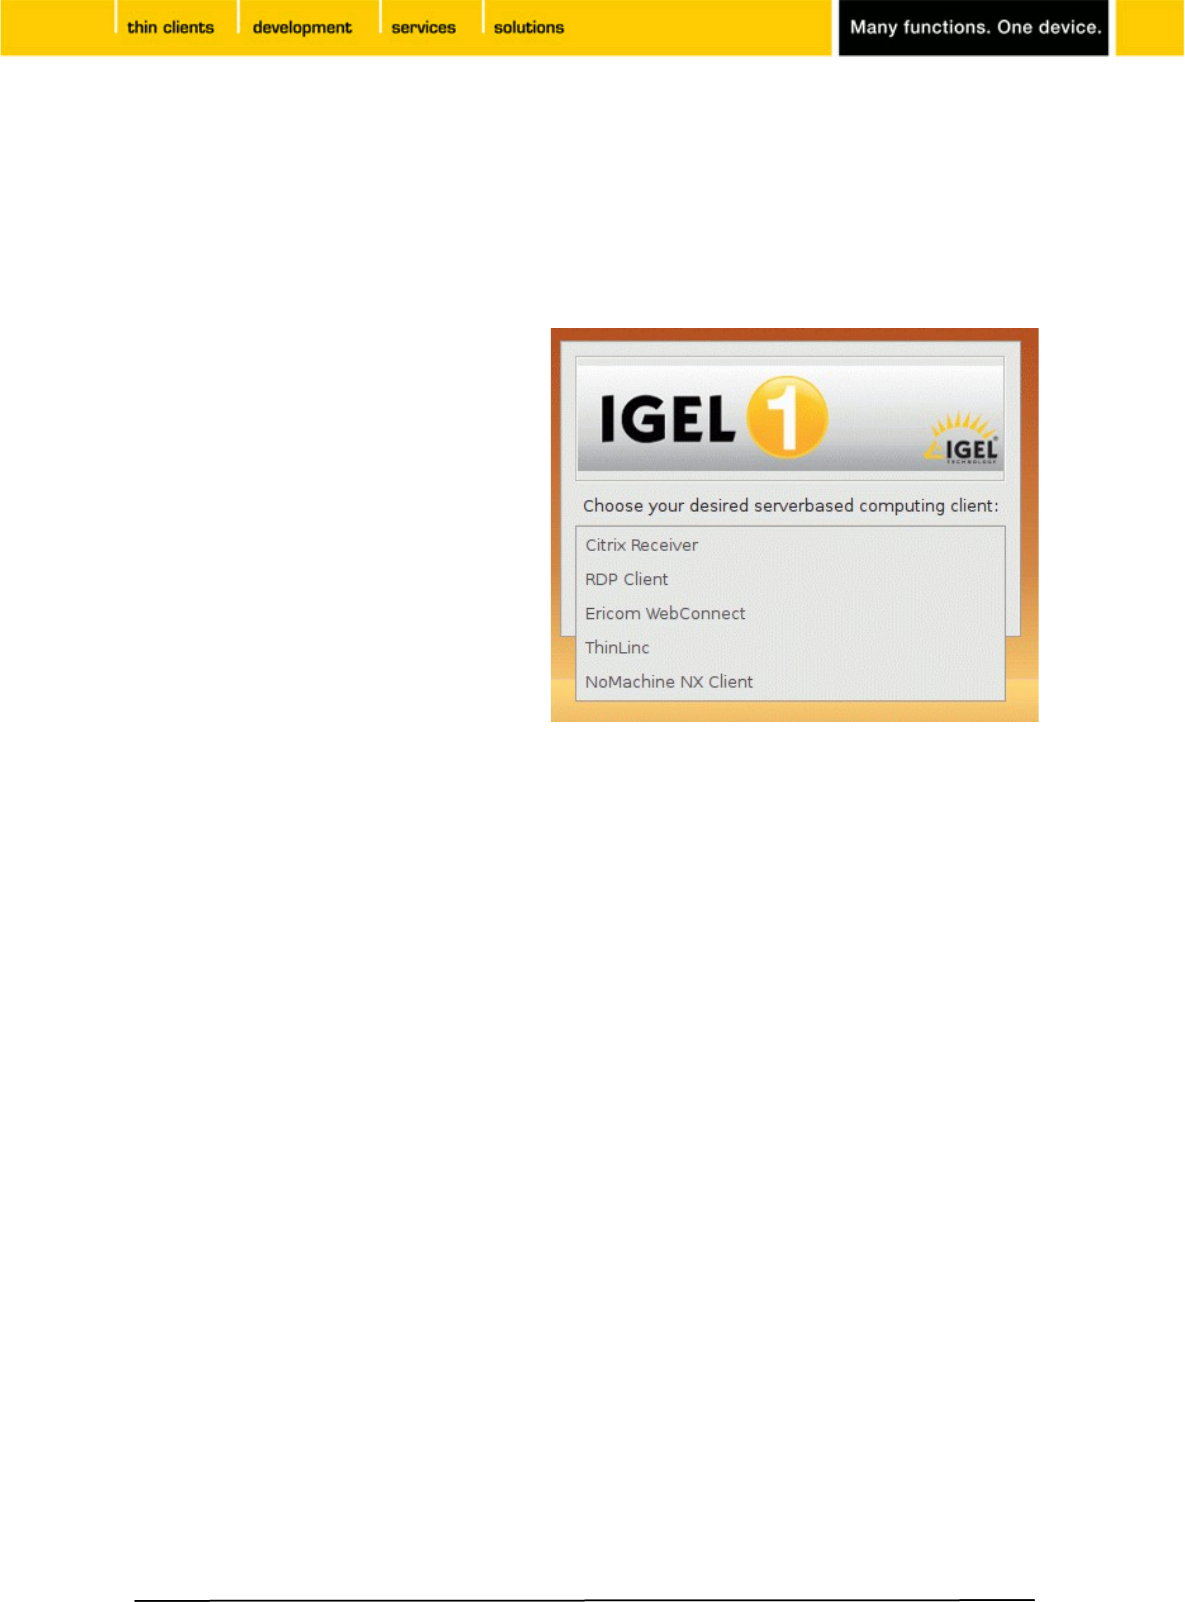
5 Choose a digital service
IGEL one is a 'single service device' - only
one of the digital services can be configured
and used on the client. A list of services
available on IGEL one is displayed during the
initial boot of the client (see picture).
Select one of the services and confirm your
choice by clicking on button OK. The device
will finish the boot procedure and IGEL one is
ready to use.
A change of the service available with IGEL
one requires a total reset to factory defaults.
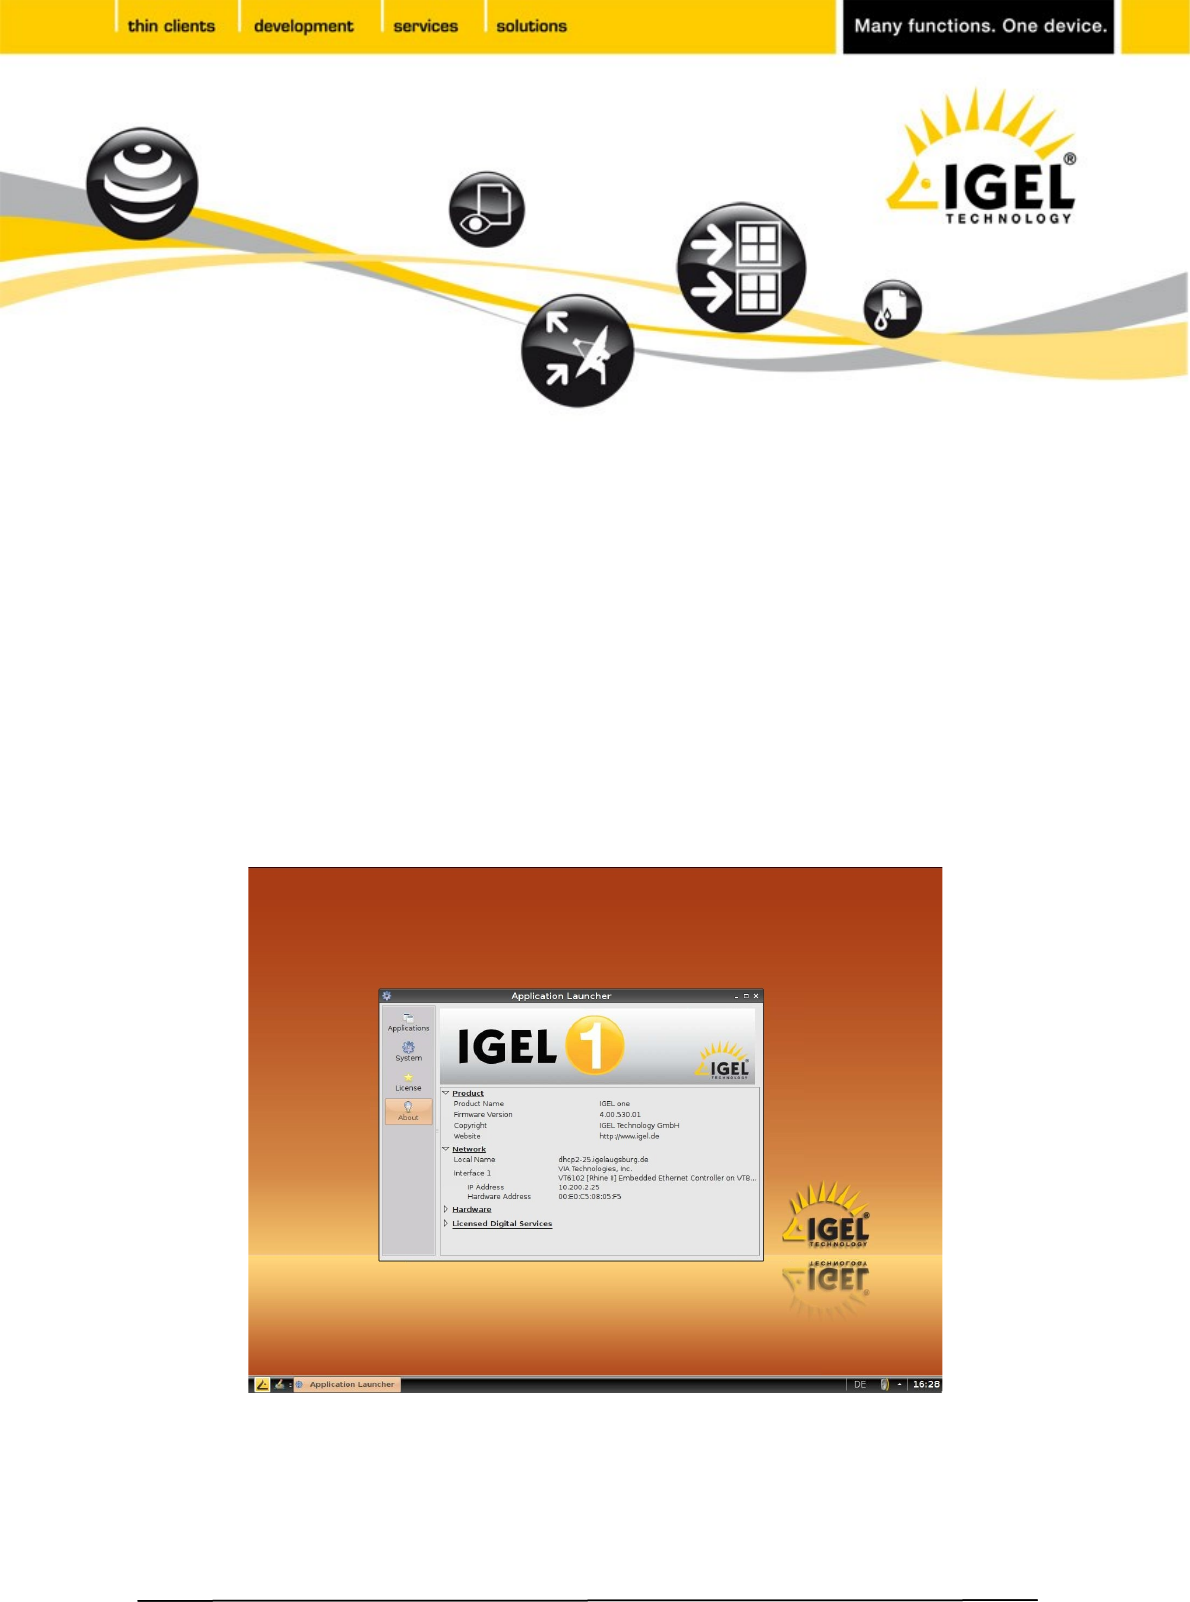
6 The IGEL Linux desktop
The IGEL linux desktop will be displayed with a task bar at its bottom and showing the Application
Launcher program to start your application (session). Application Launcher also gives information on
your IGEL product such as hardware and firmware information and allows to update, shutdown or
restart the device.
IGEL Setup program can be started from the Application Launcher to configure the terminal’s basic
settings (display, keyboard etc.) and define user sessions (depending on the digital service chosen
before). Basic system settings in the setup are described in the following.
7 GUI-Language (User Interface → Language)
Choose your language and configure 'Tool Tips' (useful windows with help information on setup
parameters showing up when mouse cursor is pointing at a parameter).
8 Keyboard and mouse (User Interface → Input)
Set a keyboard layout and configure some parameters such as character repeat rate and numlock
behavior. You can set additional keyboard layouts and switch between layouts using hotkeys.
Configure your mouse for left hand mode and set the mouse speed.
9 Display parameters (User Interface → Display)
Set screen resolution and frequency (default is 800x600 at 60Hz), configure screen saver and power
management (DPMS). Before selecting a higher resolution or refresh rate, make sure this mode is
supported by your monitor.
10 Network parameters (Network)
When using DHCP, your network settings have been configured automatically during the system boot.
You can change network parameters manually on this setup page.
Copyright © 2009 IGEL Technology Ver. one-20090515 05/2009
11 Save changes
Clicking Save in the setup application will save changes made before to the IGEL one configuration
file. Clicking OK will not only save your settings but also terminate the setup program and let the new
settings become active.
12 Initiate a session (Sessions)
Depending on the digital service available on your device, you can define sessions within the setup
application (e.g. using ICA or RDP).
Once you have initiated a session, you can start it with IGEL Application Launcher, clicking the
corresponding desktop icon, choosing session from start menu or drop down menu. A session can be
configured to run automatically after system start as well.
13 Reset to factory defaults
Restart the terminal and press ESC key as soon as the note 'booting, please wait...' is displayed. This
will present a menu providing 5 options to control the boot process:
•Quiet Boot – Normal boot sequence
•Verbose Boot – Displays each step of the startup sequence
•Emergency Boot – Only IGEL Setup program is available
•Reset to Factory Defaults – Restoration of the original status
•Failsafe with CRC check – Booting to linux system after file system check
In case an administrator password for the terminal setup has been set, you will be prompted to logon
before you are allowed to reset the terminal.
Please contact our support department with any questions.
Evaluation Support Hotline
EMEA: +49 (0) 421 52094 2222
UK: +44 (0) 118 340 3400
E-Mail: support@igel.com
Copyright © 2009 IGEL Technology Ver. one-20090515 05/2009
Note: The term, 'session' is used in a general sense to designate server connections and applications
running locally on your thin client. In principle, every application started on your device is called
‘session’ - e.g. a local linux shell or Firefox browser.
Note: Reset to Factory Defaults will set all parameters to their default values, all settings and sessions
made before will be lost after the reset and the initial setup procedure has to be repeated.
