Manual
User Manual:
Open the PDF directly: View PDF ![]() .
.
Page Count: 8

Training & Development Reporting
System
User Manual
RCMC IT Department
Marya Belanger
2016

2
Introduction
This system was developed for members of the Training and
Development Department at the RCMC. It is meant to efficiently store
and share data between the CPR unit, Training unit, and the Secretary.
It allows each user to replace their current manual methods of storing
information by providing an application to do so for them.
From the application, a user can automatically share information
with other users, and the user can create automatic reports of their
data in Microsoft Word and Excel. Hopefully, this will increase
efficiency and data communication in the department.
This manual is for: Secretary .
Username: . Password: .

3
Scope
The Secretary uses the application to store all the data that
goes into the Annual Report. There are 6 categories for the Secretary
to store data under:
●Training Activities
●Symposiums and Conferences
●Medical Courses
●Continuous Medical Education
●Non Medical Courses
●COOP Trainees
The above categories all belong to the Annual Report, except COOP
Trainees. However, the Secretary is also responsible for this data, so
it is included in the secretary view.
The Medical Courses data automatically updates from the CPR unit;
whenever a class occurs, the CPR unit will input the number of
attendees into the system, and the secretary will receive the sum of
all attendees for each CPR course.
The Training Activities data automatically updates from the
Training unit; whenever the Training unit adds a new trainee to their
application, the secretary will receive the sum of each trainee type.
Additionally, the secretary can simply click a button, and all
the charts and tables for the Annual Report will be created.
4
Procedure
To open the application, open the TDS1 folder, then click TDS1 >
bin > x86 > Release > TDS1.exe. If you right click TDS1.exe, you can
create a desktop shortcut to the application.
For the application to work, your computer may ask you to
download the .NET 4.5 Package. This is necessary, follow the steps the
computer provides. Your computer also needs a version of Microsoft
Word and Excel later than 2007.
The computer MUST connect to the RCEMPLOYEE network for the
system to work. If it is not connected, the application will run very
slowly or may crash. Simply close the application and connect if this
occurs.
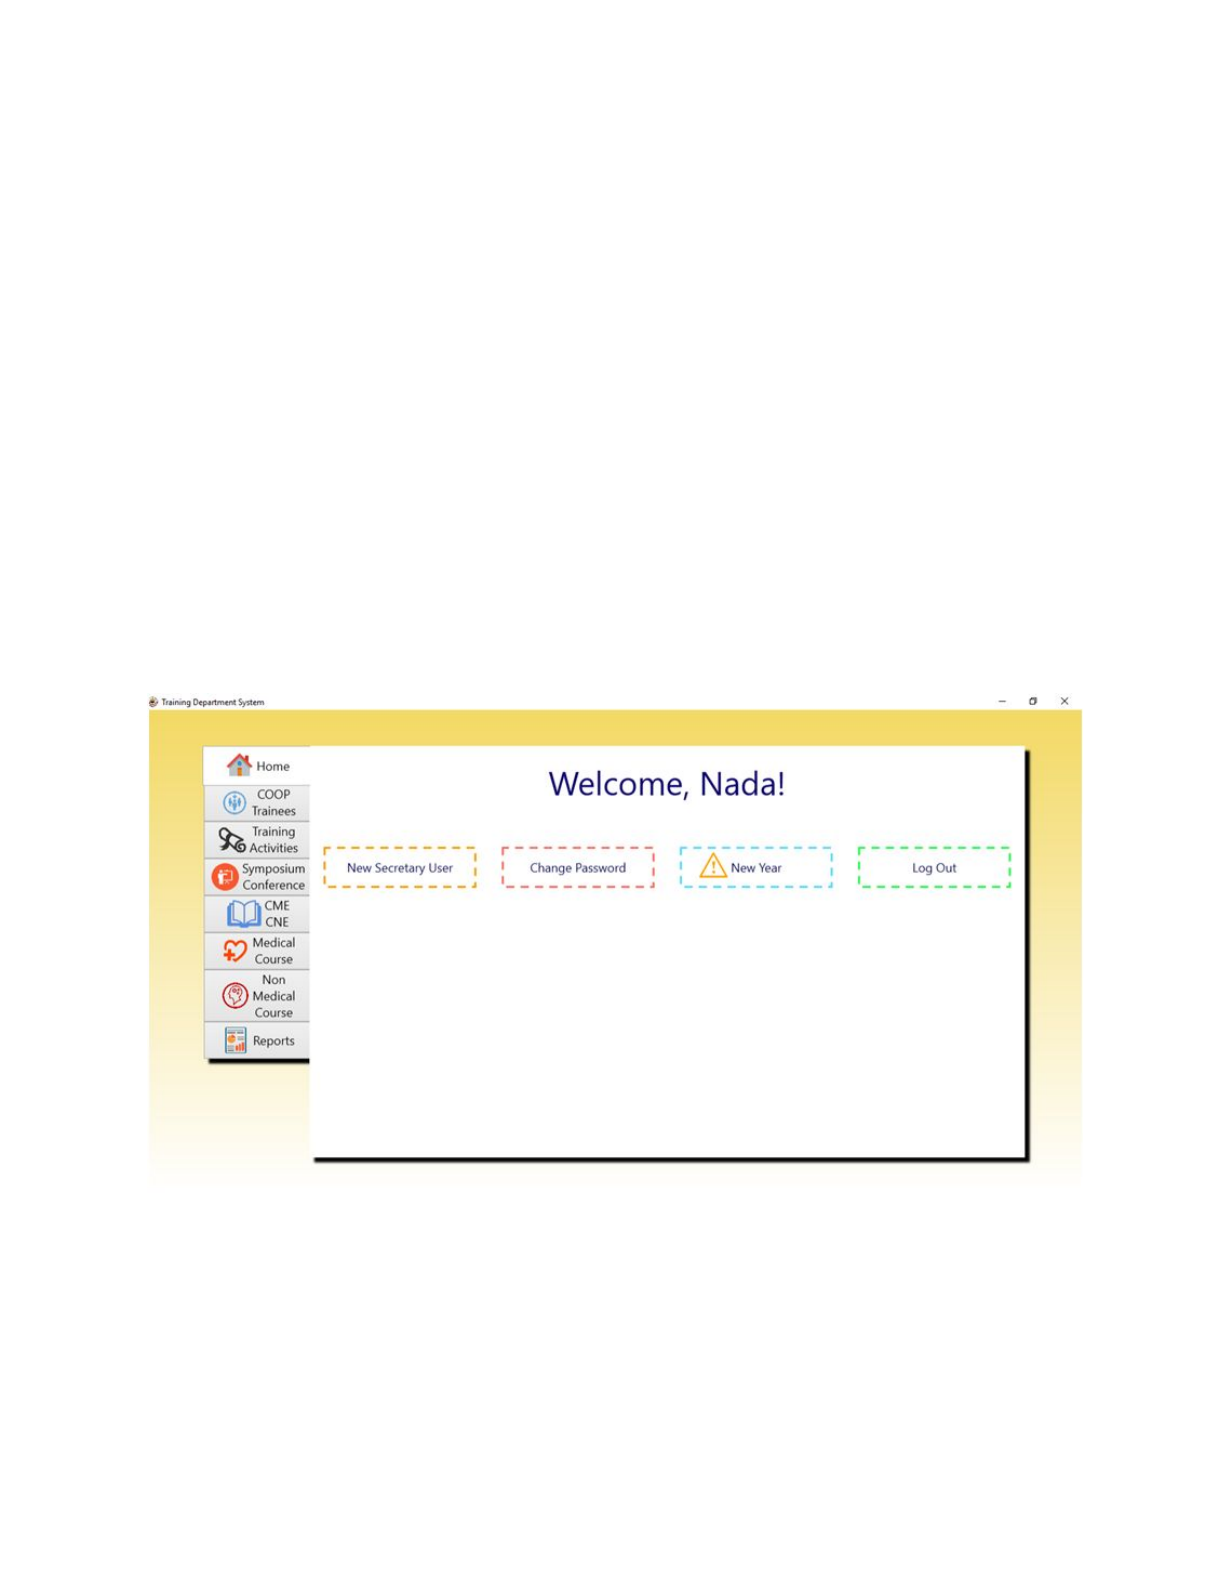
After logging in, you will see this screen. You can create a new
user, who will also have access to the secretary responsibilities. You
may also change your password and logout.
The “New Year” button is for clearing the application of all
data. ONLY use this feature once you and the other users (CPR unit and

5
Training unit) have completed all the reports for the year. You share
data with the other users, so clearing your application may clear
theirs as well, even if they still need it. It DELETES EVERYTHING.
The tabs on the left side of the application are for each topic
under your responsibility. Each will show you a form, as shown above,
for adding new data to the topic.
Each topic has its own required fields. For example, COOP
Trainees require a name, department, university and training type.
Some categories can be chosen from a list, like department and
training type. Other fields can have new values added, which can be
chosen again later so you don’t have to re-enter the value each time,
like university and status.
The button “+View” on the right will take you to the following
screen:

6
Each topic has a viewing screen. In the image, the box is blank
and gray, meaning there is no data for that topic. When data is
present, it will show up as rows, that can be easily copy and pasted
into an Excel file.
Clicking on the column names at the top of the box (SN, Name,
etc) will sort the data based on that column. If you want to delete a
row, enter the number in that row’s SN column into the box following
“Delete Row with SN:” and press the garbage button. Do the same if you
want to change a value in the row with the “Update Row with SN:”
button. To return to the previous screen to add new values, press the
“+Add” button on the right.
NOTE: Each different topic operates the same way for adding, viewing,
deleting and updating items. There are some validation requirements as
well. For example, in fields like “Attendees”, “Phone” and “Credit
Hours”, the system will only allow you to enter numbers. Also, if you
try to enter a value into a “Department” field that isn’t already in
the list, it will be automatically cleared. These are all to prevent
incorrect data from being entered into the system.
7
CAUTION: New values entered into the “University” or “Training Type”
fields CAN NOT be deleted or edited later. Make sure they are spelled
correctly and that they don’t already exist in the list.
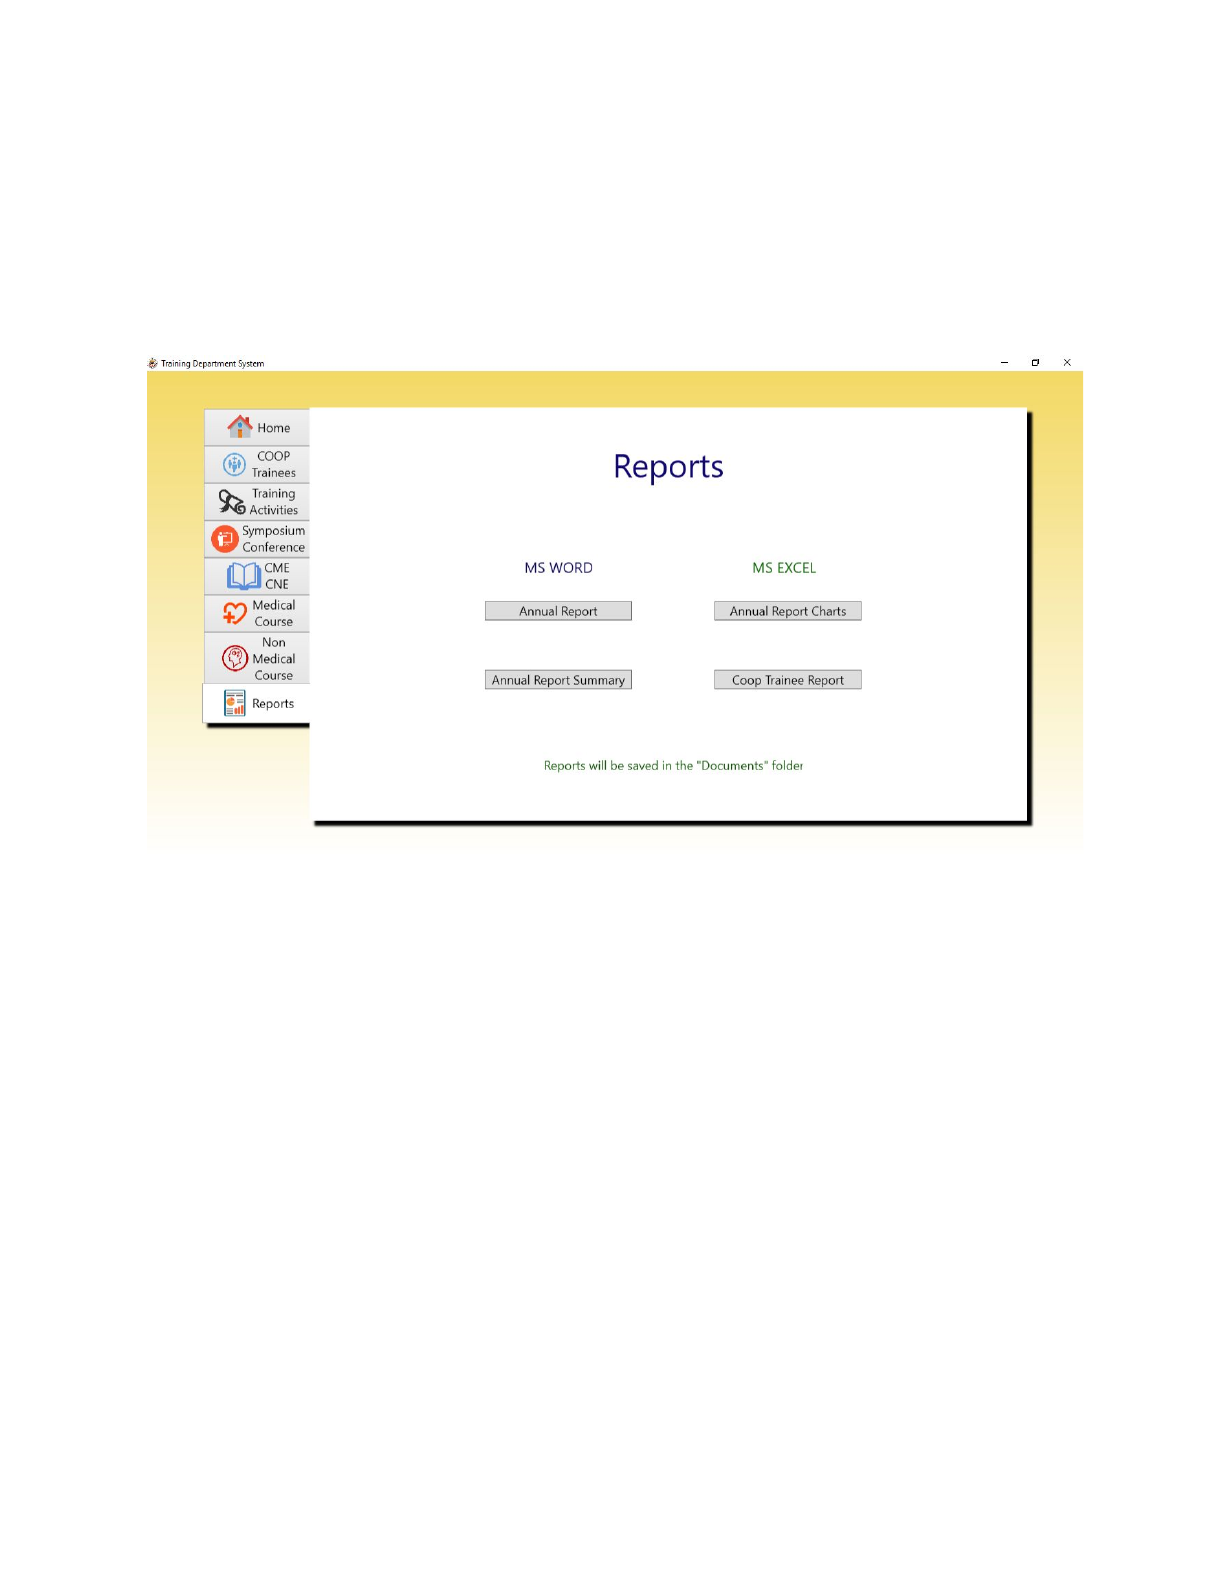
From the Reports tab, you can create your annual report. The
button that says “Annual Report” will create tables for each of the 5
topics included.
The “Annual Report Summary” button creates the summary tables based
off all the data in the system. Both reports are Microsoft Word
documents.
The “Annual Report Charts” button creates an Excel file with
graphs for each topic in the report (each in a different worksheet).
And Finally, the “Coop Trainee Report” button creates a simple
Excel spreadsheet with each COOP trainee’s info.

8
NOTE: Creating reports of any kind using the application will
sometimes cause Microsoft Word/Excel to open “Background Processes” of
Word/Excel. These can cause small problems in the future. It is best
to always open your computer’s Task Manager, select them and choose
“End Task” to eliminate any issues.
CAUTION: Do not create a new report of any kind if there is already a
report of the same name in the folder it will be saved. This will
crash the system. Also, clicking “Cancel” instead of “Save” when the
application asks you to save the document will crash the system.
Always save it, then delete later if you don’t need it.
