TEC Workbook Spark Application Guide
spark_app_guide
User Manual:
Open the PDF directly: View PDF ![]() .
.
Page Count: 20
Spark Fundamentals
Creating a Spark application

IBM Software
Page
2
Contents
CREATING A SPARK APPLICATION ............................................................................................................................................ 3
1.1 SETTING UP THE VM WITH JAVA, SBT AND MAVEN ....................................................................................... 4
1.2 CREATING A SPARK APPLICATION USING SCALA .......................................................................................... 4
1.3 CREATING A SPARK APPLICATION USING JAVA ............................................................................................. 7
1.4 CREATING A SPARK APPLICATION USING PYTHON ...................................................................................... 13
SUMMARY ........................................................................................................................................................... 16

IBM Software
Hands-on-Lab Page 3
Creating a Spark application
This lab exercise will show you how to create a Spark application, link and compile it with the respective
programming languages, and run the applications on the Spark cluster. The goal of this lab exercise is
to show you how to create and run a Spark program. It is not to focus on how to program in Scala,
Python, or Java. The business logic can be anything you need it to be for your application.
After completing this hands-on lab, you should be able to:
o Create, compile, and run Spark applications using Scala, Java and Python
Allow 30-60 minutes to complete this section of lab.

IBM Software
Page
4
1.1 Setting up the VM with Java, sbt and Maven
Part of this lab exercise will require you to package up your class using any of these tools. It is
up to you what you ultimately wish to use, but the lab exercise will show you it is done using sbt
(with Maven as a referenced only) to package up your Scala classes. This section will walk you
through downloading and setting up these tools for use with the lab.
__1. Download the packages from:
http://www.scala-sbt.org/download.html
__2. Extract and place the packages under: /usr/local/.
__3. Update the ~/.bashrc file with the following contents:
export M3_HOME=/usr/local/sbt
export M3=$M3_HOME/bin
export PATH=$M3:$PATH
Update the folder name to the correct version of maven that you downloaded.
1.2 Creating a Spark application using Scala
The full class is available on the image under the examples subfolder of Spark or you can also
find it on Spark's website. In this exercise, you will go through the steps needed to create a
SparkPi program, to estimate the value of Pi. Remember that the goal of these
The application will be packaged using SBT. This has been set up on the system already and
added to the $PATH variable, so you can invoke it anywhere.
__4. Open up a terminal
__5. Navigate to your home directory (e.g. /home/virtuser/) and create a new subdirectory, SparkPi.
__6. Under the SparkPi directory, set up the typical directory structure for your application. Once that
is in place and you have your application code written, you can package it up into a JAR using
sbt and run it using spark-submit. Your directory should look like this:
__7. The SparkPi.scala file will be under src/main/scala/ directory. Change to the scala directory and
create this file:

IBM Software
Hands-on-Lab Page 5
cat > SparkPi.scala
__8. At this point, copy and paste the contents here into the newly created file:
/** Import the spark and math packages */
import scala.math.random
import org.apache.spark._
/** Computes an approximation to pi */
object SparkPi {
def main(args: Array[String]) {
/** Create the SparkConf object */
val conf = new SparkConf().setAppName("Spark Pi")
/** Create the SparkContext */
val spark = new SparkContext(conf)
/** business logic to calculate Pi */
val slices = if (args.length > 0) args(0).toInt else 2
val n = math.min(100000L * slices, Int.MaxValue).toInt // avoid
overflow
val count = spark.parallelize(1 until n, slices).map { i =>
val x = random * 2 - 1
val y = random * 2 - 1
if (x*x + y*y < 1) 1 else 0
}.reduce(_ + _)
/** Printing the value of Pi */
println("Pi is roughly " + 4.0 * count / n)
/** Stop the SparkContext */
spark.stop()
}
}

IBM Software
Page
6
__9. To quit out of the file, type CTRL + D
__10. Remember, you can have any business logic you need for your application in your scala class.
This is just a sample class. Let's spend a few moments analyzing the content of SparkPi.scala.
Type in the following to view the content:
more SparkPi.scala
__11. The next two lines are the required packages for this application.
import scala.math.random
import org.apache.spark._
__12. Next you create the SparkConf object to define the application's name.
val conf = new SparkConf().setAppName("Spark Pi")
__13. Create the SparkContext:
val spark = new SparkContext(conf)
__14. The rest that follows is the business logic required to calculate the value of Pi.
val slices = if (args.length > 0) args(0).toInt else 2
val n = math.min(100000L * slices, Int.MaxValue).toInt // avoid
overflow
__15. Create an RDD by using transformations and actions:
val count = spark.parallelize(1 until n, slices).map { i =>
val x = random * 2 - 1
val y = random * 2 - 1
if (x*x + y*y < 1) 1 else 0
}.reduce(_ + _)
__16. Print out the value of Pi:
println("Pi is roughly " + 4.0 * count / n)
__17. Finally, the last line is to stop the SparkContext:
spark.stop()
__18. At this point, you have completed the SparkPi.scala class. The application depends on the Spark
API, so you will also include a sbt configuration file, SparkPi.sbt. This file adds a repository that
Spark depends on. Change to the home directory of the SparkPi folder and create this file.

IBM Software
Hands-on-Lab Page 7
cat > sparkpi.sbt
__19. Copy and paste this into the sparkpi.sbt file:
name := "SparkPi Project"
version := "1.0"
scalaVersion := "2.10.4"
libraryDependencies += "org.apache.spark" %% "spark-core" % "1.2.1"
__20. Now your folder structure under SparkPi should look like this:
./sparkpi.sbt
./src
./src/main
./src/main/scala
./src/main/scala/SparkPi.scala
__21. While in the top directory of the SparkPi application, run the sbt tool to create the JAR file:
sbt package
It will take a long time to create the package initially because of all the dependencies. Step out
for a cup of coffee or tea or grab a snack.
__22. Use spark-submit to run the application.
$SPARK_HOME/bin/spark-submit \
--class "SparkPi" \
--master local[4] \
target/scala-2.10/sparkpi-project_2.10-1.0.jar
__23. In the midst of all the output, you should be able to find out the calculated value of Pi.
__24. Congratulations, you created and ran a Spark application using Scala!
1.3 Creating a Spark application using Java
This section is provided as a reference only. I will not be going through this.
IBM Software
Page
8
The full class is available on the image under the examples subfolder of Spark or you can also
find it on Spark's website. In this exercise, you will go through the steps needed to create a
WordCount program.
The application will be packaged using Maven, but any similar system build will work. This has
been set up on the system already and added to the $PATH variable, so you can invoke it
anywhere.
__1. Open up a terminal.
__2. Navigate to your home directory (e.g. /home/virtuser) and create a new subdirectory,
WordCount.
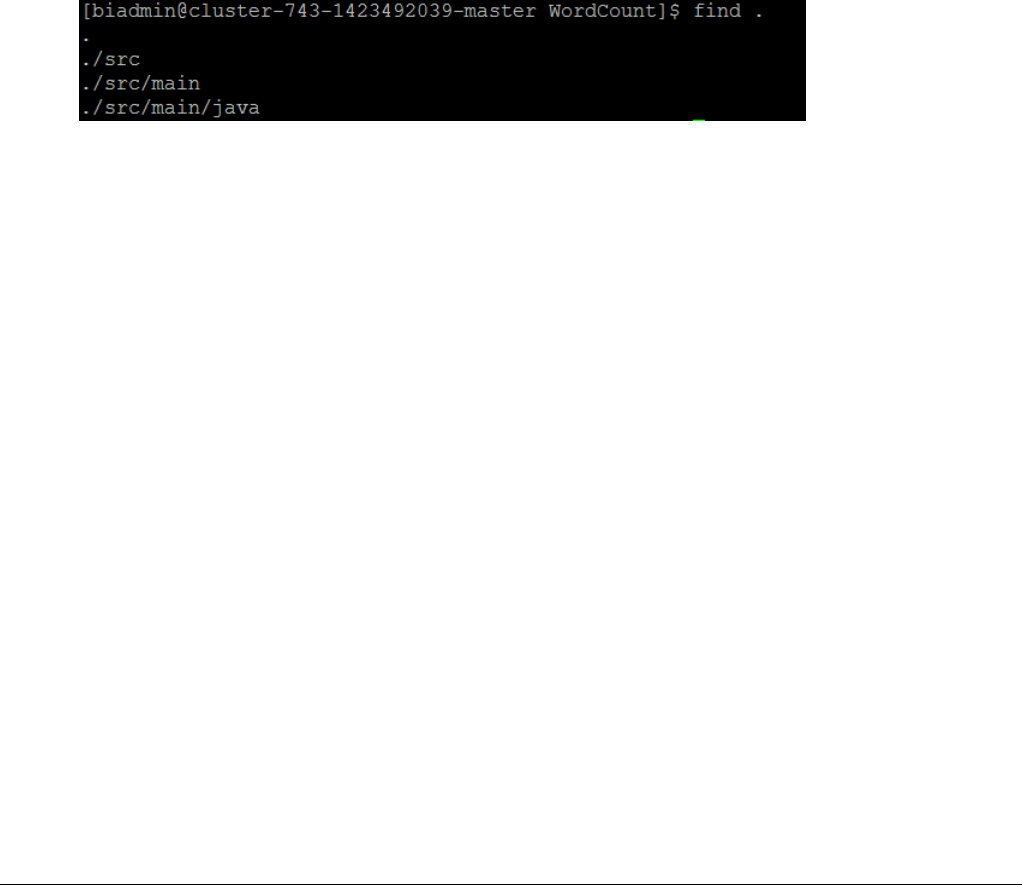
__3. Under the WordCount directory, set up the typical directory structure for your application. Once
that is in place and you have your application code written, you can package it up into a JAR
using mvn and run it using spark-submit. Your directory should look like this:
__4. The WordCount.java file will be under src/main/java/ directory. Change to the java directory and
create this file:
cat > WordCount.java
__5. At this point, copy and paste the contents here into the newly created file:
/** Import the required classes */
import scala.Tuple2;
import org.apache.spark.SparkConf;
import org.apache.spark.api.java.JavaPairRDD;
import org.apache.spark.api.java.JavaRDD;
import org.apache.spark.api.java.JavaSparkContext;
import org.apache.spark.api.java.function.FlatMapFunction;
import org.apache.spark.api.java.function.Function2;
import org.apache.spark.api.java.function.PairFunction;
import java.util.Arrays;
import java.util.List;

IBM Software
Hands-on-Lab Page 9
import java.util.regex.Pattern;
/** Setting up the class */
public final class WordCount {
private static final Pattern SPACE = Pattern.compile(" ");
public static void main(String[] args) throws Exception {
if (args.length < 1) {
System.err.println("Usage: JavaWordCount <file>");
System.exit(1);
}
/** Create the SparkConf */
SparkConf sparkConf = new SparkConf().setAppName("WordCount");
/** Create the SparkContext*/
JavaSparkContext ctx = new JavaSparkContext(sparkConf);
/** Create the RDDs and apply transformation and actions on them */
JavaRDD<String> lines = ctx.textFile(args[0], 1);
JavaRDD<String> words = lines.flatMap(new FlatMapFunction<String,
String>() {
@Override
public Iterable<String> call(String s) {
return Arrays.asList(SPACE.split(s));
}
});

IBM Software
Page
10
/** Mapping each word to a 1 */
JavaPairRDD<String, Integer> ones = words.mapToPair(new
PairFunction<String, String, Integer>() {
@Override
public Tuple2<String, Integer> call(String s) {
return new Tuple2<String, Integer>(s, 1);
}
});
/** Adding up the values */
JavaPairRDD<String, Integer> counts = ones.reduceByKey(new
Function2<Integer, Integer, Integer>() {
@Override
public Integer call(Integer i1, Integer i2) {
return i1 + i2;
}
});
/** Invoke an action to get it to return the values */
List<Tuple2<String, Integer>> output = counts.collect();
for (Tuple2<?,?> tuple : output) {
System.out.println(tuple._1() + ": " + tuple._2());
}
/** Stop the SparkContext */
ctx.stop();
}

IBM Software
Hands-on-Lab Page 11
}
__6. To quit out of the file, type CTRL + D
__7. Remember, you can have any business logic you need for your application in your java class.
This is just one example. Let's spend a few moments analyzing the content of WordCount.java.
Type in the following to view the content:
more WordCount.java
__8. The next several lines are the required packages for this application.
import scala.Tuple2;
import org.apache.spark.SparkConf;
import org.apache.spark.api.java.JavaPairRDD;
import org.apache.spark.api.java.JavaRDD;
import org.apache.spark.api.java.JavaSparkContext;
import org.apache.spark.api.java.function.FlatMapFunction;
import org.apache.spark.api.java.function.Function2;
import org.apache.spark.api.java.function.PairFunction;
import java.util.Arrays;
import java.util.List;
import java.util.regex.Pattern;
__9. Set up the class and then create the SparkConf object to define the application's name.
val conf = new SparkConf().setAppName("Spark Pi")
__10. Create the SparkContext – in Java this is called JavaSparkContext but we will use SparkContext
for short:
JavaSparkContext ctx = new JavaSparkContext(sparkConf);
__11. The rest that follows is the business logic required to do a word count. You have seen this
before, so I will not go over it here.
__12. Print out the value.
/** Invoke an action to get it to return the values */
List<Tuple2<String, Integer>> output = counts.collect();

IBM Software
Page
12
for (Tuple2<?,?> tuple : output) {
System.out.println(tuple._1() + ": " + tuple._2());
}
__13. Finally, the last line is to stop the SparkContext:
ctx.stop();
__14. At this point, you have completed the WordCount.java class. The application depends on the
Spark API, so you will also include a mvn configuration file, pom.xml This file adds a repository
that Spark depends on. Change to the home directory of the WordCount folder and create this
file.
cat > pom.xml
__15. Copy and paste this into the pom.xml file:
<project>
<groupId>edu.berkeley</groupId>
<artifactId>word-count</artifactId>
<modelVersion>4.0.0</modelVersion>
<name>Word Count</name>
<packaging>jar</packaging>
<version>1.0</version>
<dependencies>
<dependency> <!-- Spark dependency -->
<groupId>org.apache.spark</groupId>
<artifactId>spark-core_2.10</artifactId>
<version>1.2.1</version>
</dependency>
</dependencies>
</project>
__16. CTRL + D to exit out of the file.
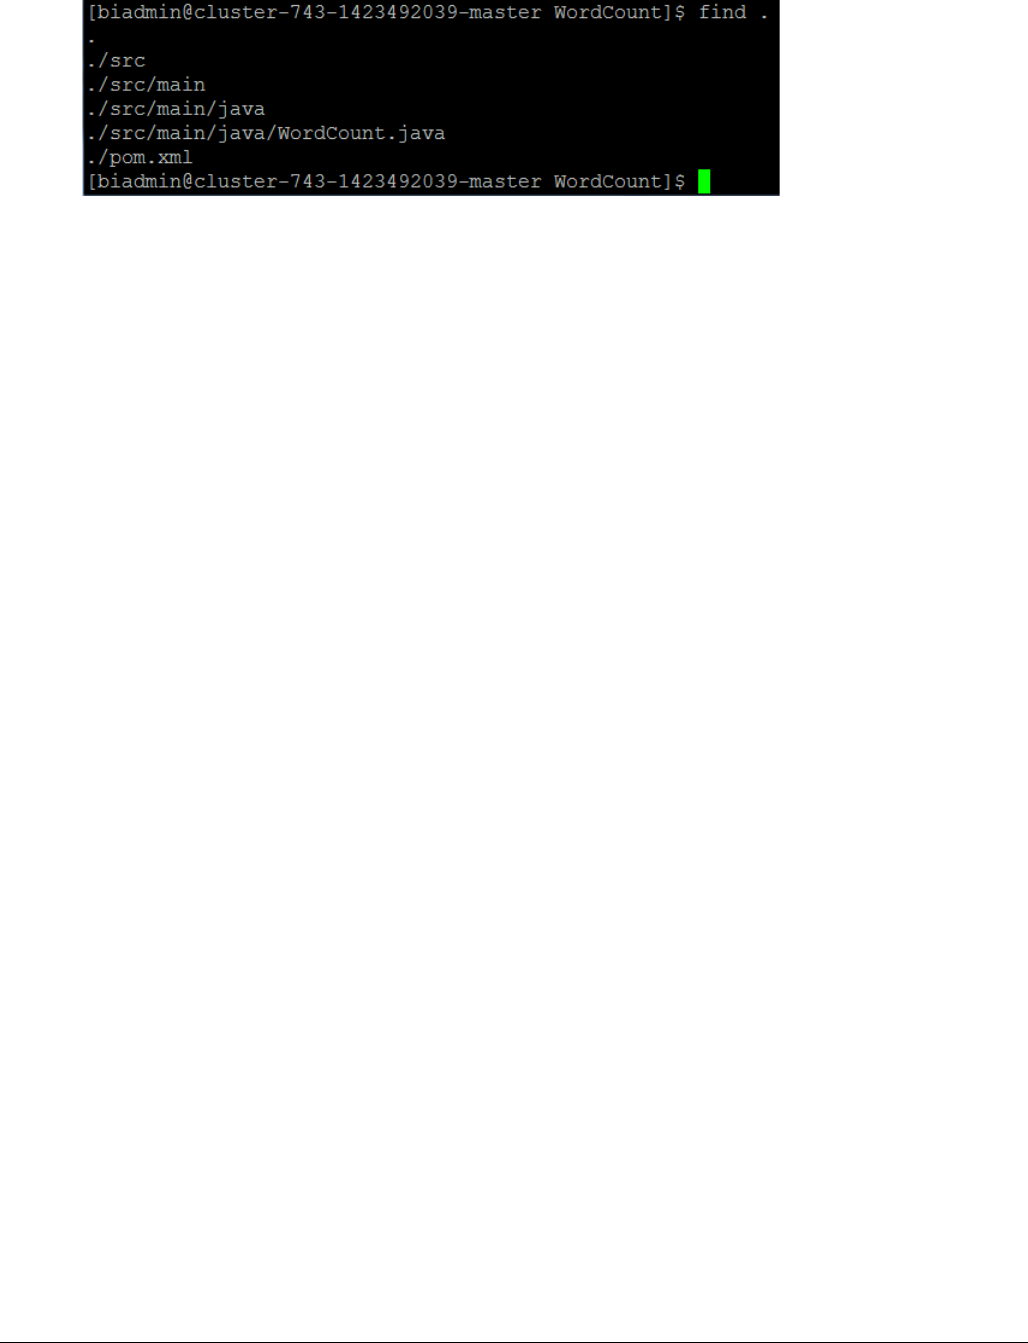
__17. Now your folder structure under WordCount should look like this:
IBM Software
Hands-on-Lab Page 13
__18.
__19. While in the top directory of the WordCount application, run the mvn tool to create the JAR file:
mvn package
It will take a while to package the java class initially. Just like before with Scala, you can take
another quick break while it is downloading the dependencies.
__20. Then, use spark-submit to run the application. Update the path of the README.md file to the
appropriate path on HDFS
$SPARK_HOME/bin/spark-submit \
--class "WordCount" \
--master local[4] \
target/word-count-1.0.jar \
/tmp/README.md
__21. In the midst of everything, you should see the output of the application.
__22. Congratulations, you created and ran a Spark application using Java!
1.4 Creating a Spark application using Python
For the Python example, you are going to create Python application to calculate Pi. Running
Python application is actually quite simple. For applications that use custom classes or third-
party libraries, you would add the dependencies to the spark-submit through its –py=files
argument by packing them in a .zip file.
__1. Open a new terminal.
__2. Navigate to your home directory (e.g. /home/virtuser) and create a new subdirectory, PythonPi.
__3. Change into the new PythonPi directory,
__4. Create a Python file. Type in:
cat > PythonPi.py

IBM Software
Page
14
__5. In PythonPi.py, paste these lines of code:
#Import statements
import sys
from random import random
from operator import add
from pyspark import SparkContext
if __name__ == "__main__":
"""
Usage: pi [partitions]
"""
#Create the SparkContext
sc = SparkContext(appName="PythonPi")
#Run the calculations to estimate Pi
partitions = int(sys.argv[1]) if len(sys.argv) > 1 else 2
n = 100000 * partitions
def f(_):
x = random() * 2 - 1
y = random() * 2 - 1
return 1 if x ** 2 + y ** 2 < 1 else 0
#Create the RDD, run the transformations, and action to calculate
Pi
count = sc.parallelize(xrange(1, n + 1),
partitions).map(f).reduce(add)
#Print the value of Pi
print "Pi is roughly %f" % (4.0 * count / n)

IBM Software
Hands-on-Lab Page 15
#Stop the SparkContext
sc.stop()
__6. CTRL+D to get out of the file.
For Python classes, if you don't have any dependencies, then, use spark-submit to run the
application. There's no need to package up the class.
$SPARK_HOME/bin/spark-submit \
--master local[4] \
PythonPi.py
__7. Again, in the midst of the output, you should see the results of the application.
__8. Congratulations, you created and ran a Spark application using Python!

IBM Software
Page
16
Summary
Having completed this exercise, you should know how to create, compile and run a Scala and a Python
application. Each application requires some import statements followed by the creation of the SparkConf
and a SparkContext to be use within the program. Once you have the SparkContext, you code up the
business logic for the application. At the end of the application, be sure to stop the SparkContext. For all
three types of application, you run it with spark-submit. If there are dependencies required, you would
supply it alongside the code. You can use sbt, maven, or other system builds to create the JAR
packages required for the application.

NOTES

NOTES
© Copyright IBM Corporation 2015.
The information contained in these materials is provided for
informational purposes only, and is provided AS IS without warranty
of any kind, express or implied. IBM shall not be responsible for any
damages arising out of the use of, or otherwise related to, these
materials. Nothing contained in these materials is intended to, nor
shall have the effect of, creating any warranties or representations
from IBM or its suppliers or licensors, or altering the terms and
conditions of the applicable license agreement governing the use of
IBM software. References in these materials to IBM products,
programs, or services do not imply that they will be available in all
countries in which IBM operates. This information is based on
current IBM product plans and strategy, which are subject to change
by IBM without notice. Product release dates and/or capabilities
referenced in these materials may change at any time at IBM’s sole
discretion based on market opportunities or other factors, and are not
intended to be a commitment to future product or feature availability
in any way.
IBM, the IBM logo and ibm.com are trademarks of International
Business Machines Corp., registered in many jurisdictions
worldwide. Other product and service names might be trademarks of
IBM or other companies. A current list of IBM trademarks is
available on the Web at “Copyright and trademark information” at
www.ibm.com/legal/copytrade.shtml.
