My Instructions
User Manual:
Open the PDF directly: View PDF ![]() .
.
Page Count: 52

REFERENCE GUIDE
Top Navigation and PDF
Template


- 3 -
Introduction
Welcome to the Top Navigation and PDF Template Reference Guide. This guide outlines
quick custom changes that can be made to the templates to fit your brand. If you need
assistance in implementing the templates in your project, please contact MadCap Technical
Support at https://www.madcapsoftware.com/support/.

- 4 -
Changing Images
The logo and other images can be changed in this project.
Tip: There are two placeholder logo images in this project—one using the .png
(raster) format for online output and the other using the .eps (vector) format for
PDFoutput. Vector images work well in print-based output for logos, because they do
not lose clarity when resized.
Before selecting a new logo in the topic, you should save your image(s) at the desired
size. The size of the .png placeholder logo is 229 x 55 pixels. The size of the .eps
placeholder logo is 244 x 58 pixels. You do not need to match either of these sizes
exactly, but your logo image(s) should be sized to look good both in the online and
PDF output.
- 5 -
How to Change the Logo in the Top-
Navigation Skin File
Use the following steps to change the logo that is seen at the top of the online output.
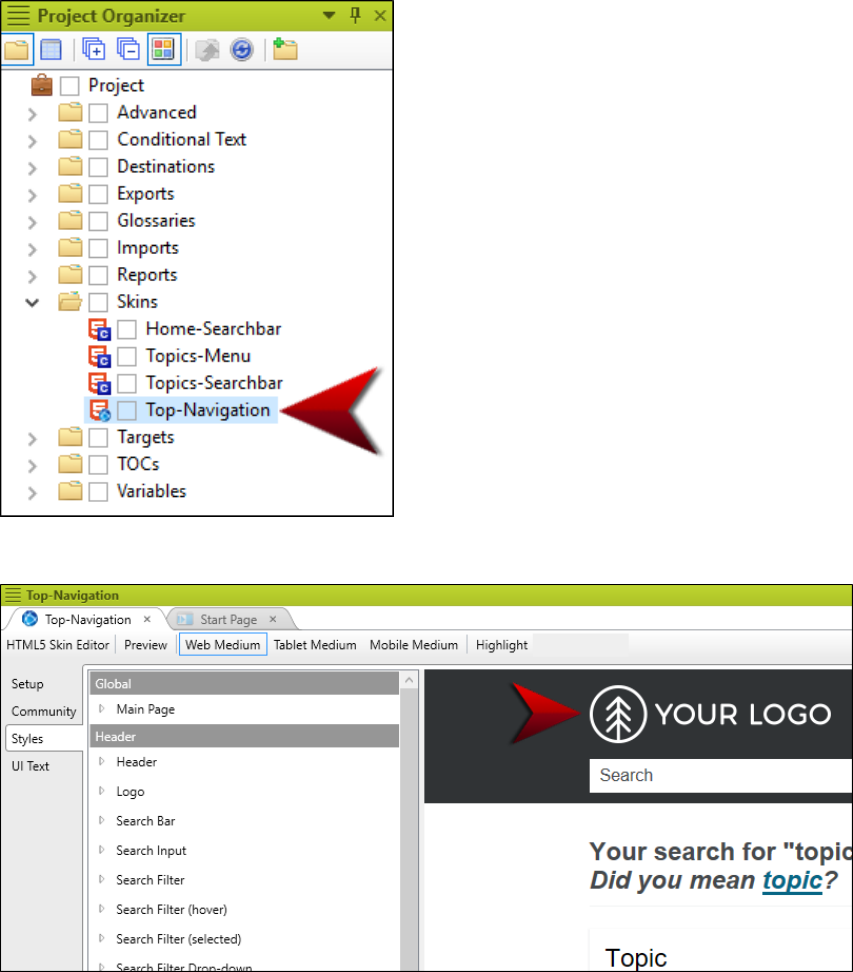
1. Open the Project Organizer, expand Skins, and double-click Top-Navigation.
2. Select the Styles tab. Notice the placeholder logo in the preview to the right.

- 6 -
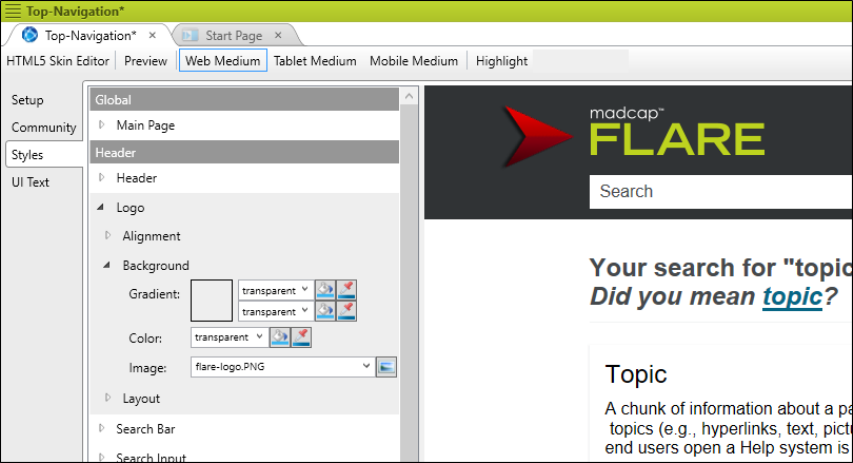
3. On the left side of the editor, in the Header section, expand Logo > Background.
4. Next to the Image field, click .

- 7 -
5. Click .
6. In the dialog, Iocate and double-click your logo.
- 8 -
7. In the Insert Image dialog, click OK. You should now see your logo in the preview
instead of the placeholder logo.
8. Save the file.
- 9 -
How to Change the Logo in the Home
Master Page
Use the following steps to change the logo that is seen at the bottom of the Home page in the
online output.
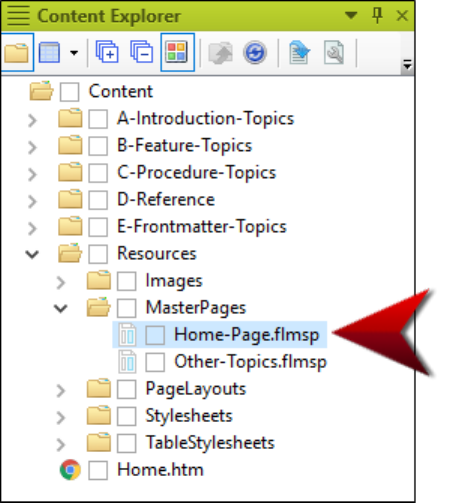
1. Open the Content Explorer, expand Resources > MasterPages, and double-click
Home-Page.flmsp.

- 10 -
2. Right-click the placeholder logo and select Image Properties.
3. In the Image Properties dialog, select the General tab.
- 11 -
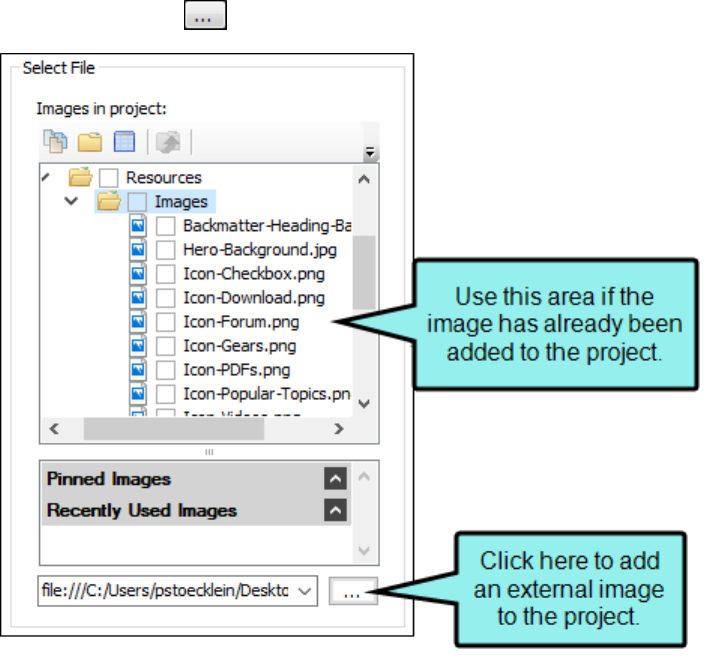
4. In the Select File section, locate and choose your image. If you have already added
your image to the project, you can select it from the top area. If you have not yet added it
to the project, click and select it (the image will then be added to the project).
5. Click OK.
6. Save the file.
- 12 -
How to Change the Hero Image
The hero image is the large banner image that spans across the screen of the Home page in
online output. The hero image used in this template is changed in Styles.css.
Tip: The hero image included in this template project is 5184 x 3456 pixels. You
don’t need to have an image that is exactly this size, but for best results it is
recommended that you have a very big one with an aspect ratio similar to the one in
this template. That way, it is likely to have a good appearance on screens of all sizes.
Otherwise, you might need to make other adjustments to make it look good on the
Home page. Since this template includes white font color overlay on the hero image, a
darker image will look best.
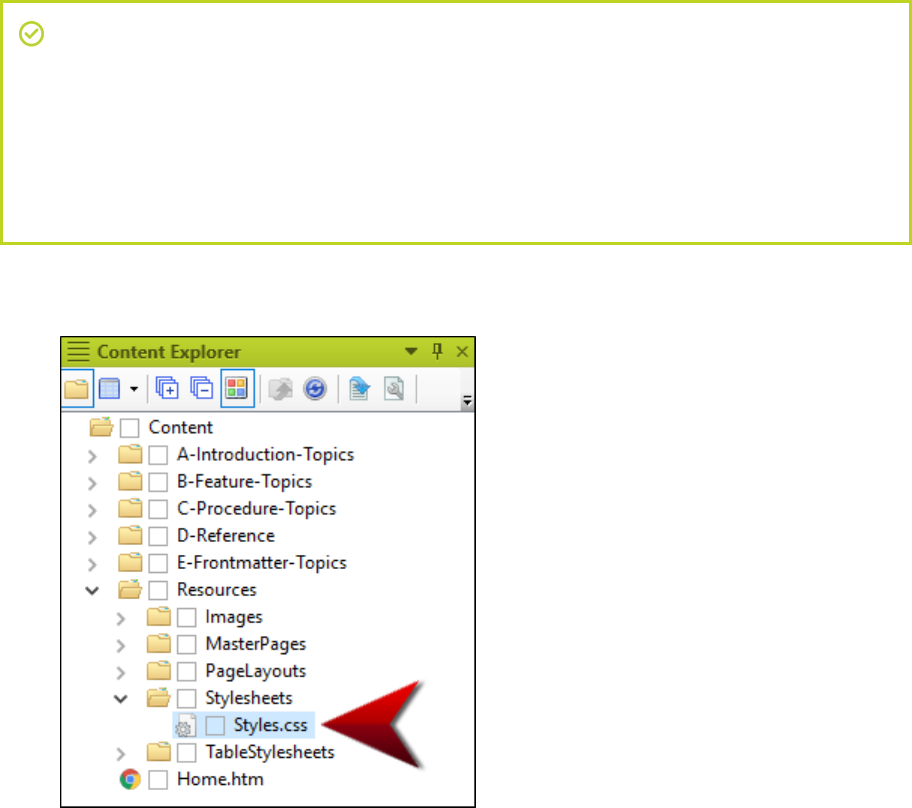
1. Open the Content Explorer, expand Resources > Stylesheets, and double-click
Styles.css.
- 13 -
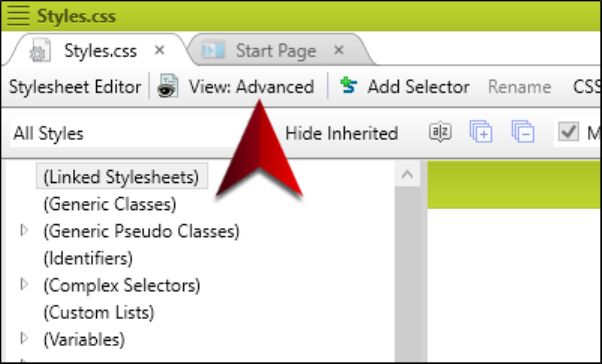
2. In the Stylesheet Editor, make sure you are in Advanced view.
- 14 -
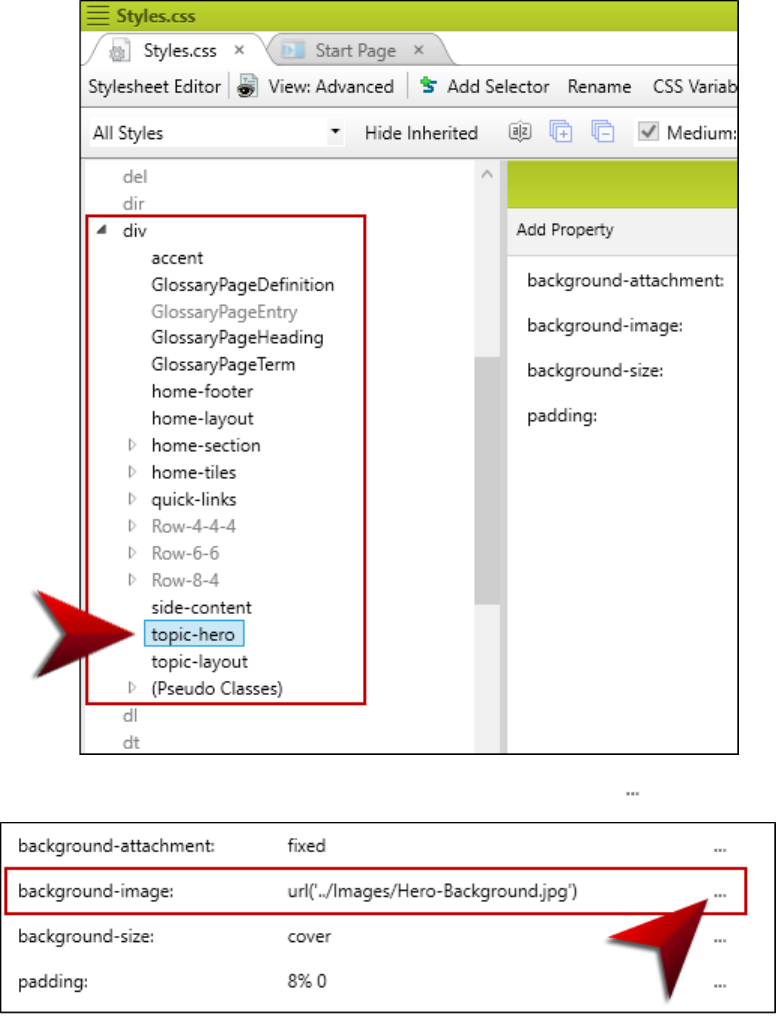
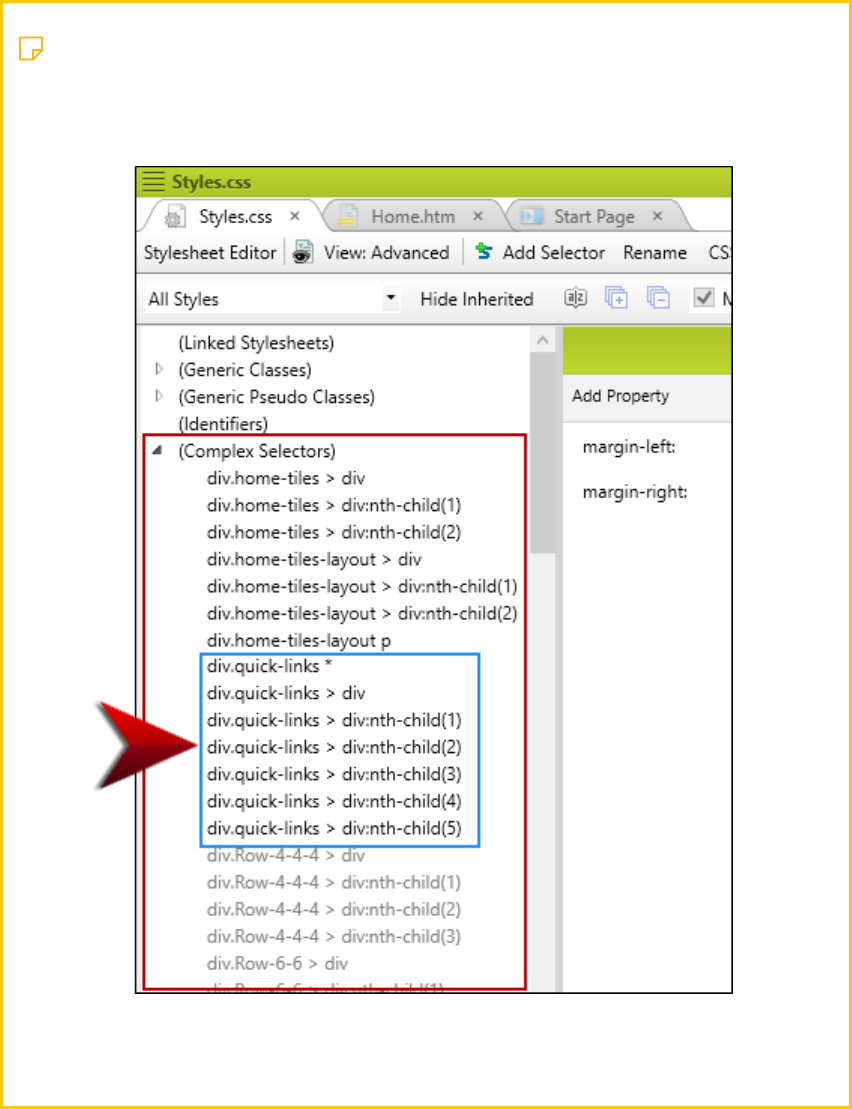
3. On the left side of the Stylesheet Editor, find and expand the div group. Then select
topic-hero.
4. On the right side of the editor, next to background-image, click .
- 15 -
Note: If you have group view enabled instead of alphabetical view, you will
need to expand the Background group before making your changes.
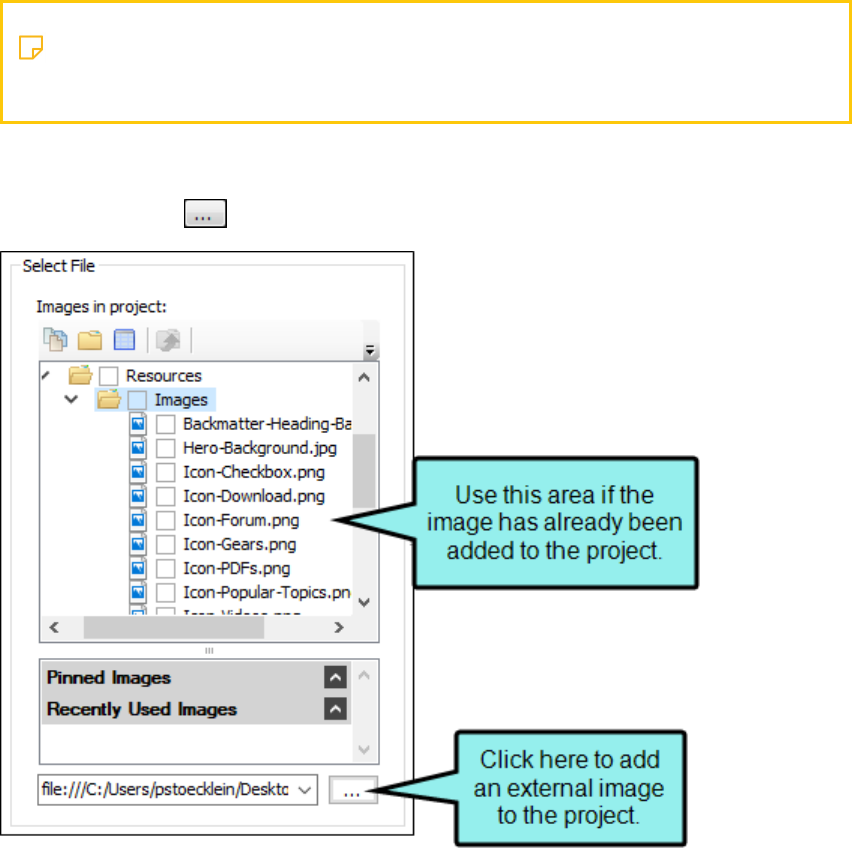
5. In the Select File section, locate and choose your image. If you have already added
your image to the project, you can select it from the top area. If you have not yet added it
to the project, click and select it (the image will then be added to the project).
6. Click OK.
7. Save the file.
- 16 -
How to Change the Logo for the Title
Page
Use the following steps to change the logo that is seen on the title page of PDF output.
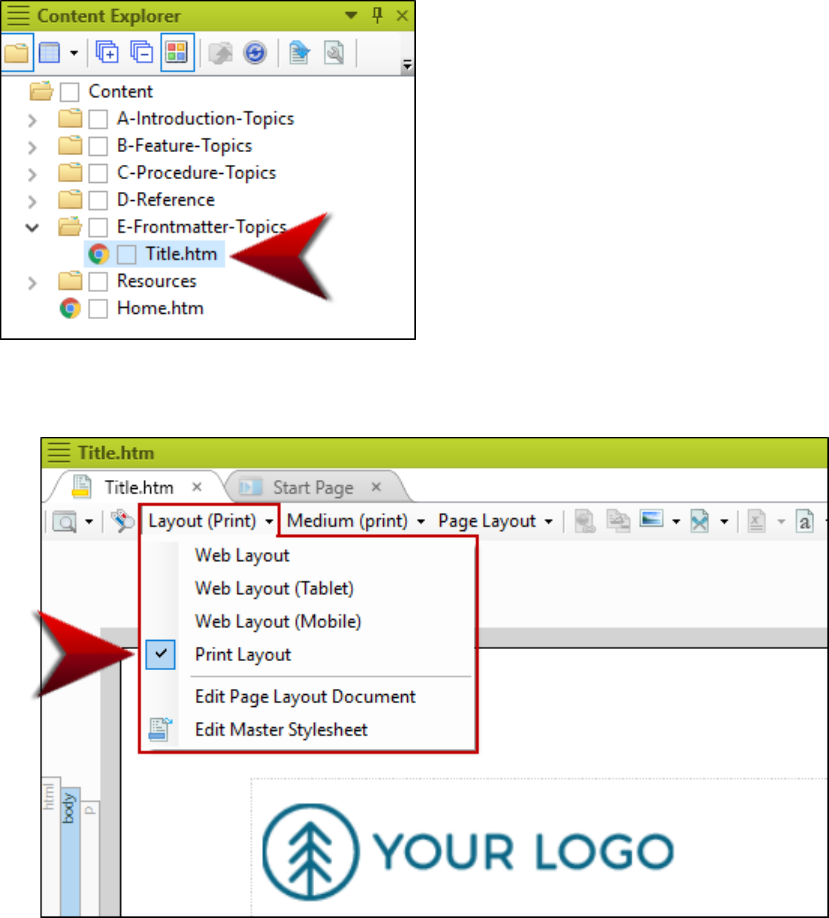
1. Open the Content Explorer, expand E-Frontmatter-Topics, and double-click
Title.htm.
2. If you want to see the topic in relation to the page layout, click the Layout drop-down in
the local toolbar and select Print Layout.
- 17 -
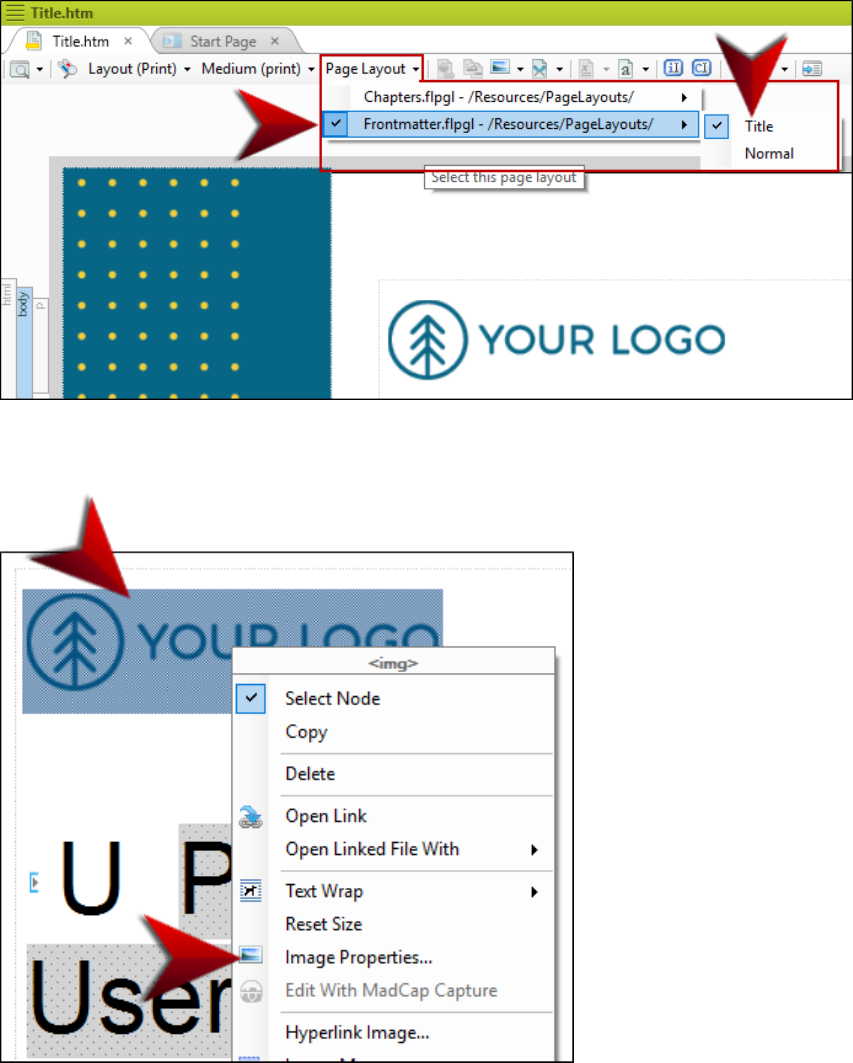
You might also need to click the Page Layout drop-down and select Frontmatter.flpgl
> Title. After that, the topic looks as it will in the output.
3. Right-click the placeholder logo and select Image Properties.
- 18 -
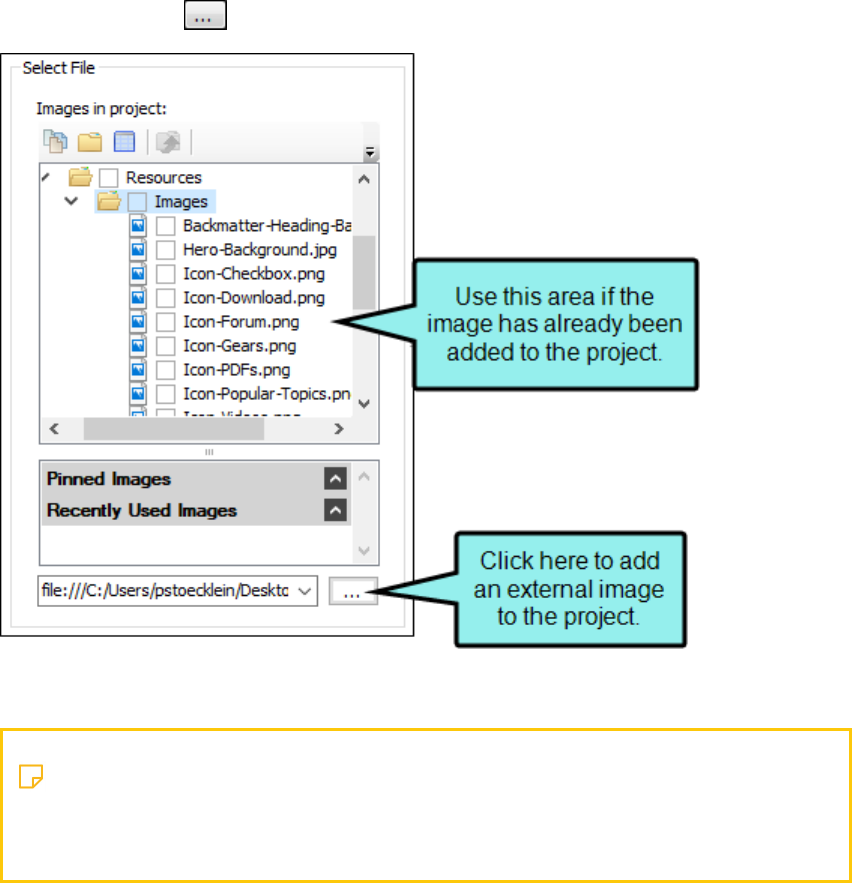
4. In the Select File section, locate and choose your image. If you have already added
your image to the project, you can select it from the top area. If you have not yet added it
to the project, click and select it (the image will then be added to the project).
5. Click OK.
Note: If you need to resize your image to fit, you can do so manually in the topic
or you can use a style. See the Flare online Help for more about resizing
images.
6. Save the file.

- 19 -
How to Change the Title Page
Background Image
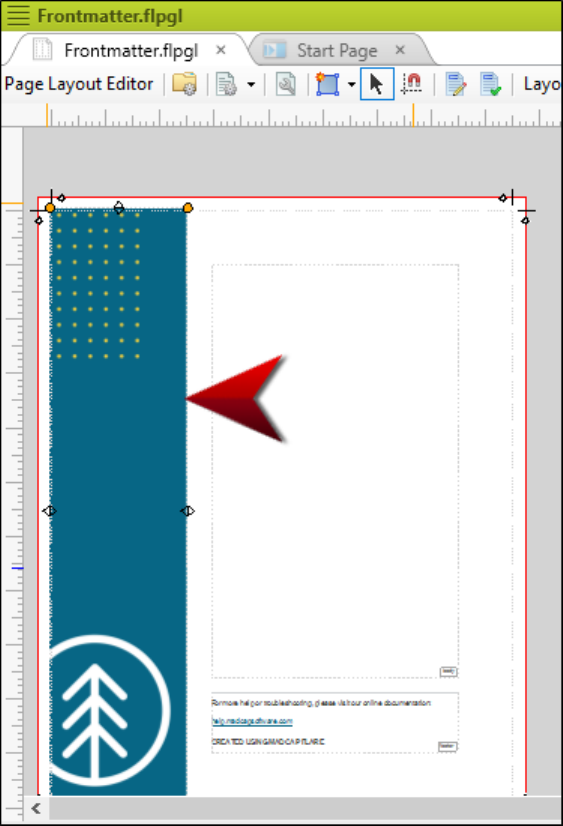
In addition to the logo, there is another image that is displayed on the title page for PDF
output. This is a decorative image. However, unlike the logo, this image was not inserted
directly into the Title.htm topic. Instead, this image was inserted into the Frontmatter.flpgl
page layout, which controls the structural format of the title page. Therefore, it exists in the
background of the title page.
1. Open the Content Explorer, expand Resources > PageLayouts, and double-click
Frontmatter.flpgl.
- 20 -
2. Double-click the frame that is displaying the image.
- 21 -
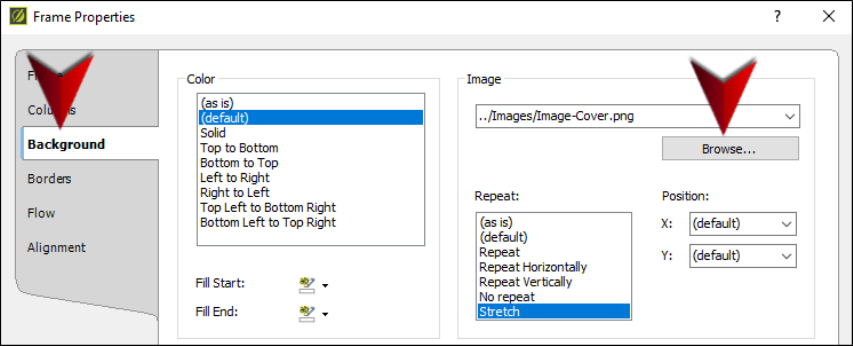
3. In the Frame Properties dialog, select the Background tab. Then in the Image section,
click Browse.
- 22 -
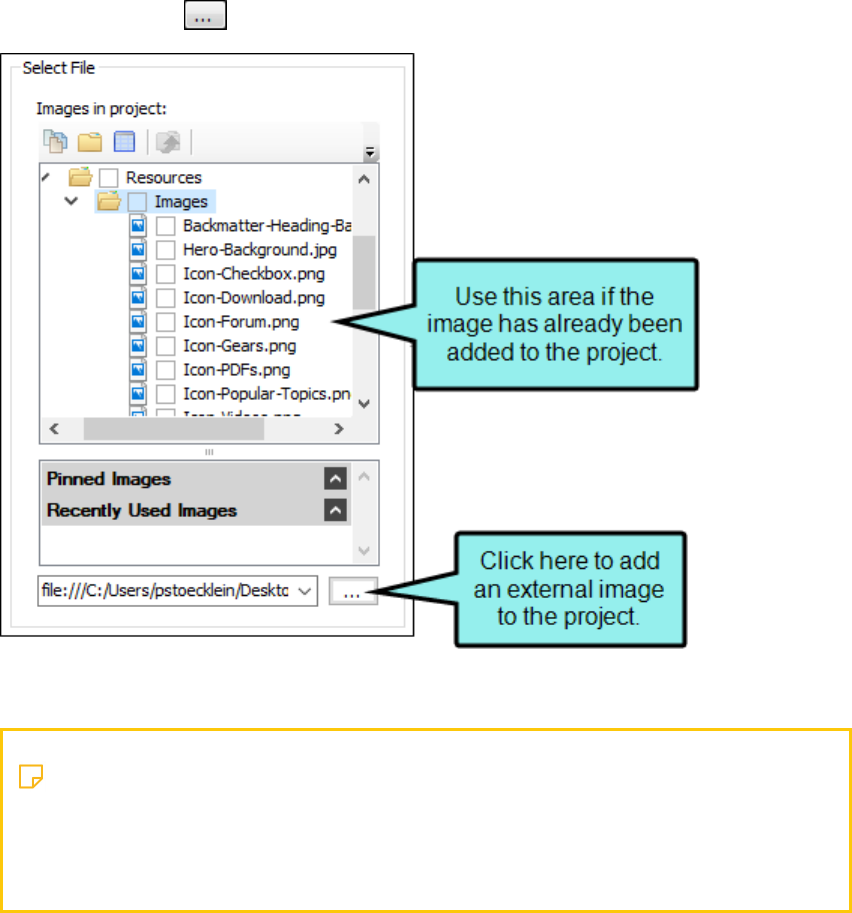
4. In the Select File section, locate and choose your image. If you have already added
your image to the project, you can select it from the top area. If you have not yet added it
to the project, click and select it (the image will then be added to the project).
5. Click OK.
Note: If you need to resize an image so that it fits better, you will need to do so
outside of Flare. Then repeat the steps above to select the updated image in
the page layout. You can also experiment with the “Repeat” and “Position”
fields in the Frame Properties dialog to adjust the image’s appearance.
6. Save the file.
- 23 -
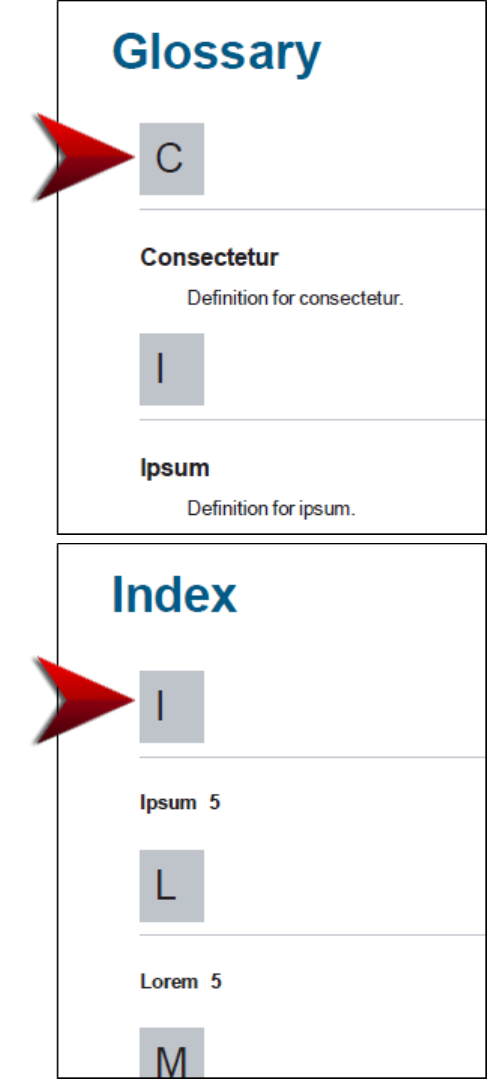
How to Change the Glossary and Index
Heading Background Image
Another image you can change in this template is a small gray square, which displays behind
glossary and index headings in the PDF output.
- 24 -
Unlike the background image used on the title page (which is inserted into a page layout), this
image is controlled in the stylesheet.
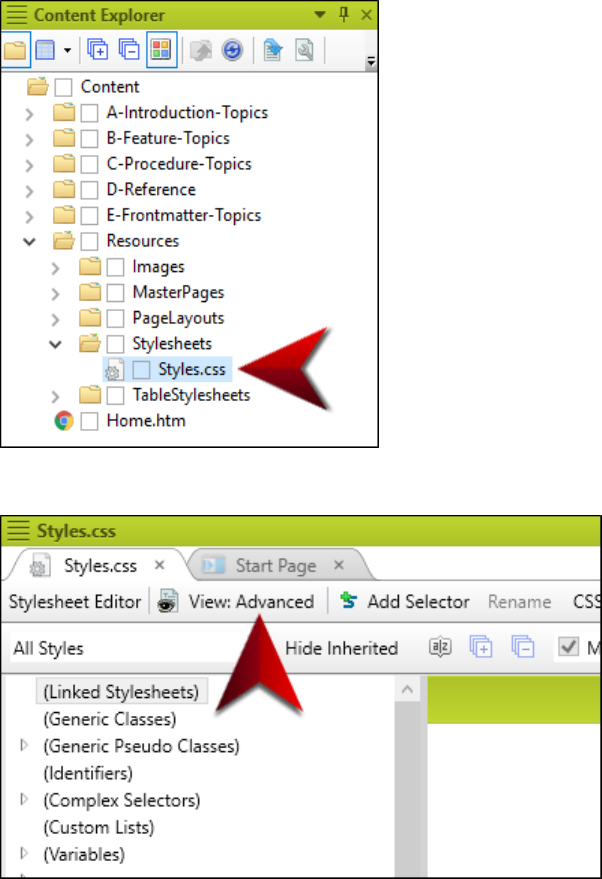
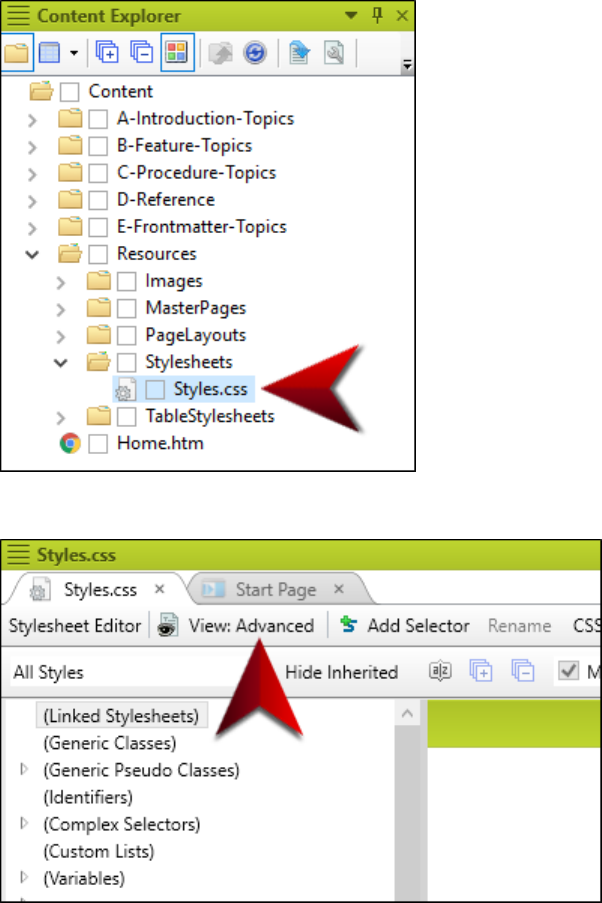
1. Open the Content Explorer, expand Resources > Stylesheets, and double-click
Styles.css.
2. In the Stylesheet Editor, make sure you are in Advanced view.
- 25 -
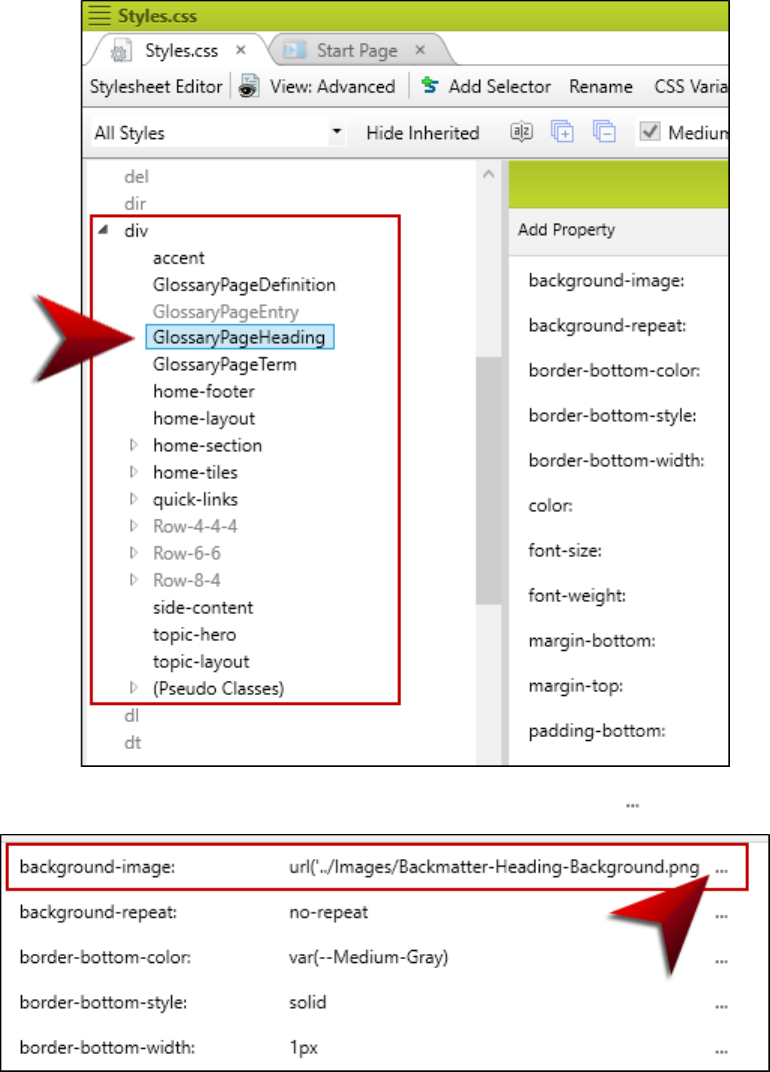
3. On the left side of the Stylesheet Editor, find and expand the div group. Then select
GlossaryPageHeading.
4. On the right side of the editor, next to background-image, click .

- 26 -
Note: If you have group view enabled instead of alphabetical view, you will
need to expand the Background group before making your changes.
5. In the Select File section, locate and choose your image. If you have already added
your image to the project, you can select it from the top area. If you have not yet added it
to the project, click and select it (the image will then be added to the project).
6. Click OK.
7. On the left side of the Stylesheet Editor, find and expand the pgroup. Then select
IndexHeading and repeat the steps above to change the background image for the
index.
8. Save the file.
- 27 -
Changing Colors
To change the colors in the project, you need to edit multiple files. In all of these files, there is a
color referred to as the “Brand,” which you probably want to replace with your own company
or product color. In addition, you may find black, white, and shades of gray in these files, which
you can also change.
- 28 -
How to Change Colors in the Regular
Stylesheet
1. Open the Content Explorer, expand Resources > Stylesheets, and double-click
Styles.css.
2. In the Stylesheet Editor, make sure you are in Advanced view.
- 29 -
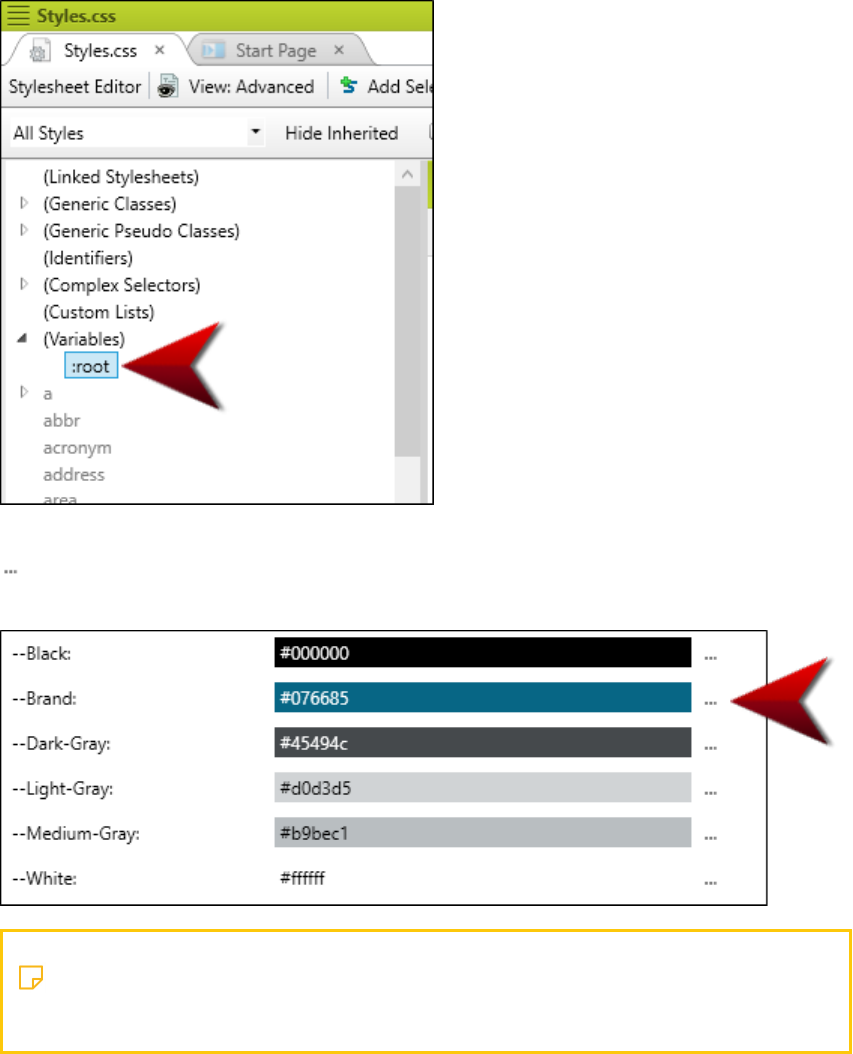
3. On the left side, expand (Variables) and select :root.
4. On the right side of the editor, next to --Brand (or any of the other CSS variables) click
, and use the dialog to choose a new color. These CSS variables are used for various
styles throughout the stylesheet.
Note: If you have group view enabled instead of alphabetical view, you will
need to expand the Custom group before making your changes.
5. Save the file.
- 30 -
How to Change Colors in the Table
Stylesheet
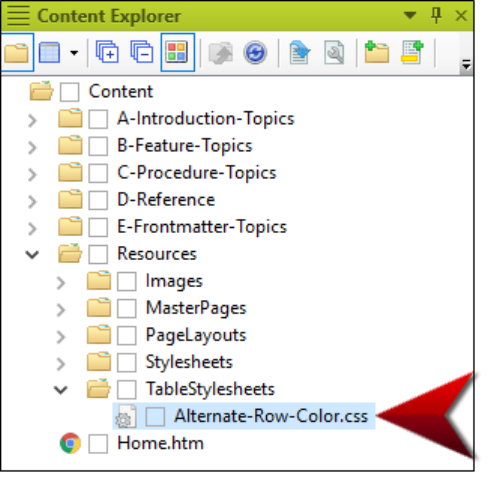
1. Open the Content Explorer, expand Resources > Table Stylesheets, and double-
click Alternate-Row-Color.css.
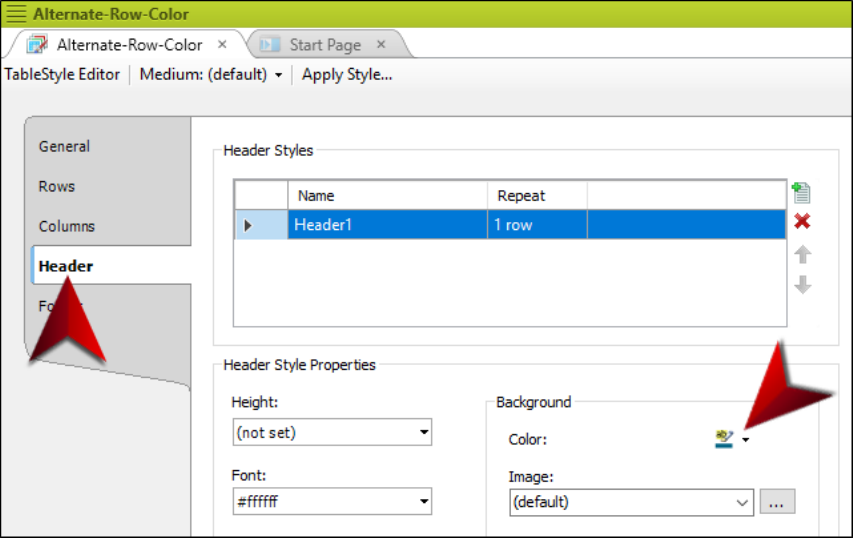
- 31 -
2. Use the tabs on the left to edit different parts of the table stylesheet, and edit the color in
any of the appropriate fields. Most of the relevant fields are set to black, white, and gray,
which you might decide to leave as is. If you want to change the “Brand” color, select the
Header tab, and in the Background section, edit the Color field.
The new color will be reflected in the preview area at the bottom of the editor.
3. Save the file.
- 32 -
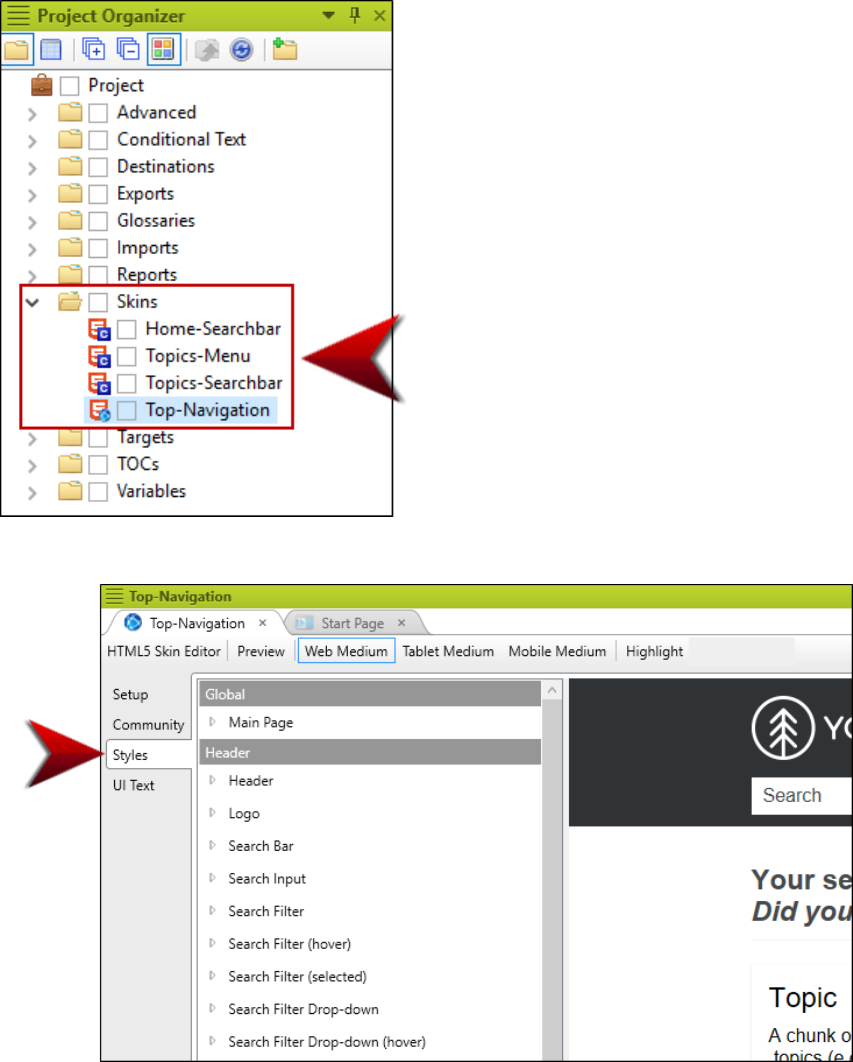
How to Change Colors in the Skins
1. Open the Project Organizer, expand Skins, and double-click any of the skin files.
2. On the left, select the Styles tab.
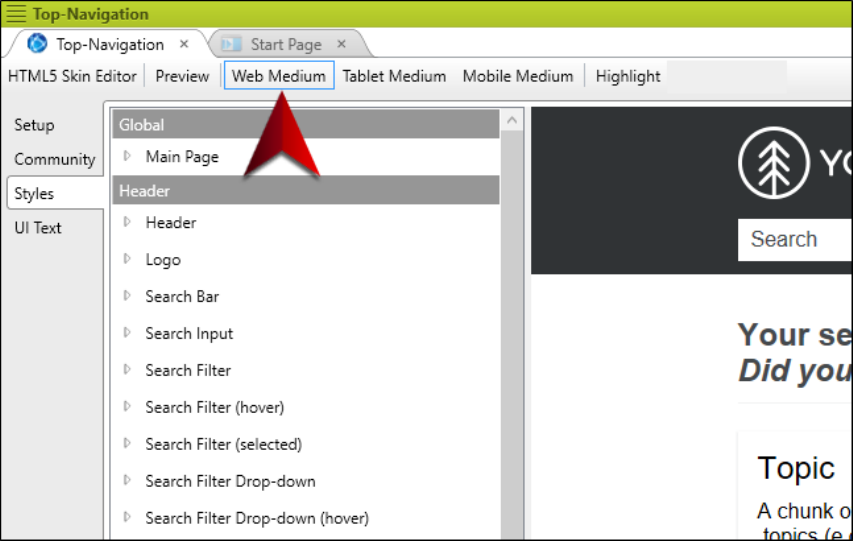
- 33 -
3. At the top of the editor, make sure Web Medium is selected.
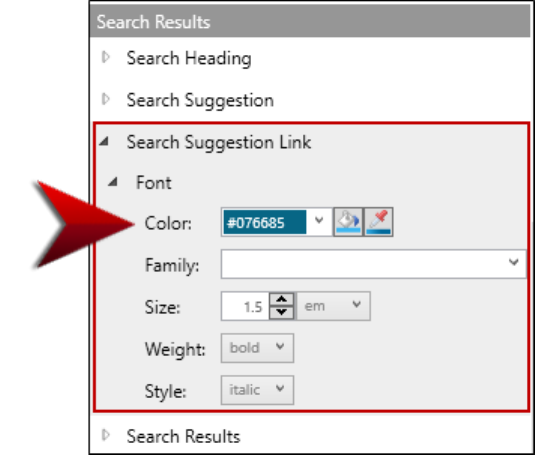
- 34 -
4. Expand any of the nodes and edit the color in the appropriate fields. Most of the relevant
fields are set to black, white, and gray, which you might decide to leave as is.
If you want to change the “Brand” color, open the Top-Navigation skin (this color is not
set in any of the other skins) and edit any of the following:
Search Suggestion Link > Font > Color
Search Result Link > Font > Color
Search Result Link (active) > Font > Color
Search Result Link (focus) > Font > Color
Search Result Link (visited) > Font > Color
Search Result Path > Font > Color
Search Pagination Item > Font > Color
5. Save the file.

- 35 -
Changing Quick Links
At the bottom of the Home page topic, there are a series of Quick Links, which you can adjust.
Before making any modifcations, you need to open the Home page topic and enable the
structure bars in the XML Editor.
After this, you might want to make the following kinds of changes:
nChange the text hyperlinks
nChage the images
nRemove columns

- 36 -
How to Open the Home Topic and Enable
Structure Bars
1. Open the Content Explorer, and double-click Home.htm.
2. At the bottom of the XML Editor, make sure the two structure bar buttons are selected
(borders will appear around the buttons when enabled). With these buttons enabled,
you will see bars to the left or top of the XML Editor, depending on the location of your
cursor in the topic.
- 37 -
How to Change the Text Hyperlinks
1. Scroll to the bottom of the topic where the Quick Links are displayed.Click on any of the
text hyperlinks that you want to change.
2. You can simply type to replace the text for any of the links.
3. To change the hyperlink destination, locate the “a” structure bar at the top of the XML
Editor. This structure bar is related to the hyperlink where your cursor is located.

- 38 -
4. Right-click that structure bar, and from the context menu select Edit Hyperlink.
5. Use the Insert Hyperlink dialog to link to another file in the project or to an external
location, such as a website.
6. Click OK.
7. Save the file.
- 39 -
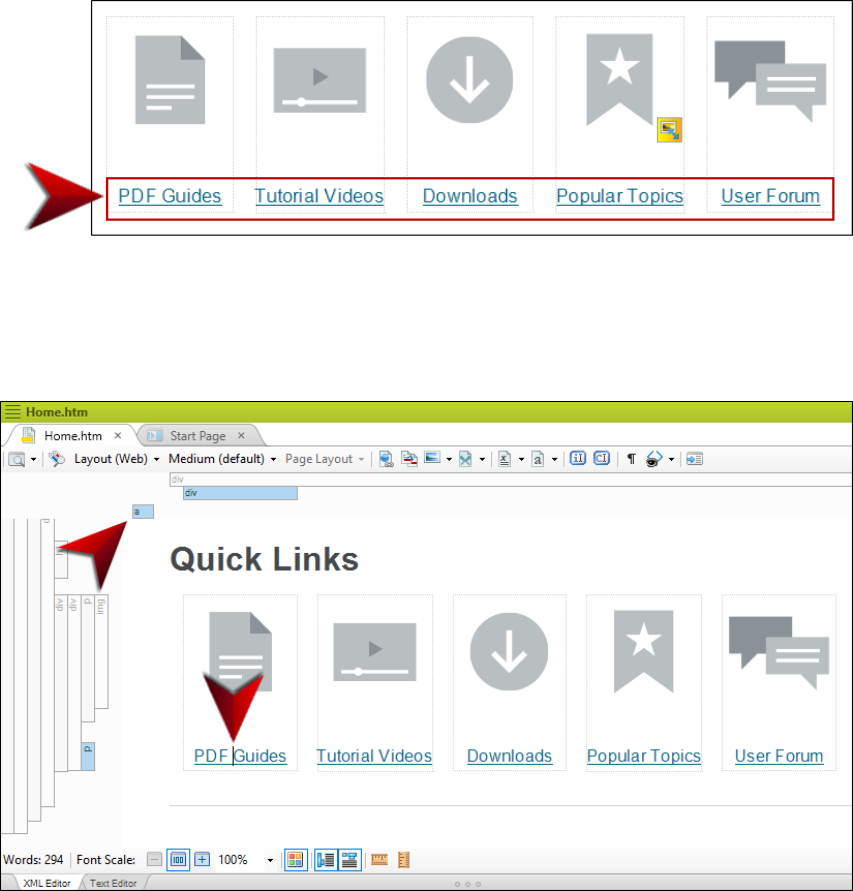
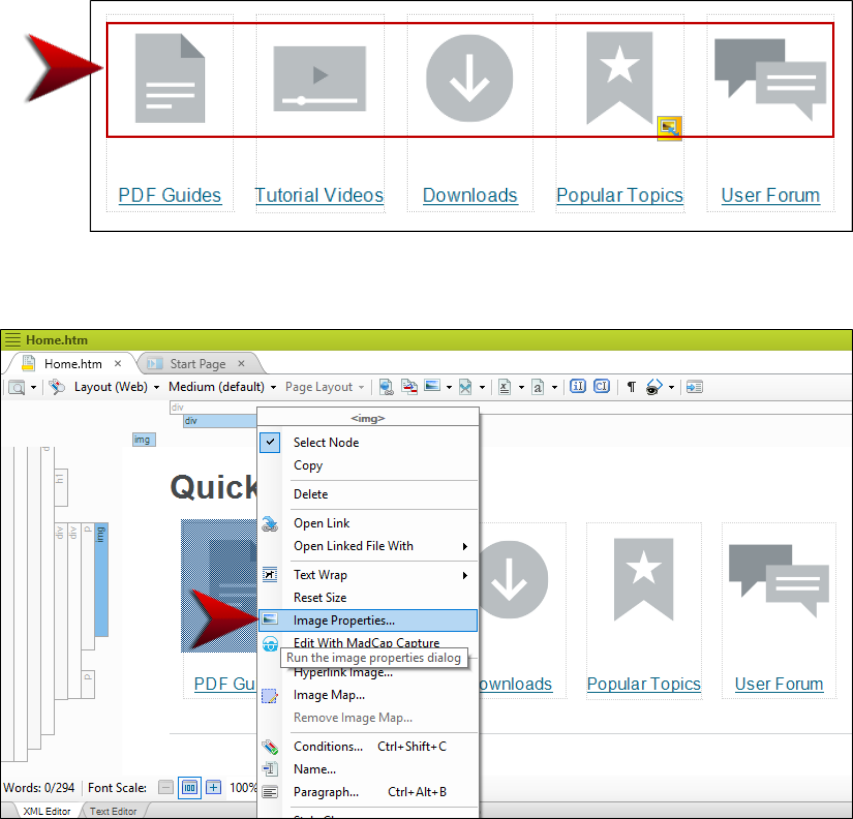
How to Change the Images
1. Scroll to the bottom of the topic where the Quick Links are displayed.
2. If you want to replace an image with another one, right-click the image and select Image
Properties.
3. In the Image Properties dialog, select the General tab.

- 40 -
4. In the Select File section, locate and choose your image. If you have already added
your image to the project, you can select it from the top area. If you have not yet added it
to the project, click and select it (the image will then be added to the project).
5. Click OK.
- 41 -
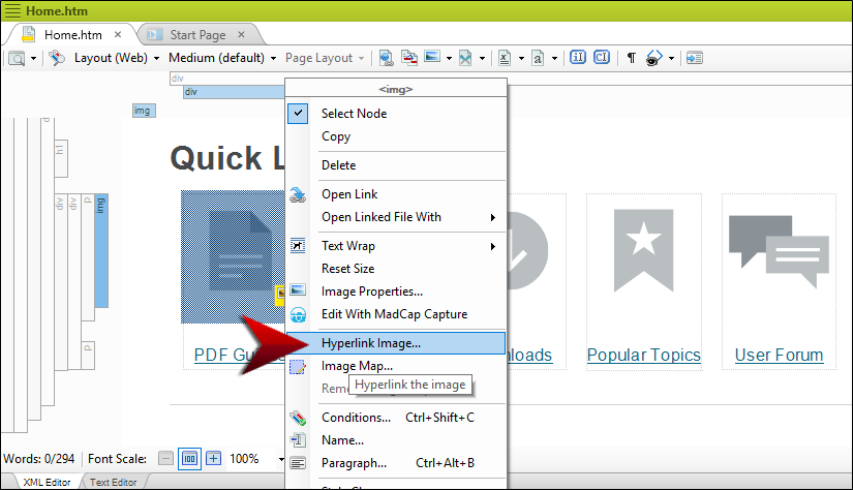
6. If you want to create a hyperlink on an image so that users can navigate to another
location by clicking it, begin by right-clicking the image and selecting Hyperlink Image.
7. Use the Insert Hyperlink dialog to link to another file in the project or to an external
location, such as a website.
8. Click OK.
9. Save the file.

- 42 -
How to Remove Columns
The area holding the Quick Links is a responsive layout that will adjust the positions of the
columns when the output screen size changes. Currently there are five columns (holding five
images and hyperlinks) in this layout. You can remove any of these columns that you don’t
need.
1. Scroll to the bottom of the topic where the Quick Links are displayed.
2. Click in the rectangle representing the column you want to remove.
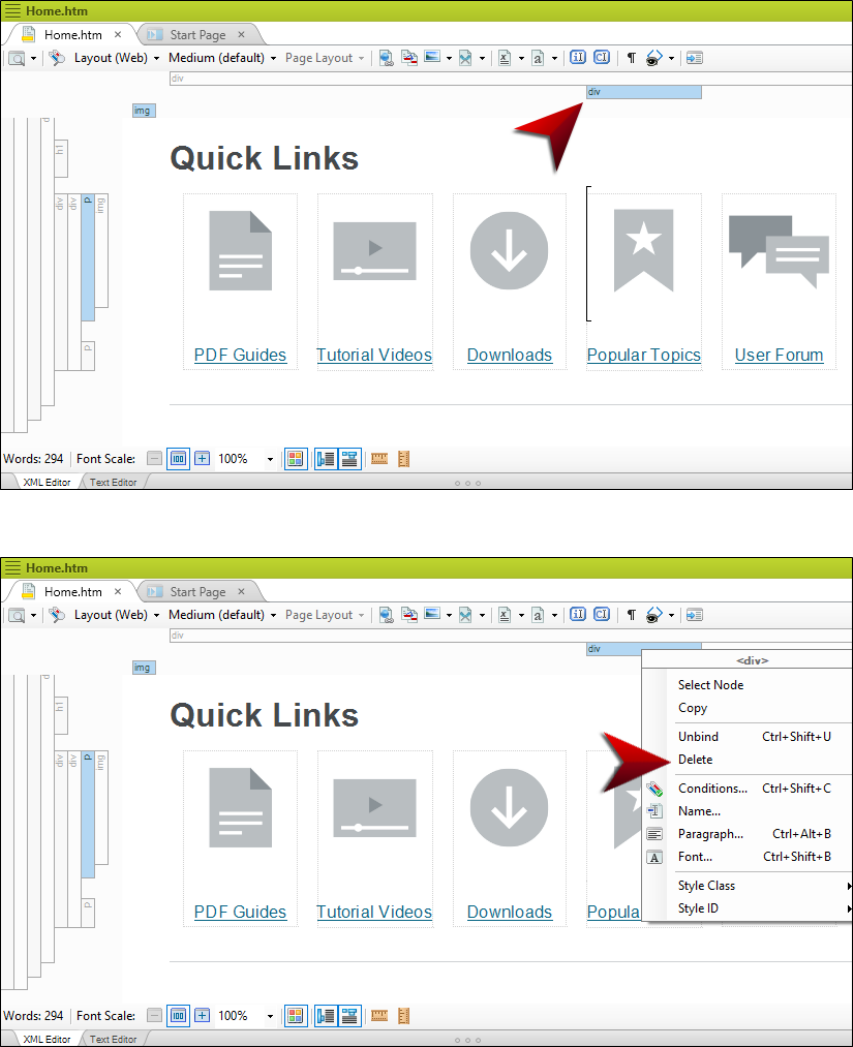
- 43 -
3. Locate the “div” structure bar at the top of the XML Editor. This structure bar is related
to the area where your cursor is located.
4. Right-click the structure bar and select Delete.
- 44 -
5. Save the file.
Note: Depending on how many columns you remove, you might want to adjust
the responsive layout styles that control the look of the Quick Link area. That is
because the layout was originally designed to hold five columns of equal width,
and removing columns might result in an uneven layout.
For more information about editing a responsive layout styles—including how to
add more columns—please refer to the Flare online Help.
- 45 -
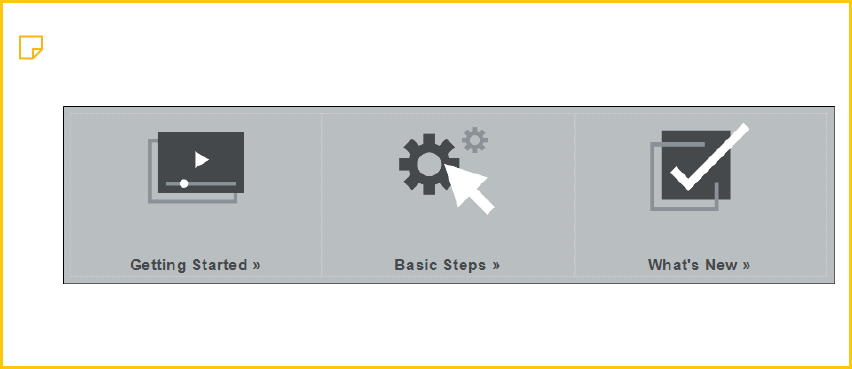
Note: In addition to the Quick Links, there are similar tiles toward the top of the
Home topic.
You can edit these in much the same way as you adjust the Quick Links.
- 46 -
Changing Variables
You might use variables for company information, social media URLs, product names, the
date of publication, and more. To change the definitions for the variables used in this template,
edit the General variable set file. You can also create and insert new variables for other
purposes.
- 47 -
How to Change Variables
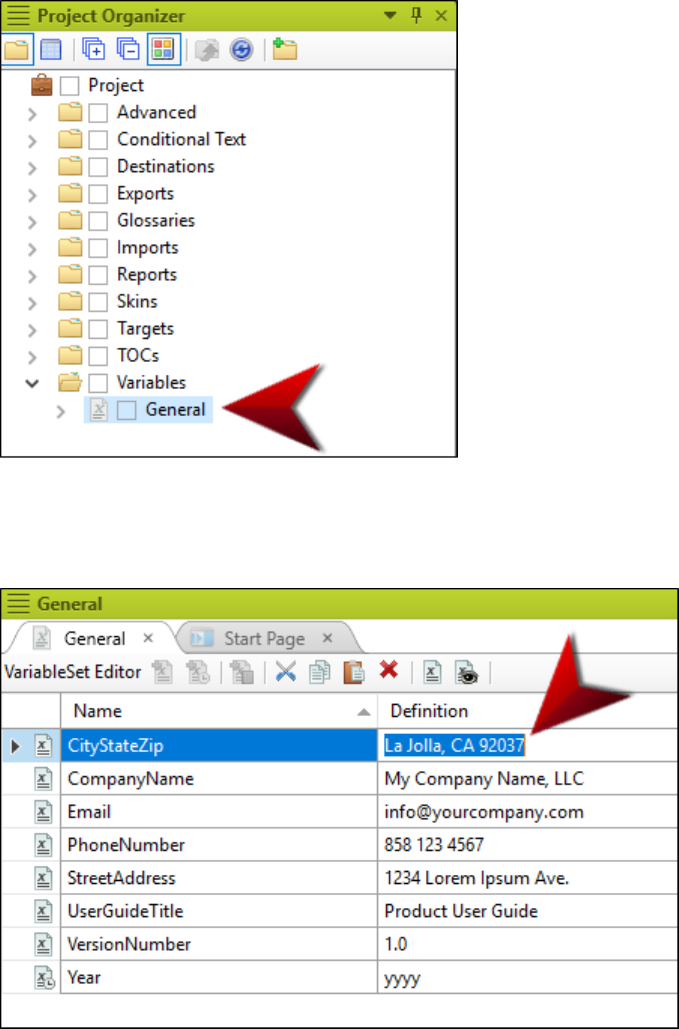
1. Open the Project Organizer, expand Variables, and double-click General.
2. In the Variable Set Editor, click twice slowly in the Definition cell you want to change
and type the new text.
3. Press Enter on your keyboard.
- 48 -
4. Repeat these steps for each variable definition you want to change. (You can also use
the buttons in the local toolbar to add new variables if you like.)
5. Save the file.When you open a file where a variable has been inserted (e.g.,
Company.htm, Home-Page.flmsp), you should see the new definition(s) displayed.
- 49 -
Changing the Layout
There are two page layouts in this template—one for the title page and TOC, the other for the
rest of the pages in the PDF output, including the chapters and backmatter (e.g., glossary,
index). You can make adjustments to the page layouts if you want to alter things such as the
page size, margins, body frames, or footers.
- 50 -
How to Change the Page Layouts
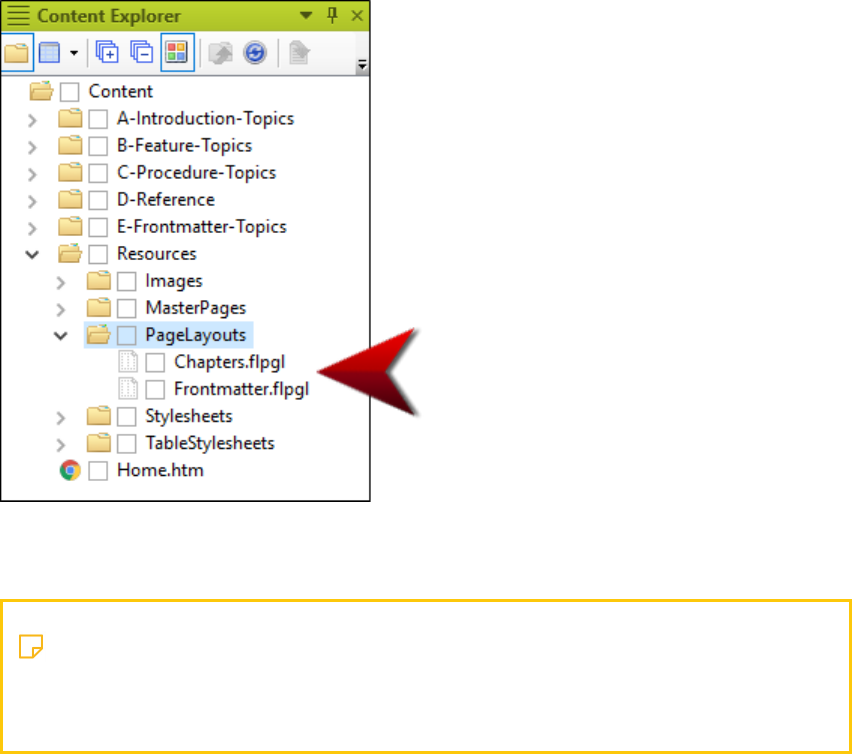
1. Open the Content Explorer, expand Resources > PageLayouts, and double-click
either the Chapters.flpgl or Frontmatter.flpgl page layouts.
2. The Frontmatter page layout contains two pages, one for the title, the other for the TOC.
Click the small rectangle on the right side of the editor to switch between these pages.
Note: The structure for the auto-generated TOC can be changed on the
second page of the Frontmatter page layout file. But the structure for the
backmatter can be changed in the Chapters page layout file.
3. To make changes to the entire page:
a. Right-click in the Page Layout Editor and select Page Properties.
b. In the Properties dialog, select a tab (General,Background,Print Marks) on
the left and edit the fields to change details such as the page size, margins, or
background color/image.
c. Click OK.

- 51 -
4. To move or resize a frame within a page:
a. Click the frame.
b. To move the entire frame, click in the middle, then drag and drop it. To resize a
frame, click and drag its edge.
5. To change properties for a frame within a page:
a. Double-click the frame.
b. In the Properties dialog, select a tab (Frame,Columns,Background,Borders,
Flow) on the left and edit the fields to change details such as the frame size,
padding, columns, or background color/image, and more.
c. Click OK.
6. To change the content within a frame, such as the text or page numbers in a footer:
a. Click the frame.
b. Press F2 on your keyboard.
c. Use the small editor at the bottom of the interface to enter text or insert different
variables.
Note: If you want to change the look of the text or page numbers in the
footer, you need to do so in the stylesheet. To change the look of the text
shown on the left side of the footer, edit the p.frame-footer-text style
class. To change the look of the page numbers shown on the right side of
the footer, edit the p.frame-footer-page-number style class.
7. Save the file.
- 52 -
How to Customize the Frontmatter and
Backmatter Pages
If you want to customize your frontmatter or backmatter (e.g., TOC, glossary, index) so that
they have different layouts than the regular chapters, there are some additional tasks you will
need to do. This might include the following:
1. Disable the auto-generation of the TOC, glossary, and index in the target.
2. Create separate topics for each kind of frontmatter and backmatter, and inserting
proxies into them.
3. Create unique page layouts for the frontmatter and backmatter.
4. Add the frontmatter and backmatter topics to the TOC file.
5. Associate each topic in the TOC file with the proper page layout.
Please refer to the Flare online Help for more information and detailed steps.
