UWWTD SIIF Toolbox 2015 Installation Guide Vf
User Manual:
Open the PDF directly: View PDF ![]() .
.
Page Count: 16
Specific contract n°07.0201/2014/SFRA/698614/ENV.C.2 implementing Framework
Service Contract ENV.D.2/FRA/2012/0013: “Expanding the Urban Wastewater
Structured Information and Implementation Framework (SIIF) via: Improvement
of the SIIF IT toolbox and Extension of the Urban Waste Water Directive
(UWWTD) SIIF approach to four new Member States.”
UWWTD SIIF national toolbox
Installation and configuration on a fully open source server
with CentOS
Version 2.0
February 2016
UWWTD-SIIF: installation and configuration guide
Service Contract for the support to the Implementation of Directive 91/271/EEC on Urban Waste Water Treatment
Date: February 2016
Authors: Benoît Fribourg-Blanc, Nicolas Dhuygelaere, Louis Crespin (OIEau),
The contents of this document are subject to copyright and all rights are reserved. No part of this docu-
ment may be reproduced, stored in a retrieval system or transmitted, in any form or by any means elec-
tronic, mechanical, photocopying, recording or otherwise, without the prior written consent of the copy-
right owner.
This document has been produced by OIEau.

I
Table of Contents
1 INTRODUCTION ................................................................................................................... 1
2 GENERAL INSTALLATION: ............................................................................................... 1
2.1 INSTALL PACKAGE WITH COMMAND LINE AND YUM ............................................................. 1
2.2 CREATE A NEW POSTGRESQL DATABASE ............................................................................ 3
2.3 IMPORT THE SQL STRUCTURE TO YOUR DATABASE (ONLY FOR PREFILL-INSTALLATION) ..... 3
2.4 IMPORT RBD AND NUTS LAYERS IN DATABASE (ONLY FOR FROM SCRATCH INSTALLATION)
4
2.5 WEBSERVER SETTINGS ......................................................................................................... 5
2.6 WEBSITE INSTALLATION ...................................................................................................... 5
2.6.1 Copy files to server directory ....................................................................................... 5
2.6.2 Allow access to your public directory .......................................................................... 5
2.6.3 Start the Drupal Install (only for installation from scratch) ........................................ 6
2.6.4 Modify the settings.php file (for all install) .................................................................. 7
2.6.5 Activate the uwwtd module (only for from scratch installation) .................................. 8
2.6.6 Customize the domain name of your website ............................................................... 9
2.6.7 Log in to your site and empty any cache (for prefilled installation) .......................... 10
2.6.8 Change the name of your SIIF platform ..................................................................... 11
2.6.9 Change the logo of your SIIF platform ...................................................................... 11
2.6.10 Add a national language ............................................................................................ 11
2.7 INSTALL GEOSERVER AND CREATE THE WEBSERVICES ...................................................... 11
2.8 INSTALL GEONETWORK ..................................................................................................... 12
3 DATA SUBMISSION AND CALCULATIONS ................................................................. 13
UWWTD-SIIF: installation and configuration guide
-1-
Service Contract for the support to the Implementation of Directive 91/271/EEC on Urban Waste Water Treatment
1 Introduction
This document is presenting how to install the UWWTD SIIF Toolbox, version released in February 2016 on a national
server with a fully Open source environment.
2 General installation:
In order to install the UWWTD SIIF website in your own environment, you need six main modules:
- the database : Postgres 9.x with Postgis extension (version > 1.5) ,
- the web server : Apache 2.4 and PHP 5.5
- the website : Drupal 7,
- the map server : Geoserver,
- the catalogue: Geonetwork,
- the pdf generator : wkhtmltopdf
The machine which will be used to host the web portal as well as the webservice features, has the following configu-
ration:
- The physical configuration should be at least (for evaluation): - disk : 20 Gbytes- RAM : 2Gbytes- CPU : 2
minimum- partition : 1. Ideally, you may install the webserver, the database server et map server on sepa-
rates servers or increase the RAM to 4 Go and/or the number of CPU to 4.
- Linux (ideally centos 6 or 7, 64 bits) /Red Hat server with at least 2 Gbytes of RAM,
- an Apache 2 webserver- with PHP 5.3.3 (or more),
- the GeoPHP libraries,
- the installation kit with the website sources
- for the database management : postgres 9 and postgis 2
- Tomcat 8.0.12 webserver
- for the web services module (flat ones) : Geoserver 2.5 (or 2.8)
- GeoNetwork
- for the pdf printing function: upload wkhtmltopdf module
2.1 Install package with command line and yum
At first, you have to install the database server. You will find all needed package at this URL : http://yum.post-
gresql.org/repopackages.php#pg95 . For example, if you want to install postgres 9.5 on centos 6, 64 bits you can run
followings command :
cd /home
wget https://download.postgresql.org/pub/repos/yum/9.5/redhat/rhel-6-x86_64/pgdg-centos95-9.5-2.no-
arch.rpm
rpm –ivh pgdg-centos95-9.5-2.noarch.rpm
yum install posgresql95-server posgresql95-devel postgis2_95
You can also find some usefull information on postgres wiki : https://wiki.postgresql.org/wiki/YUM_Installation and
on
Then, You can install development tools, apache and php with this shell’s command under “root” user:
yum groupinstall 'Development Tools'
yum install httpd php php-devel php-pear php-pgsql git
pecl install dbase
UWWTD-SIIF: installation and configuration guide
-2-
Service Contract for the support to the Implementation of Directive 91/271/EEC on Urban Waste Water Treatment
pecl install uploadprogress
For GeoPHP installation, you can follow this guide: https://github.com/phayes/geoPHP/wiki/Geos-installation-on-
centos6
To start the apache service, you can use the following command under “root” user:
service httpd start
OR (if the previous command line does not work)
service apache start
For auto-starting the apache server on the server reboot, use this command:
chkconfig httpd on
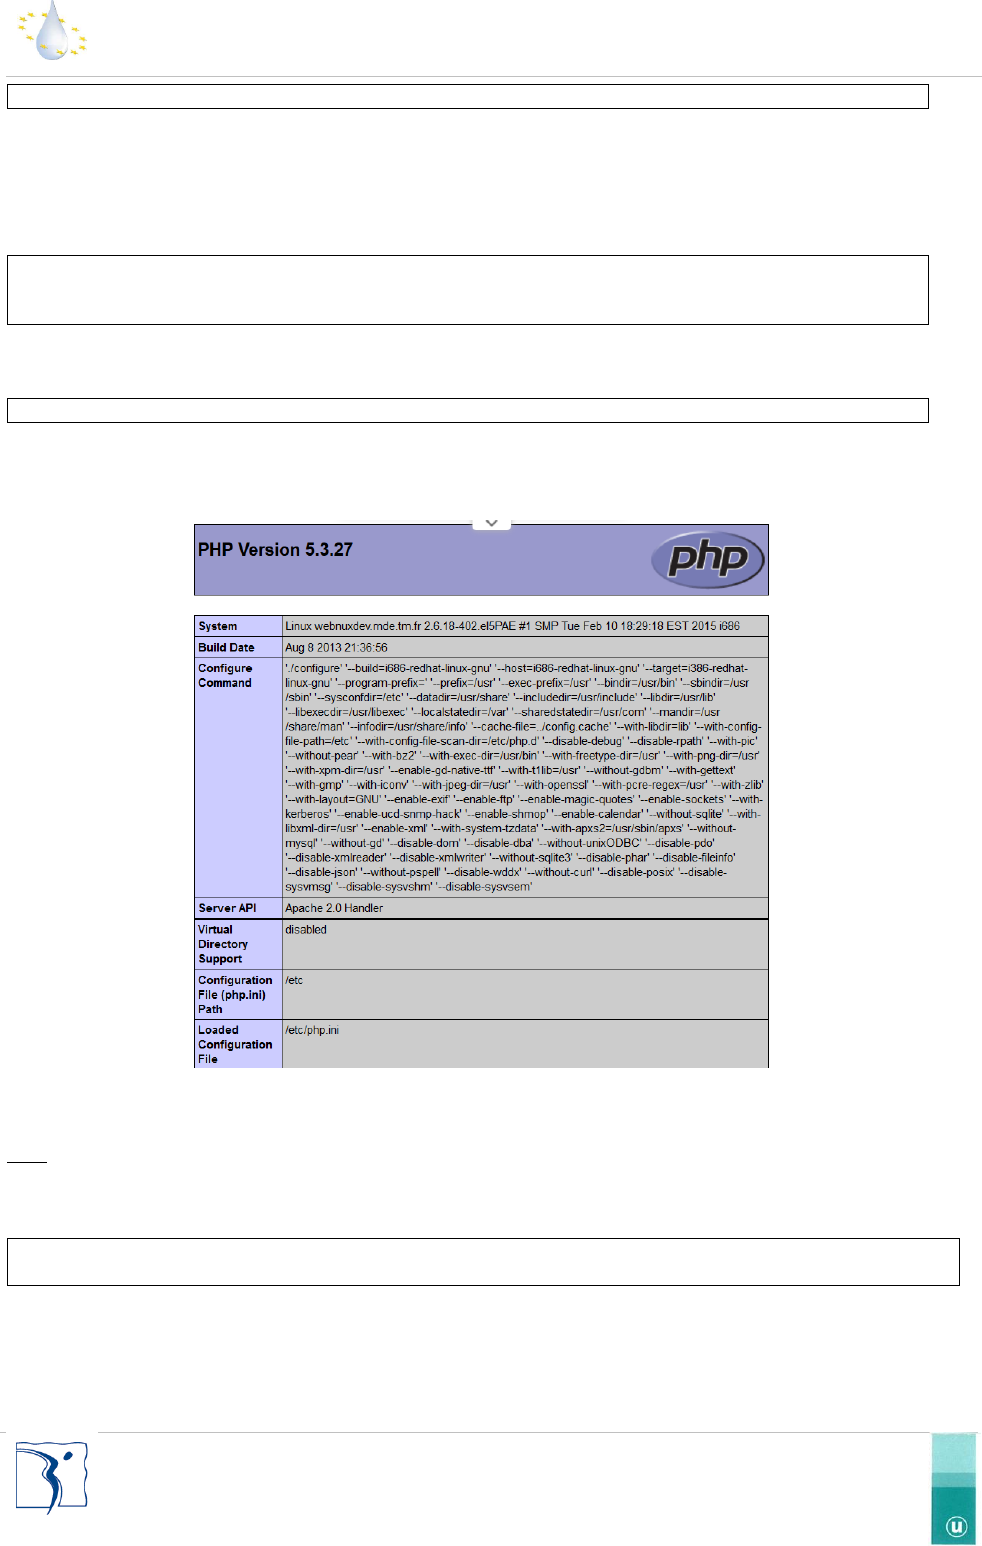
If everything went well, you can access to the following page with your web browser (Google Chrome, Firefox,
Opera) at this URL: http://[ip of your server]/
Figure 1 : Test page of the apache server
Nota: If it doesn’t work, you can try to replace your ip by the server name If it doesn’t have effect, check if the 80
port is open on your server, your firewall and if the service “Apache” is running.
For easing the database administration, you can also install the phpPgAdmin package a web administration tool for
postgres database with the following command:
yum install phpPgAdmin
You will find some useful information at this URL : http://tecadmin.net/how-to-install-phppgadmin-on-centos-using-
yum/#
With your web browser, you can also visit phpPgAdmin at the URL: http://[server ip]/phppgadmin/
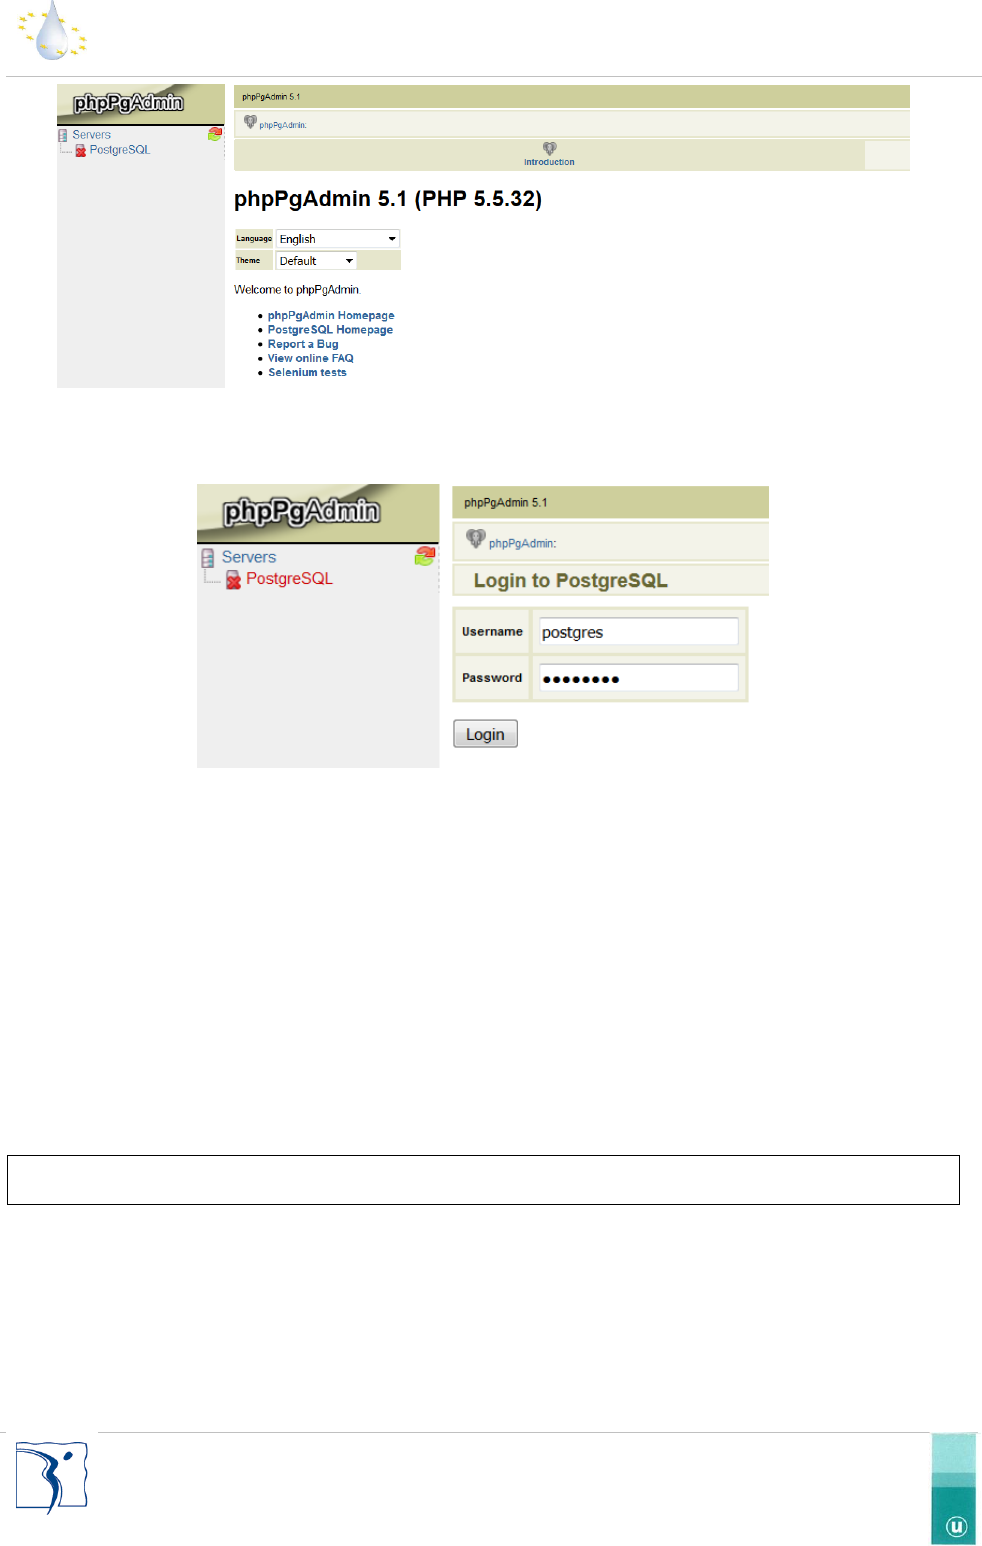
UWWTD-SIIF: installation and configuration guide
-3-
Service Contract for the support to the Implementation of Directive 91/271/EEC on Urban Waste Water Treatment
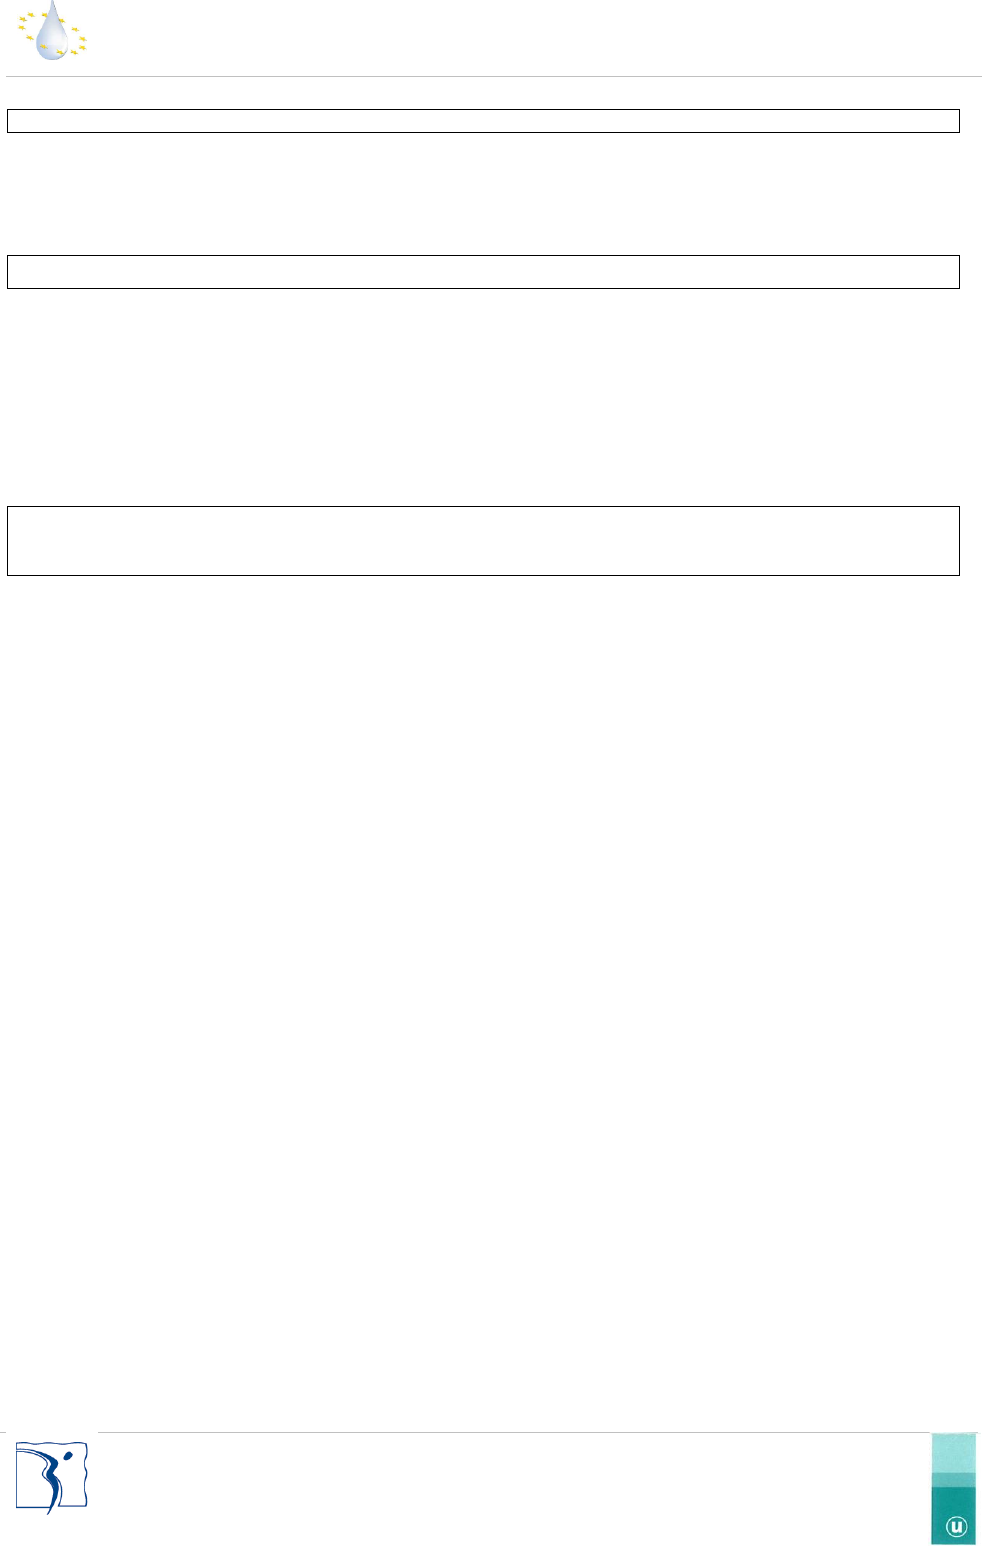
Figure 2 : phpPgAdmin, the web administration tool of the postgres database
The login interface is available on click on “PostgreSQL” link bellow the “Servers” item on the left of screen and enter
your “super user” account (login : postgres, password : postgres if you have use the recommended parameters).
Figure 3 : login interface on phpPgAdmin
Then you have to install WKHTMLTOPDF tool. WKHTMLTOPDF is open source (LGPLv3) command line tools to render
HTML into PDF and various image formats using the Qt WebKit rendering engine. These run entirely "headless" and
do not require a display or display service. To start the installation, goes on http://wkhtmltopdf.org/downloads.html
page and download the right package for your server. You can find usefull help on this webpage :
https://jaimegris.wordpress.com/2015/03/03/how-to-install-wkhtmltopdf-in-centos-6-5/
2.2 Create a new PostgreSQL database
To correctly install the SIIF platform a PostgreSQL database must be used. Any database name can be used but we
suggest using a name you can remember as you will need this information at a later stage like : “uwwtd_siif”. You
can create the database, with followings command lines :
su postgres
createdb –E UTF8 –T template0 uwwtd_siif
Note you have to use a “postgres” user we recommend you to use the super user account “postgres”
2.3 Import the SQL structure to your database (only for prefill-installation)
If you want to install a new uwwtd siif plaform from scratch you can skip this step. However, if you want to install a
prefilled dataset for Cyprus, Slovenia, Romania, Poland, Croatia, Lithuania or Ireland you can download a SQL dump
on the git space : https://github.com/OIEau/uwwtd/.
UWWTD-SIIF: installation and configuration guide
-4-
Service Contract for the support to the Implementation of Directive 91/271/EEC on Urban Waste Water Treatment
The next step involves inserting the premade SQL structure to your platform with the following command line :
psql –U postgres – d uwwtd_siif –f uwwtd_structure.sql
Note : the postgresql server need to be running and you have create the “uwwtd_siif” databse before.
When the import has been completed, you have to run the following sql query (with phpPgAdmin or with the post-
gres console):
ALTER DATABASE uwwtd_siif SET bytea_output='escape';
2.4 Import RBD and NUTS layers in database (only for from scratch installation)
These two geographical layers are available on github at this URL : https://github.com/OIEau/uwwtd/releases/down-
load/V1.1/region_nuts_and_river_basin.zip . You have to download the zip file and unzip it on the root of the server.
psql –U postgres – d uwwtd_siif
create extension IF NOT EXISTS postgis
\i /path on your server/region_nuts_and_river_basin.sql
UWWTD-SIIF: installation and configuration guide
-5-
Service Contract for the support to the Implementation of Directive 91/271/EEC on Urban Waste Water Treatment
2.5 Webserver settings
At first, you need to make some modifications in your PHP settings. Edit your “php.ini” file (located in the
/etc/php.ini), and change the following parameters:
memory_limit = 1024M
max_execution_time = 600 #you can reduce this value to 30 seconds after the database initialization
post_max_size = 100M
file_uploads = On
upload_max_filesize = 100M
allow_url_fopen = On
date.timezone = "Europe/Paris" #Use your timezone
And at the end of the php.ini file copy/paste these lines:
extension=dbase.so
extension=uploadprogress.so
For debugging, but not in production mode, you can change these lines:
error_reporting = E_ALL
display_errors = On
Save your php.ini file and then restart the Apache server with this command:
service httpd restart
2.6 Website installation
2.6.1 Copy files to server directory
Now you have the database correctly setup we need to add all the source files to your server directory. You can
download sources on github at this URL : https://github.com/OIEau/uwwtd/archive/master.zip and unzip it on your
server or use the git command line. The better way is probably to use git command.
cd /var/www/html
git clone https://github.com/OIEau/uwwtd/
2.6.2 Allow access to your public directory
Drupal, the CMS used by the platform SIIF, needs to access certain directories of your server to function correctly.
First you need to copy the “uwwtd” directory (in the website directory of the installation kit) into the root of your
Apache server. On Centos server, the root directory of Apache server is “/var/www/html”.
Then, you need to change write access to full access (read, write, execute) for ‘apache’ to the directory ‘sites/de-
fault/files’ and all of its children directories.
Drupal needs to have “write” access on the “sites” directory located at root of Drupal folder. You can do this with
this command:
chown –R apache:apache /var/www/html/uwwtd/sites
chmod –R 777 /var/www/html/uwwtd/sites/default/files
UWWTD-SIIF: installation and configuration guide
-6-
Service Contract for the support to the Implementation of Directive 91/271/EEC on Urban Waste Water Treatment
2.6.3 Start the Drupal Install (only for installation from scratch)
If you have already imported a dump in point 2.3., you can skip this point. If you install the UWWTD SIIF platform
from scratch, this point is mandatory.
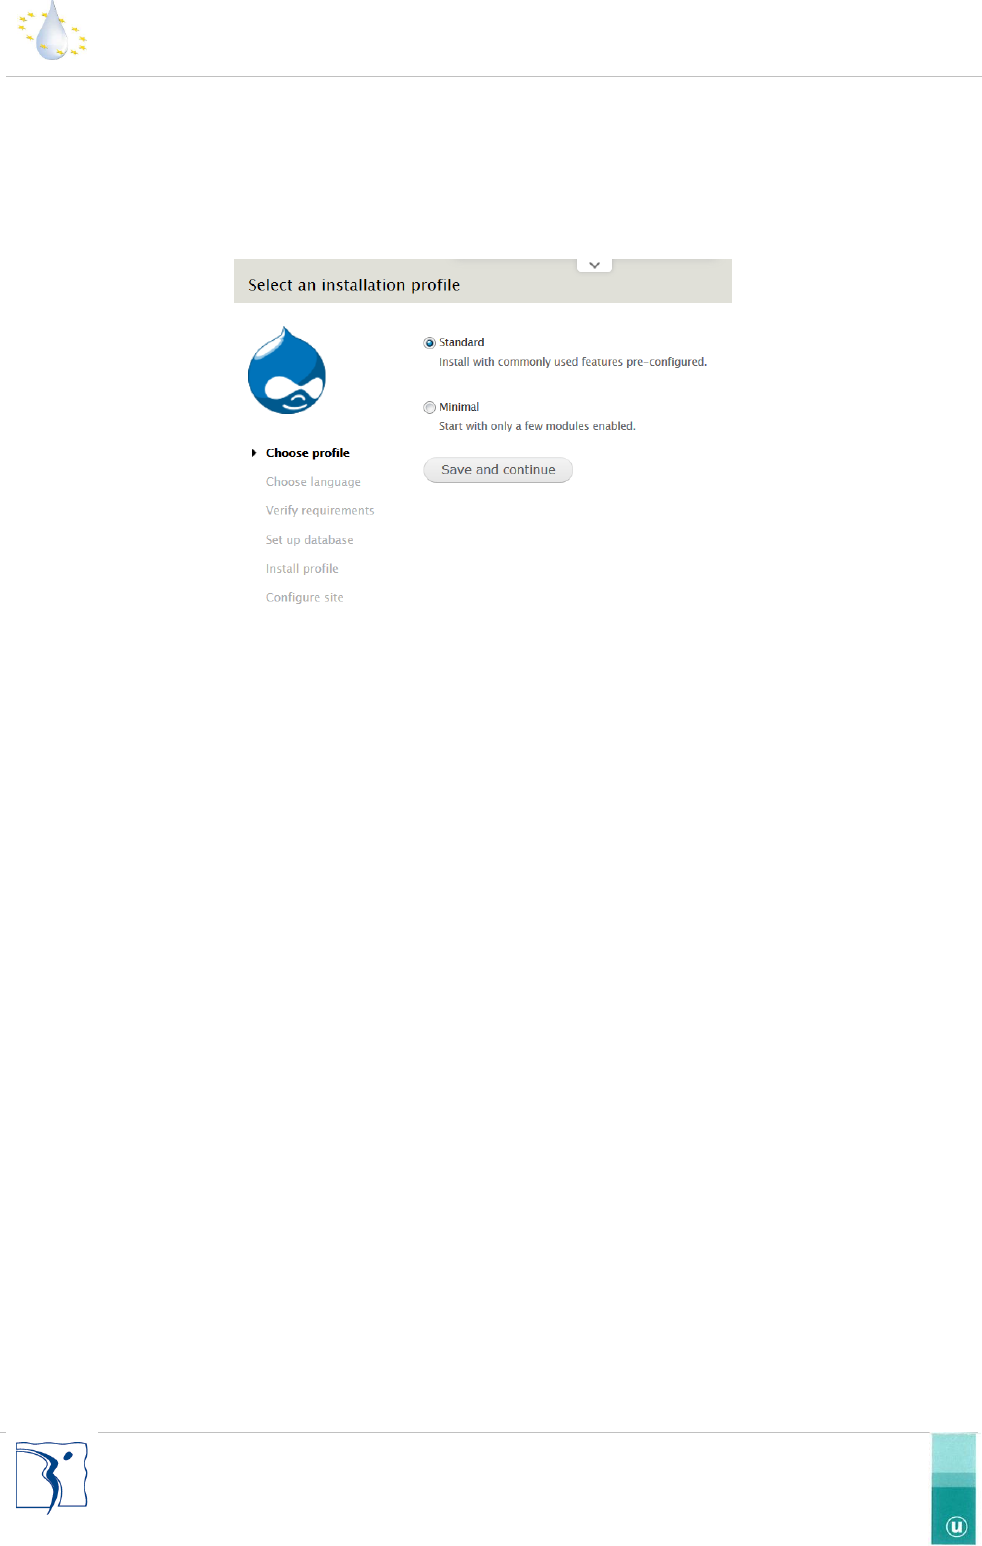
In order to install Drupal and after you have realized 2.6.1 & 2.6.2 operations you can start the installation process.
With your web-browser go to this URL : http://localhost/uwwtd_siif/install.php, and the following screen will appear:
Figure 4 : Install screen of Drupal
Select “standard” installation profile and click on “Save and continue”.
On the next screen, select the default language (always English as this is the language of the file reported, you will be
able to change the language settings in a next step) and click on “Save and continue”.
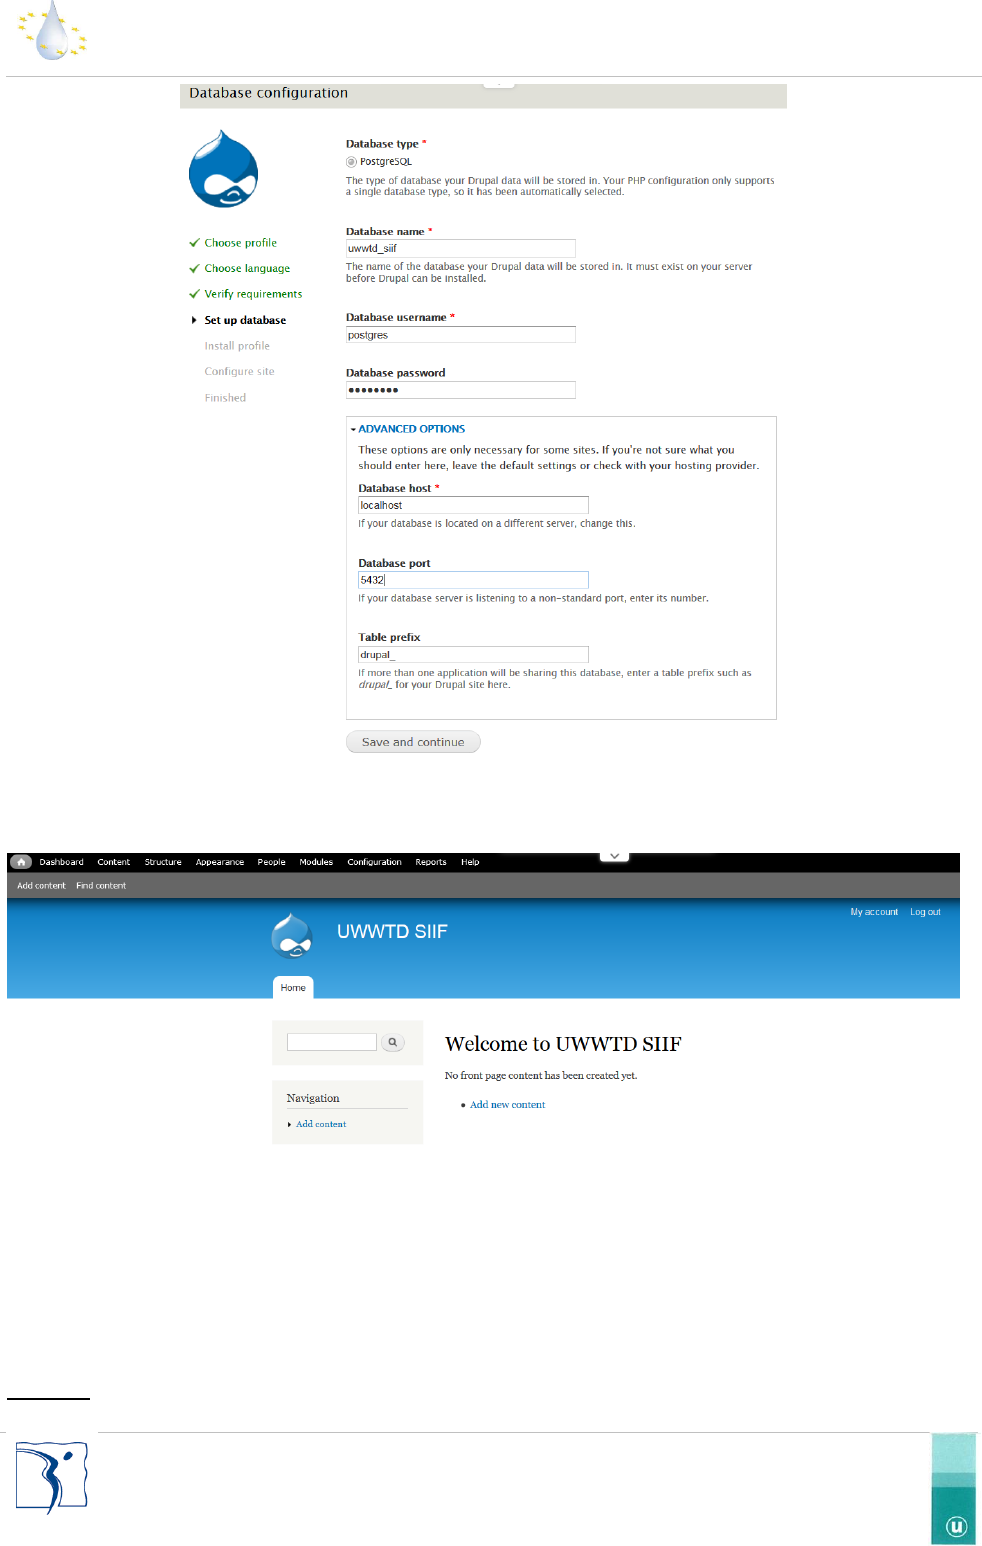
Fill information for the database settings like the following screen and click on “Save and continue”.
UWWTD-SIIF: installation and configuration guide
-7-
Service Contract for the support to the Implementation of Directive 91/271/EEC on Urban Waste Water Treatment
Figure 5 : Drupal database configuration form
In the last screen, you have to enter your settings for the admin account and the site name. Fill all mandatory fields
and click on “save”. In theory, you’ll be redirected to a default front page like the following:
Figure 6 : Default Front page of Drupal
2.6.4 Modify the settings.php file (for all install)
The settings.php file is used by Drupal for declare all required settings like database connection or alter some php
settings. This file is located in this path “/var/www/html/uwwtd_siif/sites/default/settings.php” and you can edit it
with a text editor (like notepad++).
Important: you have to pay attention to keep/use UTF8 encoding for the file
UWWTD-SIIF: installation and configuration guide
-8-
Service Contract for the support to the Implementation of Directive 91/271/EEC on Urban Waste Water Treatment
First, you need to check the database connection. If you installed your Postgres database on the same server as your
website, your connection settings could be:
$databases = array (
'default' =>
array (
'default' =>
array (
'database' => 'uwwtd_siif',
'username' => 'postgres',
'password' => 'postgres',
'host' => 'localhost',
'port' => '5432',
'driver' => 'pgsql',
'prefix' => 'drupal_',
),
),
);
PS: the use of “postgres” user for a production website is not recommended.
In the settings file, you also have to set the country code (please use ISO 3136 codes in two positions) (eg :
si,cy,pl,ro,fr,ie,lt,hr…). You can add this information to the end of the file with the following line
$conf['siif_eru_country_code'] = 'si'; //for slovenia
Now, in theory you can access to your website, with a web browser with this url:
http://[ip.of.the.server]/ uwwtd_siif /
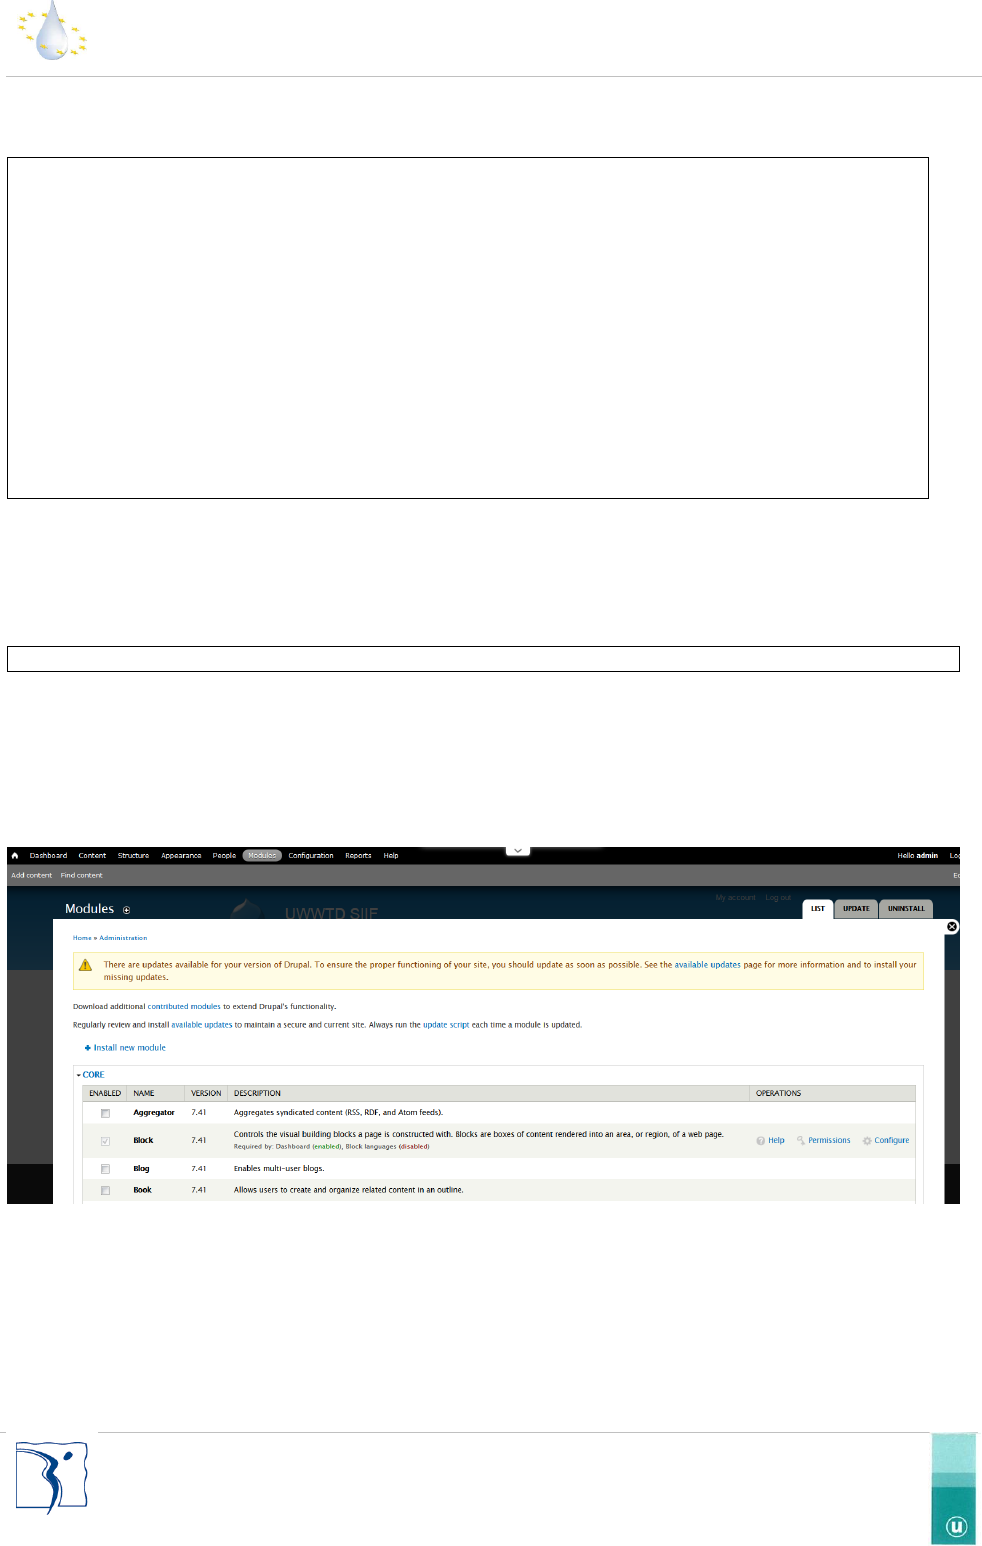
2.6.5 Activate the uwwtd module (only for from scratch installation)
The uwwtd contain all specific component for the UWWTD SIIF platform. You have to activate this module in the
Drupal administration interface. You can find this setting option in admin/modules path.
Figure 7 : Drupal module list
And check the UWWTD line and then click on “save configuration” on the bottom of the screen.
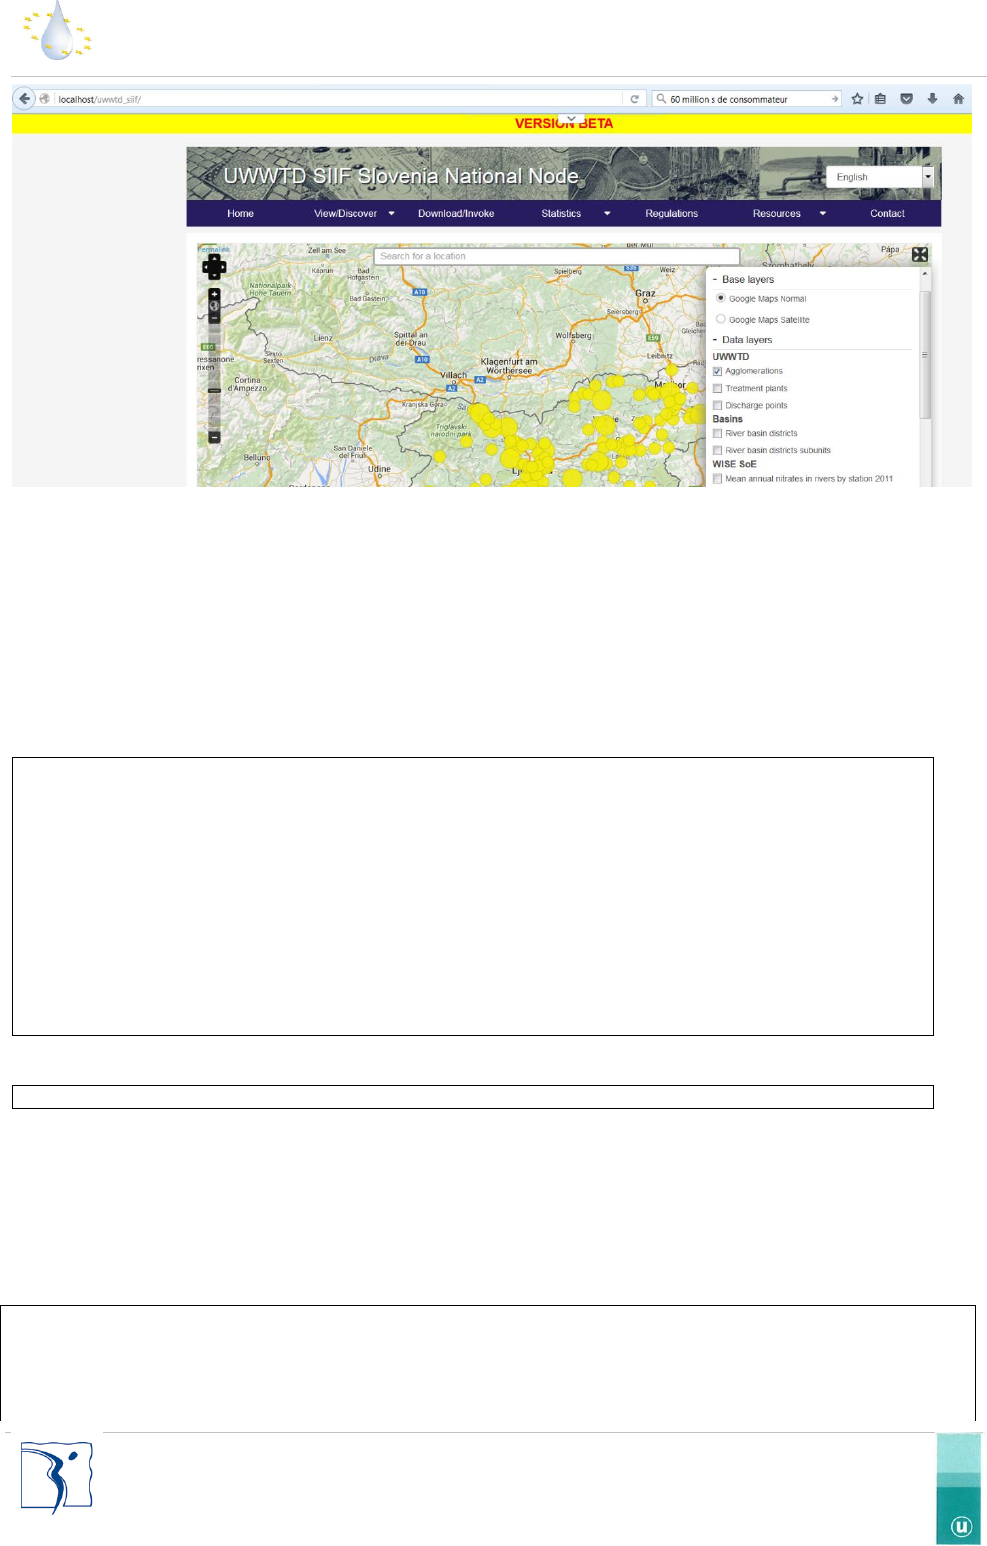
After the install process, the front page of your website will take this look :
UWWTD-SIIF: installation and configuration guide
-9-
Service Contract for the support to the Implementation of Directive 91/271/EEC on Urban Waste Water Treatment
Figure 8: Front page
2.6.6 Customize the domain name of your website
You can customise the Apache configuration of your website to allow for URL rewriting and setup your domain
name. We recommend you to create a file, eg “uwwtd.conf” in the /etc/httpd/conf.d directory and add the following
content (you have to change the ip and the domain name):
<VirtualHost 192.168.1.40:80>
ServerName uwwtd.domain.eu
ServerAdmin contact@domain.eu
DocumentRoot /var/www/html/uwwtd_siif
<Directory "/var/www/html/uwwtd_siif ">
AllowOverride All
Options indexes
IndexOptions FancyIndexing IconsAreLinks FoldersFirst HTMLTable
</Directory>
</VirtualHost>
Save your uwwtd.conf file and then restart the Apache server with this command:
service httpd restart
Your website is ready and can be reached with your own domain name, such as: http://uwwtd.domain.eu
The next step is to link the files to your newly created database. You will need to edit the settings.php file located in
the relative directory ‘sites/default/settings.php’.
Once opened find the uncommented line with the following code:
$databases = array (
'default' =>
array (
'default' =>
array (
UWWTD-SIIF: installation and configuration guide
-10-
Service Contract for the support to the Implementation of Directive 91/271/EEC on Urban Waste Water Treatment
'database' => 'uwwtd_siif',
'username' => username,
'password' => 'password',
'host' => '192.168.1.2',
'port' => '5432',
'driver' => 'pgsql',
'prefix' => 'drupal_',
),
),
);
You will now need to replace all of the information contained in this php array by your database characteristics. ‘da-
tabase’ is the name of your new database, ‘username’ is your PostgreSQL admin username, ‘password’ is your Post-
greSQL admin password, ‘host’ is the IP address of your PostgreSQL server, ‘port’ is the port of your PostgreSQL
server, ‘driver’ is the type of database used (do not modify) and ‘prefix’ is the prefix for your PostgreSQL tables (do
not modify).
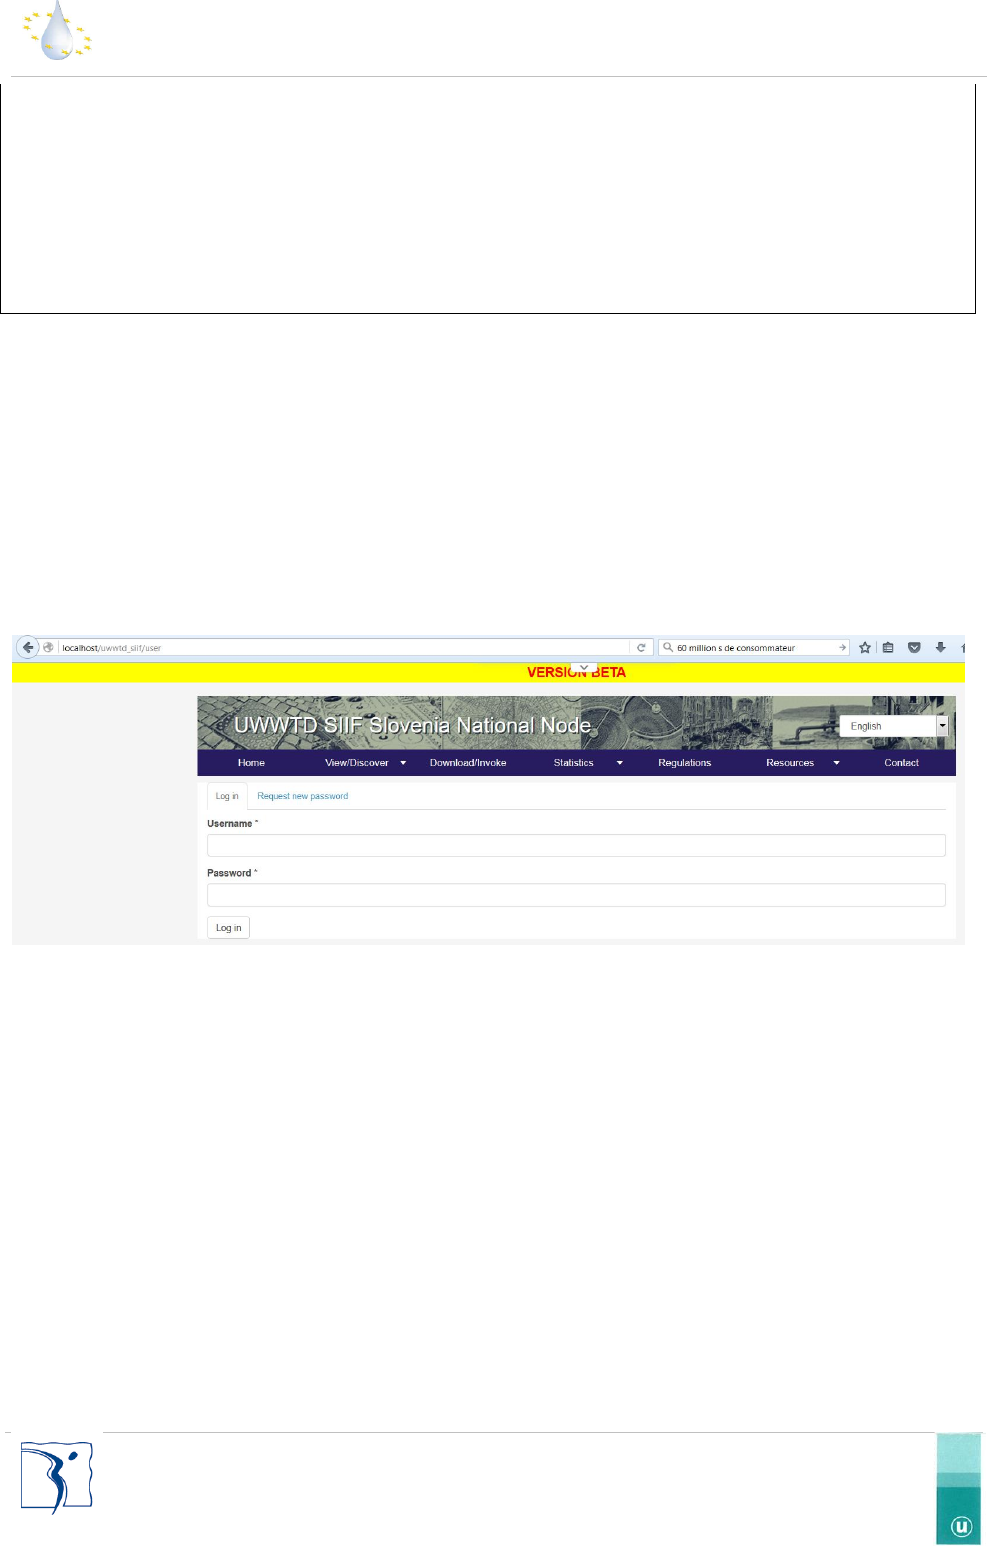
2.6.7 Log in to your site and empty any cache (for prefilled installation)
The next step is to log into your SIIF platform by entering the URL to your website followed by the path /user (ex:
www.YOURWESITE.com/user) into your browser. Once on the page please enter your login and password, as this is
your first time on the platform your login is ‘admin’ and your password is ‘password’.
Figure 9 : login page
PLEASE CHANGE THESE AS SOON AS POSSIBLE.
You will now be presented with a menu at the top of the screen. This menu is the admin menu and will allow you to
alter your entire platform to your wishes.
UWWTD-SIIF: installation and configuration guide
-11-
Service Contract for the support to the Implementation of Directive 91/271/EEC on Urban Waste Water Treatment
Figure 10 : Log on page
To clear all the cached data on your platform please hover your mouse over the Drupal logo situated to the far left of
the admin menu and click on ‘flush all caches’.
NOTE: If you encounter a white screen after connecting to your website for the first time, please go to
www.YOURWESITE.com/data, click the update page then perform the updates. Your platform should function cor-
rectly afterwards.
2.6.8 Change the name of your SIIF platform
To change the name of your SIIF platform go to the following page: www.YOURWEBSITE.com/ /admin/config/sys-
tem/site-information. Once on the page to change the name of your platform edit the field named ‘Site name’ and
click ‘save configuration’.
2.6.9 Change the logo of your SIIF platform
To change the logo of your SIIF platform go to the following page: www.YOURWEBSITE.com/ /admin/appear-
ance/settings/uwwtd. Once on the page you will notice a few tabs on the left side of the page. Choose ‘logo image
settings’ uncheck the checkbox ‘Use the default logo’ and enter the path to your file or choose to upload it directly.
To remove the logo completely return to the page: www.YOURWEBSITE.com/ /admin/appearance/settings/uwwtd,
choose the tab ‘toggle display’ and uncheck the checkbox ‘logo’.
When you have finished your modifications please click the button ‘Save configuration’.
2.6.10 Add a national language
To add a new language to your website go to the following page: www.YOURWEBSITE.com/ admin/config/re-
gional/language. This page displays all the active languages for your platform which you can choose to remove or set
as the default language. To add a new language click the link ‘Add language’ choose from the dropdown menu ‘Lan-
guage name’ then click the button ‘Add language’.
2.7 Install GeoServer and create the webservices
The software is available on Geoserver website (http://geoserver.org/). The setting up procedure is detailed
http://docs.geoserver.org/stable/en/user/installation/index.html .

UWWTD-SIIF: installation and configuration guide
-12-
Service Contract for the support to the Implementation of Directive 91/271/EEC on Urban Waste Water Treatment
Depending on the server configuration used to host the software, some adjustments may be required
Geoserver may run with Apache-Tomcat (http://tomcat.apache.org/),
In order to install the software, it is necessary to get the latest version of Geoserver in WAR format http://ge-
oserver.org/release/stable/ (v2.6.2).
If Tomcat is used the archive containing the WAR installing files, has to be stored in the directory: Tomcat /WebApps.
In order to extract the files and install, open a navigator and type in
http://[ServerAddress]:[port]/geoserver/ .
(e.g. : http://localhost:8082/geoserver/ )
Some useful links
- The user manual on geoserver website
http://docs.geoserver.org/stable/en/user/
- Overall introduction of the interface
http://docs.geoserver.org/stable/en/user/gettingstarted/web-admin-quickstart/index.html
- Main functionalities
http://docs.geoserver.org/stable/en/user/gettingstarted/index.html
- To secure the software
http://docs.geoserver.org/stable/en/user/webadmin/security/index.html
The default access information for the software is:
- login : admin
- password : geoserver
2.8 Install GeoNetwork
The software is available on GeoNetwork website (http://geonetwork-opensource.org/). The setting up procedure is
detailed in the documentation (http://geonetwork-opensource.org/manuals/2.10.4/eng/users/quickstartguide/in-
stalling/index.html).
UWWTD-SIIF: installation and configuration guide
-13-
Service Contract for the support to the Implementation of Directive 91/271/EEC on Urban Waste Water Treatment
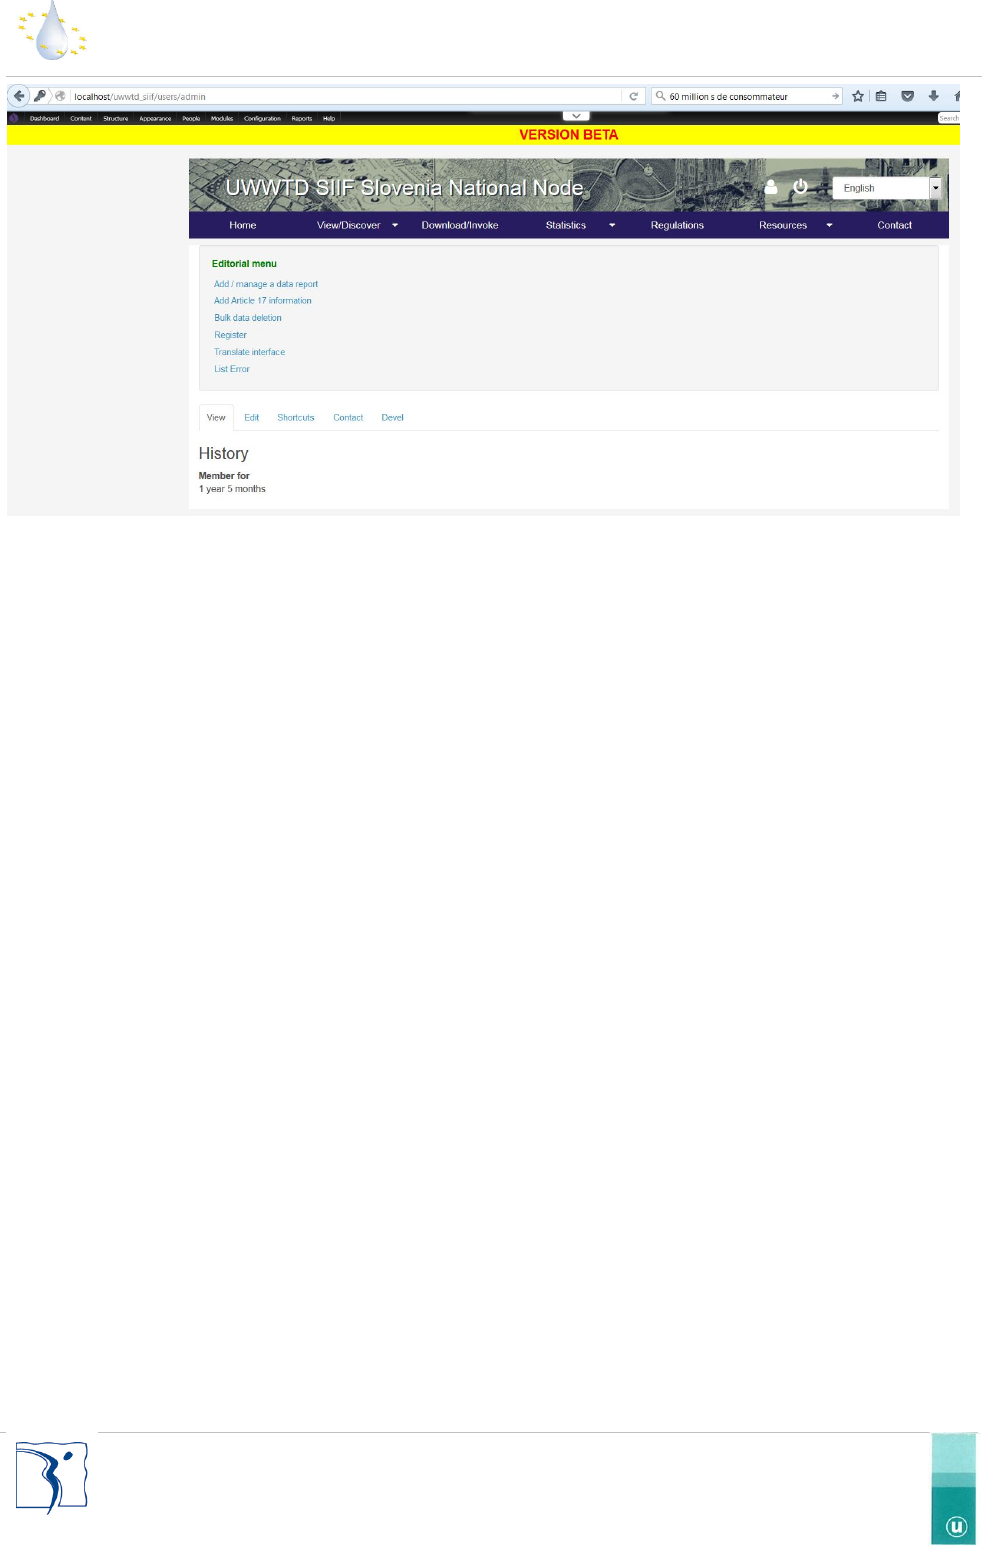
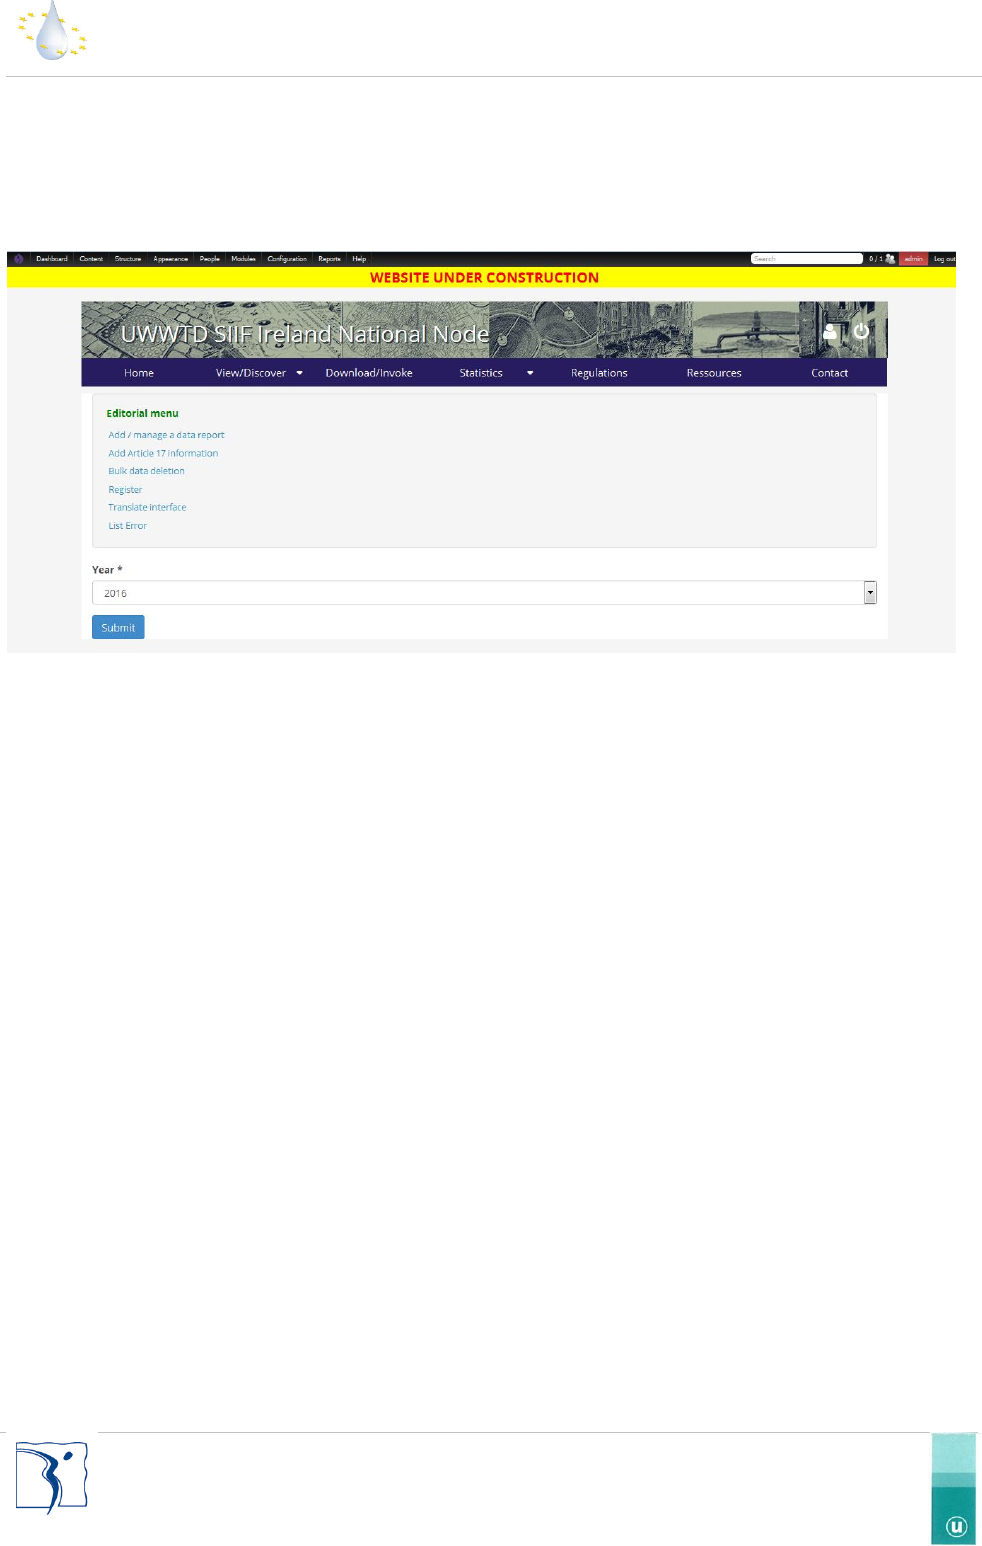
3 Data submission and calculations
Once the platform installed, you can start importing datasets. You need first to be logged in as administrator with all
the necessary rights. You arrive then to an Editorial menu where you can manage datasets and launch specific calcu-
lations.
For a detailed description of this, please refer to the administration guide also available on the GitHub platform.
