ERP COIN: Team Turing User Manual
User Manual:
Open the PDF directly: View PDF ![]() .
.
Page Count: 18

ERP-COIN:
Team Turing
USER MANUAL
1
Table of Contents
Project Description.................................................................................................................................. 2
Use Cases ................................................................................................................................................ 3
Web Portal Management.................................................................................................................... 3
Log In ............................................................................................................................................... 3
View Portal Page ............................................................................................................................. 3
Create a Conservation Area ............................................................................................................ 4
Mobile Application .............................................................................................................................. 5
User Login ....................................................................................................................................... 5
Register User ................................................................................................................................... 6
User View Account .......................................................................................................................... 7
Send ERP Coins ................................................................................................................................ 8
Receive ERP Coins. View Wallet Address. ....................................................................................... 9
View List of Conservation Areas.................................................................................................... 10
To Patrol ........................................................................................................................................ 11
Send Alert ...................................................................................................................................... 12
Conservation Administrator .............................................................................................................. 14
Log in ............................................................................................................................................. 14
View New Alerts ............................................................................................................................ 14
View list of current Rewards. ........................................................................................................ 15
Add Reward ................................................................................................................................... 16
Delete Reward............................................................................................................................... 16
Edit Reward ................................................................................................................................... 17
Log out .......................................................................................................................................... 17
2
Project Description
One of the current initiatives is surveillance at Rietvlei Nature Reserve in Pretoria. Any
volunteer can go to the area, sign in, get vehicle surveillance identification and patrol the area.
This is to create a presence in the area and report any suspect behaviour concerning the safety
of the Rhinos in the Rietvlei Nature Reserve.
This project should provide volunteers with a mobile app that will record the area they have
monitored, suggest routes of areas that haven’t been monitored recently, allow them to log
notes and pictures of any suspicious behaviour and send alerts. But we want a way to ‘reward’
the volunteers by means of a blockchain token.
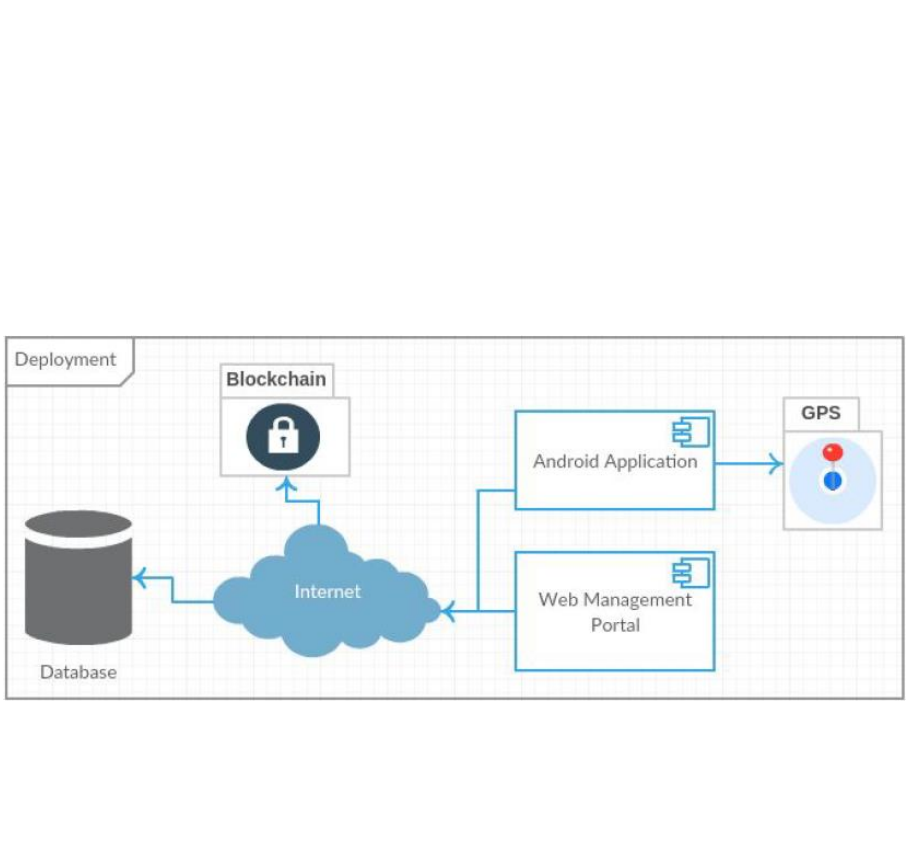
Here is a deployment picture
It Illustrates that the project will contain an Android app and a management web portal. The
application will consist of route management, patrol tracking and Token management. Data,
like tracking logs and user details, will be stored in a database. Certain external services will
be used such as Google maps API.
3
Use Cases
Web Portal Management
Log In
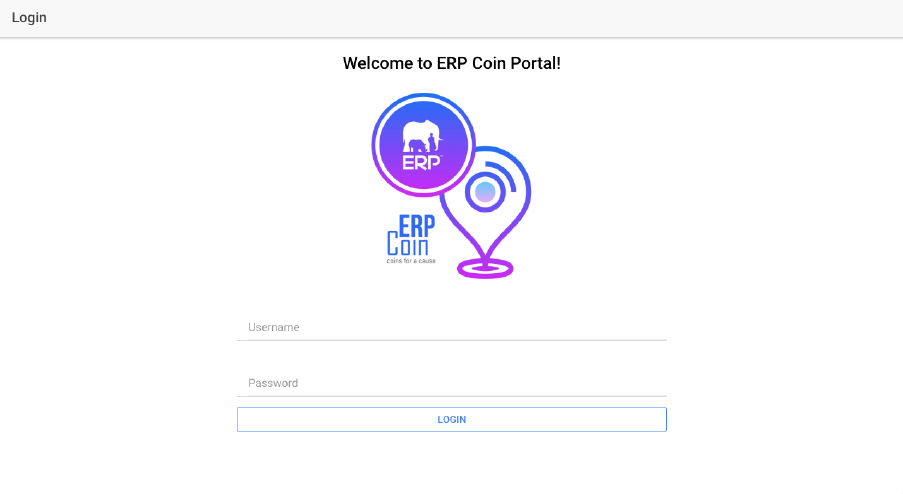
To log in to your account go to the website.
You will see the Web Management Portal Login (Fig 1.1)
Figure 1.1 Web Portal login Screen
Enter your Username and Password.
Tap Login
If your credentials are incorrect you will receive an error message.
View Portal Page
To view Conservation Areas and other options, after you have logged in (Fig 1.1) you will see the
portal page (Fig 1.2)
4
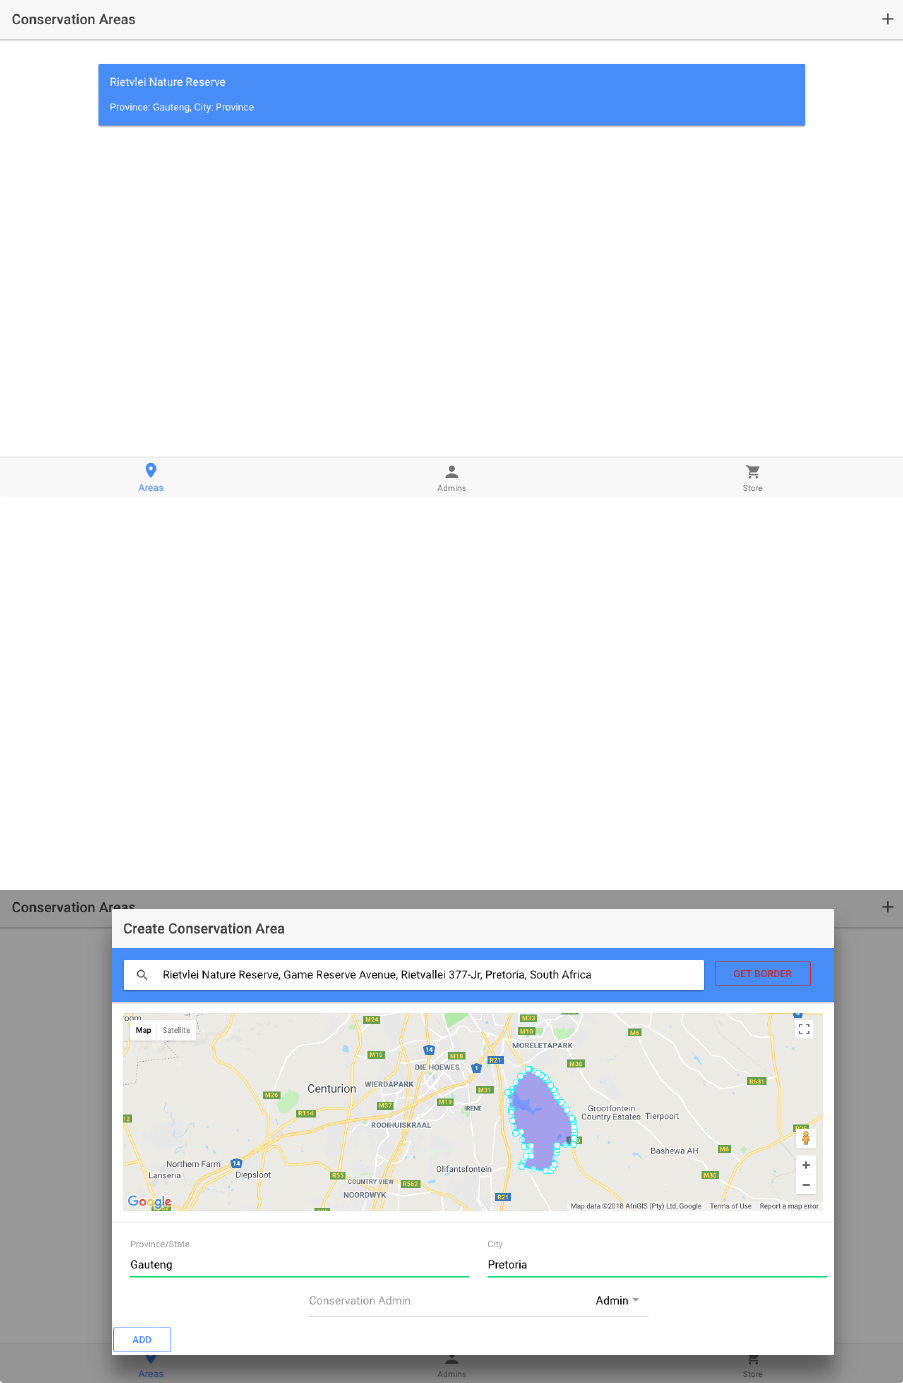
Figure 1.2 (Portal Page)
Here conservation areas are listed (Fig 1.2).
Other options such as Add Conservation Area, View Administrators and View Store are available.
Create a Conservation Area
To Create a conservation area, from the portal page (Fig 1.2) go to Add Conservation Area.
Search for your conservation area in the search bar and tap Get Border(Fig 1.3).
The borders for the conservation area will be automatically created.
5
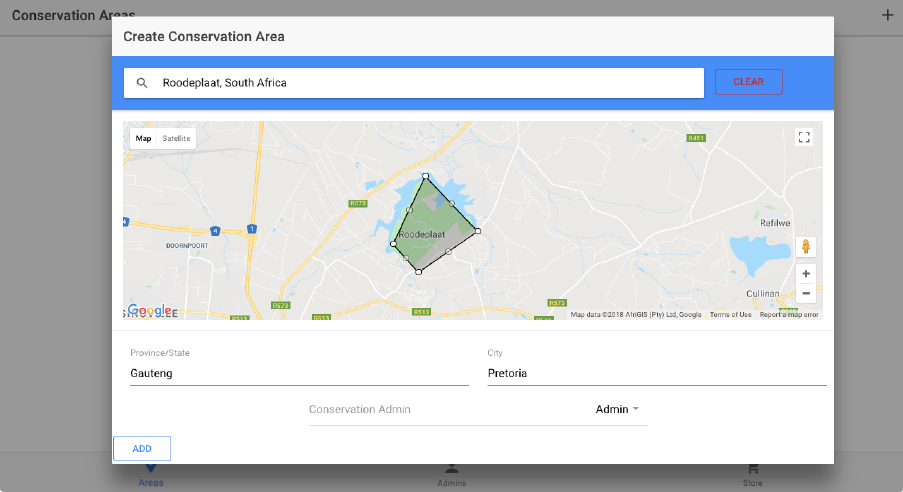
Figure 1.3 Create Conservation Area
If the borders can not be automatically found, you will have to add the borders on the conservation
area manually, by tapping on the polygraph button on the map (Fig 1.4).
Figure 1.4 Create Conservation Area. Add Borders manually.
Enter the Province/State and City.
Press Add.
Mobile Application
User Login
To login to your account, first launch the application
6
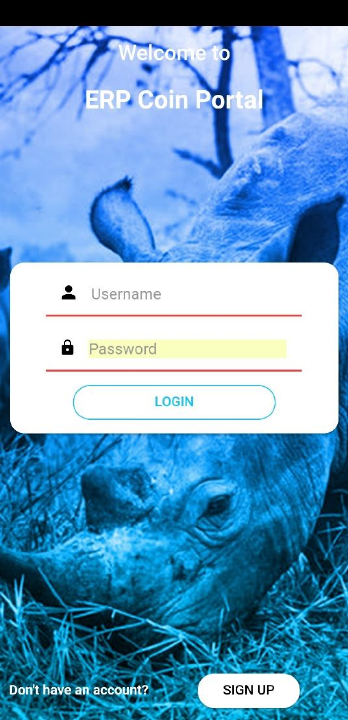
Figure 2.1 Login Screen
You will see the Login Screen (Fig 2.1)
Enter your Username and password and tap Log In. If your details are correct then you are logged in!
Register User
To create an user account, at the Launch Screen (Fig 2.1) tap Register. You will see the Registration
Screen(Fig 2.2)

7
Figure 2.2 Registration Screen
Fill in all the fields and tap Register. If what’ve entered in Password and Confirm Password do not
match, you will receive an error message and will not be registered.
User View Account
To view your account, login to your account (Fig2.1).
You will then be transferred to the My Account Screen (Fig2.4).
8
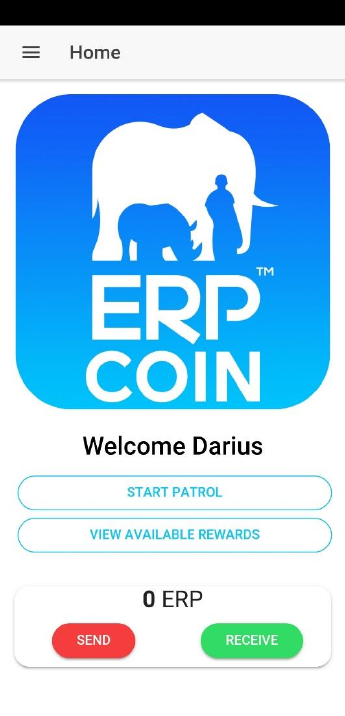
Figure 2.4 My Account Screen
Here you can view your ERP-Coin Balance. Here you can manage your wallet, like send and receive
ERP coins.
Send ERP Coins
To send ERP coins. At the My Account Screen(Fig 2.4), tap Send Erp.
You will see this screen(Fig 2.5).
9
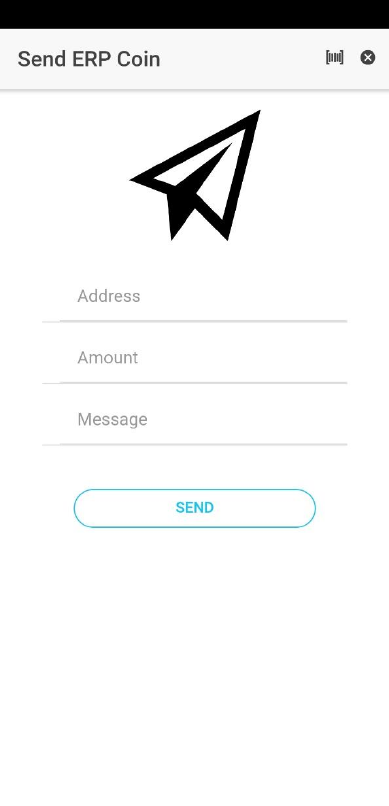
Figure 2.5 Send ERP-Coin
Enter the wallet address of the recipient, amount of ERP-Coin to transfer and a message.
Tap Send.
Receive ERP Coins. View Wallet Address.
To receive ERP coins, the sender needs a wallet address as a destination for the Coins.
You can view your wallet address. Go to the My Account screen (Fig 2.4).
Tap Receive ERP.
10
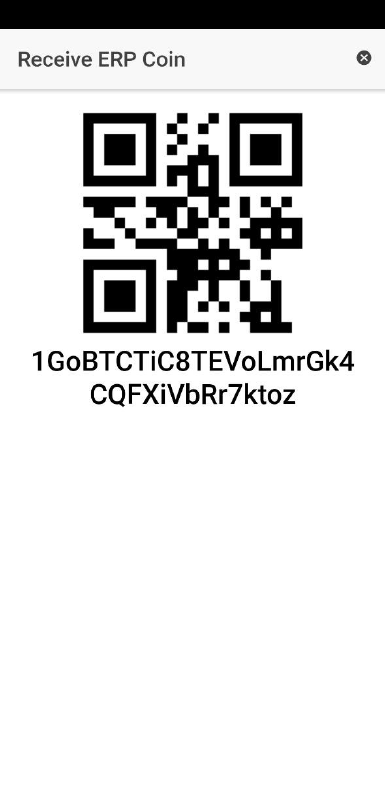
Figure 2.6 Receive ERP-Coin
Here is your wallet address (Fig 2.6).
View List of Conservation Areas
To view the list of registered conservation areas, go to My Account screen (Fig 2.4).
Tap View List of Conservation Areas.
11
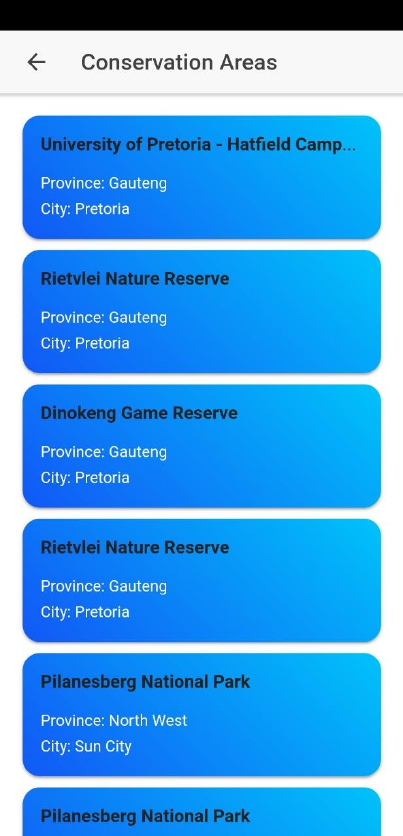
Figure 2.7 List of Conservation Areas
Here is the list of Conservation Areas (Fig 2.7)
To Patrol
To start patrolling, from the My Account screen (Fig 2.4) go to the list of Conservation Areas (Fig 2.7).
Tap on a conservation area you want to patrol.
12
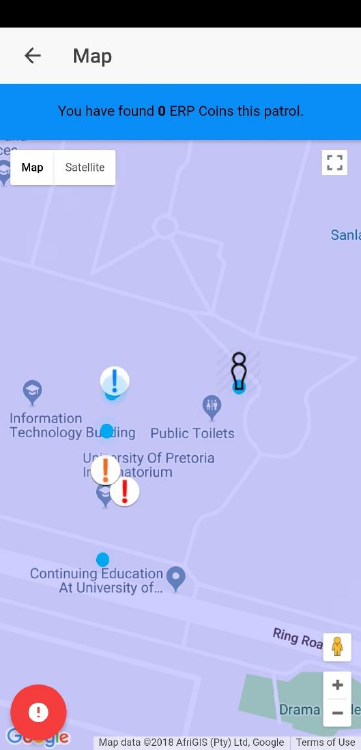
Figure 2.8 Patrolling Screen
Now you are patrolling the area (Fig 2.8).
The amount of ERP-coins you found on this patrol is also displayed.
Send Alert
On the patrolling screen Fig(2.8). Tap the red Alert button.
13
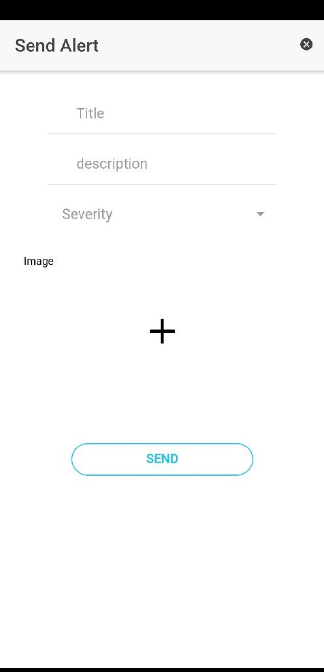
Figure 2.9 Send Alert Screen
You will see the Send Alert Screen
Fill in the form. Press SEND.
To cancel, press the exit button.
You will be returned to the patrolling screen (Fig 2.8).

14
Conservation Administrator
Log in
Figure 3.1 Login Screen
To Log into your account, open the application an you will see the Login Screen (Fig 3.1)
View New Alerts
Figure 3.2 New Alerts Screen
After you have logged in, you will be immediately directed to the New Alerts screen (Fig 3.2).
On other pages, Press the New Alerts tab in the tabs menu at the bottom left of the screen (Fig 3.2).

15
View list of current Rewards.
Figure 3.3 Rewards Screen
Click on the Rewards Tab at the bottom right of the screen when on the New Alerts tab (Fig 3.2) and
the Broadcast Alerts tab.

16
Add Reward
Figure 3.4 Add Reward Screen
When on the Rewards Screen (Fig 3.3), click on Add Reward in the top right.
Fill in the details (Fig 3.4) and click submit.
Your reward will then be listed on the Rewards Screen (Fig 3.3) after it is successfully submitted.
If your reward has not shown in the list then you can click the refresh button (Fig 3.3).
Delete Reward
To delete your reward, click on the Delete button next to your chosen reward (Fig 3.3). A
Confirmation window will appear.
Your reward will be immediately removed when your request is successfully submitted.
17
Edit Reward
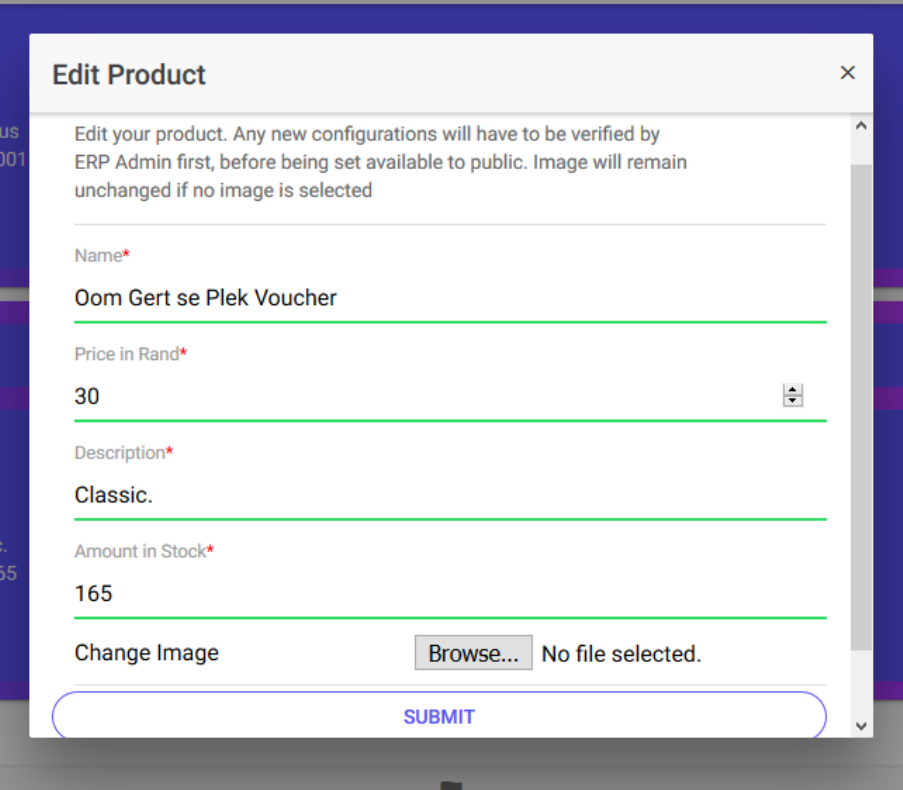
Figure 3.5 Edit Reward
To change certain details of a chosen reward, click on the Edit button next to the reward (Fig 3.3).
Enter your desired details and click submit (Fig 3.5). If no image is selected, then the image won’t be
changed.
After successful submission, your reward will appear updated.
Click on the refresh button if the changes have not yet been reflected.
Log out
Click at any time on the log out button at the top right of any screen. You will be redirected to the
Login Screen (Fig 3.1).
