Visual Studio Guide
User Manual:
Open the PDF directly: View PDF ![]() .
.
Page Count: 7

Imperative
Programming in C
Visual Studio quick start guide
Microsoft Visual Studio is an integrated development environment (IDE) from Microsoft.
Built-in languages include C, C++ and C++/CLI (via Visual C++), VB.NET (via Visual Basic .NET),
C# (via Visual C#), and F#.
Support for other languages such as M, Python, and Ruby among others is available via
language services installed separately. It also supports XML/XSLT, HTML/XHTML, JavaScript
and CSS.
Microsoft provides "Express" editions of its Visual Studio at no cost. Commercial versions of
Visual Studio along with select past versions are also available for free to students via
Microsoft's DreamSpark program.
Visual Studio 2010 Professional is available on all University machines.
Visual Studio 2013 Professional is available to download from Dreamspark.
This guide is intended to get you started in developing C applications using Visual Studio.
As mentioned in the Lab 1 document, we recommend you use either Dev-C++ or Visual Studio
for this module. The lab documents concentrate on Dev-C++ because it’s a very simple IDE
that contains only the functionality needed to complete the exercises, and it is the only IDE
we officially support in terms of tech support.
However Dev-C++ is not a good choice for actual professional development. Most
professional (windows based) programmers will code in Visual Studio, and so if you’d prefer
to use this feature rich IDE then this guide is intended as a quick start guide.
Setup
With Visual Studio installed, it’s time to create your first project.
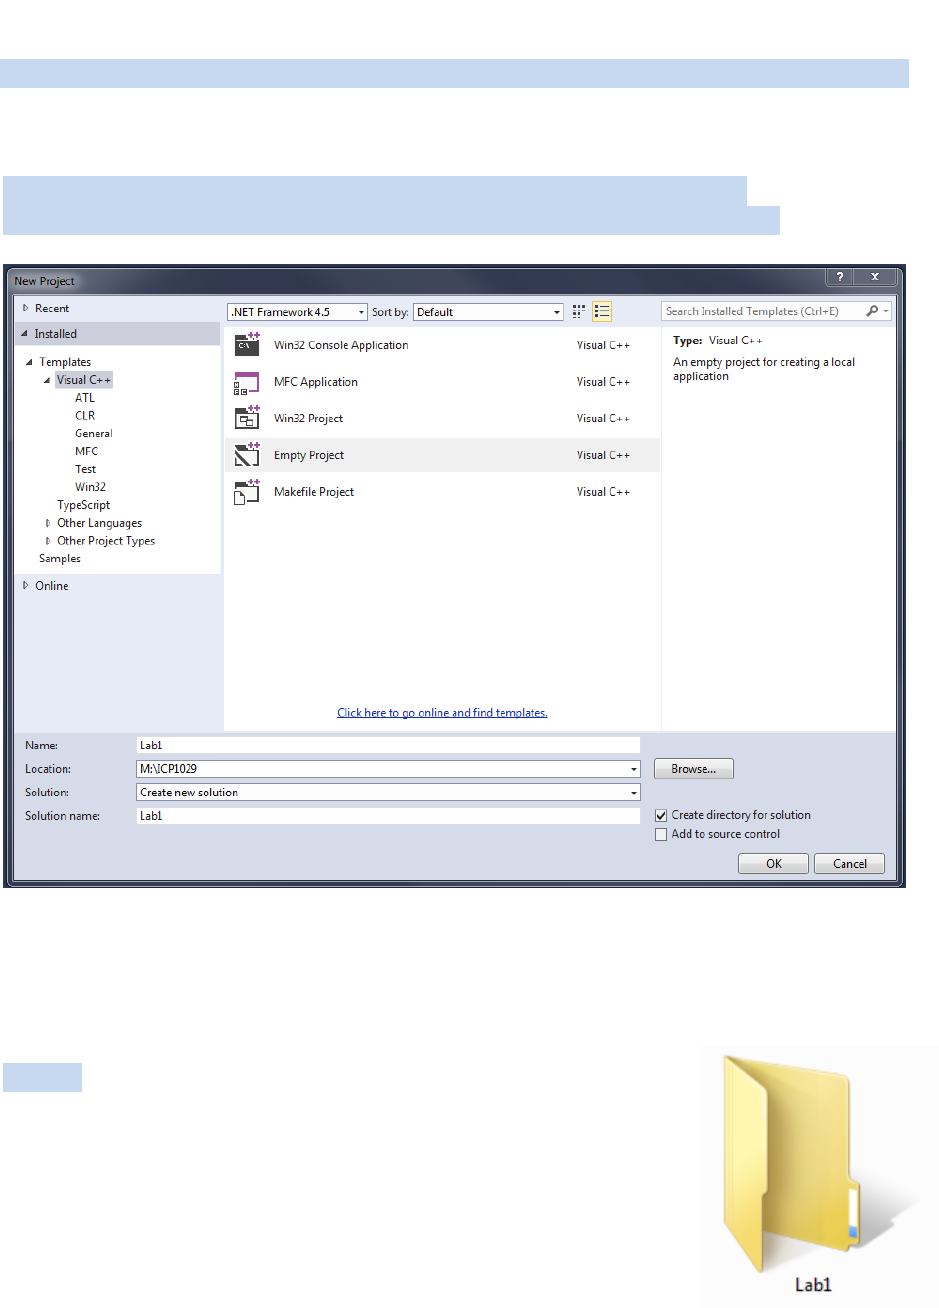
Go to File – New Project
This will bring up a dialog window.
On the left pane, select the Visual C++ and on the right select Empty Project.
On the bottom pane choose an appropriate name and location for your project.
Note that by default Visual Studio will list the file’s location using a remote address. You
should replace this will a direct path to a folder on your M: drive as it can cause problems on
University machines. For example in the above screenshot the location M:/ICP1029 is used.
Click OK
Visual Studio will create a project on your M drive inside a folder
called Lab1. If at any time you return to this project, double clicking
on Lab1.sln will launch the project in Visual Studio.
Hello World
On the left you will see a Solution Explorer pane, containing all the relevant files and
settings for your project.
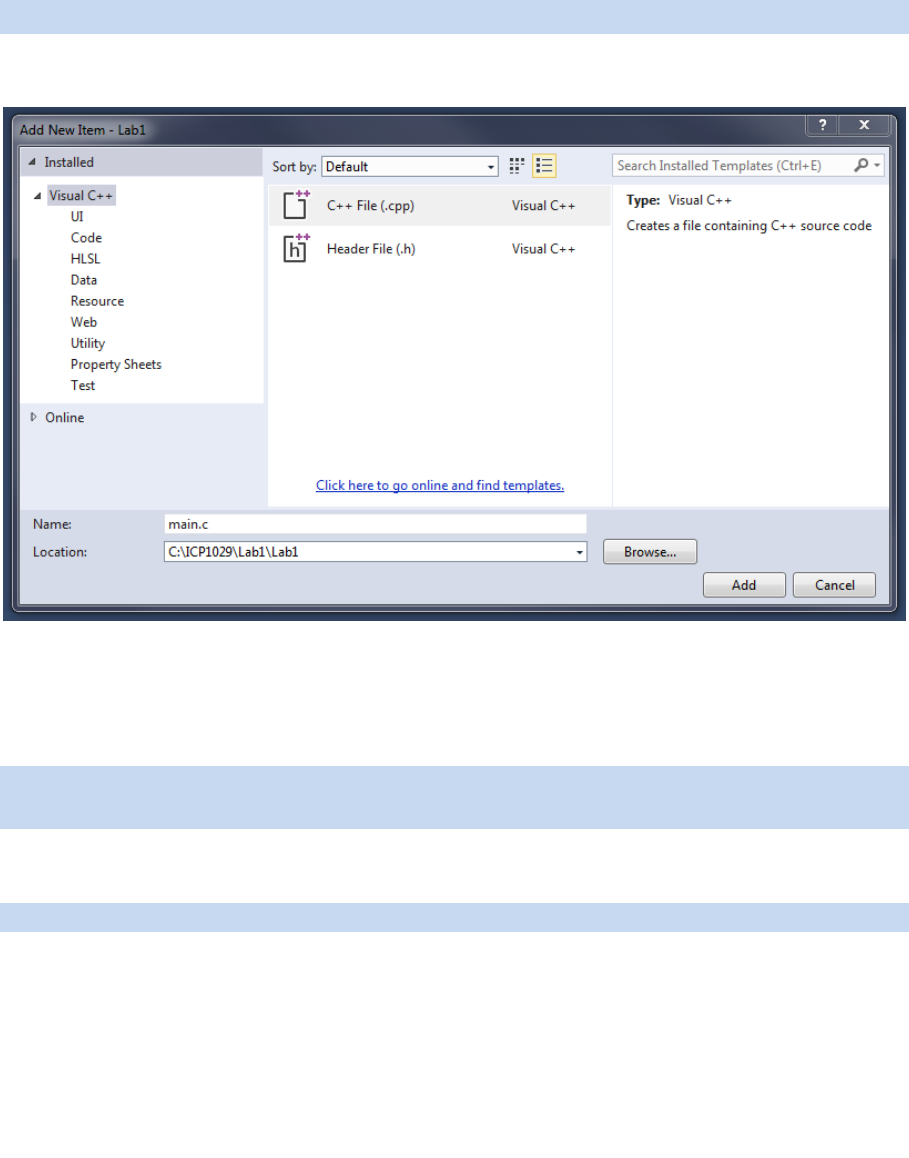
Go to Project – Add New Item
This will bring up the following dialogue window:
Visual Studio will default to creating C++ files. While the vast majority of the code you write
in this module will compile in C++, for the time being name the file main.c (rather than
main.cpp).
Change the Name: text field to main.c
Click Add
This will create a new source file for your project called main.c
Paste the following code into the file:
#include <stdio.h>
#include <stdlib.h>
int main(int argc, char *argv[])
{
printf("\nHello World \n\n");
system("PAUSE");
return 0;
}
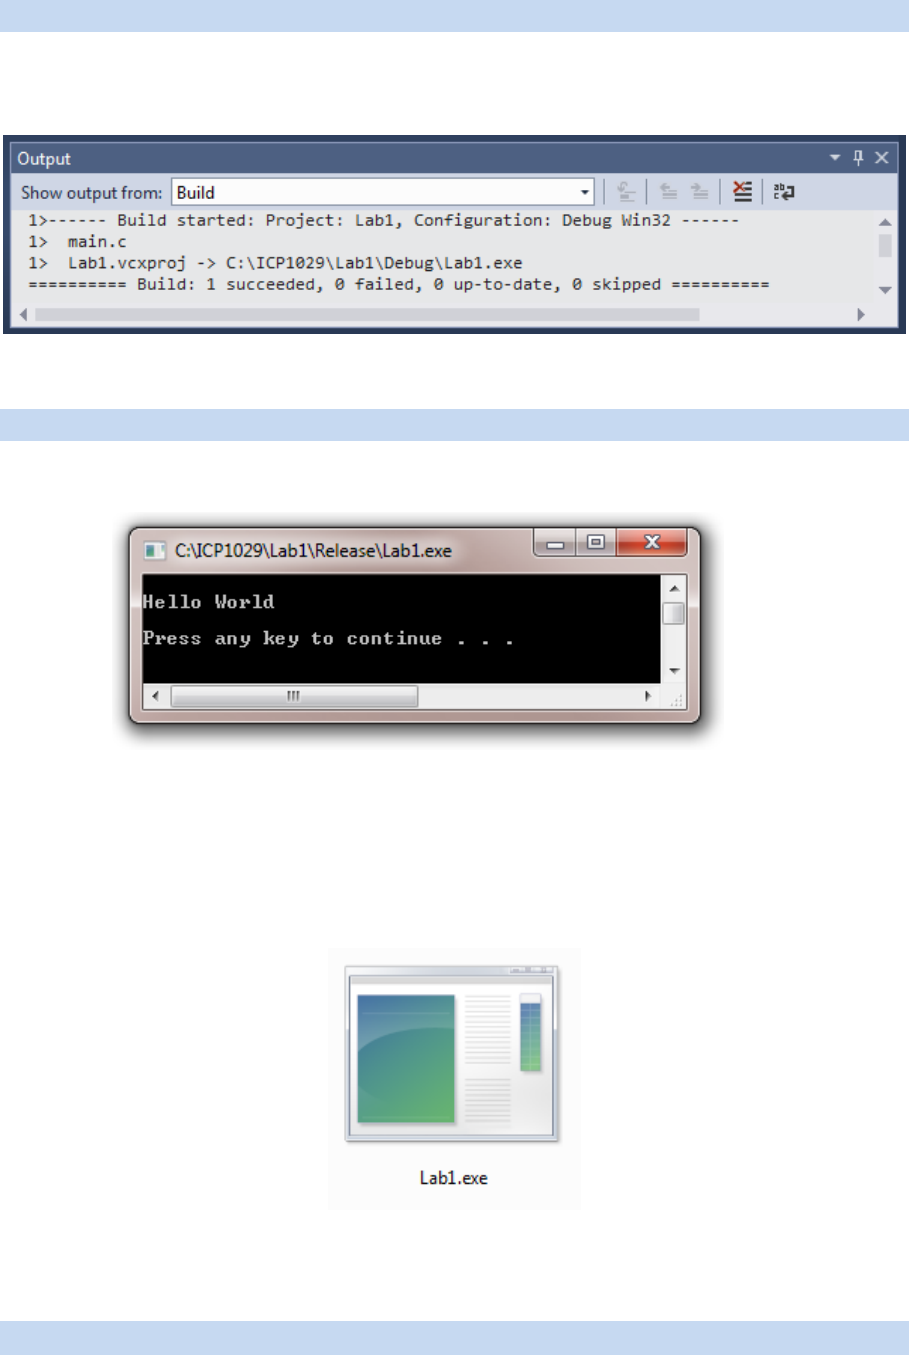
Go to Build – Build Solution (or press F7)
Visual Studio will now compile your program. The output window will tell you if there are
any errors during compilation.
If the build succeeded, we can run our program.
Go to Debug – Start without Debugging (or press Ctrl + F5)
This will launch a command prompt and run your executable:
Congratulations, you have created your first C program in Visual Studio!
When we compile and link programs in C, an executable is created (a file with an .exe
extension). You can now also run your program by going into the Debug or Release folder
for Lab 1 and double clicking on Lab1.exe.
We can now continue to create source files and invoke them from the main function. For
example, let’s create another two C files:
Use Project – Add New Item to create two more source files – Lab1Ex1.c and Lab1Ex2.c
Modify your source files so that they look like the following:
main.c
#include <stdio.h>
#include <stdlib.h>
int main(int argc, char *argv[])
{
printf("\nHello World \n");
Exercise1();
Exercise2();
system("PAUSE");
return 0;
}
Lab1Ex1.c
void Exercise1()
{
printf("\nThis is Exercise 1! \n");
}
Lab1Ex2.c
void Exercise2()
{
printf("\nAnd this is Exercise 2! \n");
}
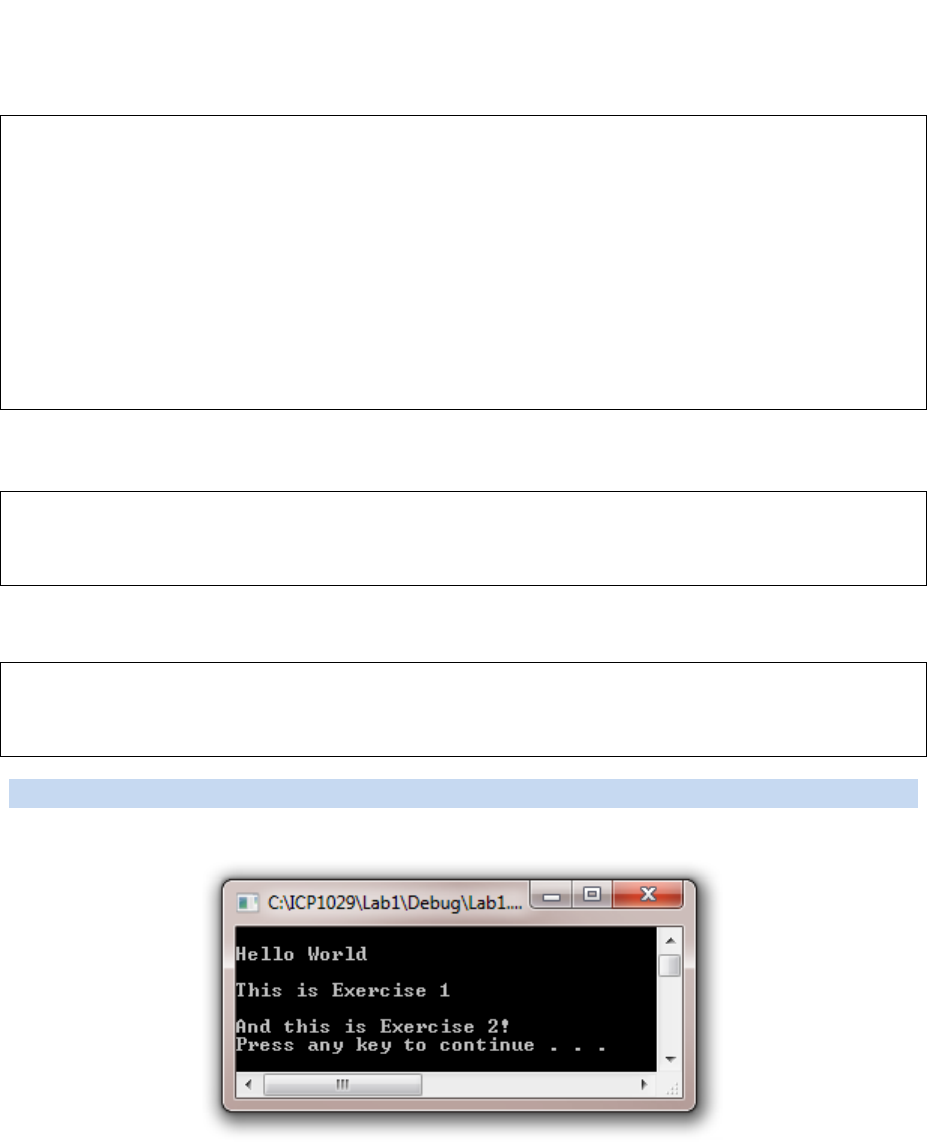
Build and Run your modified program
This guide has shown a useful way of structuring your Labs and Exercises over the coming weeks.
Refer to the Lab1 document for more detail about the contents of the code and the relationship
between main.c and the two other source files.

Headers
While you can setup all the labs and exercises throughout the course in this way, as opposed
to some other IDE’s like Dev-C++ the method we have covered so far will lead to some
warnings. To resolve these properly, we need to include a header.
Create a new header file:
Go to Project – Add New Item
Choose Header File and name it main.h
Select main.h and paste the following code:
#include <stdio.h>
#include <stdlib.h>
Modify your main.c file so that it looks like the following:
#include "main.h"
extern int Exercise1();
extern int Exercise2();
int main(int argc, char *argv[])
{
printf("\nHello World \n");
Exercise1();
Exercise2();
system("PAUSE");
return 0;
}
Add #include “main.h” to the top of both Lab1Ex1.c and Lab1.Ex2.c
Recompile your program and the warnings should be gone
Note: Including a header file is similar to copying the content of the header file’s contents into the
source file. A simple practice in C or C++ programs is that we keep all the constants, macros, system
wide global variables, and function prototypes in header files and include that header file wherever
it is required. We will look at header files in more detail over the course of the module.
