XAMPP Media Wiki Installation Guide
User Manual:
Open the PDF directly: View PDF ![]() .
.
Page Count: 15
XAMPP and MediaWiki Installation Guide
This installation documentation is only a reference. Some information might be different for different
OS and versions. Please follow the installation guidelines during the installation.
A first Note: You installed Apache server for homework1. This XAMPP installation also has Apache
included. It means that you will have two Apache server on your computer after the XAMPP installation.
So there will be a port number confliction. You can do one of the following to solve the conflict.
1. Edit …\xampp\apache\conf\httpd.conf file and change the “Listen 80” to “Listen 81. So the
previous installed Apache uses 80, and the new Apache under XAMPP uses 81.
2. Or you can uninstall Apache you installed for HW1 but copy your web site content to the
corresponding htdoc directory under ...\xampp\...
3. You might want use approach 1 first. It requires less work and is less destructive. You can take
approach 2 later when you have more time, or when you encounter any problem by taking
approach 1.
Steps to Install XAMPP
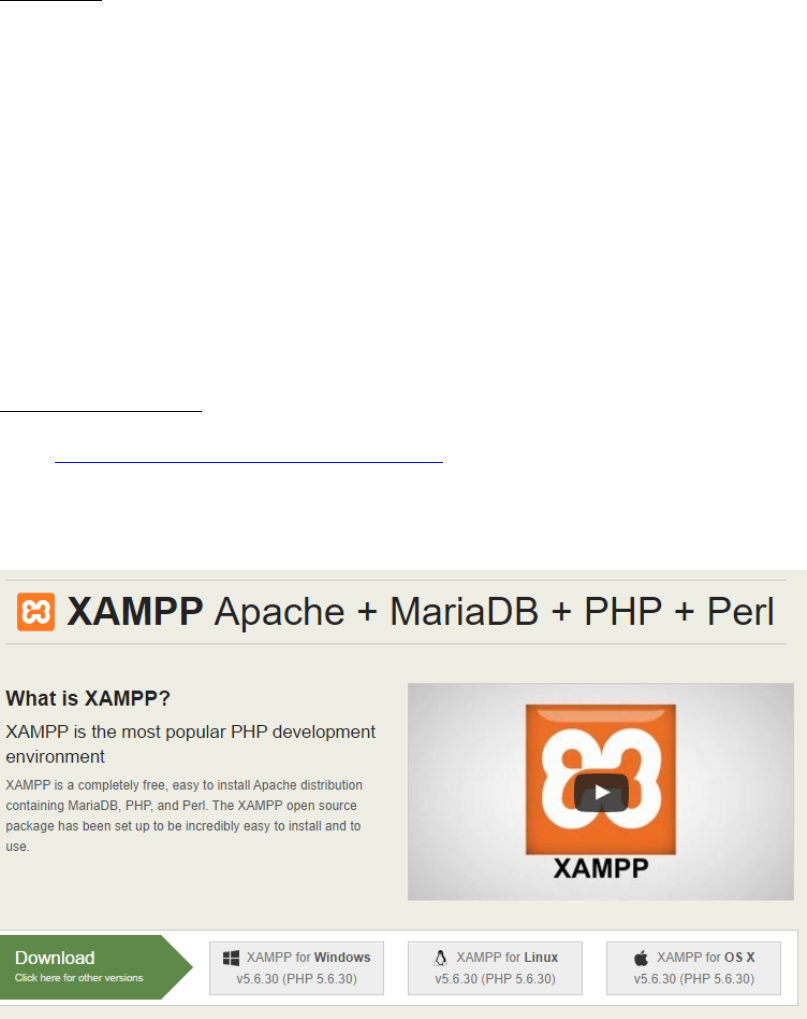
Go to https://www.apachefriends.org/index.html and download XAMP. Select a correct version for your
computer. You can click the video play button below to watch the brief introduction to XAMPP
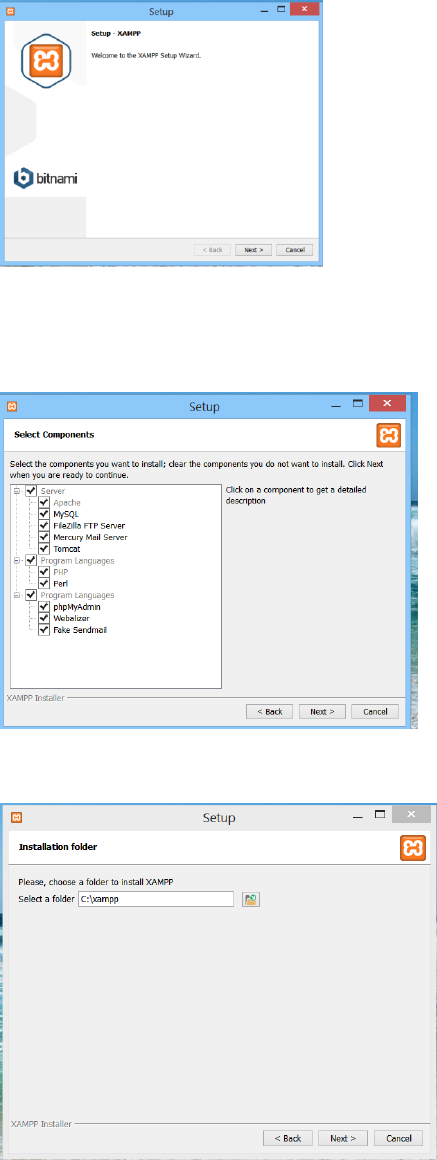
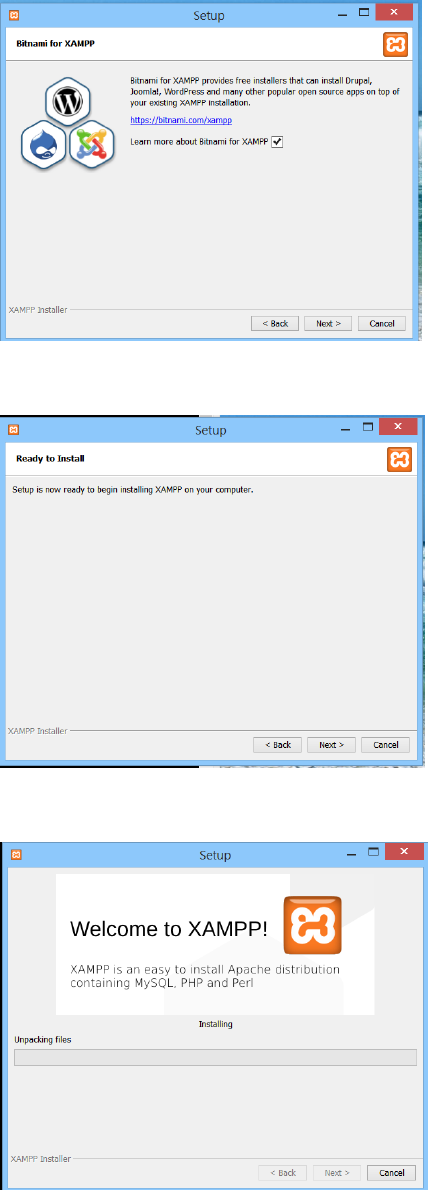
Just keep the default. It should be fine.
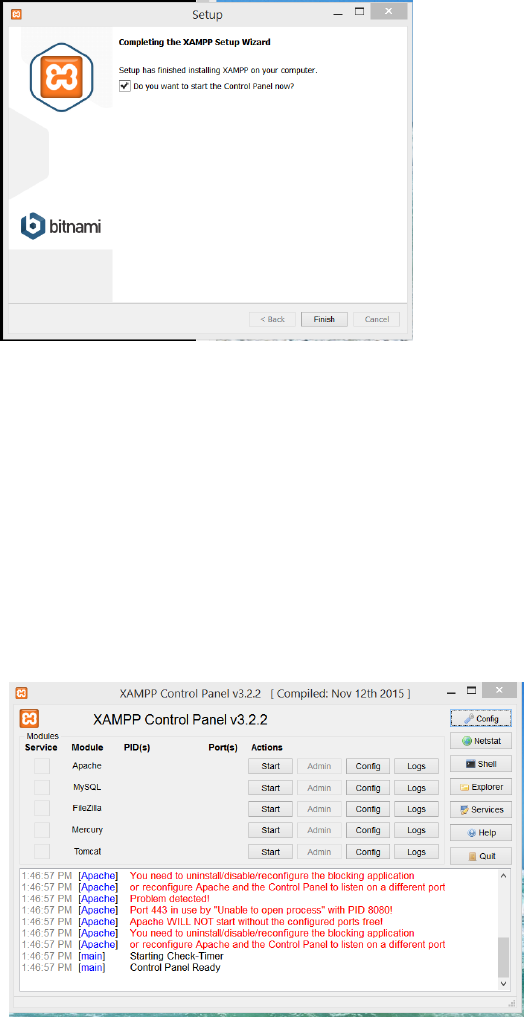
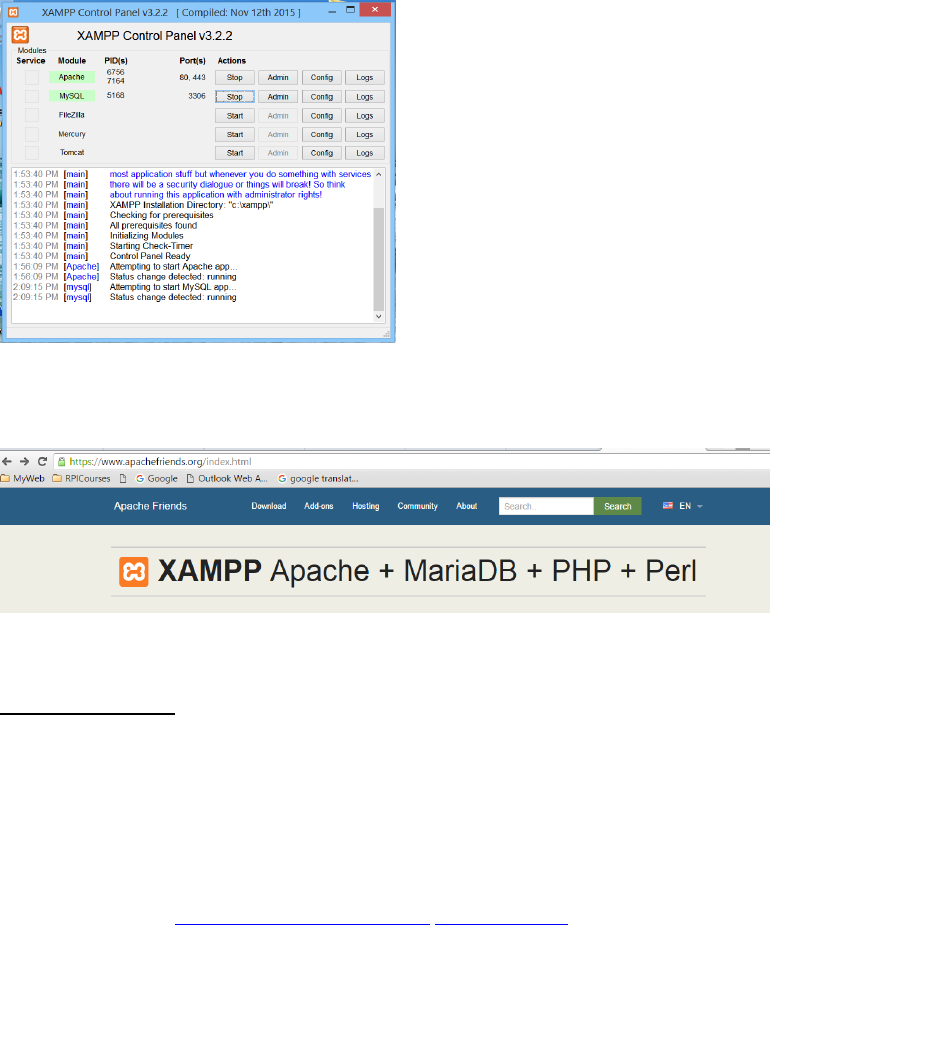
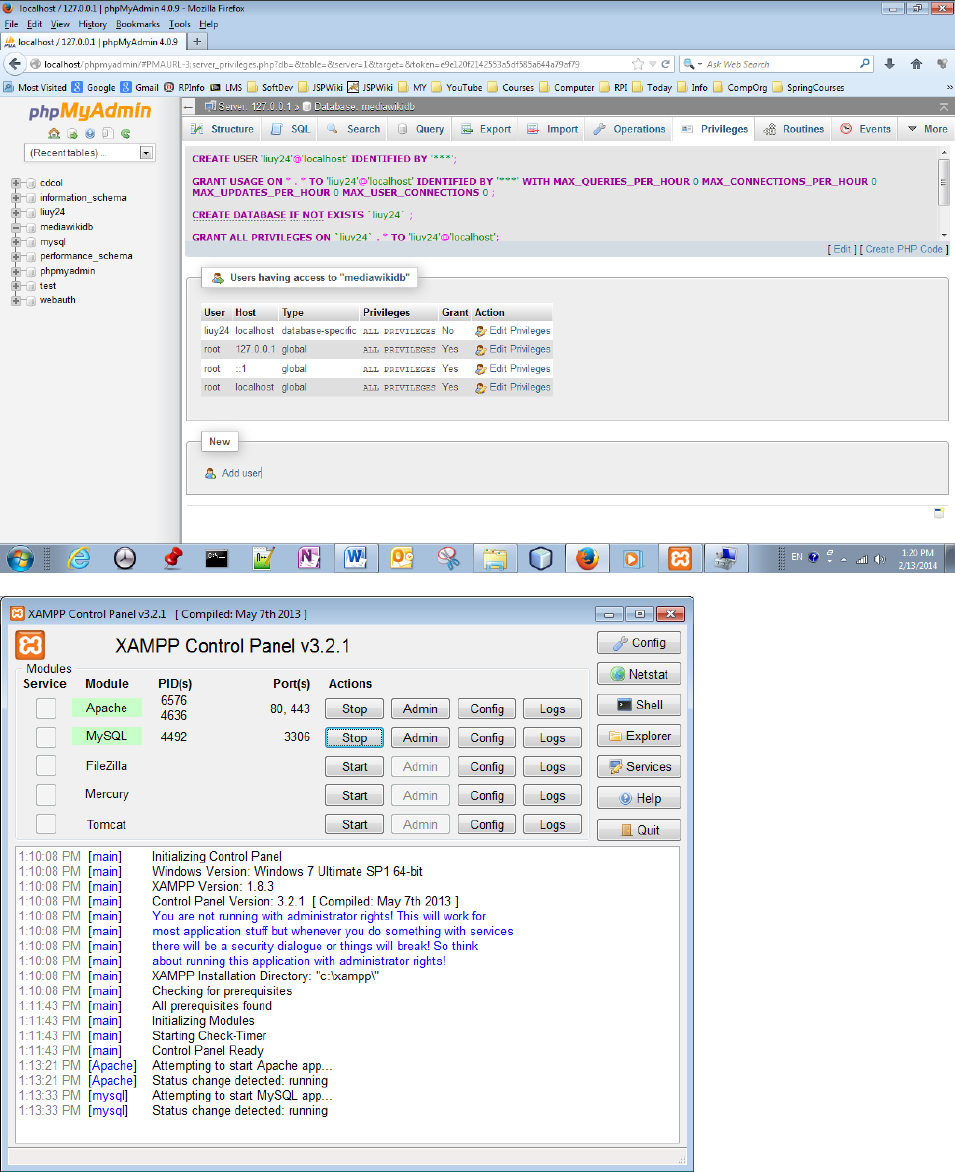
If you click the Finish button with the box checked in the above window, you then should see the
following XAMPP control panel. You may or may not see the same message as shown in the panel. If
you see the message, you have a previous installed Apache server running. You need to open the Task
Manager or the window’s Service Manager to kill the running Apache process. Then restart the Apache
from the XAMPP control panel by clicking the Start button. You want to use the Apache server installed
with the XAMPP to support MediaWiki to keep the integrity of the file directory structure. You can click
Stop button to stop programs. (XAMPP’s Quit button only quits the controller panel but not the server
running.) To use MediaWiki, you must start both Apache and MySQL.
From XAMPP control panel, click on the “Start” Apache button and the “Start” MySQL button.
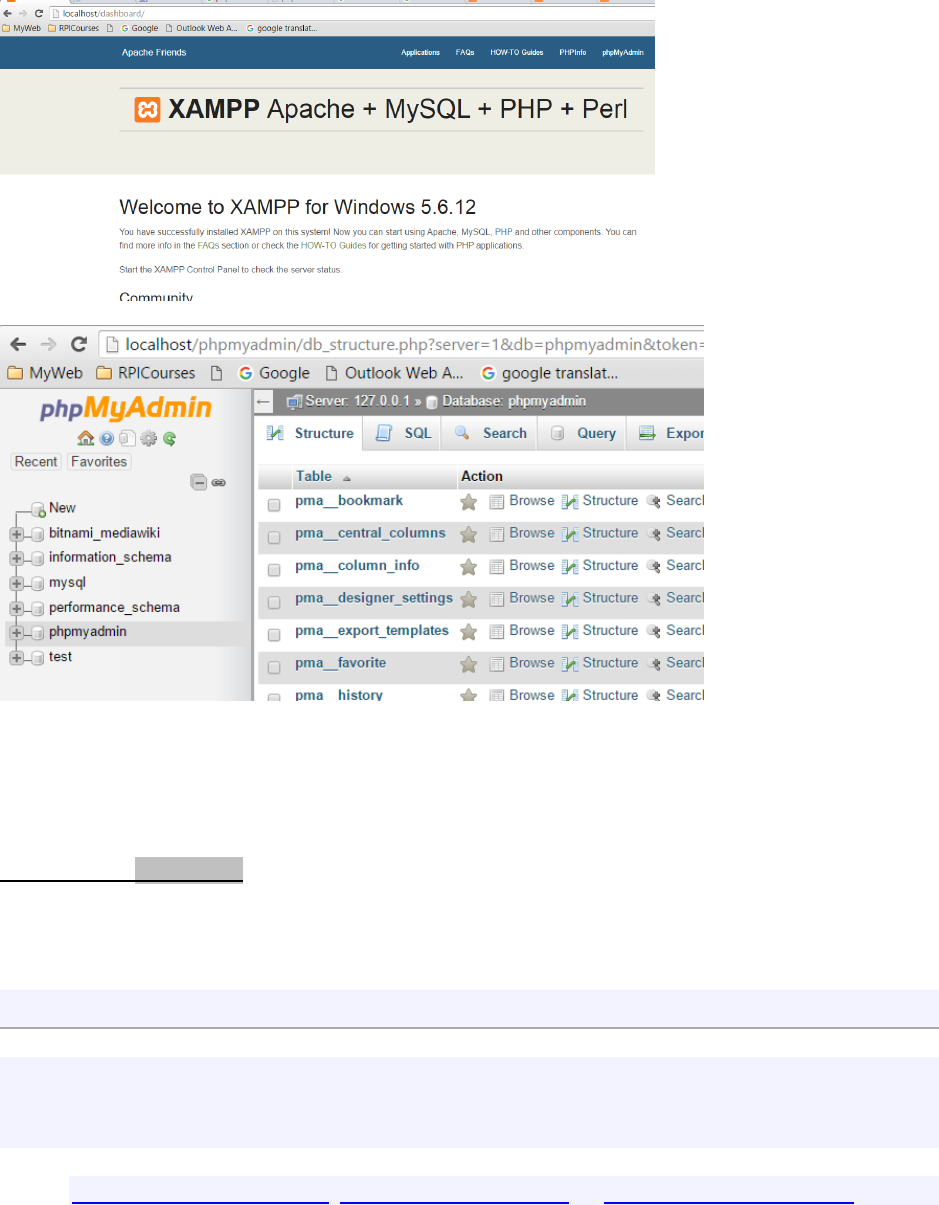
Now, you can open your browser and type “localhost” on your browser. The following webpage should
display.
Install MediaWiki
There are two approaches to do this. (Note: a different approach will possibly install the MediaWiki at
different directory location.)
Approach 1: Use bitnami installer to install MediaWiki.
It will also create the database to use for the MediaWiki
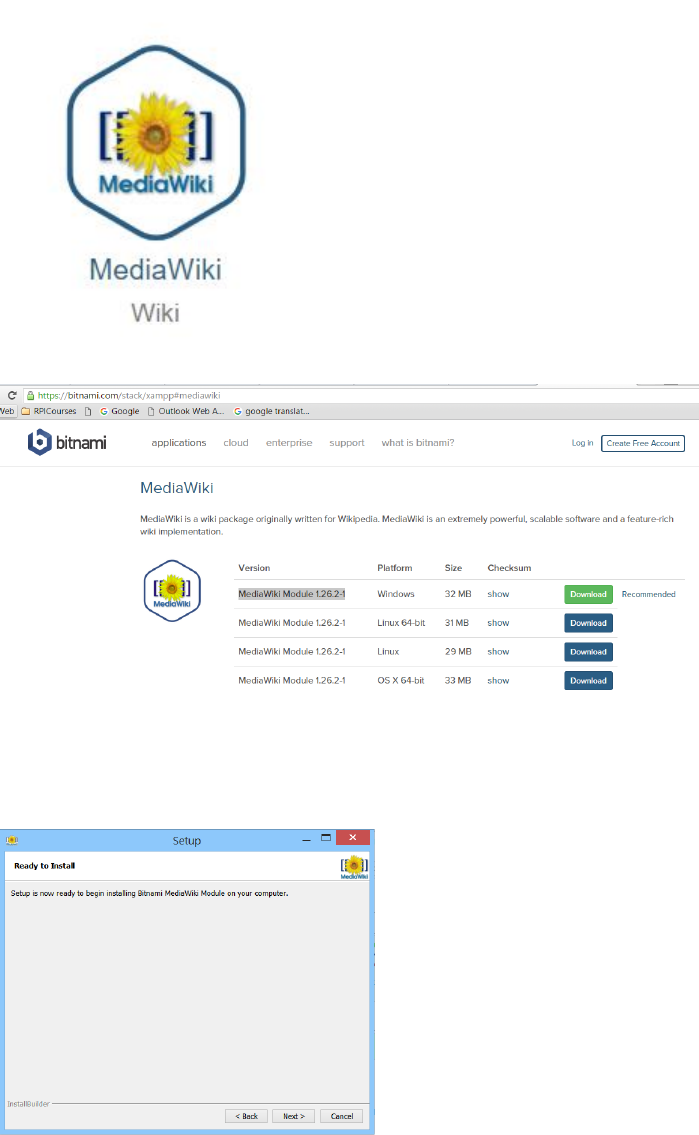
Go to the website: https://www.apachefriends. org/index.html
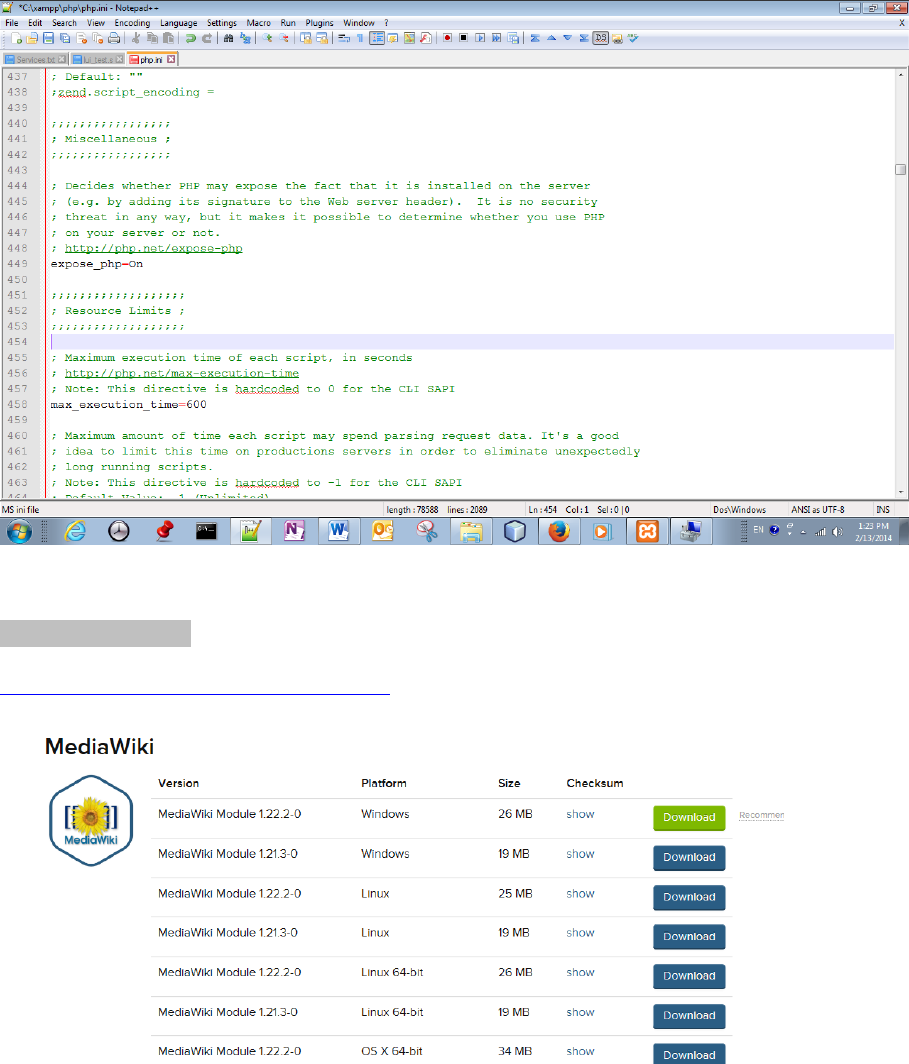
Then click on the Add-ons icon on the top of the menu bar and popup the following add-ons application
page. Click on the MediaWiki icon, select the installer for your operating system. For example, bitnami-
mediawiki-1.28.0-0-module-windows-installer (for windows).
The installer installs and sets up the MediaWiki, and create a bitname_mediawiki database on your
computer.
During the install and setup, you need to create a login for the wiki’s admin account. A screenshot is
shown below:

After the successful installation, you will be able to see the http://localhost/mediawiki/ as the follows:
You can also click phpMyAdmin” icon on the top-right to check the database installed.
Bitnami_mediawiki is installed for the MediaWiki. (The MySQL database management system is
installed with the XAMPP.
The MediaWiki file system is installed into C:\xampp\apps\mediawiki , and the default wiki logo is
stored as “C:\xampp\apps\mediawiki\htdocs\skins\MonoBook\wiki.png”
An alternative approach 2:
In this approach, you will create/setup the wiki’s database manually through the following steps after
installing XAMPP on your computer.
1. Creating your wiki database
Start XAMPP if it is not running
Start Apache and MySQL from XAMPP panel if they are not running
Direct your browser to the XAMPP dashboard. The web address is depends on your setup, such as,
http://localhost:80/dashboard, http://localhost/dashboard, or http://mywebsite/dashboard/

Click on the phpMyAdmin on the top menu
Sign in if you are not running the XAMPP program as administrator
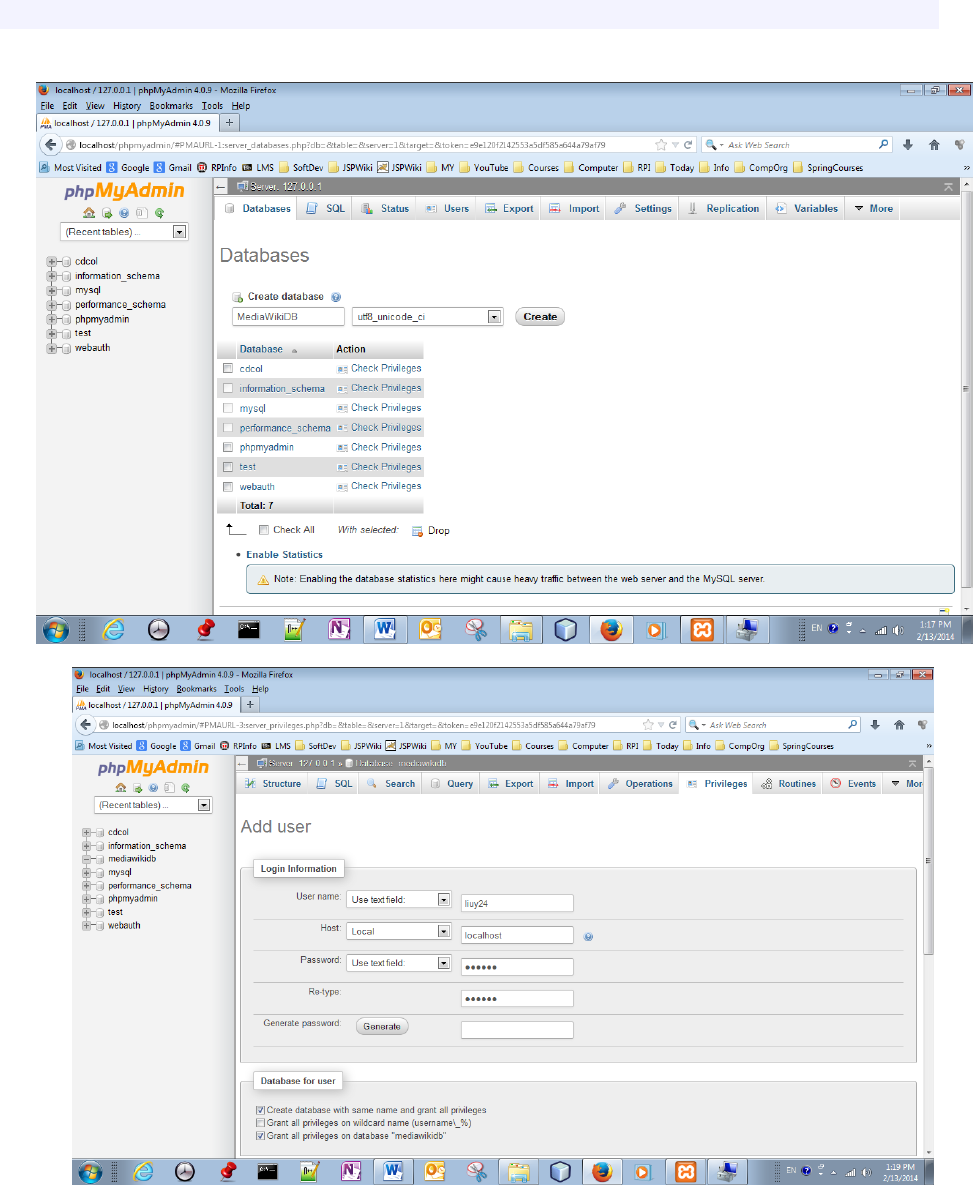
Create a new database by clicking the “New” button at the left-side Navigation bar (Its screen layout
could be different depending on your computer system and the XAMPP version.)
Enter a database name e.g. mediawiki, select a collation e.g. if your wiki is using utf8 for its default
charset then choose utf8_unicode_ci)
From MySQL docs: A character set is a set of symbols and encodings.
A collation is a set of rules for comparing characters in a character set.
The click the Create button
Go into the new database and click on Privileges on the top bar.
Then click Add user account located in the New area at the bottom of the Privileges page
Enter a name for the user (e.g., wikiuser) and a password. You can leave all the rest blank. You may
want to write down your database name, user name, and password, because you'll need those to
install MediaWiki.
mediawiki/localhost/mediawiki/mediawiki
User addount ‘mediawiki@localhost’
Click all check boxes of the “Global privileges” and the check box for "Grant all privileges on
database "xxx"
Click Go button at the bottom.
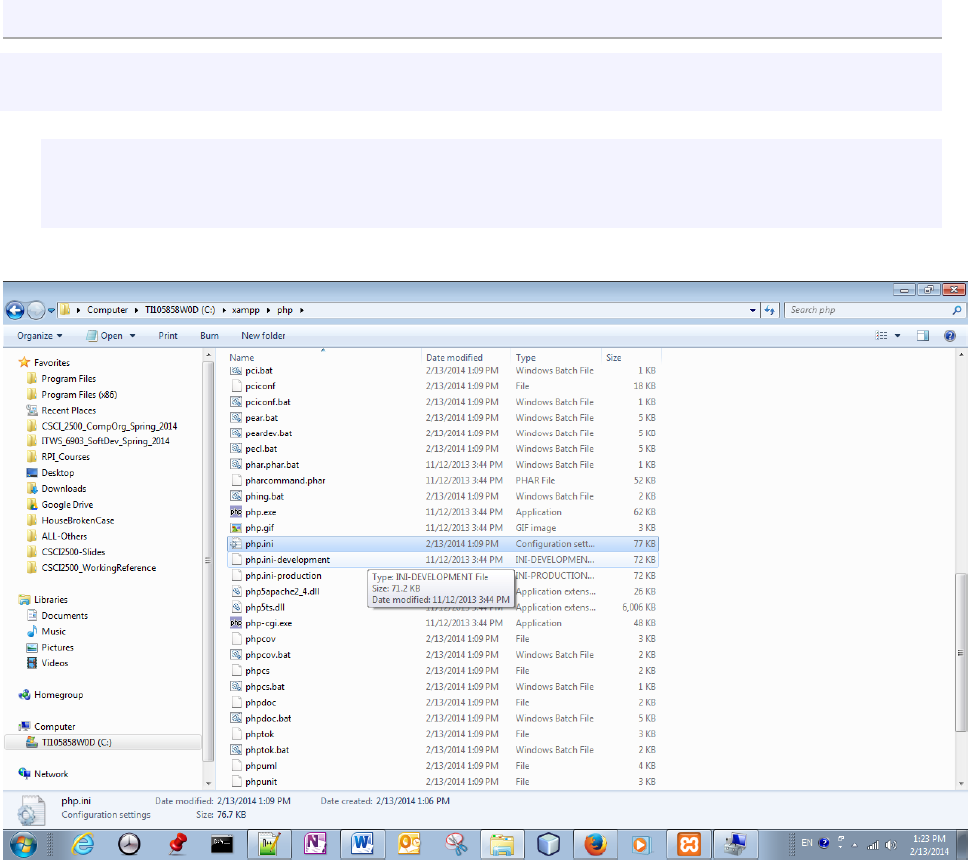
2. Editing PHP.ini
To make sure that the Apache HTTP server does not time out during the creation of the databases,
modify the php.ini config file:
1. Open the php.ini file using your favorite text editor and find the following section and change
to max_execution_time = 600
2. Save the file and restart Apache
Setting up Mediawiki
Extract all your Mediawiki files and folders into a subfolder e.g. mywiki\ of the htdocs folder,
wherever that is e.g. c:\xampp\htdocs\. (You can name your wiki site differently.)
Direct your browser to the appropriate page, e.g. http://localhost:80/mediawiki
Follow the Mediawiki installer's instructions, entering the database name, user name, and password
you wrote down during the "creating your database" step above.
If you enabled the "security" option, then you need to Use superuser account. This means the
MySQL root account and its password.
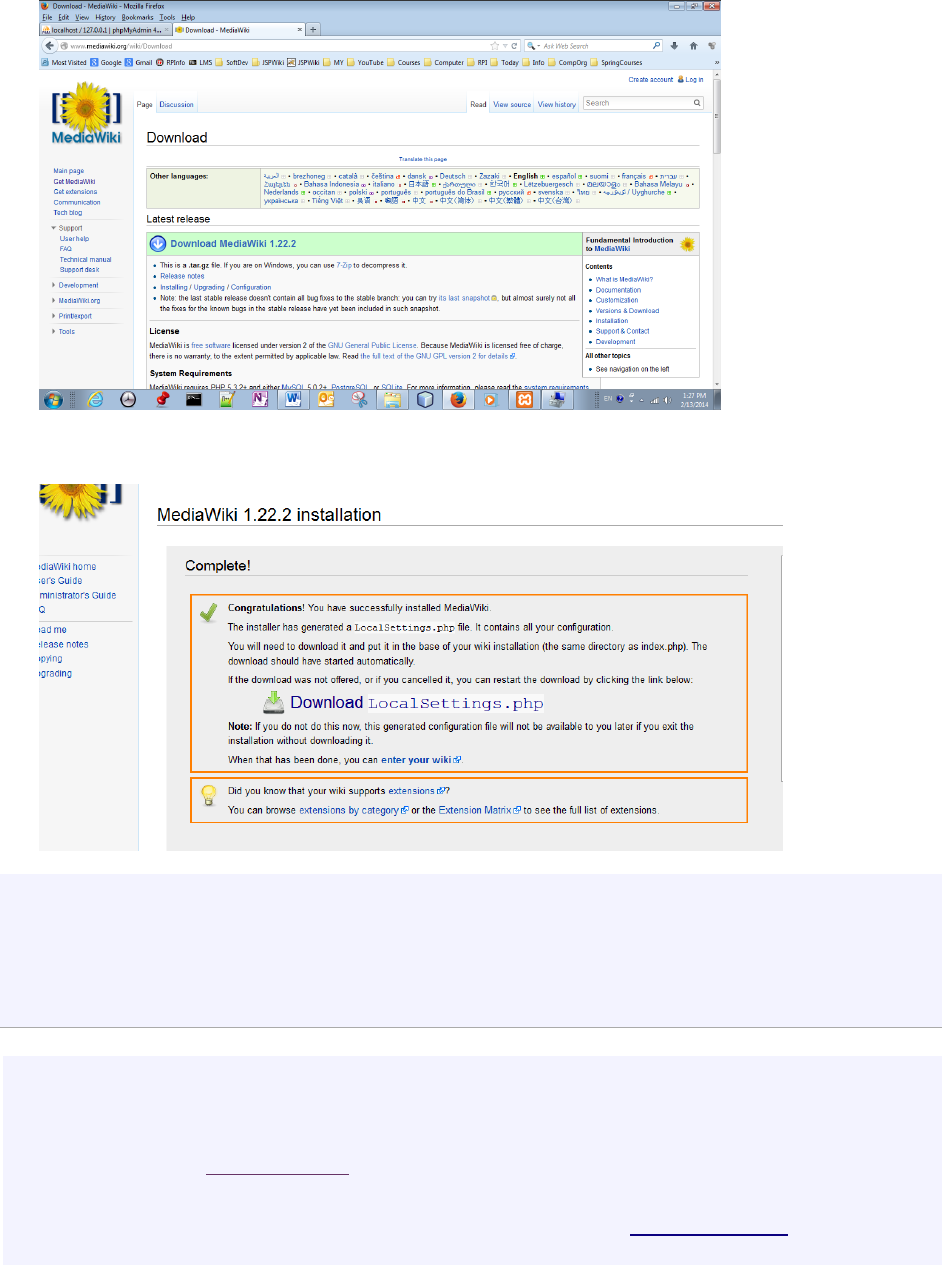
After Mediawiki tells you that everything went smoothly, save your LocalSettings.php file to your wiki's
root folder, e.g. c:\xampp\htdocs\mywiki.

Direct your browser once again to the appropriate page, e.g. http://localhost/mywiki. It should take
you to the Main Page of your new wiki.
Setup to upload a file or an image to the wiki
1) Go to the directory contains file” LocalSettings.php”, such as:
xampp/htdocs/mediawiki/LocalSettings.php
Change: $wgEnableUploads = false To: $wgEnableUploads = true;
2) Go to your Mediawiki site and LOG IN. If you do not have an account yet, make one.
3) Upload button should now be available. You can upload various file types and give them a destination
filename, which the MediaWiki will refer to.
