Anaconda Install Instructions V3
anaconda_install_instructions_v3
User Manual:
Open the PDF directly: View PDF ![]() .
.
Page Count: 13

Data X
Alexander Fred-Ojala
afo@berkeley.edu
Data-X at Berkeley
About Me:
Data-X at Berkeley:
Install instructions for Mac OSX / Linux
(also works for Windows)
Data X

Data X
Extra Windows Instructions
For Windows, when you install
Anaconda, choose to also install
Anaconda Prompt.
This will make everything easier.

Data X
Create Virtual Environment for Data-X
•Open Terminal
•Run the command:
conda create -n data-x python=3 anaconda
To activate Virtual environment:
source activate data-x
on Windows: activate data-x
To deactivate Virtual environment:
source deactivate
on Windows: deactivate

Data X
OPTIONAL: Create Virtual Environment
(e.g. for Python 2.7)
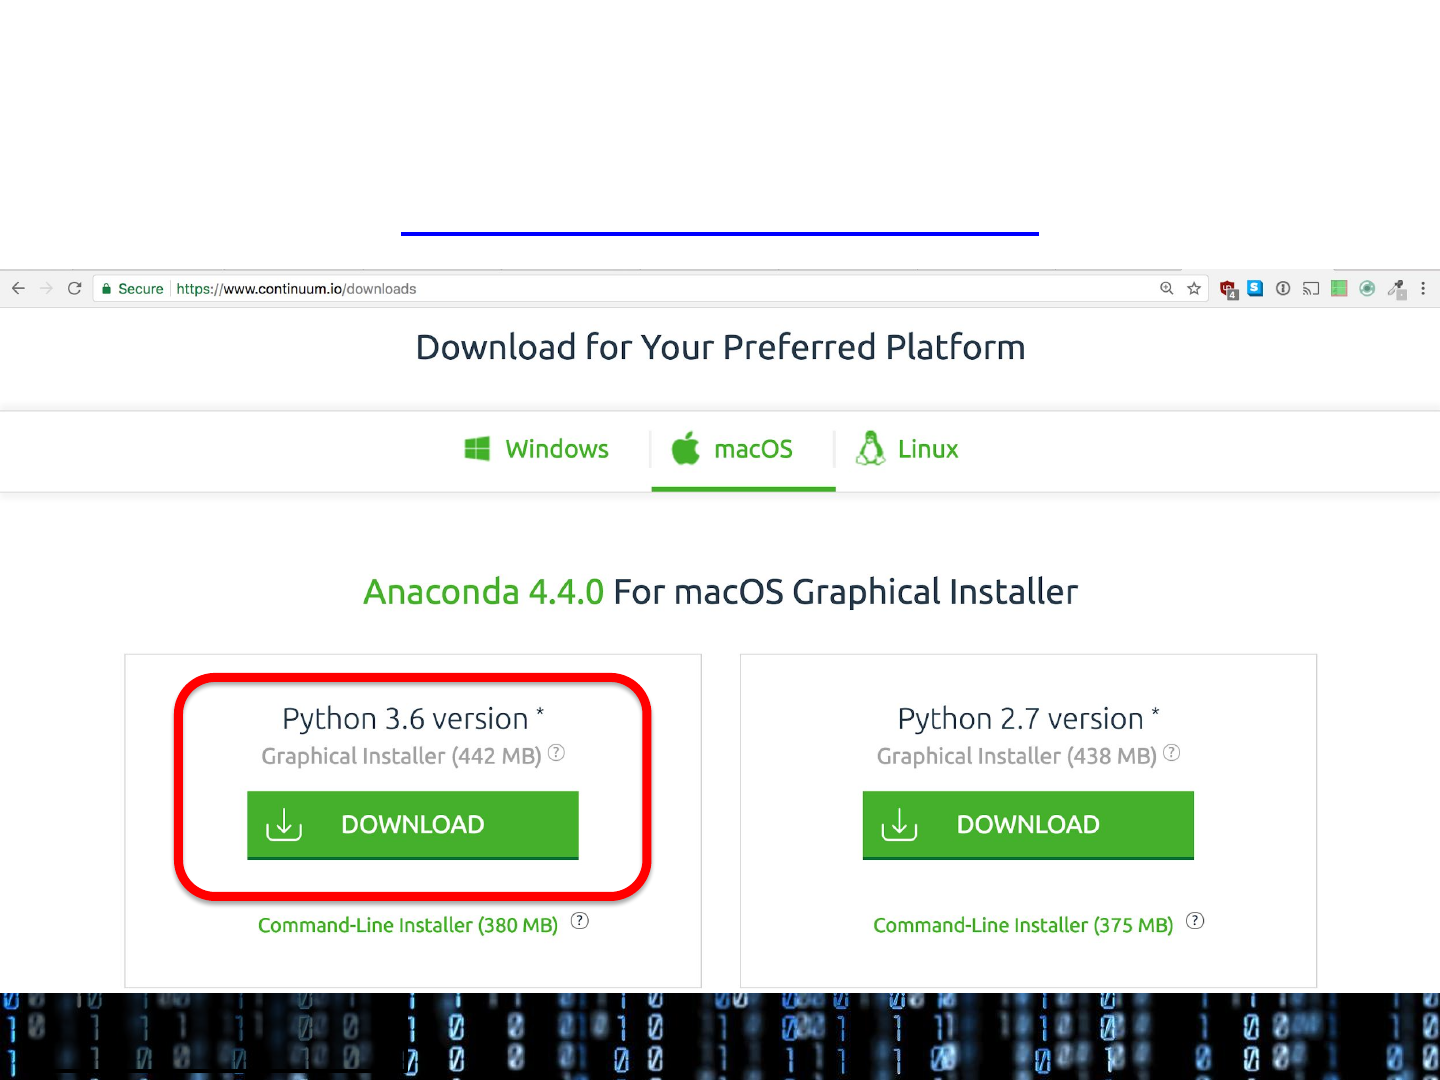
We have chosen to work with Python 3.6 in this class, however it is easy to
also install a Python 2.7 Virtual Environment(if you’d ever need it)
•Open Terminal
•Run the command:
conda create -n py2 python=2 anaconda
To activate the Python 2.7 Virtual environment:
source activate py2 on Windows: activate py2
To deactivate (any) Virtual environment:
source deactivate on Windows: deactivate
Please note, many functions, modules and libraries differ between Python 2.x and Python 3.x (Python 3 is not
backwards compatible). However, many scripts / notebooks can be compatible with both Python 3 and Python
2 by running the code below first in your script / notebook:
from __future__ import absolute_import, division, print_function
Data X
Before you install packages or run a notebook
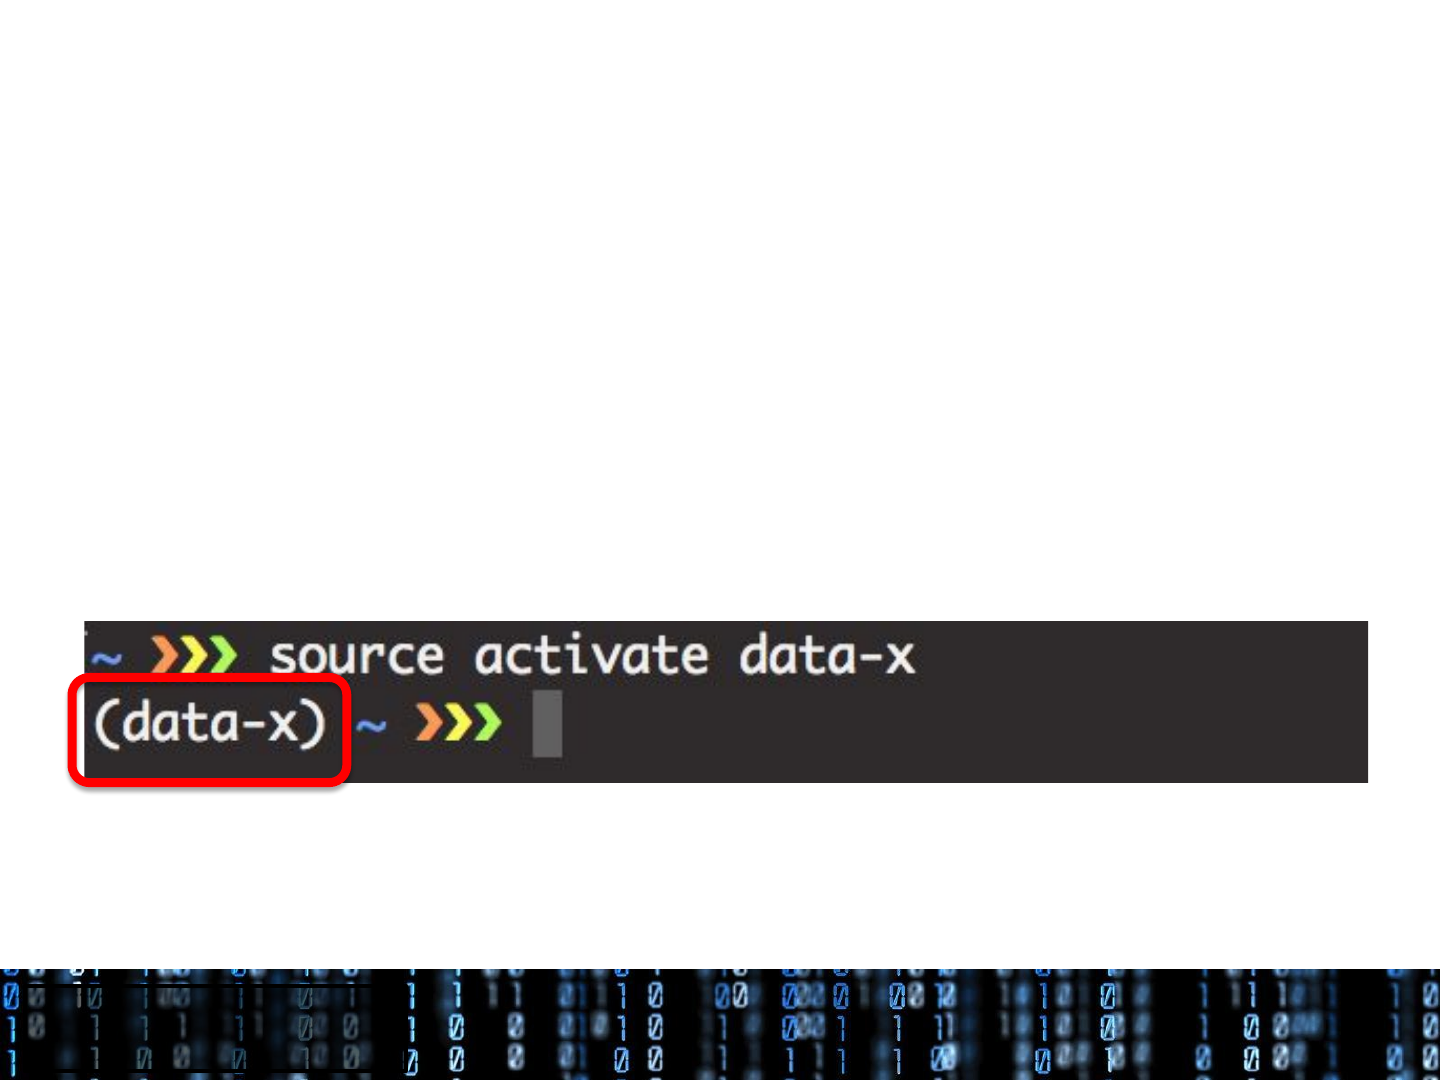
Always Activate the Virtual Environment first!
(This way you will never run into problem with crashing your root Python / Anaconda installation)
Run:
source activate data-x
(on Windows: activate data-x)
every time you open a new terminal window.
The word within the parenthesis at the start of every line in the command
prompt indicate what Virtual Environment you have activated
Data X
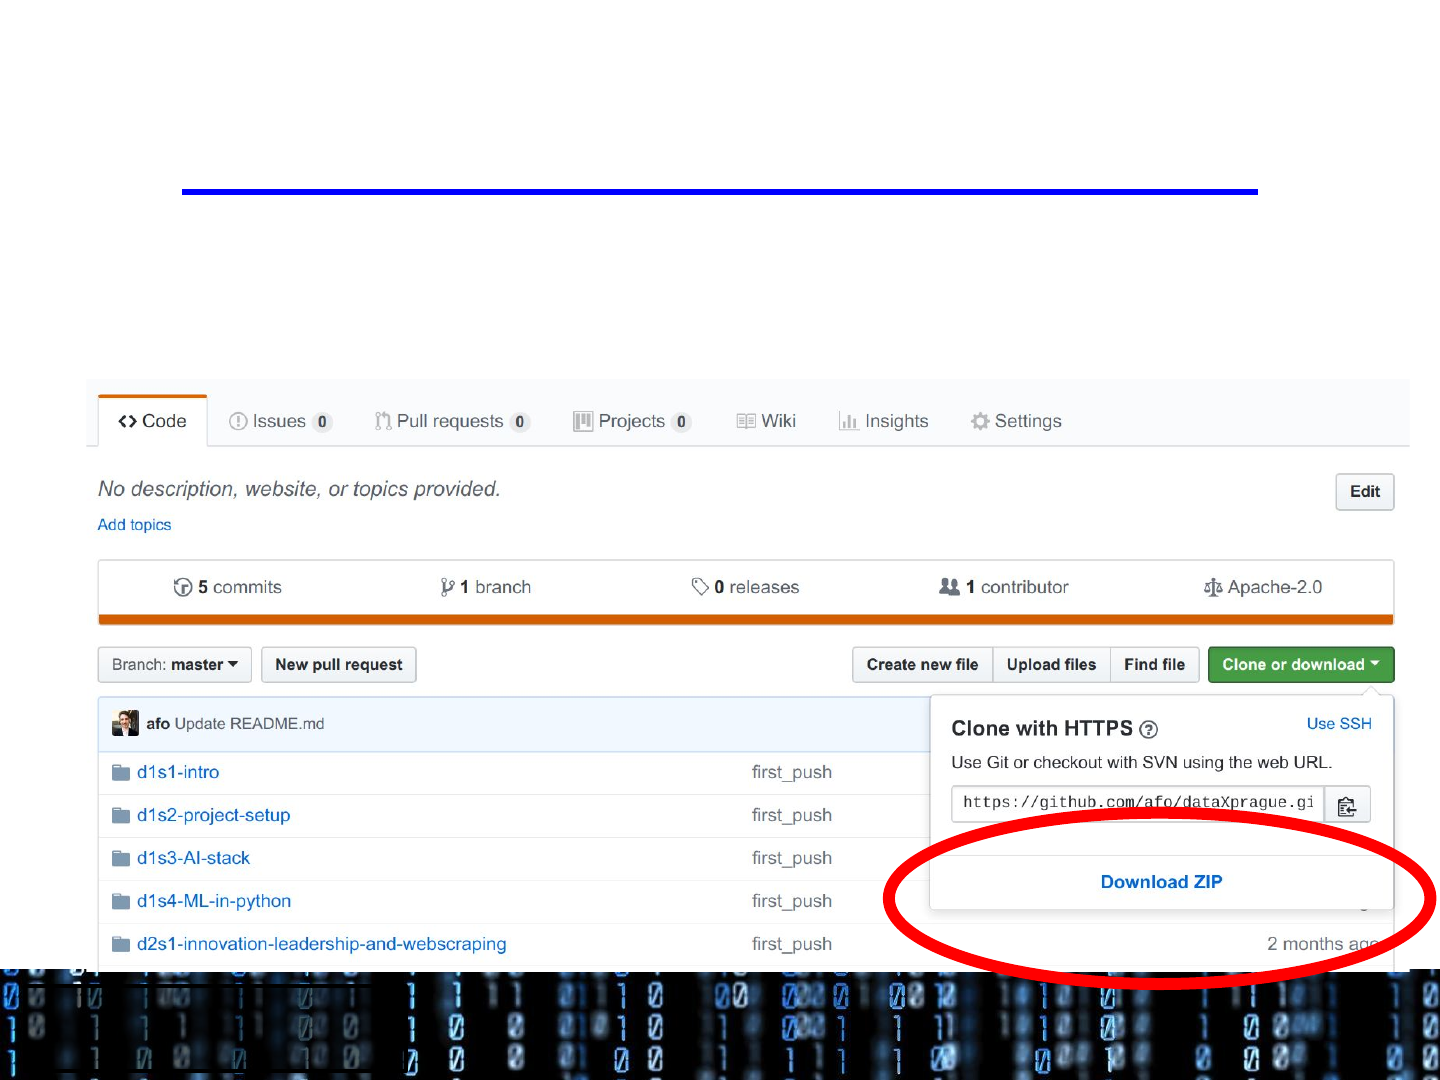
Download the class content from
https://github.com/ikhlaqsidhu/data-x
Download by cloning the Github repository (if you know Git). Otherwise we recommend going to
the website and downloading the content as a zip file
Data X
How to Install packages into your Virtual Environment
Anaconda comes with many packages pre-installed, but if you
want to install additional packages (or update existing ones)
you can run:
Install a package by running:
conda install [package name]
Install packages by running:
conda install [pkg1] [pkg2] [pkg3]
Data X
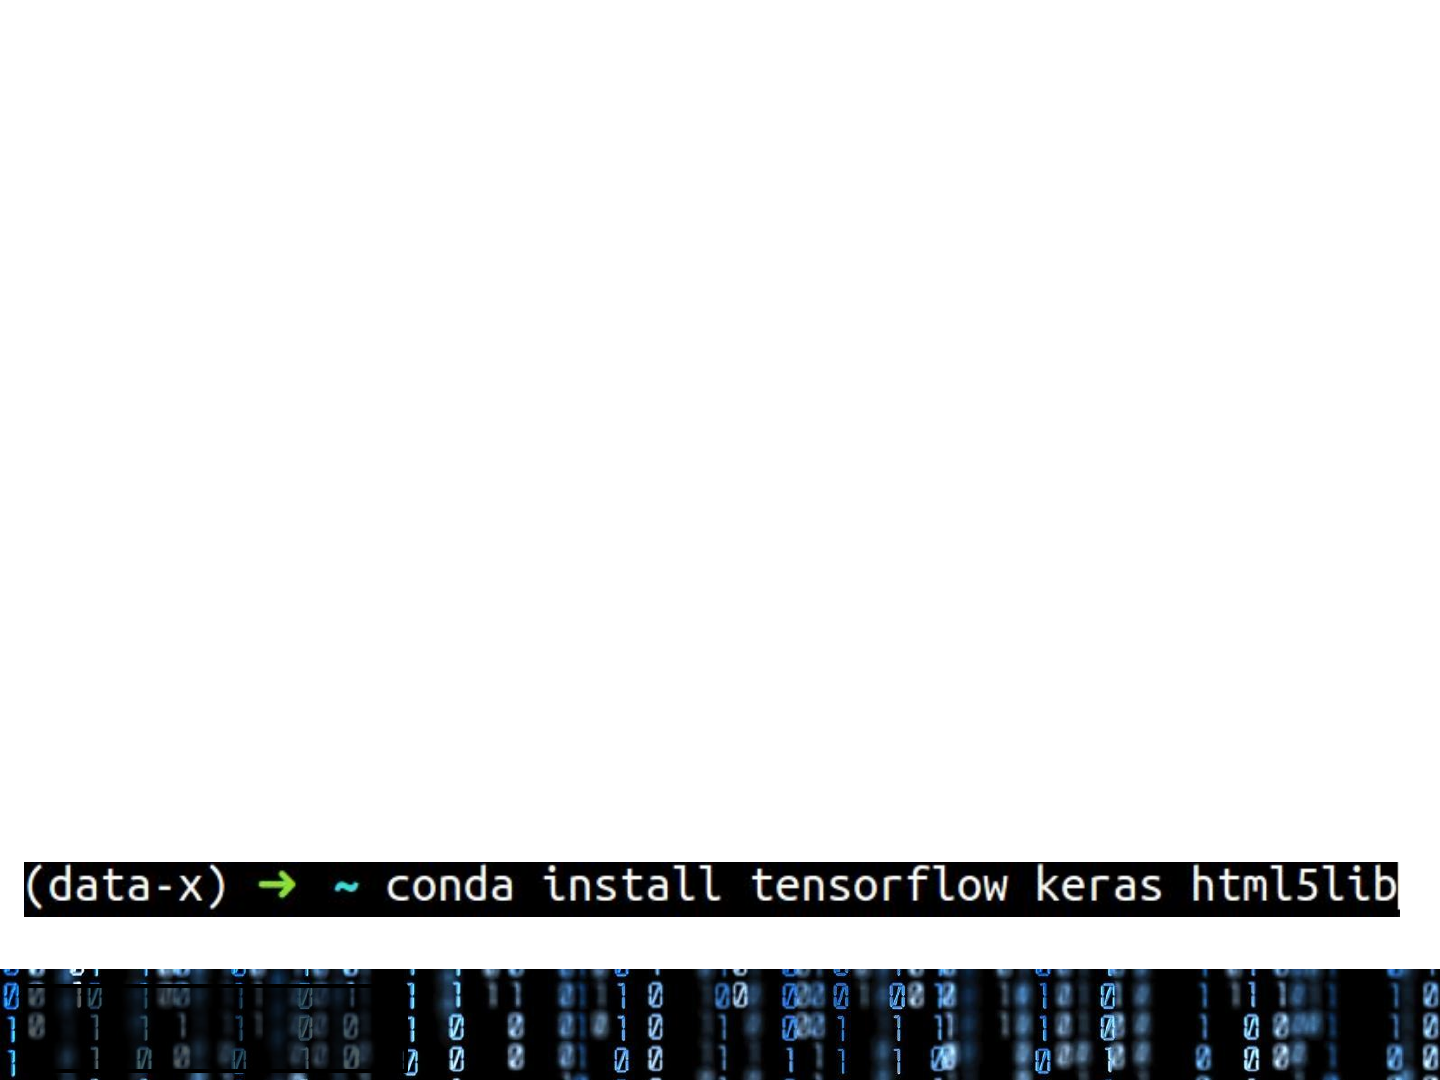
Required packages
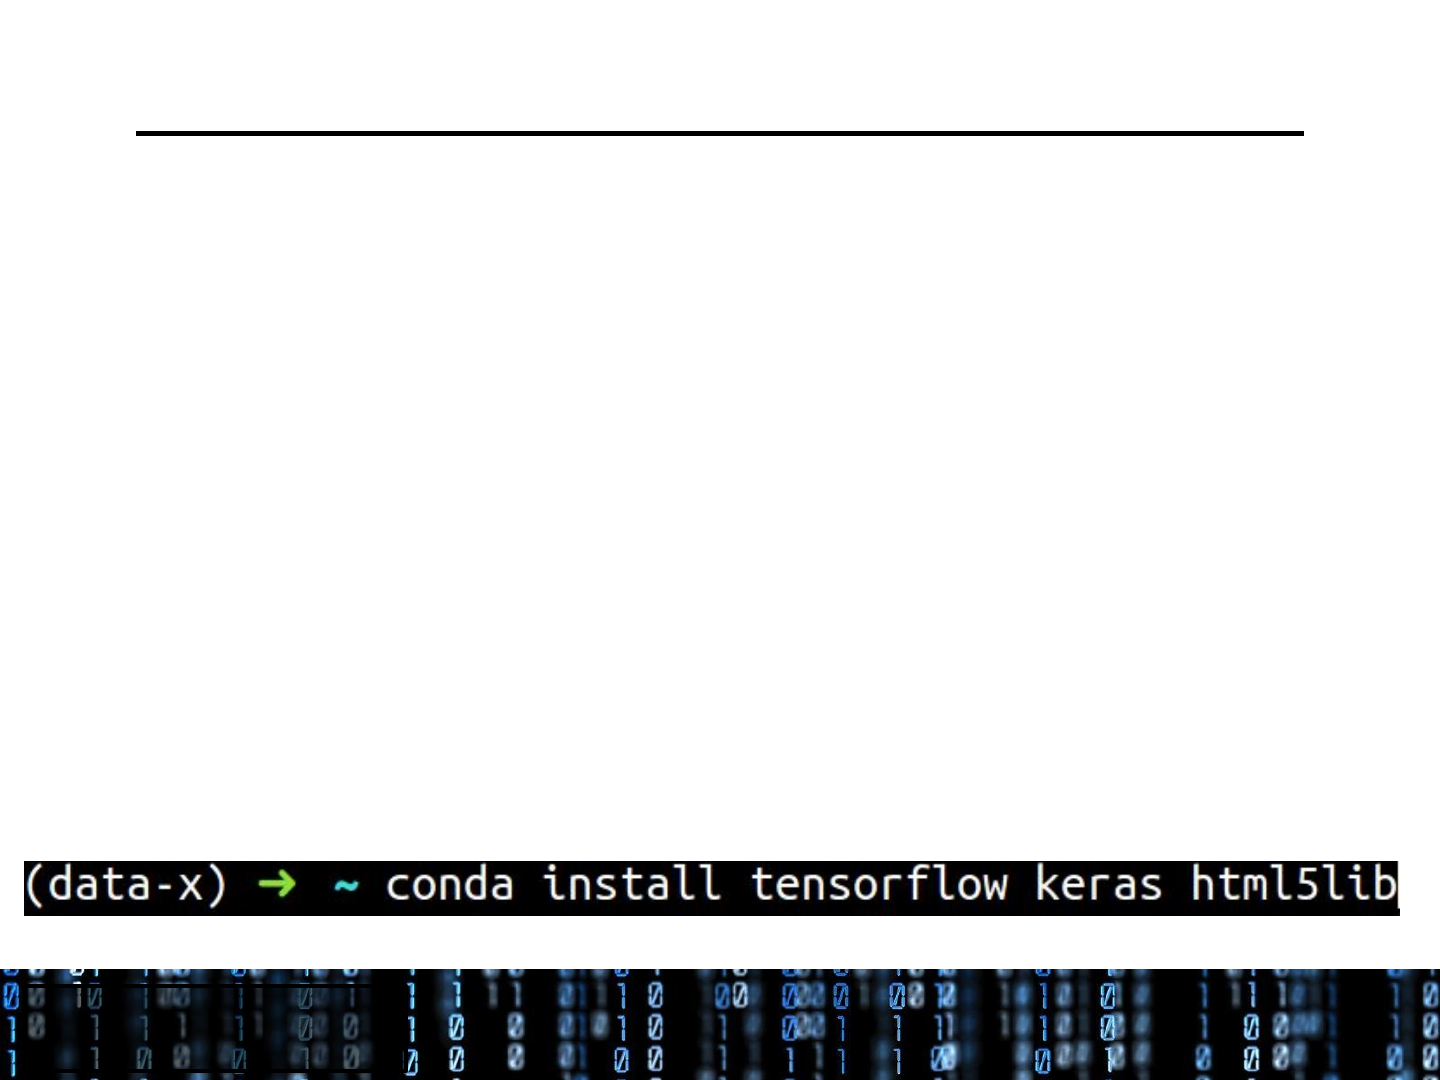
The packages you need can be installed by running the
command below:
Install a package by running:
conda install tensorflow keras html5lib py-xgboost
Data X
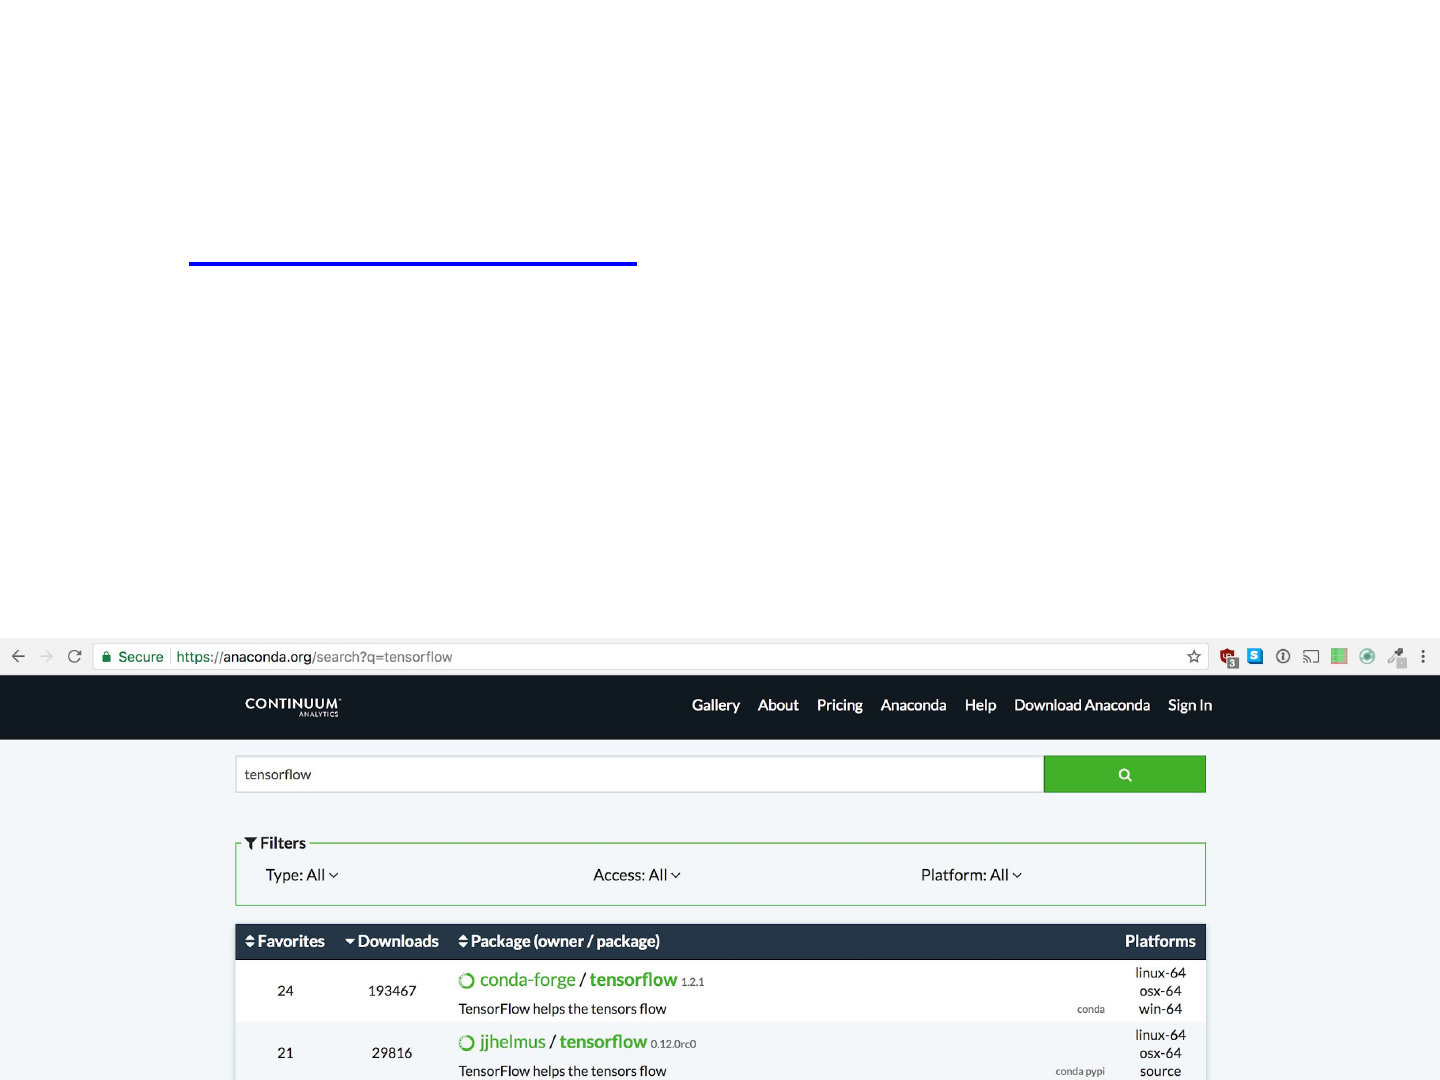
Installing packages not available via conda
Some packages are not available via conda, instead you can
visit https://anaconda.org/ (Anaconda Cloud, a package
management service) and search for the package you want
to install. Here you can usually find any Python package for
your specific machine settings.
Install a package by (for example) running:
conda install -c conda-forge tensorflow
Data X
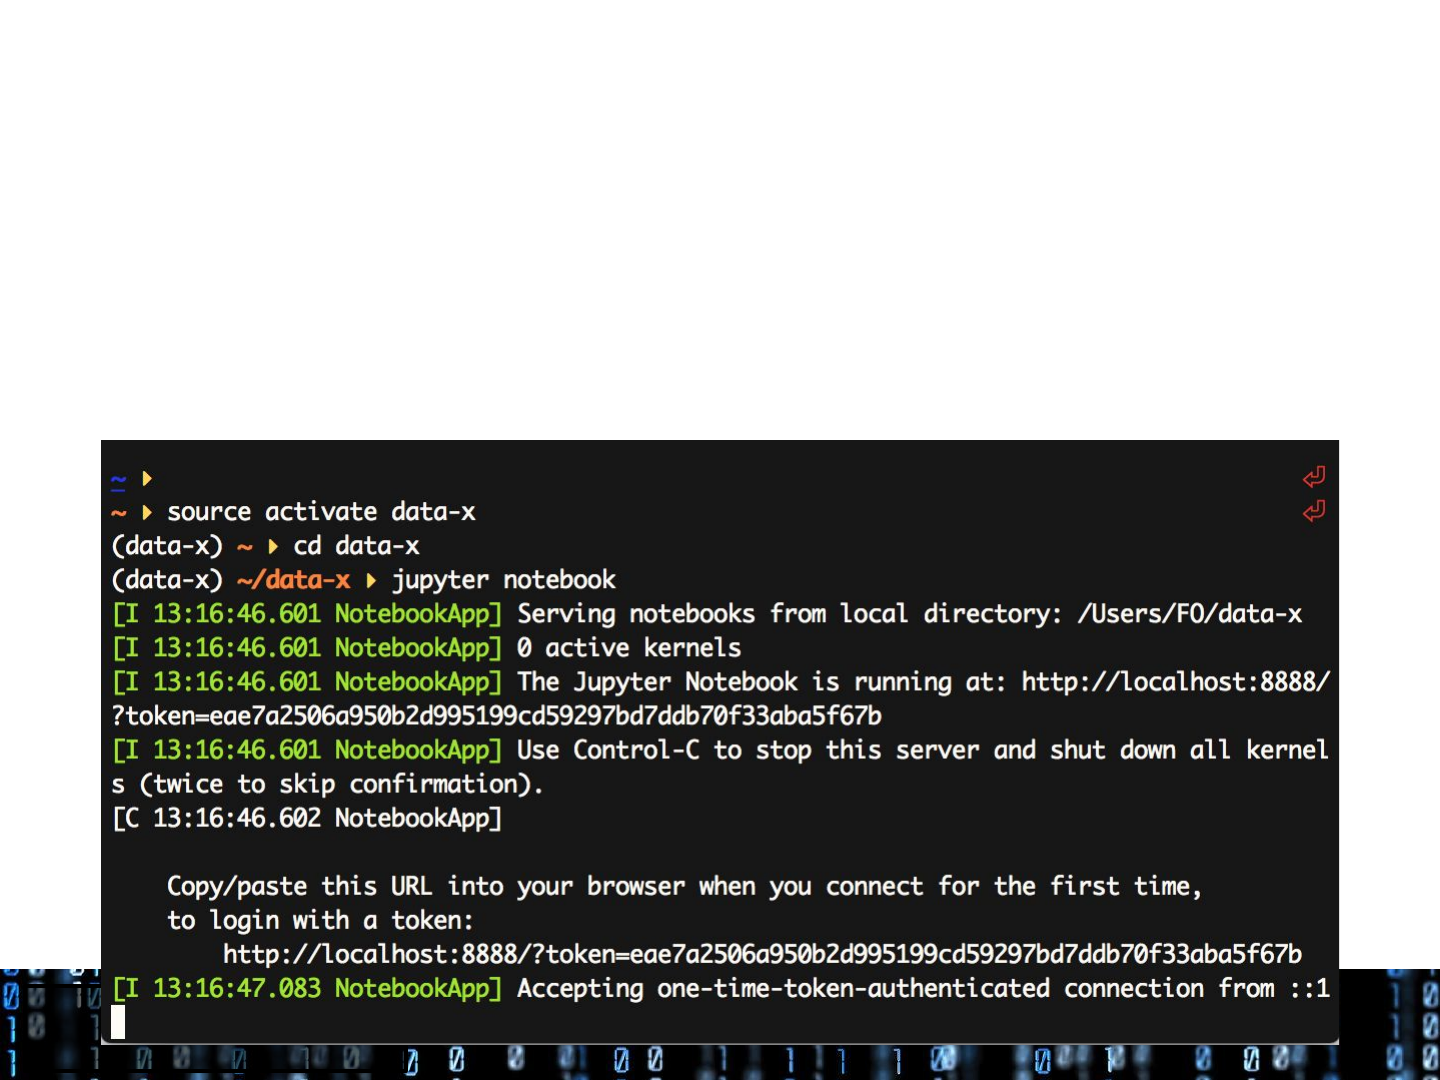
Run your first notebook
Anaconda comes with Jupyter notebooks which we will work with a lot.
In order to run your first Jupyter notebook, open the terminal, source your Virtual
Environment, cd t into the specific working directory and then run the comMand
jupyter notebook a new browser window with your current directory will
open and you can either create a new notebook or open an existing one.

Data X
Troubleshooting / In-depth explanations
Please refer to the material below and / or Google if you encounter any
problems or would like a more in-depth explanation:
•https://machinelearningmastery.com/setup-python-enviro
nment-machine-learning-deep-learning-anaconda/
•https://medium.com/k-folds/setting-up-a-data-science-envi
ronment-5e6fd1cbd572
•https://drivendata.github.io/pydata-setup/
OPTIONAL Install pyspark for Big Data locally:
http://mortada.net/3-easy-steps-to-set-up-pyspark.html

Data X
Good Luck!
