Bastl Microgranny 2 Manual
User Manual:
Open the PDF directly: View PDF ![]() .
.
Page Count: 2
HOT
TOP
SINCE 2012
Our flagship is monophonic granular
sampler, granular algorithms fully syncable
via MIDI, 8-bit live sampler (built in
microphone or line input), working with wav
files on microSD card
TOOLIE
A
B
C
D
E
F
G
H
I
J
K
L
M
N
O
P
Q
R
S
T
U
V
W
X
Y
Z
Ø
1
2
3
4
5
6
7
8
9
APPENDIX
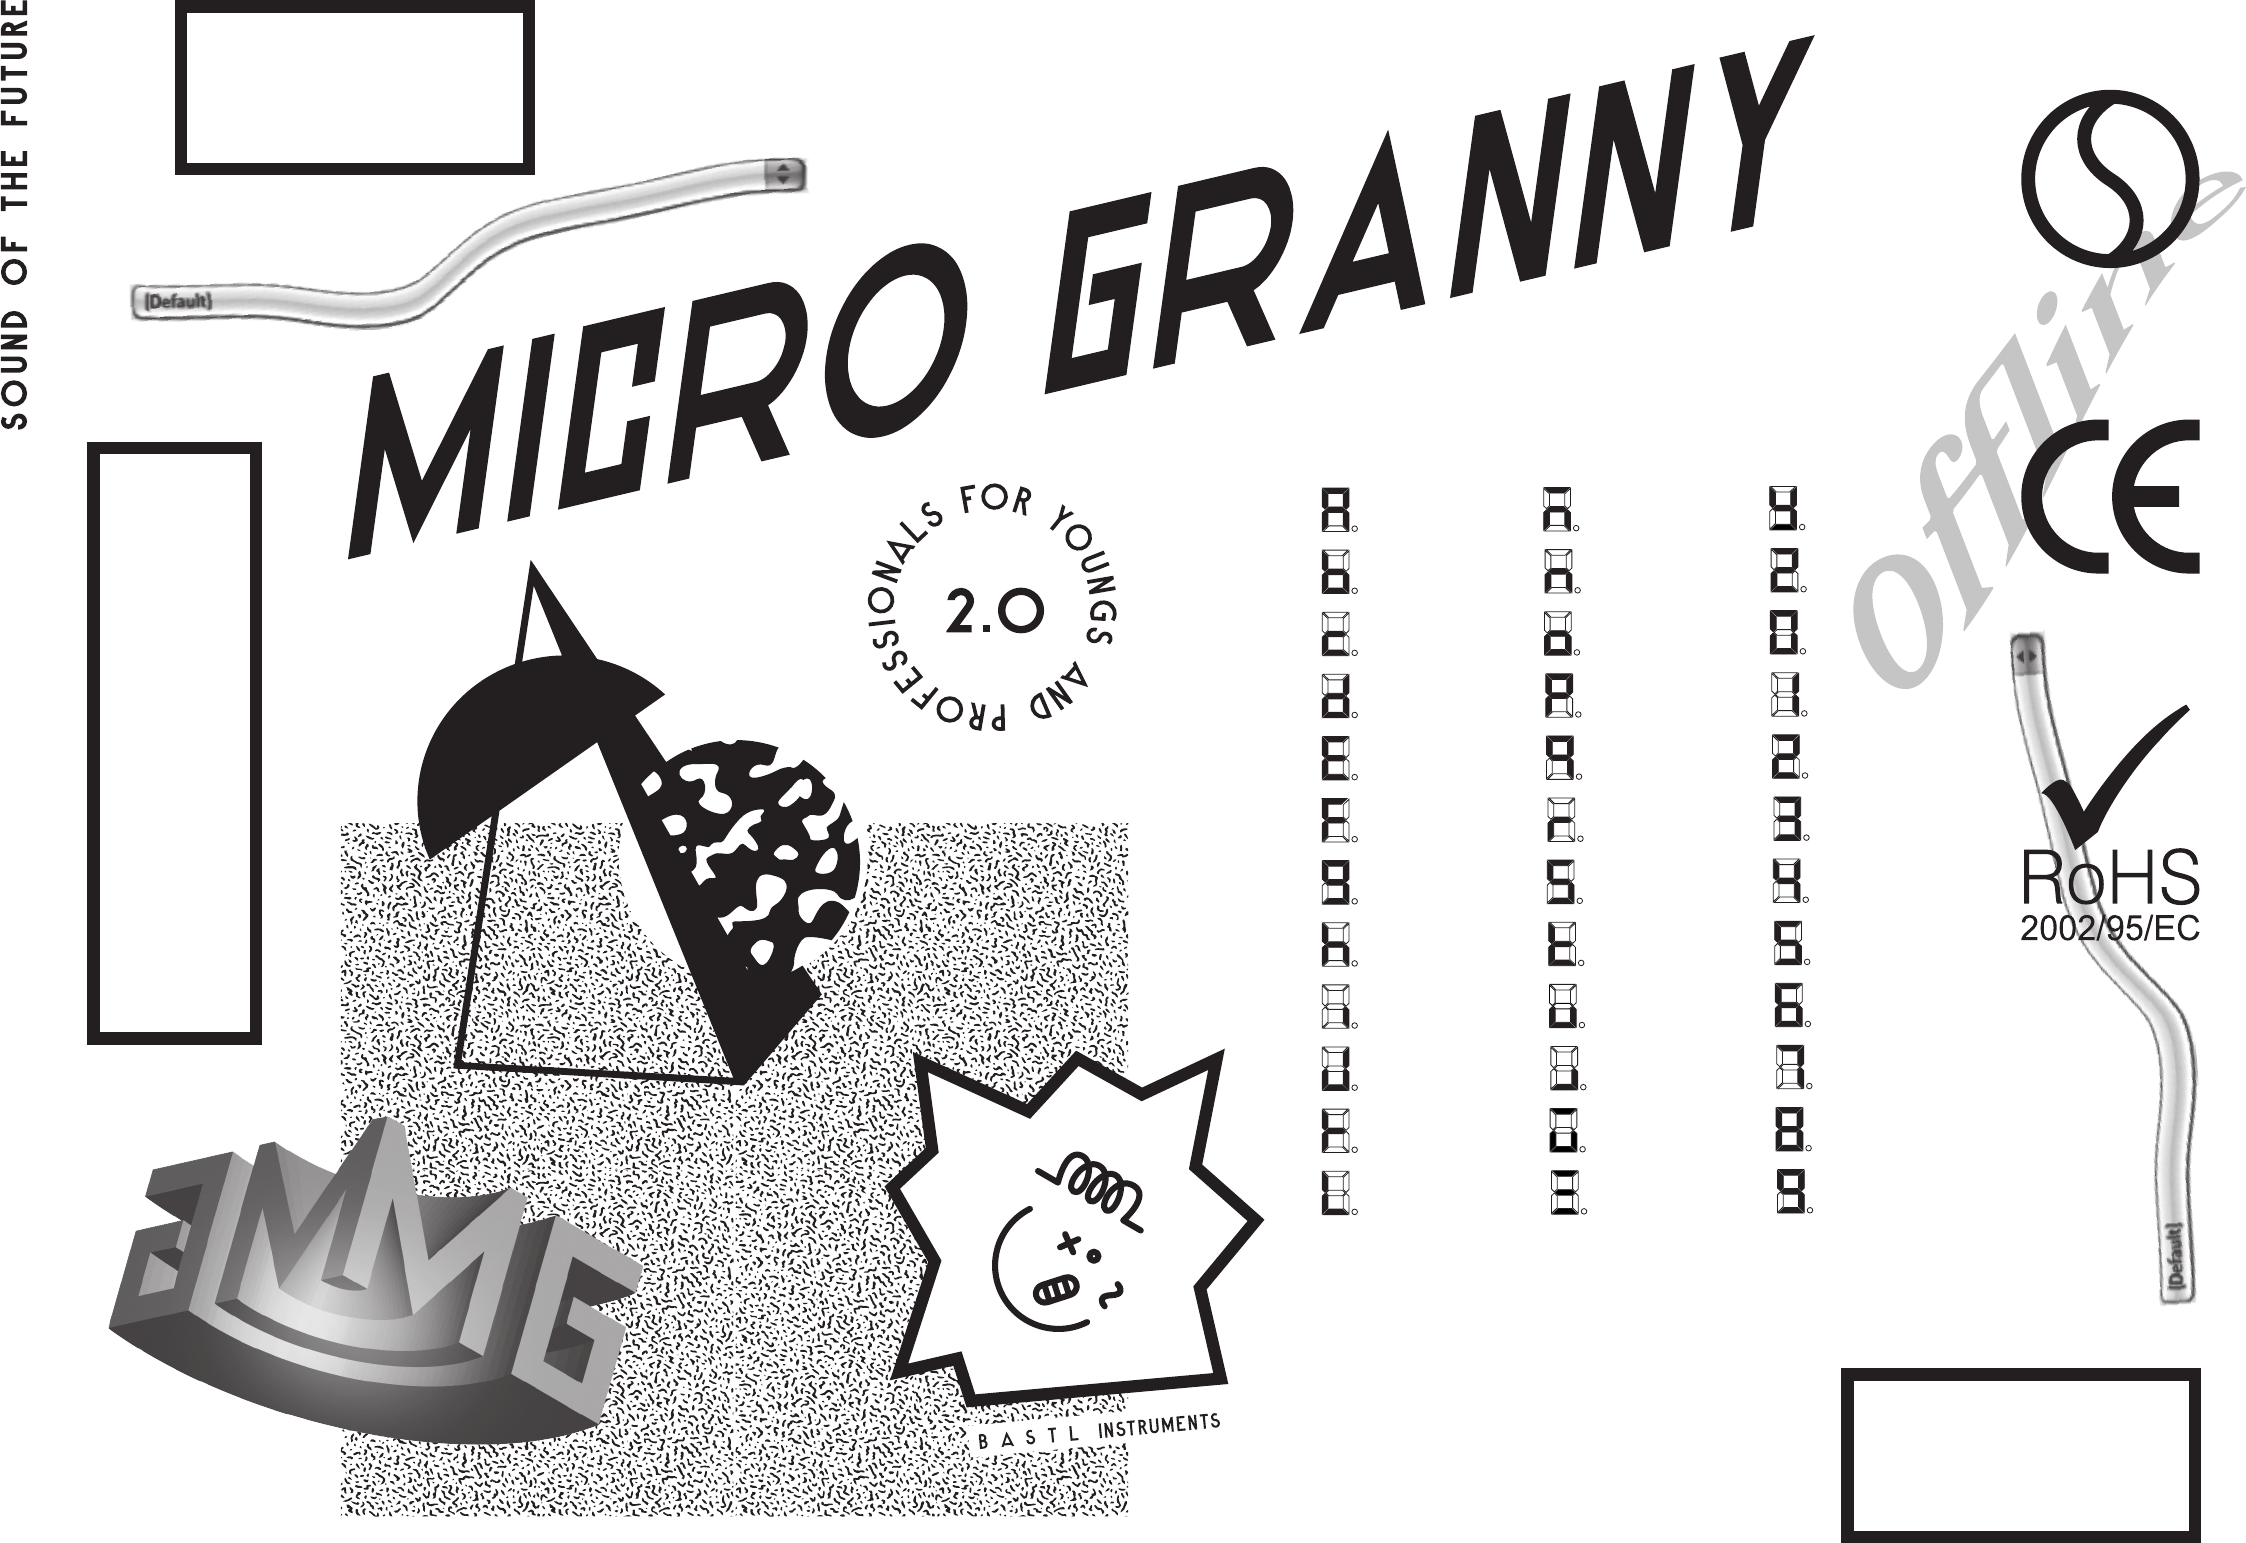
7 SEGMENT TYPOGRAPHY
WWW.BASTL-INSTRUMENTS.COM

INTRODUCTION
microGranny 2.0 (further only microGranny) is a monophonic granular
sampler with MIDI input and 8-bit audio input. It has 6 big buttons, each
of which plays a sample from the microSD card. You can adjust several
parameters of the sample. In the manual I will refer to the sample with all
its parameters as SOUND.
FEATURES
♥ monophonic mono sampler
♥ microSD card (storing + recording samples, storing presets)
♥ 6 sounds with full adjustments storable in a preset at once
♥ 60 presets in 10 banks (6 preset per bank), stored as .txt files on microSD card
♥ wav sample playback from microSD card (mono, 22050 Hz, 8 or 16 bit, two letter
file name)
♥ 8-bit 22050Hz wav recording via line input or onboard microphone
♥ hold button
♥ sample rate (tuned or free run)
♥ crush
♥ start, end position with repeat, instant loop
♥ granular settings: grain size and shift speed (positive or negative)
♥ amplitude envelope attack and release
♥ MIDI Input – responds to note, cc and clock (synchronize loop and grains)
♥ MIDI thru by side connector
♥ MIDI side chain envelope restart
♥ copy, paste
♥ input & output volume knob
♥ power switch – plug / battery
♥ hackable – arduino based
POWER UP
There are † † † ways to power the microGranny.
†) Battery: plug the 9V battery to the battery clip and put the slide switch
to BATT position
† †) Adapter: plug in the power adapter with 9V DC positive polarity (+ in
the centre of the connector) and put the slide switch to PLUG position +
† † †) Via another instrument: side pins are used to share power, audio
and communication among several instruments with the same pinout
(Bastl Instruments, NovaDrone). To power your chain of devices connected
them via the side pins and plug an adaptor to one of them. Put all the slide
switches to PLUG position.
Note: to avoid charging 9V batteries inside the instrument, it’s not possible to
share the power from the built-in battery connector to the chain connectors. To
avoid this limitation, you can connect your 9V battery to the power jack connector
adaptor cable and connect it via the power plug.
However the microprocessor can take a bit of energy from the communication
line, so as far as there is no MIDI data on the data line, some non-powered
instruments might appear turned ON but are not fully functional.
PLAYBACK AND HOLD
Press the BIG BUTTONS in order to hear the sounds. The last pressed BIG
BUTTON will play the sound. microGranny is a monophonic sampler which
means it can play only one sample at time.
By pressing the HOLD button, the HOLD mode is activated (indicated by
the HOLD LED). Now you don’t have to hold down the BIG BUTTONS in
order to keep them playing. By pressing the BIG BUTTON which is already
playing, it will start playing the sound from the beginning. To stop playback
press the hold button again.
SAMPLE SELECTION
Play one of the 6 sounds. By pressing the UP or DOWN button you can select
samples that are stored on the SD card. The name of the sample is indicated on
the display. See the appendix for a typography explanation. By holding the UP
or DOWN button for longer than 2 seconds, the first letter of the sample begins
to change, which allows faster browsing of the directory.
Note: when browsing the directory, the microGranny always searches whether
the sample with the following names is actually on the SD card. If you have
only a few samples with dierent first letters it might take a few seconds to find
the next sample. The searching is indicated by “SRCH” showing on the display.
In that case it is recommended to use the longer press to set the sample name
of your choice.
TIP: See further COPY & PASTE functions to make setting up presets easier.
KNOBS
The 4 knobs on the left side of the microGranny adjust the parameters of
the sound. The actual function of the knobs is dependant on the PAGE which
is indicated by the color of the RGB LED. By pressing the PAGE button, you
change the PAGE from BLUE to GREEN. The parameter names are printed on the
board with a (B) or (G) to indicate the BLUE or GREEN page.
When changing the PAGE or sounds of settings, the knobs get deactivated in
order to not overwrite the original values. Whether a knob is active or not is
indicated by the LEDs next to each knob. In order to activate the knob, the knob
has to reach the original value. So you have to turn it, to match the original
value. The 2 knobs on the right side of the microGranny adjust input and output
volume.
FN BUTTON
The FN button allows access to more functions and parameters of the sound.
Hold down the FN button and press the BIG BUTTONS to change parameters of
the last played sound: TUNED, LEGATO, REPEAT, SYNC and RANDOM SHIFT. The
state of these parameters is indicated by the LEDs while the FN button is pressed.
Hit the last BIG BUTTON to play a DEMO !
By pressing the UP or DOWN button in combination with the FN button, calls
the COPY and PASTE function. The last played sound is copied by the COPY
function. To the last played sound the copied sound will be pasted by the PASTE
function.
When a sound is playing you can press the the HOLD button in combination
with the FN button to call the INSTANT LOOP function. The first call of the
INSTANT LOOP marks the start of a loop, the second press marks the end and
loops in between these points (indicated by “LOOP” showing on the display)
and third press deactivates the INSTANT LOOP.
By pressing the RECORD button in combination with the FN button you SAVE
the current PRESET.
PARAMETERS OF THE SOUND
SAMPLE RATE is the pitch of the played sound. It can operate in 2 dierent
modes, depending on the sound’s TUNED parameter. Initially the TUNED
parameter is turned on, which means that the SAMPLE RATE is changed in
semitones in a range from -36 to 5, where 0 is the original pitch. When TUNED
is turned o, the SAMPLE RATE can be adjusted in a fine resolution from -360
to 50, which is 10 times higher and corresponds to the tuning (when TUNED is
turned on -12 is the same pitch as -120 when turned o).
CRUSH is the distortion eect applied to the sound.
START marks the playback starting position. The sample gets chopped into
1024 points and START selects the starting point. When START is set to 0 it
means the sample is played from the beginning.
END marks the playback ending position. Again it is one of the 1024 points of
the file. When END is set to maximum it means the whole sample is played.
Note: ending position cannot be set lower than the starting position.
GRAIN SIZE sets the size of the GRAIN loop. When GRAIN SIZE is set to 0 there is
no granular eect applied to the sound and therefore the SHIFT SPEED function
doesn’t aect the sound either.
SHIFT SPEED sets the speed at which the GRAIN loop travels through the
sample. it ranges from -127 to 128, where 0 means the GRAIN loop is static. The
negative numbers mean that the GRAIN loop travels backwards (from the end
position to the start position).
ATTACK sets to volume envelope attack. This means how long it takes for the
sound to fade from silence to the maximum volume.
RELEASE sets the volume envelope release. This means how long it takes for the
sound to fade to silence, after the playback of the sound was stopped.
TUNED see SAMPLE RATE to see how the parameter influences the sound. When
playing the microGranny by sending MIDI notes, the TUNED parameter selects
whether the notes transpose the sound or play individual grains. See the MIDI
chapter for more information.
LEGATO If turned ON, the MIDI Notes sent to the microGranny are transposing
the pitch without resetting the start position and envelope, while more than one
MIDI Note is held. Note: LEGATO can be turned ON only when TUNED is turned
ON.
REPEAT If turned ON, the playback position jumps back to the START position
when the playback reaches the END playback position. When turned o the
playback ends when reaching the END position. If SHIFT SPEED is negative the
start and end positions are switched.
SYNC when turned ON the GRAIN SIZE and END parameters automatically
synchronise to the MIDI clock.
RANDOM SHIFT the shifting of the GRAIN loop in the sample can be set to
random, meaning it randomly decides whether the SHIFT SPEED goes forward
of backward each time the GRAIN loop is played to the end.
PRESETS AND BANKS
One preset consists of 6 sounds and all their parameters. To load dierent
presets hold down the PAGE/preset button and press one of the 6 big buttons to
load the corresponding preset. The display for example shows PR.23, meaning
you loaded presed number 3 (second number) from bank 2 (first number). To
save a preset, hold down the FN button and press the RECORD button.
In one bank there are 6 presets. To change banks, hold down the PAGE/preset
button and press UP or DOWN. There are 10 banks (0-9).
All of the presets are stored on the SD card in the form of simple TXT files,
named P23.TXT for example. You can rename and rearrange your presets on
your computer.
TIP: When you have been tweaking your sound and you want to quickly come back
to the initial settings, just re-load the preset.
RECORDING
microGranny can record 8 bit samples with a sample rate of 22050 Hz. It uses
the on-board microphone or line input. When the line input is connected, the
microphone is disabled.
Press the RECORD button to enter the record mode (the RGB LED turns RED).
In the record mode the dots on the display indicate the level of the incoming
signal. Use the input volume knob to adjust the volume. Pressing the HOLD
button will activate or deactivate the the sound coming through from the input
to the output, while in record mode.
After entering the record mode, the display asks you to select (“SLCT”) a position
where you want to record. Now press one of the 6 big buttons. microGranny
checks if there is a file in this slot and deletes it and prepares for recording.
Then the display says (“REDY”) and the RECORD LED starts blinking to indicate
that you should hit the RECORD button to start recording. microGranny will
turn o the display (to minimize noise) and will start recording (indicated by
only the RECORD LED and the LED of the current slot). To stop recording, hit the
RECORD button again. The recorded sound is now stored and assigned to the
big button. You can exit the record mode by pressing the PAGE button.
For each big button in each preset there is one file reserved for recording. Only
the wave files starting with number, for example “2D.WAV”, can be deleted and
overwritten. The first character of the name of the sample refers to the bank,
the second character refers to big button and preset (in preset P21 the reserved
files for recording are 20-25.WAV, in P22 the reserved files are 26-2B.WAV in P23
the files are 2C-2H.WAV etc.)
Note: Recording automaticaly saves preset.
ATTENTION: Do not turn OFF the microGranny while it is recording! It might
result in corrupted files or a broken file system on the microSD card. If you are having
problems of this kind, it is advised to format the microSD card again. See below
for more information.
MIDI CHANNEL
microGranny has MIDI INPUT. It reads MIDI messages on the specified MIDI
channel. To set the MIDI channel, hold down one of the big buttons while
turning on the microGranny, to set the input channel to 1-6. By doing the
same procedure while the FN button is pressed, you set the input channel to
7-12. The input channel is indicated on the display each time you turn on the
microGranny, for example “CH 2” for MIDI input channel 2.
MIDI NOTES
microGranny reads Note messages and reacts to velocity. The first 6 notes of
the lowest MIDI octave corresponding to the 6 buttons on the microGranny.
If the TUNED parameter is turned ON, the last played sound gets spread and
transposed on the keyboard in the range of 3 and a half octaves. The middle C
note is the original pitch of the sample (C4 - note no. 60). The transposed
mode is active from 3 octaves below this note (C1 - note no. 24) to 6
semitones above this note (F4 - note no. 65).
If the TUNED parameter is turned OFF, the range of 5 octaves (with C4 in
the middle) represents the whole sample and pressing dierent keys sets
starting position of the playback. When used with granular settings this
feature can be used to play individual grains.
Tip: In case you happen to have some hanging MIDI notes, turning ON and OFF
the HOLD function will reset the MIDI note buffer.
MIDI CC
microGranny reacts to MIDI CC messages to set the parameters of the
sound. CC mapping is: 102 = SAMPLE RATE, 103 = CRUSH, 104 = ATTACK,
105 =, 106 = GRAIN SIZE, 107 = GRAIN SPEED, 108 = START, 109 = END, 0
= preset change. Modulation wheel sets the GRAIN SIZE and Sustain pedal
is also, too.
MIDI SYNCHRONISATION
microGranny can synchronize the GRAIN SIZE and END position (and
looping in general) to MIDI Clock. When it receives the clock message
it turns automatically to slave. You can turn o the synchronisation of
individual sounds by turning o the SYNC parameter. When in sync
mode, the settings GRAIN SIZE or END are indicated on the display as
multiple or division of one beat. This means that if the GRAIN SIZE is set to
1 the GRAIN is one beat long (24 MIDI clocks).
MIDI SIDE CHAIN “COMPRESSION”
This feature adds the ability to render attack again any time while the
sound is playing, after receiving a specific MIDI Note on the MIDI Input.
This results in a “side chain compressor” like eect.
You can set the SIDE CHANNEL,SIDE NOTE and SIDE DECAY for this feature
while you turn the microGranny ON.
To set the SIDE CHANNEL hold down the UP button and one of the 6 BIG
BUTTONS to set the channel to 1-6, and with the FN button held to 7-12. To
set the SIDE NOTE, hold the DOWN button and one of the 6 BIG BUTTONS
to set the side note to 0-5 and with the FN button held to 60-65. To set the
SIDE DECAY, hold down both the UP and DOWN buttons and one of the 6
BIG BUTTONS to set dierent lengths of the decay. Setting the SIDE DECAY
to the first button makes it the same value as the attack of the sound.
MIDI OUT / THRU AND CHAINING
microGranny also has chain connectors to interface with other Bastl
Instruments products. This allows you to easily add a sequencer /
arpeggiator or drum machine. microGranny cannot merge MIDI signals
coming from its MIDI Input connector with MIDI signals coming from the
left side connector. Always use only one of these!
microGranny has a built in MIDI Thru function. However there is no
onboard output MIDI connector. You can simply attach the MIDI Bastl
product (set as output) to the right side connectors to add the MIDI Thru
connector. See the website for more information: www.bastl-instruments.
com/instruments/midi-bastl
PREPARING THE SD CARD AND YOUR OWN
SAMPLES
Of course you can use your own sounds and you can use any microSD
card you want. Before you use the card, it is advised to format it with the
ocial formatter to make it work faster. The original SD formatter can be
found here together with instructions: www.sdcard.org/downloads
You can use any microSD card reader that shows the card on your
computer as an external drive. The samples for microGranny have to be
wav files, Mono, 16 or 8 bit and with a sample rate of 22050 Hz. To convert
your samples into such a format you can use the free software Audacity
http://audacity.sourceforge.net/ or any other software that allows these
exporting options.
In Audacity open your file, when it is Stereo use Track > Stereo
Track to Mono. Then change the Project Rate (bottom left corner) to 22050
and then go to File > Export.
In the Format drop down choose “Wave (Microsoft) signed 16 bit PCM”
and use a name which has two letters only, use A–Z (only upper case) and
0–9 letters. Have a look at the “factory” SD card if you are not sure how
to name the samples.
Samples starting with a number (f.e. 2B.WAV) are reserved for recording
and can be deleted and overwritten from within the microGranny.
Copy the files to the root directory on the SD card and everything should
be ready to be played by the microGranny.
for more information see the website
WWW.BASTL-INSTRUMENTS.COM
