NECO TV Instructionsx Instructions
2016-09-15
: s Neco Tv Instructions NECO TV Instructions NECO SetupDocs
Open the PDF directly: View PDF ![]() .
.
Page Count: 3
1
!
Downloading the NECO TV App to your Apple TV
These instructions will walk you through how to add the app to your Apple TV.
1. Follow the directions that came with your Apple TV for setup instructions.
2. Then take a look at the instructions on how to use the controller.
3. Go into the App Store on your Apple TV.
4. Then go to the top of the screen and select Search.
Enter NECO in the field if you are a NECO Alliance member.
5. Click on the app icon once it appears.
6. Once you have “bought” the FREE app click on the Cloud button and Install the app
you have selected.
7. Once the app installs, click on Open .
8. Allow “NECO TV” to access your location while you use the app?
In order for you to use this app we need the location of your device.
• Click on Allow.
9. You will next need to Activate your Apple TV. Click on Activate.
10. Write down the Activation Code just as it appears on your Apple TV screen. You will need this
in the upcoming steps.
11. Go to your computer and enter the correct web address of the app you installed:
• For NECO Members: Enter www.necoinstoretv.com/activate in the address field.
2
!
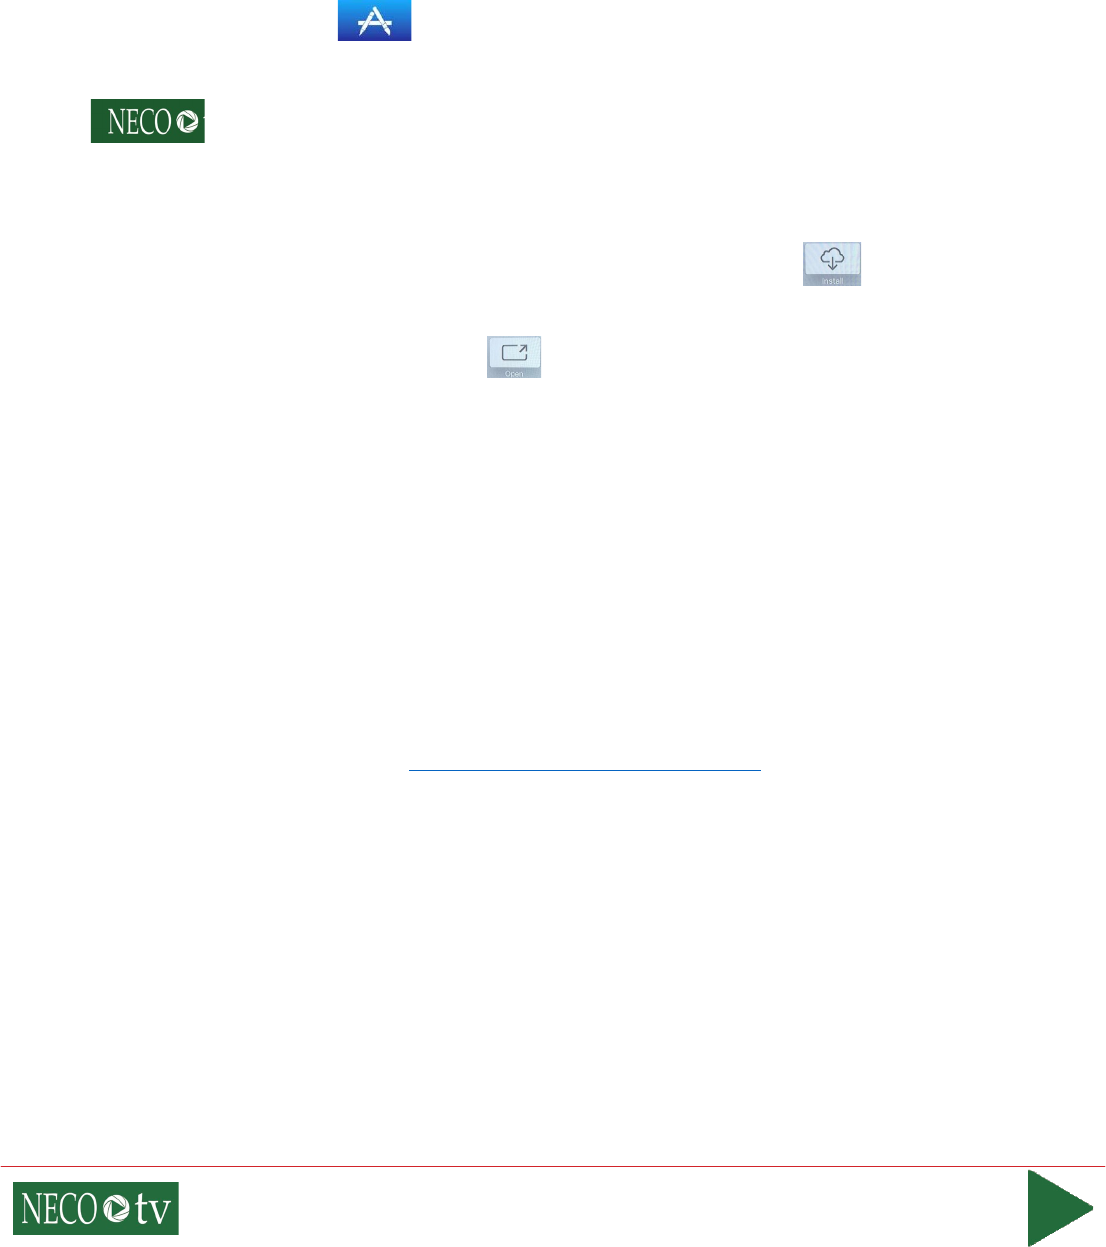
12. Next, you will need to fill out the 3 tabs at the top of the screen: Store Hours, General and
Classifications.
A. First, fill out your store hours, click Next
when finished. (If you are not open on a
specific day of the week then check the
Closed box next to that day of the week.
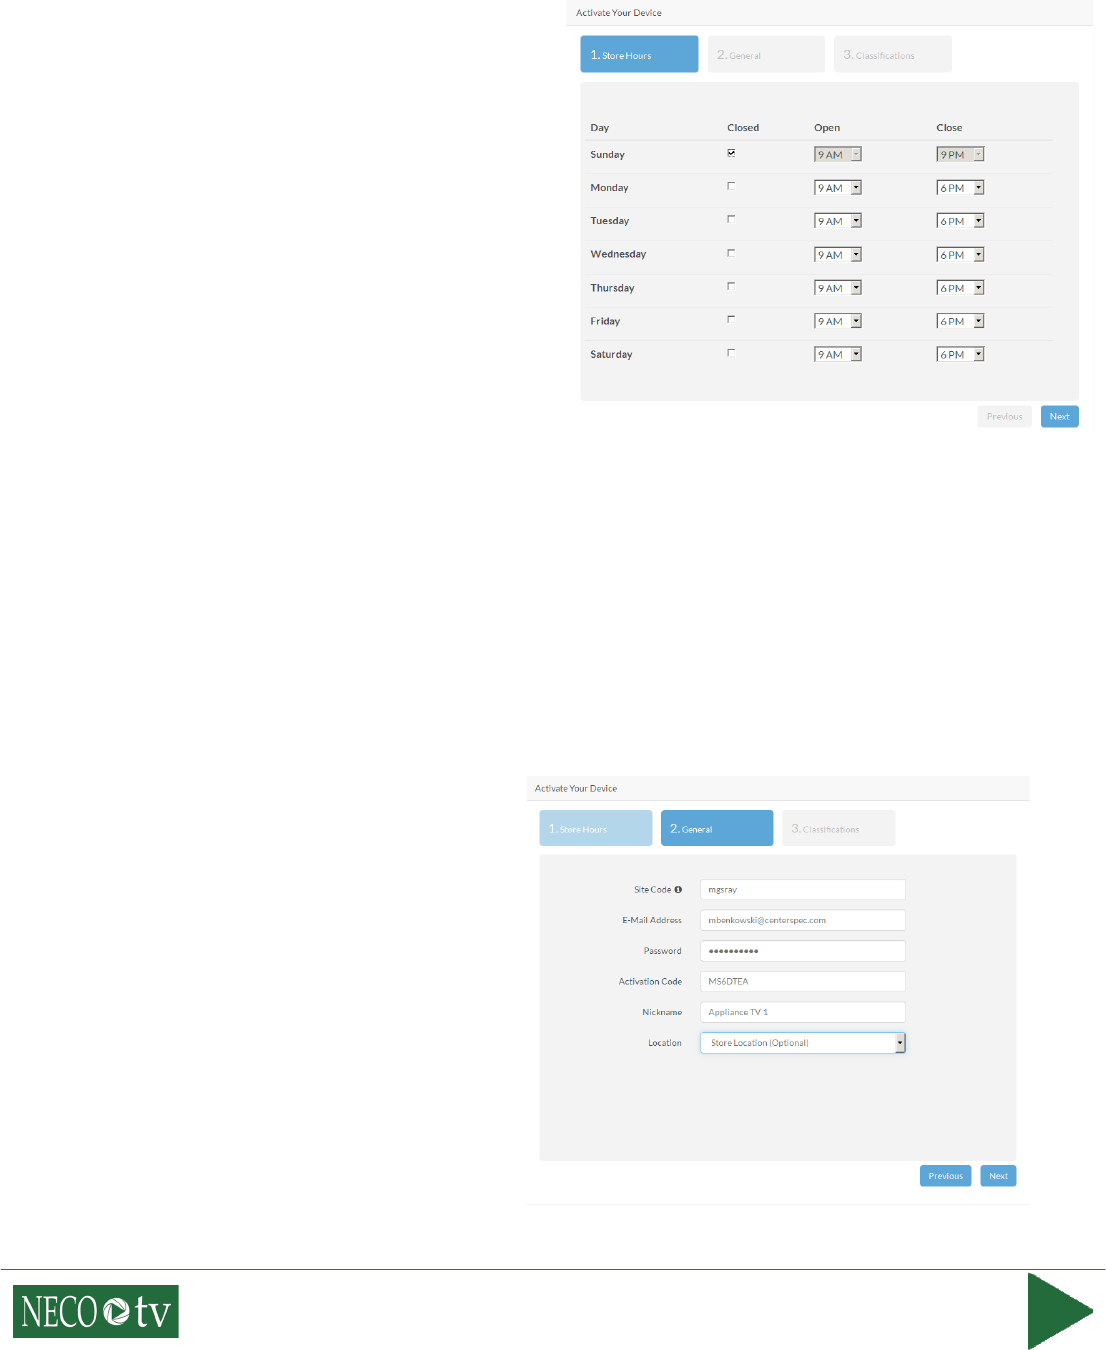
B. Then fill out the General information tab.
I. Site Code: You will have received a site code in the email that was sent to you when
you first signed up for the app. Enter that code here.
II. E-Mail Address: this is the email address for your account.
III. Password: this is the password linked to your account.
IV. Activation Code: this is the Activation Code that appeared on your Apple TV.
V. Nickname: can add a nickname to this specific apple tv.
VI. Location: (Optional)
VII. Click Next when finished filling
out the screen.
3
!
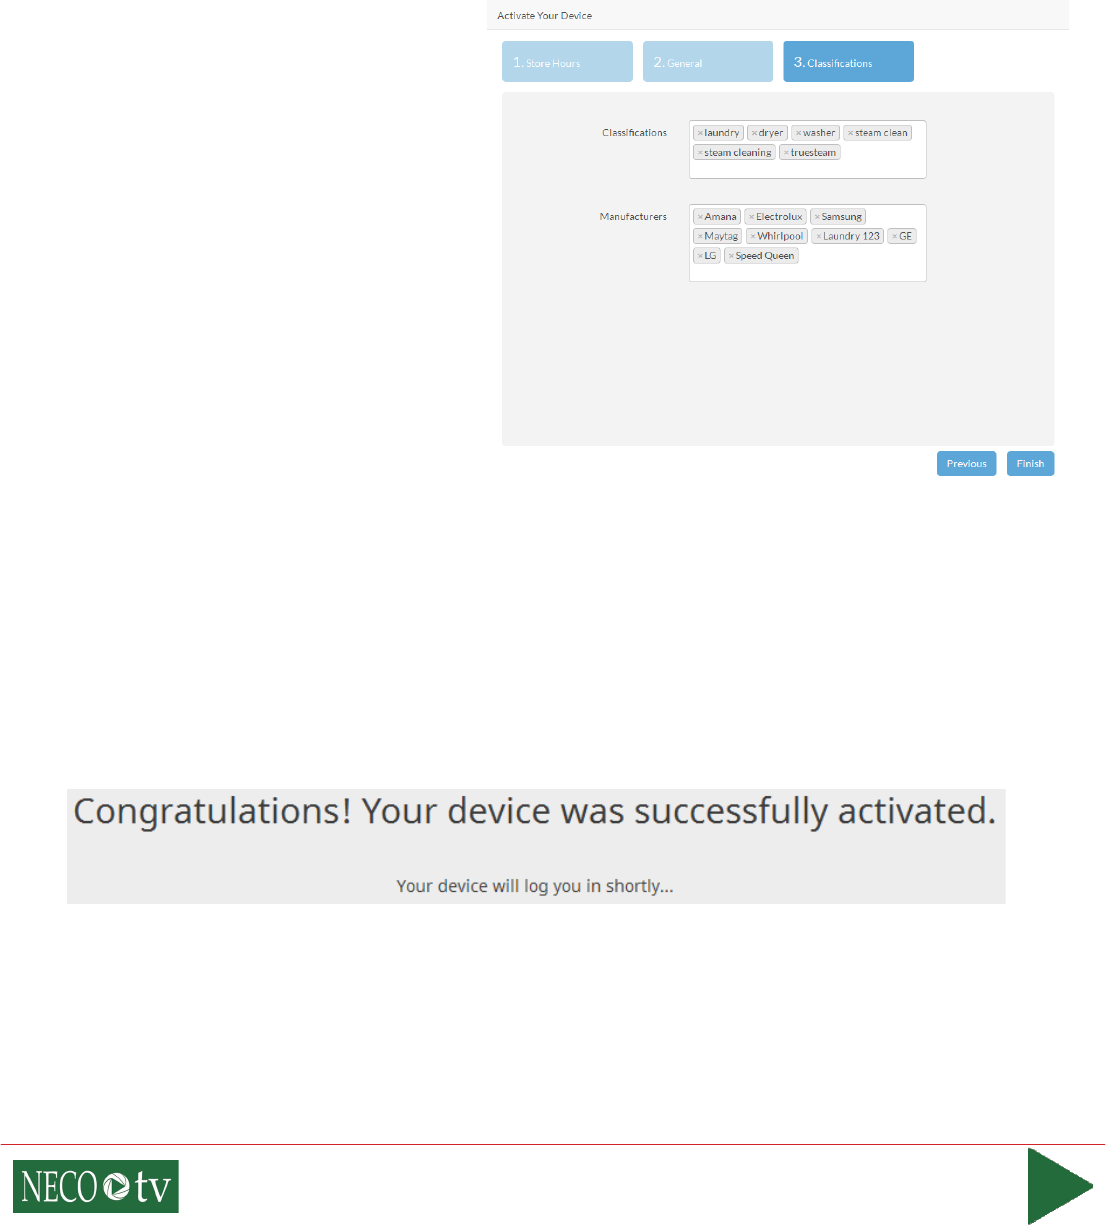
C. The final tab you will need to fill out is the Classification tab. The classifications section is
very important, the Classifications and Manufacturers you select here is what videos will
play on this specific Apple TV. The Apple TV will look for any videos that have the classifi-
cations and manufacturers you select.
Example: If you are setting a TV in your washer and dryer section of your store
then you will want to
select classifications such as
washer, dryer, laundry, etc.
I.
Classifications: Click
in the field and
drop down list will appear,
scroll through and select the
classification you would like
to add. Continue with the
process to continue adding
classifications.
a
II.
Manufacturers: Click
in the field and anoth-
drop down list will appear,
scroll through and select the
manufacturers you would like
to add.
er
III.
Click Finish when you are done entering the information.
!
Note: If you leave the Classifications and Manufacturers sections blank, then it will play all videos no
matter what the classifications are or who the manufacturers are.
13. If the information has been entered correctly, you will get a Congratulations banner on
your computer screen (If there is an error it will tell you what needs to be fixed)
14. You can now go back to your Apple TV and you will be logged into the app.
15. Once you have checked that your Apple TV is working you can close out of your computer.
