Dongdixin Technology LT5018C Wireless 3-in-1 Pain Relief Device User Manual
Shenzhen Dongdixin Technology Co.,Ltd. Wireless 3-in-1 Pain Relief Device
UserManual.wiki
>
Dongdixin Technology
>
LT5018C User Manual
User Manual
Navigation menu
Upload a User Manual
Namespaces
Wiki Guide
HTML
PDF
Info
Views
User Manual
Discussion / Help
Navigation

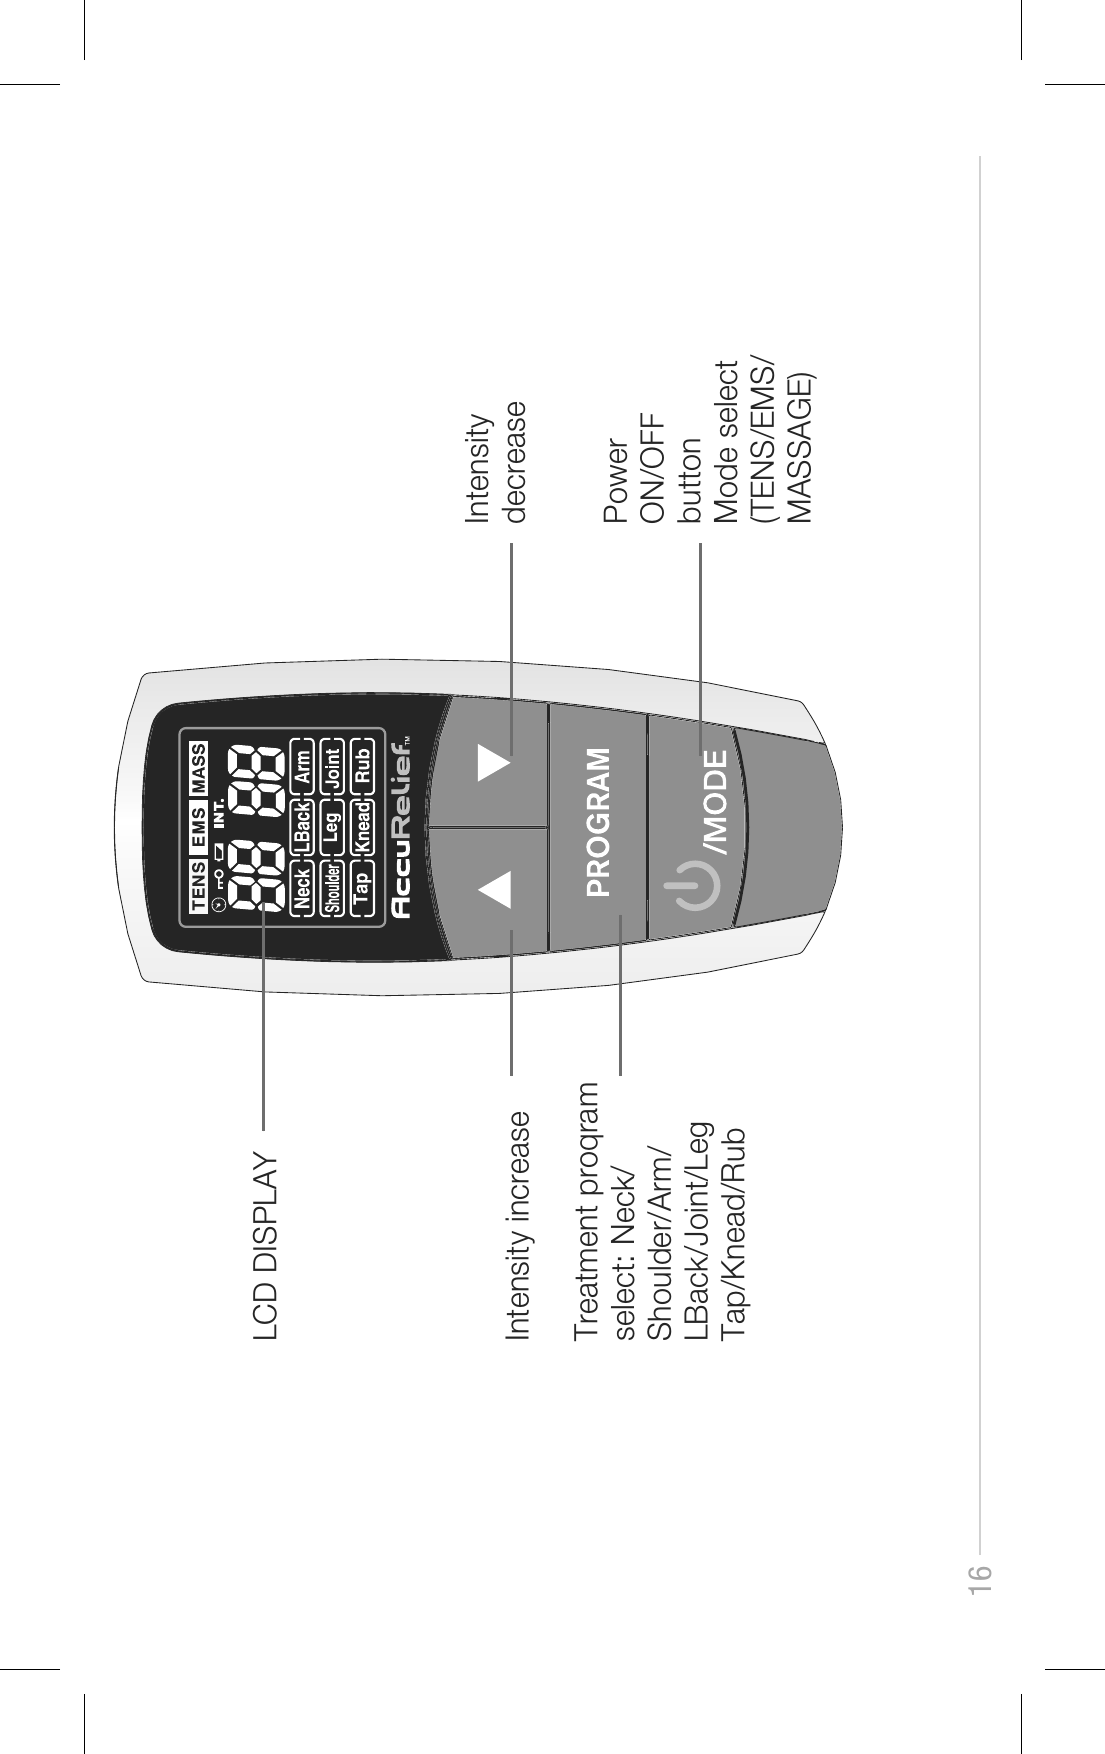
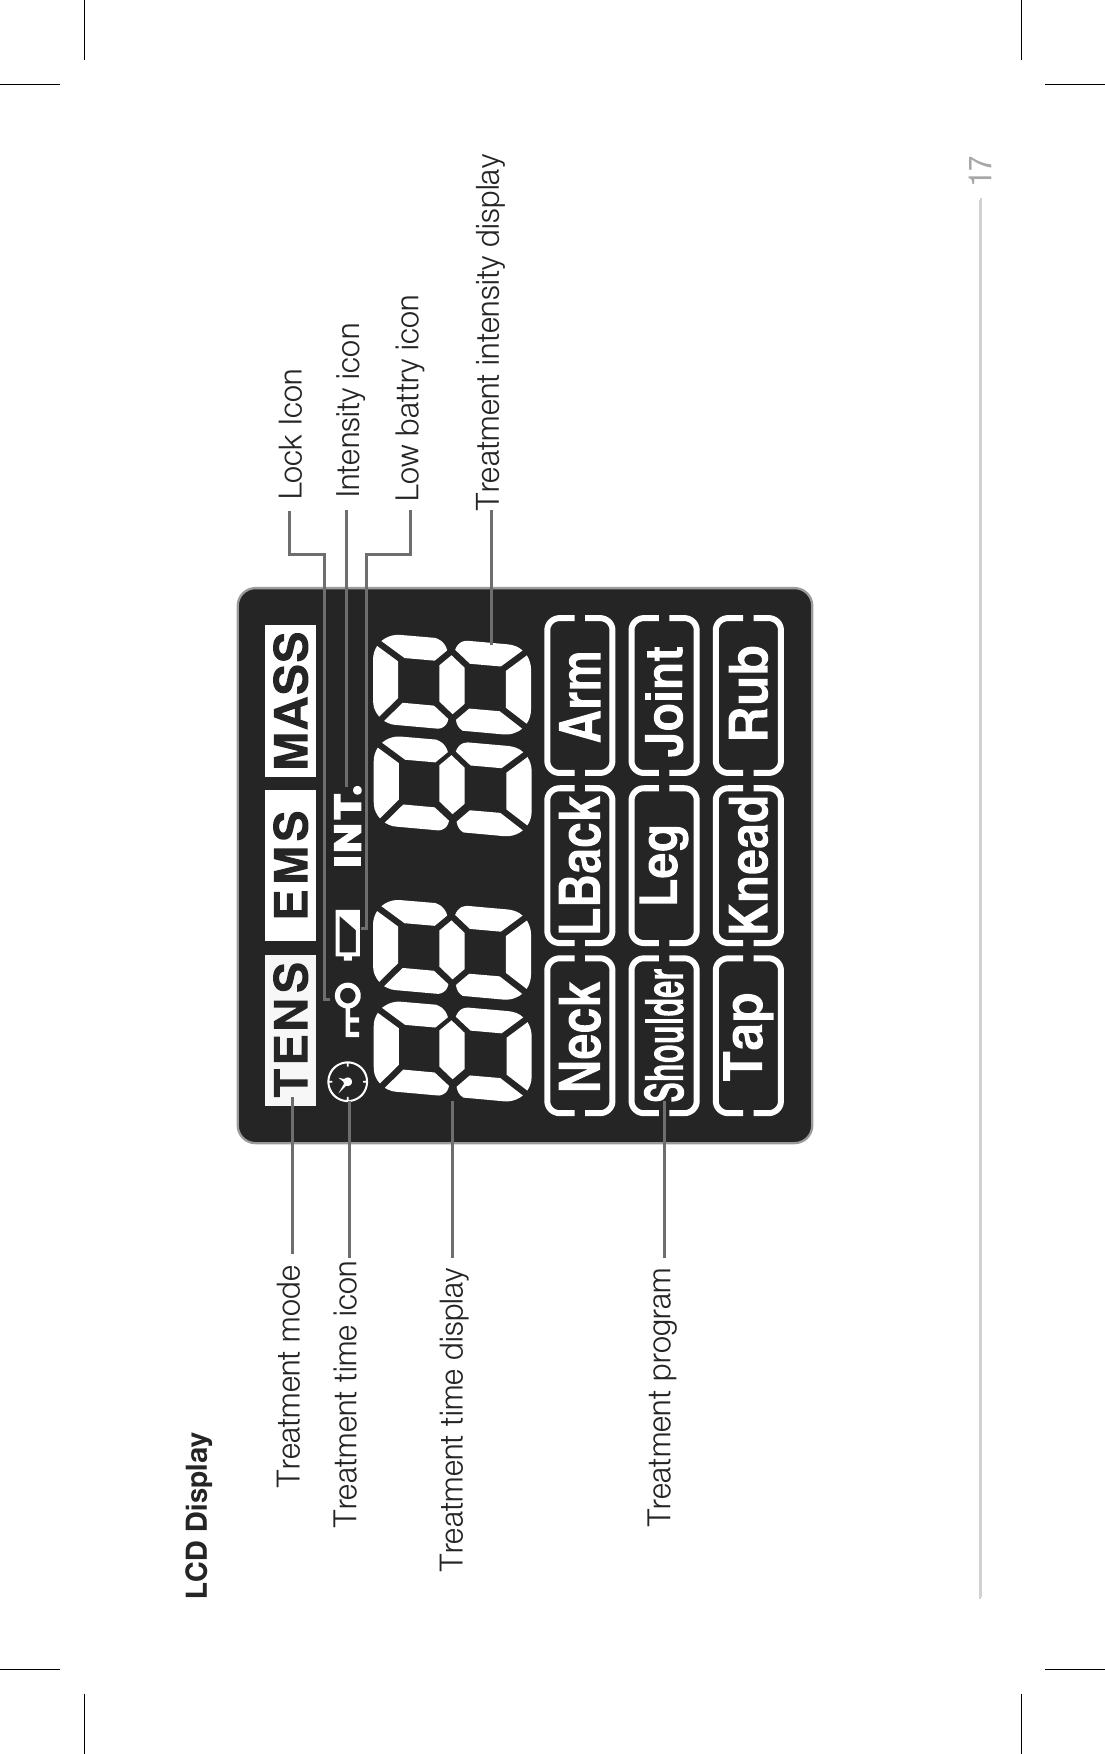
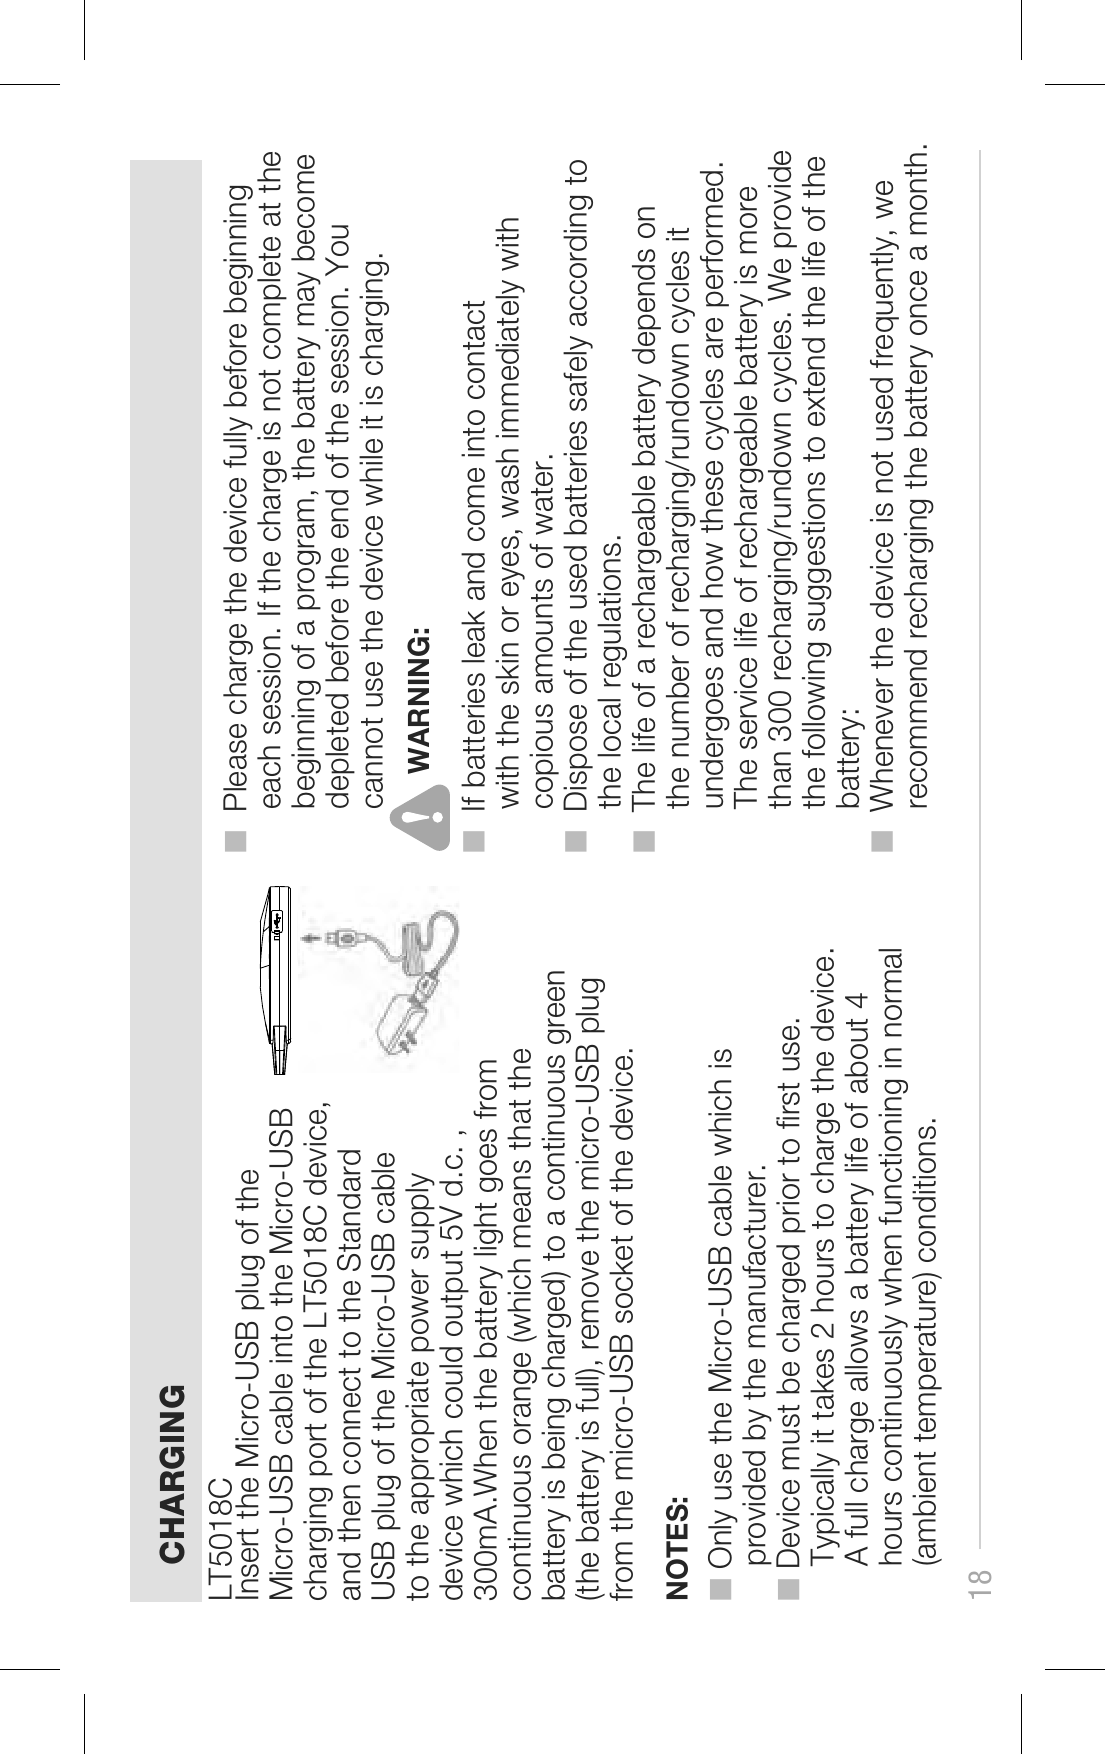
![KNOW YOUR DEVICEFeatures■ Channels: One channel■ Treatment modes TENS: 6 programs EMS: 5 programs MASSAGE: 3 programs■ Output Amplitude: 0-60mA (1000 Ω Load)■ Waveform type: Symmetrical Biphasic square pulse■ Control platform APP control (ios or Android) and Remote controlFront and Rear Panel1231. On/off button [ ]: Press this button to turn on the device or turn off the device.■ Green Flashing indicator light: The device hasn't connected with APP or the Remote Controller;■ Continuous green: The device is in standby mode;■ Continuous Orange: The device is in treatment mode;■ Orange ashing: The device is in paused mode;2. Indicator light when charging:■ Continuous orange: The battery is charging;■ Continuous green: The battery is fully charged.3. Device charging port:■ Connect the Micro-USB cable and the adaptor to the device port to charge;15](https://usermanual.wiki/Dongdixin-Technology/LT5018C/User-Guide-3428398-Page-15.png)