Dongguan Yuanfeng Technology MW07-9701 Tablet Pad User Manual MW07 9701
Dongguan Yuanfeng Technology Co., Ltd Tablet Pad MW07 9701
UserManual.wiki
>
Dongguan Yuanfeng Technology
>
MW07 9701 User Manual
user manual
Navigation menu
Upload a User Manual
Namespaces
Wiki Guide
HTML
PDF
Info
Views
User Manual
Discussion / Help
Navigation
![2 2. Beginning Use Statement: The software updates sporadically since we continuously devote to product quality improvements. When operation for the product(s) your purchased differs from that described in this manual, please follow your product(s). 2.1 Charge the battery MW07-9701comes with a built-in polymer rechargeable battery and is designed to use only manufacture-specified original batteries and accessories. When the battery is low, please charge it timely. Charge by Charger Plug one terminal of the charger into the power adapter socket, and the other to the power jack of the device to charge it. 2.2 Use the storage card Insert the storage card The storage card slot is on the right panel, just insert the TF Flash card with its gold contacts facing down and push it in until it licks into place. Browse files in the storage card To browser the files in the storage card, do one of the following: ● run “File Manager to view files in the storage card ● you can also install and run any other third party file browser applications Remove the storage card Simply push the storage card in to eject it from its slot. To avoid data loss or damage, please stop using files/ programs in the storage card before remove the T-Flash card, and then tap Settings> Storage> Unmount SD card to remove it safely. [Note]: 1. Make sure the location a nd direction of the storag e card is correct when inserting, otherwise it is easy to cause damage/destroy to the storage card. 2. To avoid incom patibility or unreco gnized of the storag e card, m ajor brands of storage card are recommended. 2.3 Hot plug of storage card Please do not hot plug the storage card when using or browsing its files.](https://usermanual.wiki/Dongguan-Yuanfeng-Technology/MW07-9701/User-Guide-1702421-Page-4.png)
![5 3. Home Screen The Home screen is your starting point to access all the features on you device. It displays application icons, widgets, shortc uts, and other features. Y ou can custom er the Home screen with d ifferent wallpaper& widgets and display items you want. See the Personalizing chapter. When you sign in, the Home screen opens. Sleep mode Sleep mode suspends your device to a low power state while the display is off in order to save battery power. You will still be able to re ceive messages and calls while the device is in Sleep mode. [Note]: If t he device in sleep m ode more than 30 m inutes, the dev ice will automatically turn off to save electricity. Switch to sleep mode Press down the Power Button and tap Sleep Mode in the option menu prompted. The device will automatically shutdown the display screen when there is no operation on the screen for a period of time. Wake up from sleep mode To wake up your device manually, press the Power Button. You will then see that the device has locked the screen. Unlocking the screen Press the bar on the lock screen and then slide your finger upwards to unlock the screen. Browse Home Screen You can go to the extended Home screen by sliding your finger horizontally across the screen to go to the left or right side of the Home screen. Tap the icon to view all applications on your device.](https://usermanual.wiki/Dongguan-Yuanfeng-Technology/MW07-9701/User-Guide-1702421-Page-7.png)
![7 [Tip]: You can also op en the Notificati ons panel on the Hom e screen by pressing Menu icon on the panel and then tapping Notifications. In the dropdown notification panel, there are shortcut buttons for turning on/off Wi-Fi, airplane mode, auto-rotate screen and for adjusting screen brightness. Close the Notifications panel Simply press the Back button on the device panel. 3.2 shortcuts to Add widgets To add widgets to Home screen, you can 1. tap on the home screen to enter into all apps interface as follows 2. tap 3. select one item. Slide your finger horizontally on the hom e screen to check widgets that can be added to the home screen. Widgets selectable are as follows:](https://usermanual.wiki/Dongguan-Yuanfeng-Technology/MW07-9701/User-Guide-1702421-Page-9.png)
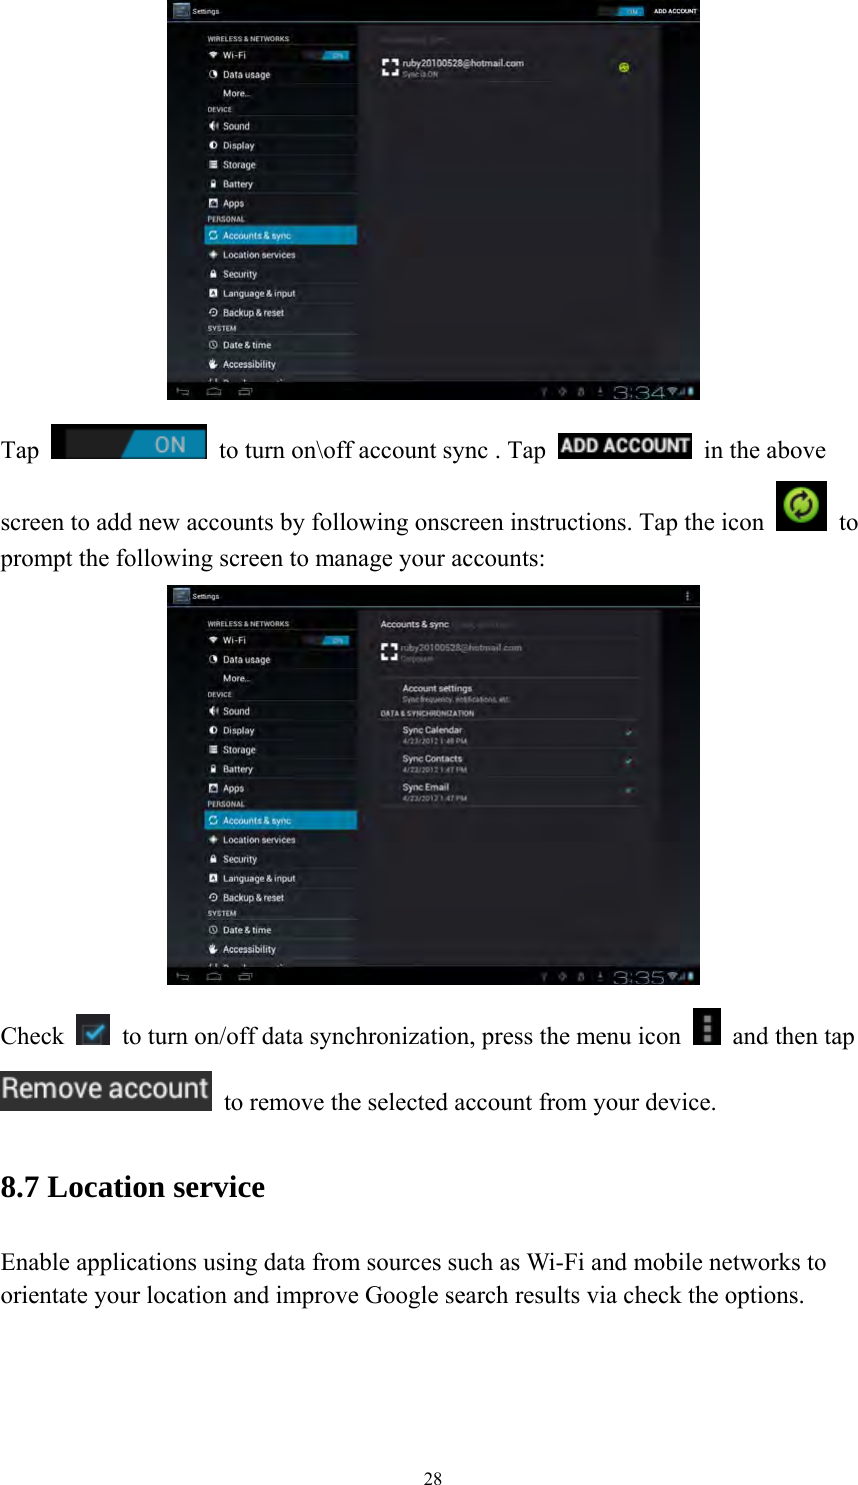
![9 2. when the icon appears in the notification area, open the notification panel and tap USB Connected to popup the following screen: 3. tap , when the notif ication icon turns yellow, the computer will recognize your device as a removable disk; 4. find the removable disk and open it. Do one of the followings: Copy the files from the computer to the storage card’s root folder. Copy the files from the storage card to a folder in your com puter or computer desktop. 5. after copying the files, unm ount the re movable disk (that is, your device) as required by your computer’s operating system to safely remove your device. 6. disconnect your device from the computer. If your want your device rem ain connecting to the computer and enable reading its storage card, you can open the Notifications panel and tap . [Note]: you can also realize comm unication between the device and the com puter by tapping Settings> Developer options>USB Debugging. 3.5 Searching the device and the web You can search for inform ation on your device and on the W eb by using the Quick Search Box. 1. press on the home screen to enter into all apps interface; 2. tap Search and then enter the search item in the Quick Search Box As you type, matching items on your device and suggestions from Google web search are shown as a list. The suggested item s that appear will depend on the options that](https://usermanual.wiki/Dongguan-Yuanfeng-Technology/MW07-9701/User-Guide-1702421-Page-11.png)
![11 4. Personalizing 4.1 Change the Notification ringtone Choose from the available selections of notification ringtones on your device. You can also download or copy notification ringtones or songs to your device' storage card and choose one to use as your notification ringt one. To find out how you can copy files to your storage card, see “Coping files to and from the storage card”. 1. In the Home screen, tap Settings > Sound > Notification ringtone. 2. Tap the notification ringtone you w ant to use. The notification ringtone briefly plays when selected. 3. Tap OK. 4.2 Change your wallpaper Personalizing your Home screen wallpaper with your favorite photo is a quick and easy way to change the feel of your device and give it a fresh look. Browse the collection of wallpapers included in your de vice or choose from photos that you have taken with the camera. To change your Home screen or lock screen wallpaper: 1. on the Home screen press o prompt the Choose wallpaper from menu as follows, [Note]: you can also press and hold the home screen to prompt the Choose wallpaper from menu 2. and then tap Wallpaper. 3. choose source of wallpaper you can do one of the following: Tap Super-HD Player to select a photo/picture that you have taken using the camera or copied to your storage card. T ap Crop to crop the photo/picture](https://usermanual.wiki/Dongguan-Yuanfeng-Technology/MW07-9701/User-Guide-1702421-Page-13.png)
![12 and set the cropped picture as wallpaper. Tap Wallpapers gallery to choose from preset wallpapers and then tap Set wallpaper. Tap Live Wallpapers gallery to choose from preset wallpapers and then tap Set wallpaper. 4.3 Personalize your Home screen with widgets Widgets put at-a-glance im portant information and m edia content up front on your Home screen. Som e widgets are already added to your Home screen for your convenience. You can add more from the available selections of widgets, or download more widgets. ① adding a widget to your Home screen A wide selection of widgets is available for you to choose from , such a s Calendar, Music, Photo Album, and more. 1. go to the p art of the Home screen where there’s space to add a new shortcut. To find out how, see “Browse the Home screen”. 2. press and hold on the Ho me screen to open the Add to Home screen options menu. 3. Tap Widgets and then select a widget that you want. [Note]: To remove a widget, press and hold the widget until the icon appears, drag the widget onto it and release your finger. ②Adding folders on your Home screen Use folders to group related applications and other shortcuts to keep your Home screen tidy and organized. Press and hold the application shortcut and drag it onto another s hortcut to create a folder for the applications you want to file together , and then release your finger to finish creating a folder . You can d rag any other application shor tcut into the n ew folder. To rename a folder:](https://usermanual.wiki/Dongguan-Yuanfeng-Technology/MW07-9701/User-Guide-1702421-Page-14.png)


![23 items in the list, to find it quickly, you can tap the Menu icon and then tap to open the keyboard to search it. 7.5 Instant Messaging tools You can download and install chat tools on your device such as Fring, MSN Massager and so on. 7.6 Emails Tap the launcher icon on the Hom e screen to displa y all icons, tap the Email/Gmail icon to run it. You can: 1. set mail accounts 2. create new mails 3. receive and send mails 4. download or open the attached files [Note]: press the menu icon can popup the shortcut menu.](https://usermanual.wiki/Dongguan-Yuanfeng-Technology/MW07-9701/User-Guide-1702421-Page-25.png)
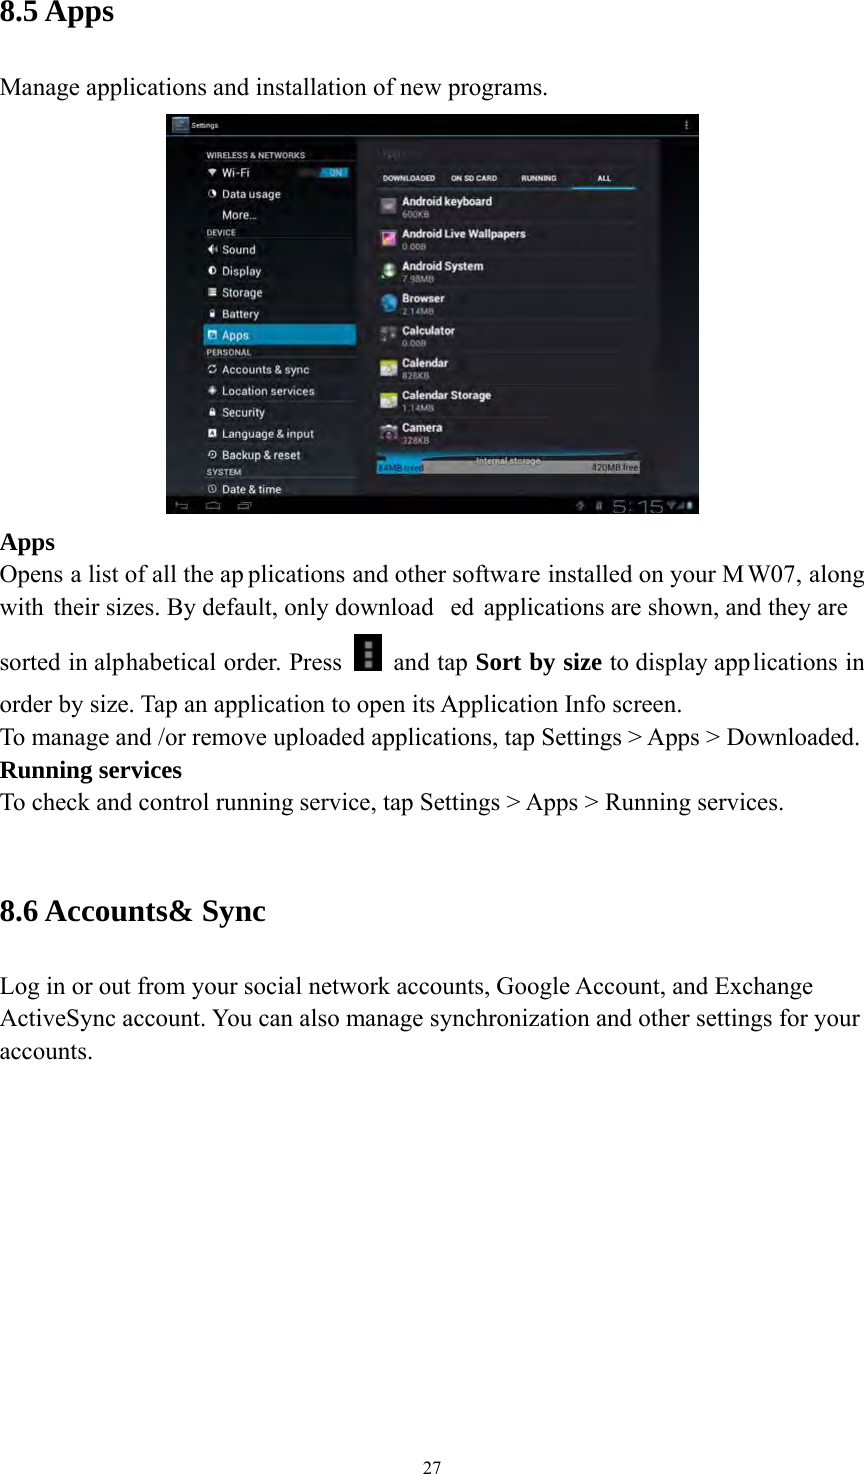
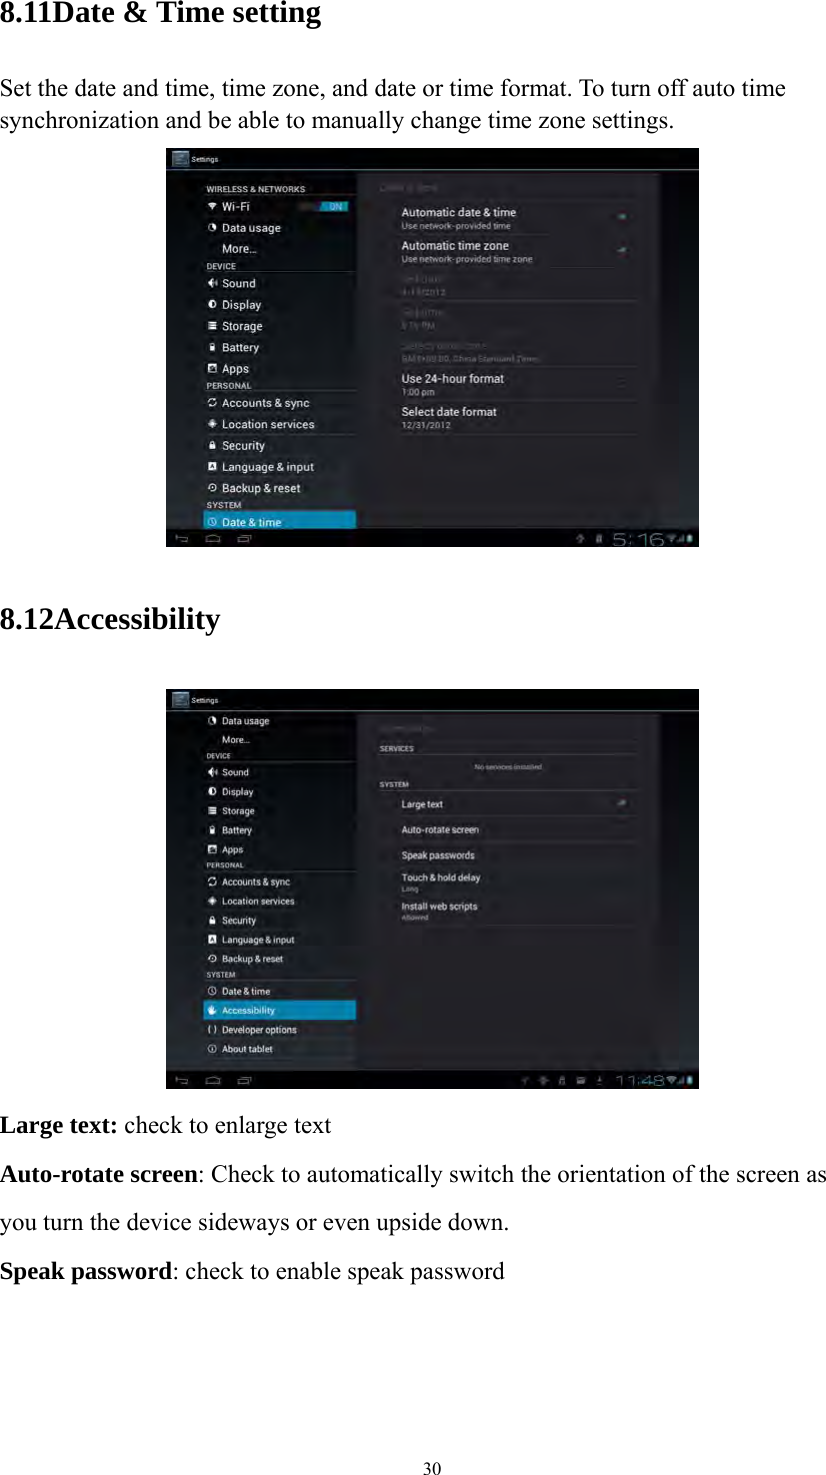
![29 8.8 Security settings Set the screen lock mode and owner inform ation, encrypt your device, m anage password and administrate your device. To set screen lock mode, tap Settings > Security> Screen lock to personalize the screen lock mode for you device. Unknown source Check to permit installation of applications that you obtain from web sites, email, or other locations other than Android Market. When the storage card remains in your device, you can tap SD1 > Mount SD card to mount and read data in the storage card. 8.9 Language & Keyboard setting Set the operating system language and region. You can also set onscreen keyboard options. 8.10 Backup &reset You can enable or disable the automatic backup feature of the device and reset the device. [Note]: after factory data reset, you personalizing settings and the installed third-party applications will be removed from your device. Before restoring default settings, it is suggested to backup data/applications you want and remove your storage card safely in case of data loss or damage during restoring factory default settings.](https://usermanual.wiki/Dongguan-Yuanfeng-Technology/MW07-9701/User-Guide-1702421-Page-31.png)
![32 9. Troubleshooting 9.1 Force shutdown Press the Power Button for about 5 seconds and the device will be forced shutdown 9.2 Restore default settings To restore the factory default settings, you can tap Settings > Backup& reset> Factory data reset. Warning: data of yo ur Google accoun t, your personalized settings, installed appellations will be removed from your device once yo u execute factory default settings, so please make a careful decision wh ether to restore default settings. Before restoring default settings, it is suggested to backup data/applications you want. 9.3 System updating After system update/upgrade, it may occur that the uploaded third-party can not run or its data loss /damage. This is normal phenom ena rather than system fault. You just need to upload and installed the third-party applications again in th e device. It is recommended to backup data of the thir d-party applications before syste m update/upgrade. 9.4 Reset When the system halts accidentally or does not response, please press the Reset key to restart the system or press and hold the power button for 8 seconds to turn of f the device forcibly. [Note]: it is normal for the device feels hot during charging, please use at ease.](https://usermanual.wiki/Dongguan-Yuanfeng-Technology/MW07-9701/User-Guide-1702421-Page-34.png)