Dynabook PA3171WL Wireless LAN, limited module approval User Manual WirelessLAN Mannual
Toshiba Corporation Wireless LAN, limited module approval WirelessLAN Mannual
UserManual.wiki
>
Dynabook
>
PA3171WL User Manual
>
Exhibit 8 User Manual
Contents
1.
Exhibit 8 User Manual
2.
Exhibit 8 Installation Instructions
3.
Exhibit 8 New Installation Manual
4.
Exhibit 8 installation instruction for dealers only for BT
5.
Exhibit 8 installation instruction for dealers only for WLAN
6.
Exhibit 8 users manual for colocated BT functionality
Exhibit 8 User Manual
Navigation menu
Upload a User Manual
Namespaces
Wiki Guide
HTML
PDF
Info
Views
User Manual
Discussion / Help
Navigation

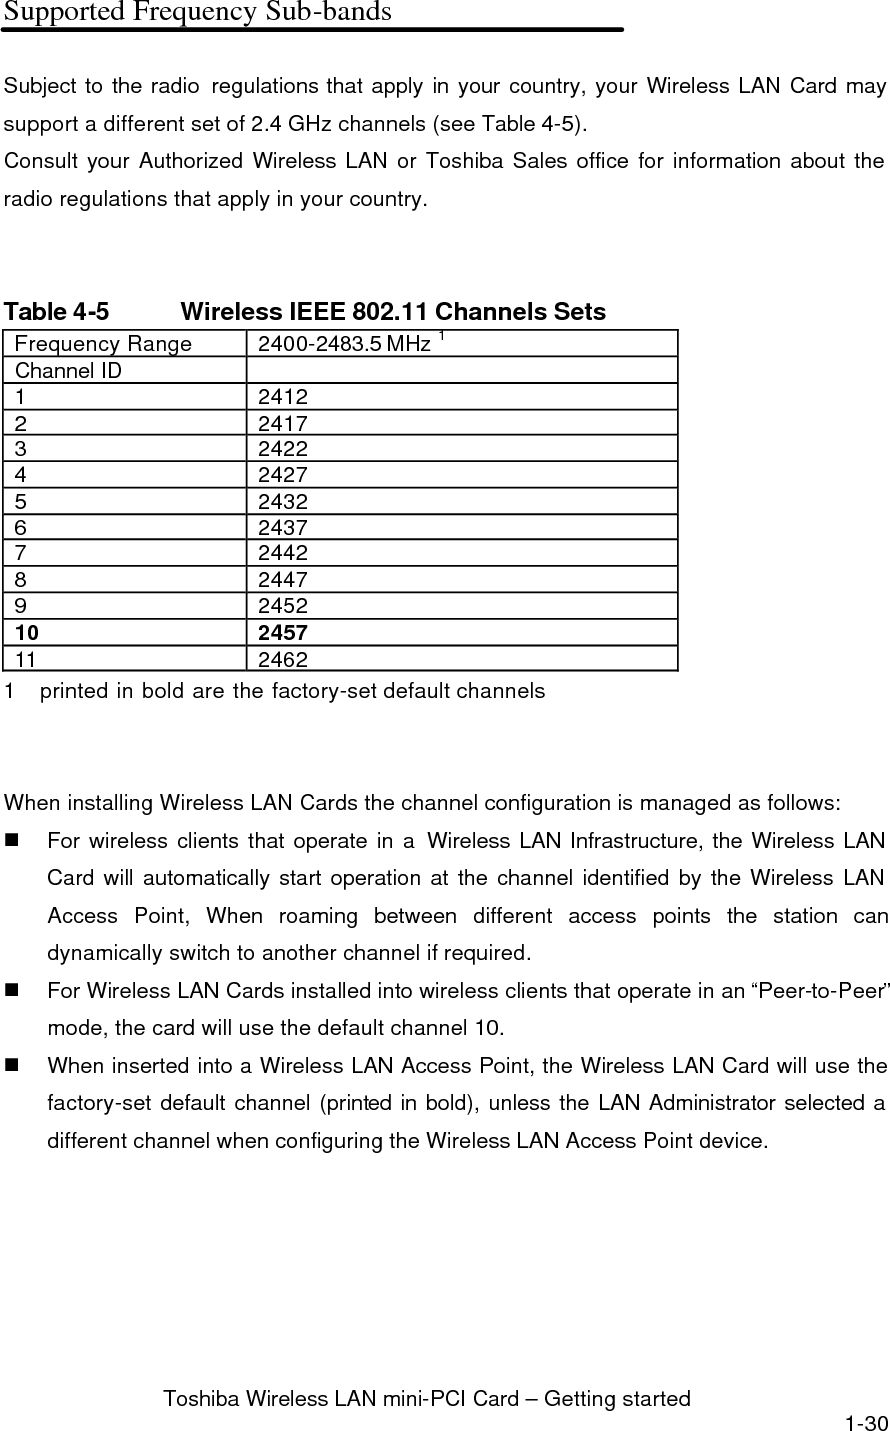
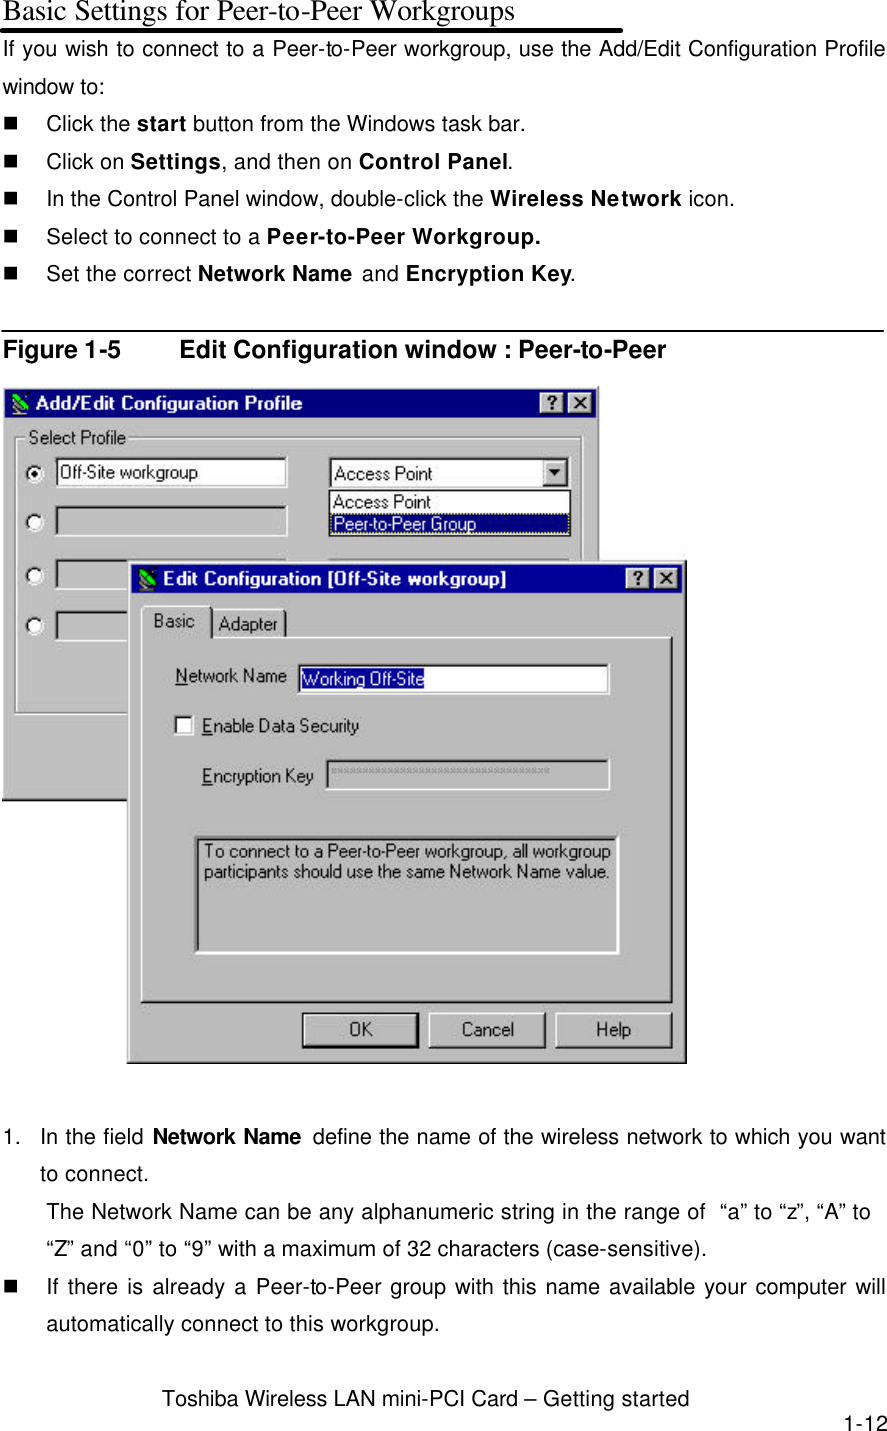
![Toshiba Wireless LAN mini-PCI Card – Getting started 1-9 Finding Information This document was designed to give you a brief introduction about the Wireless LAN Card. In this document you will find the most important information to get your Wireless LAN network up and running, with a minimum set of parameters. Alternatively you can consult the on-line help documentation for the Wireless LAN drivers and/or tools by: n Clicking the [Help] button on your screen, or n Pressing the [F1] function key on your keyboard.](https://usermanual.wiki/Dynabook/PA3171WL.Exhibit-8-User-Manual/User-Guide-182527-Page-9.png)
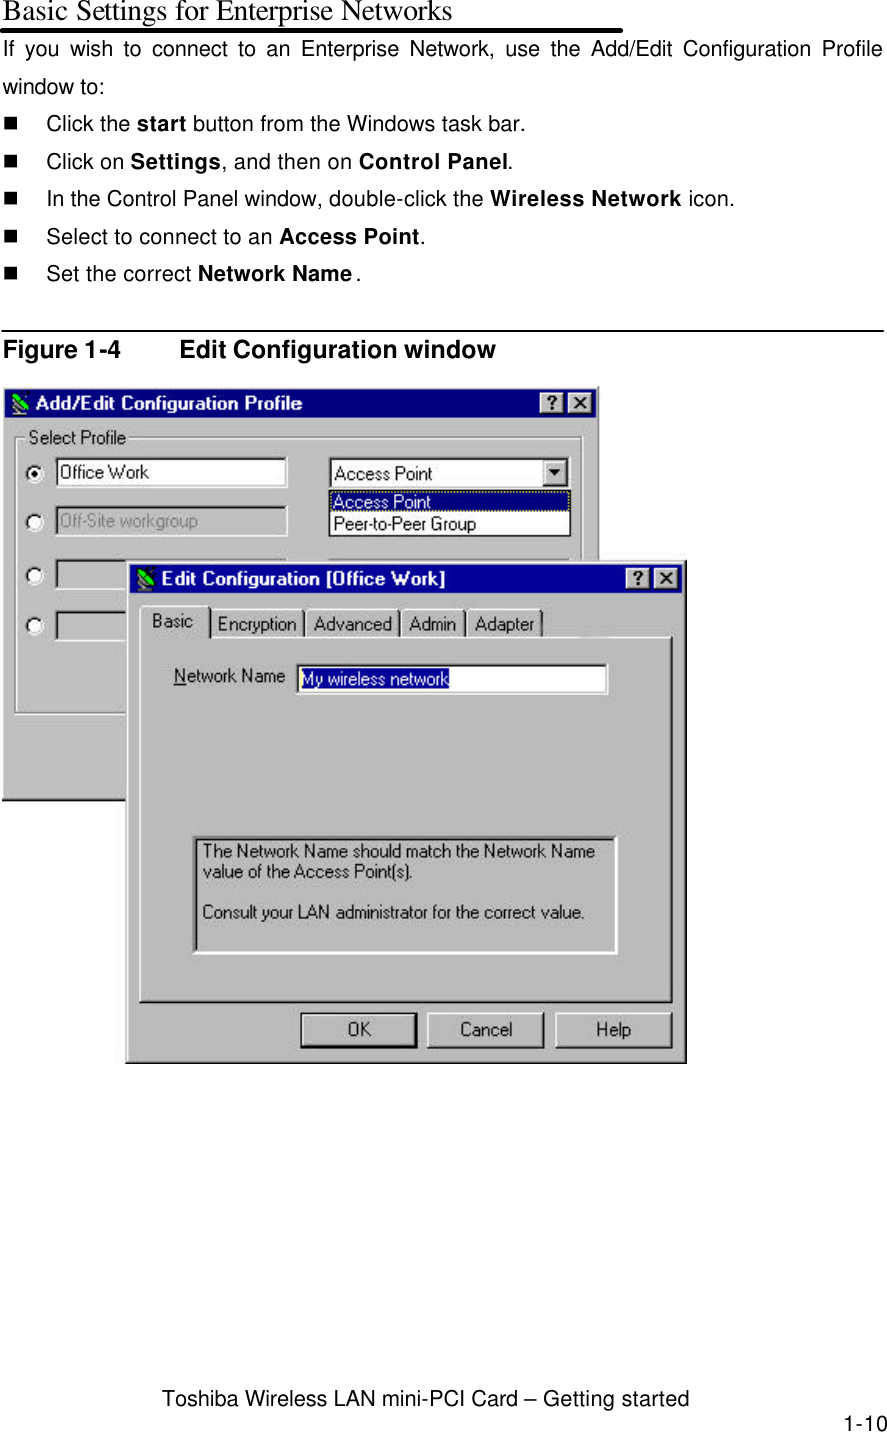
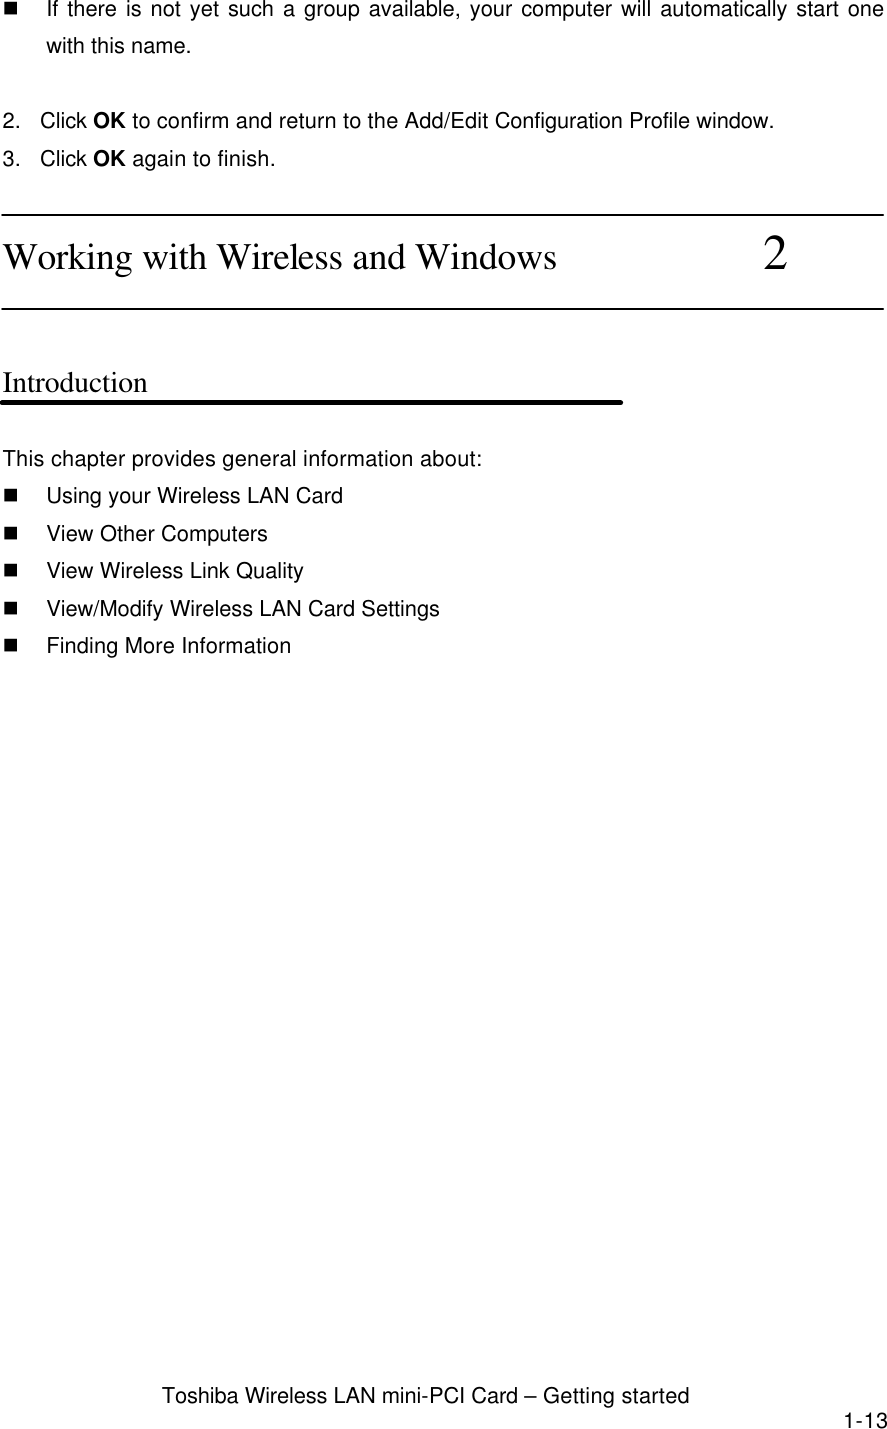
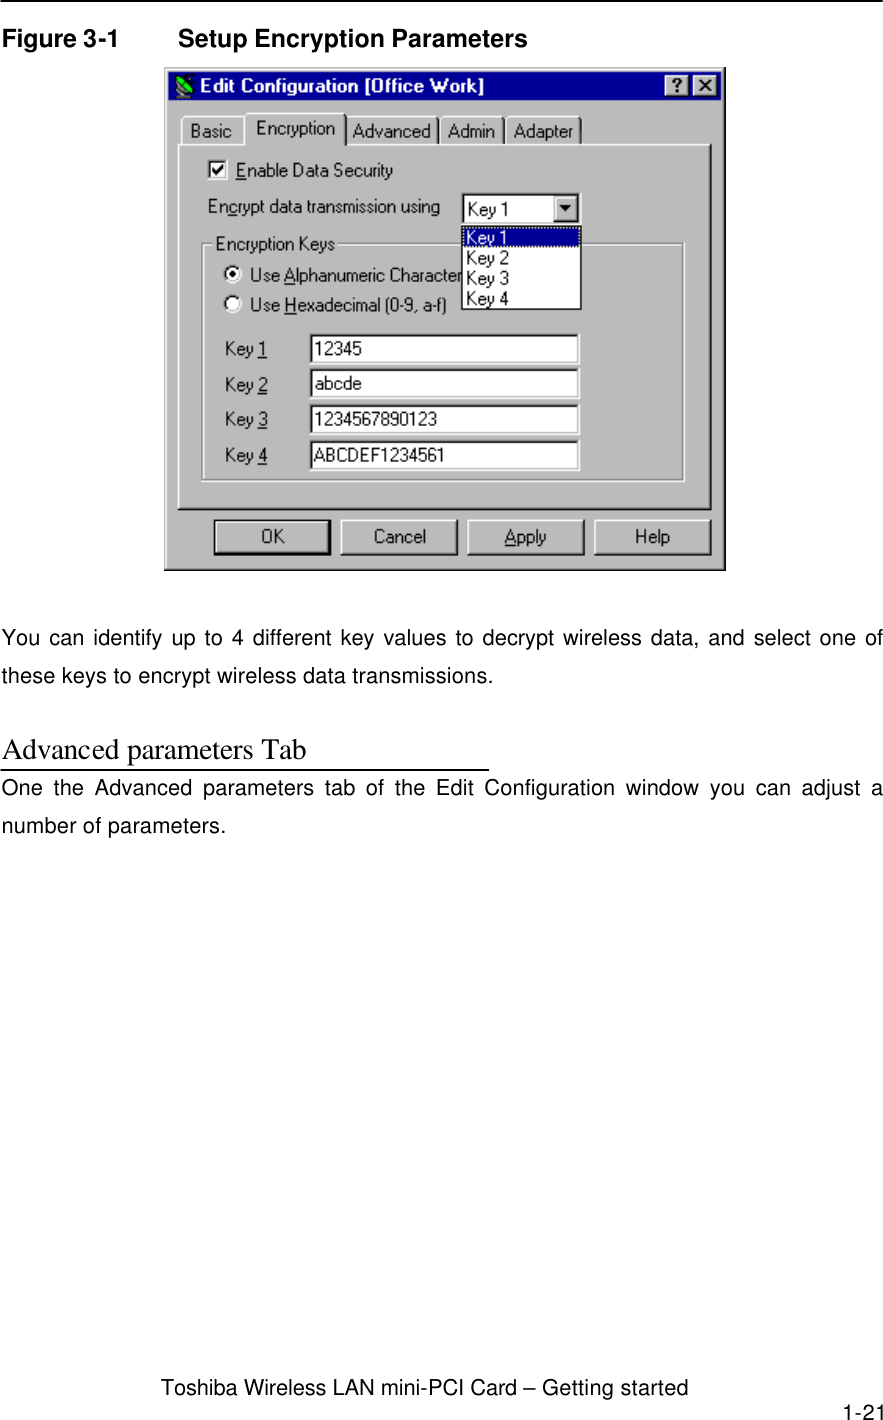
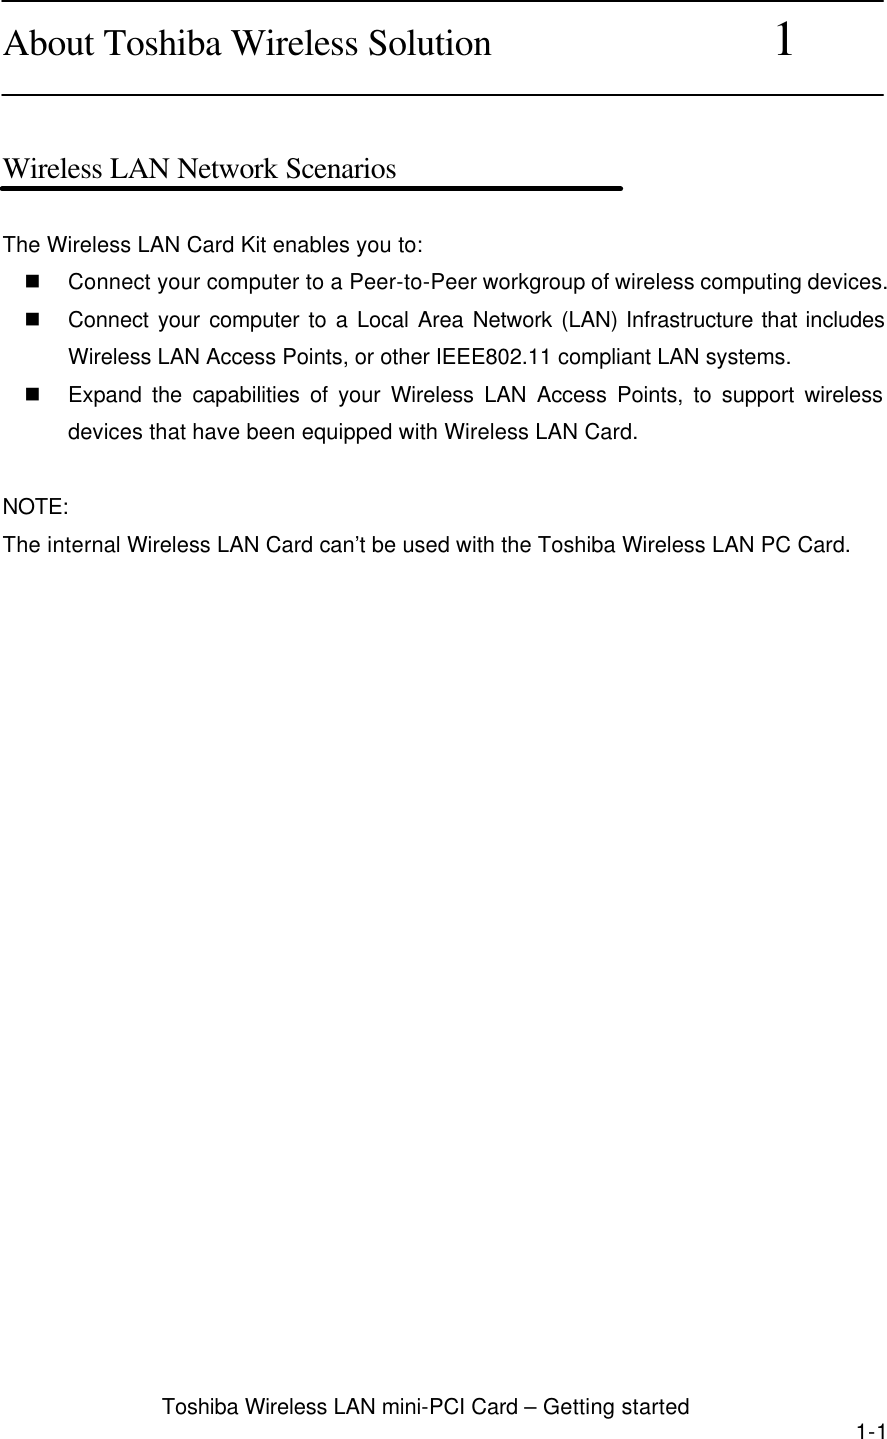
![Toshiba Wireless LAN mini-PCI Card – Getting started 1-20 Finding More Information If you are looking for more information than contained in this Wireless LAN Card – please consult one of the following: n The on-line help system of your Wireless LAN system – for information about software and driver functionality. To View the on-line help system click the Help button or press [F1] function key on your keyboard in any Wireless window, or Advanced Configurations 3 Introduction Although your Wireless LAN Card will work fine in most network environment with the Basic Parameters, you may wish to explore the advanced parameters options as displayed on the Wireless LAN Card’s Edit Configuration windows. Only if connected to an existing network advanced parameters can be specified for an Wireless LAN Card. Consult your LAN Administrator for information about whether these parameters apply to your situation. Encryption Parameters Tab The encryption tab enables you to define the encryption keys that your Wireless LAN Card should use to: n Decrypt wireless massages received via its wireless interface. n Encrypt data that will be transmitted via the wireless interface. CAUTION: Encryption needs to be the same for all Wireless LAN stations.](https://usermanual.wiki/Dynabook/PA3171WL.Exhibit-8-User-Manual/User-Guide-182527-Page-20.png)