Dynabook UDB1H05BT Bluetooth Disk HOPBIT User Manual
Toshiba Corporation Bluetooth Disk HOPBIT
UserManual.wiki
>
Dynabook
>
UDB1H05BT User Manual
User Manual
Navigation menu
Upload a User Manual
Namespaces
Wiki Guide
HTML
PDF
Info
Views
User Manual
Discussion / Help
Navigation


![12Applicable standardsFor Usage in JapanTarget country and region for useThe Product meets the requirements of the radio application standard for use in Japan.• Note that, if you use the Product in a country or region other than Japan, you may be punishedaccording to an applicable law therein.Indications on the applicable standard• TELEC conformity mark and authentication numberThe Product has been proven to satisfy the engineering standard as a radio terminal station used for low-power data communication according to the Telecommunications Business Law.You may be legally punished if:• you disassemble or modify the Product; or• you remove the label applied on the rear side of the Product.• The following indication concerns the use of the 2.4 GHz frequency band, the modulation system,supposed interference distance, and permission to change the frequency.Meanings of the indication[2.4]: Indicates that the radio equipment uses the 2.4 GHz frequency band.[FH]: Indicates that the Product uses the FH-SS modulation system.[1]: Indicates that the supposed interference distance is 10 or fewer meters.[ ]: Indicates that the Product uses the entire band of 2,400 MHz to 2,483.5 MHz, and cannot wardoff the band for the movement identification device.RAuthentication number2.4FH1](https://usermanual.wiki/Dynabook/UDB1H05BT/User-Guide-300428-Page-15.png)
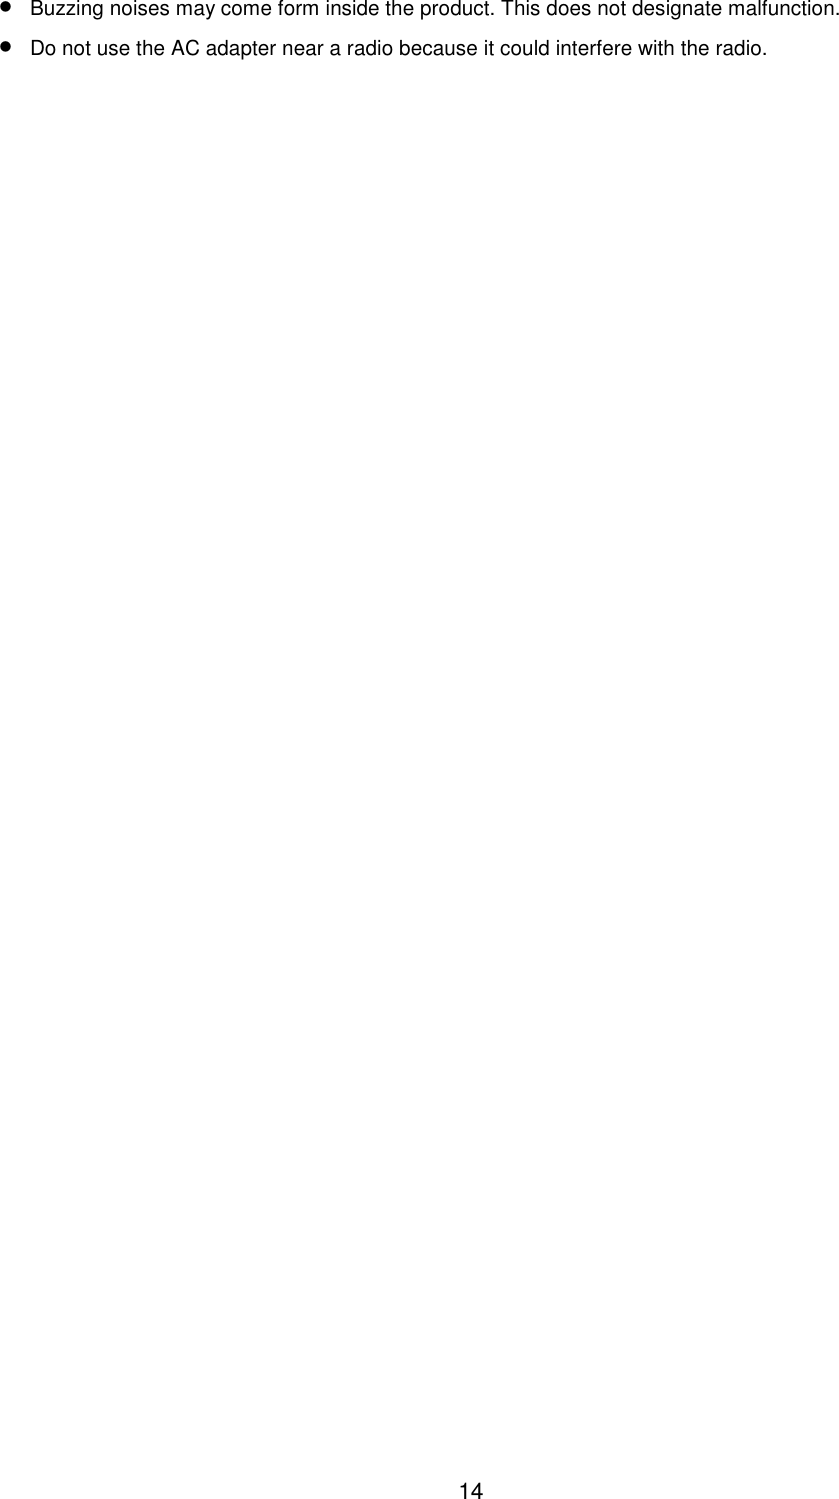

![18To use the Product, take the following procedure.112233Preparation [1] Turn on the battery switch. (See page 20.)[2] Charge the battery. (See page 21.)[3] Install the setup utility. (See page 22.)Product configuration Use the setup utility. (See page 25.)Destination equipment connection•••• Connect destination equipment via Bluetooth. (See page 36.)•••• Connect destination equipment via the USB cable. (See page 37.)Have data transmitted.](https://usermanual.wiki/Dynabook/UDB1H05BT/User-Guide-300428-Page-21.png)
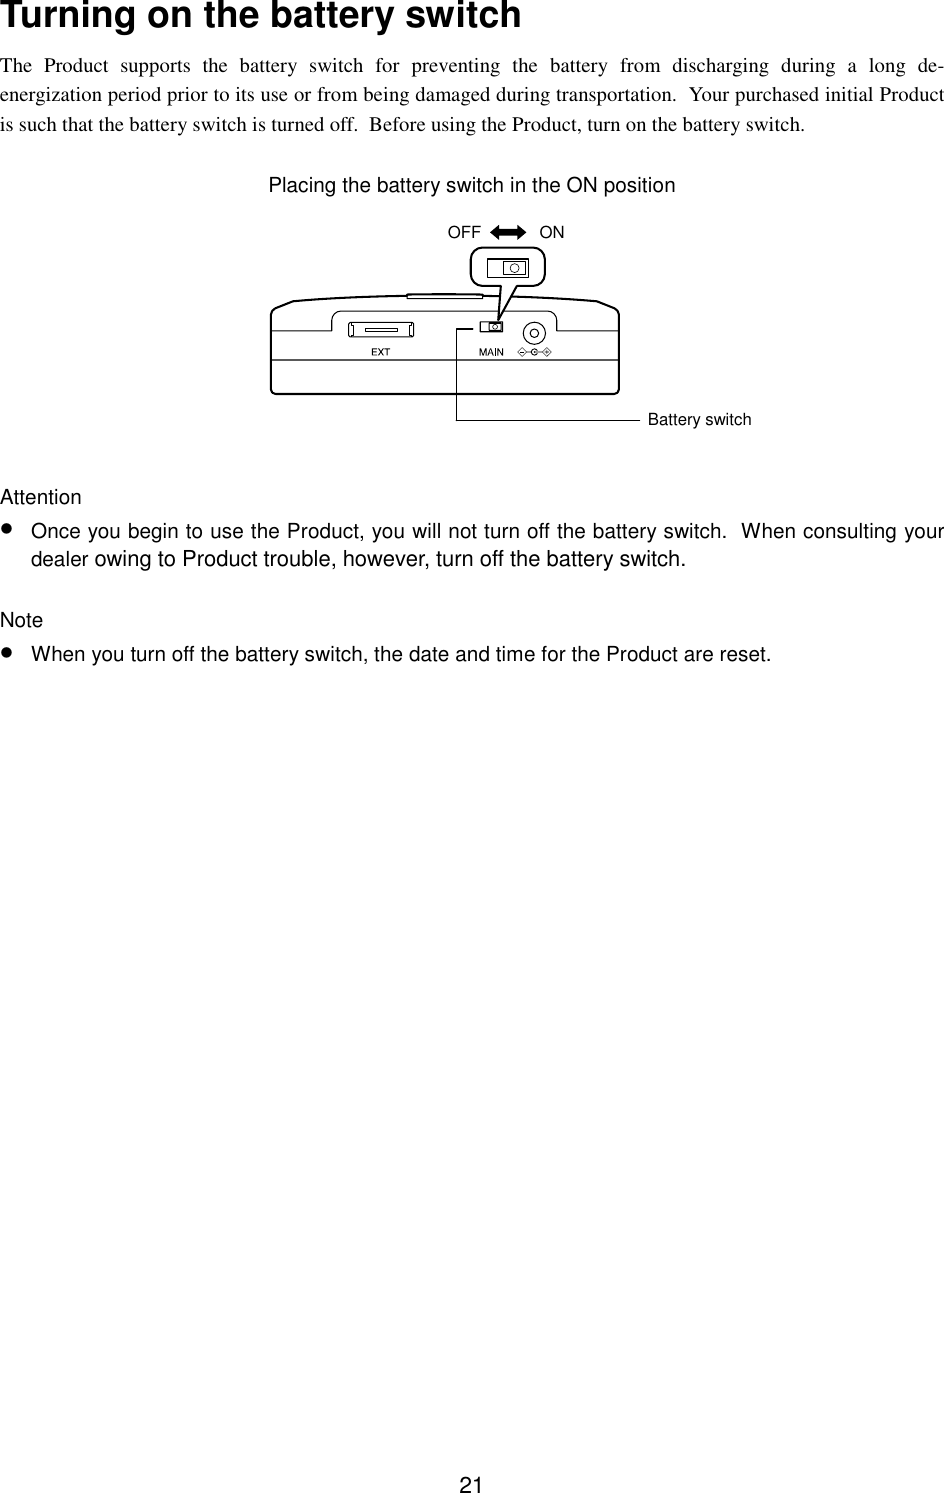
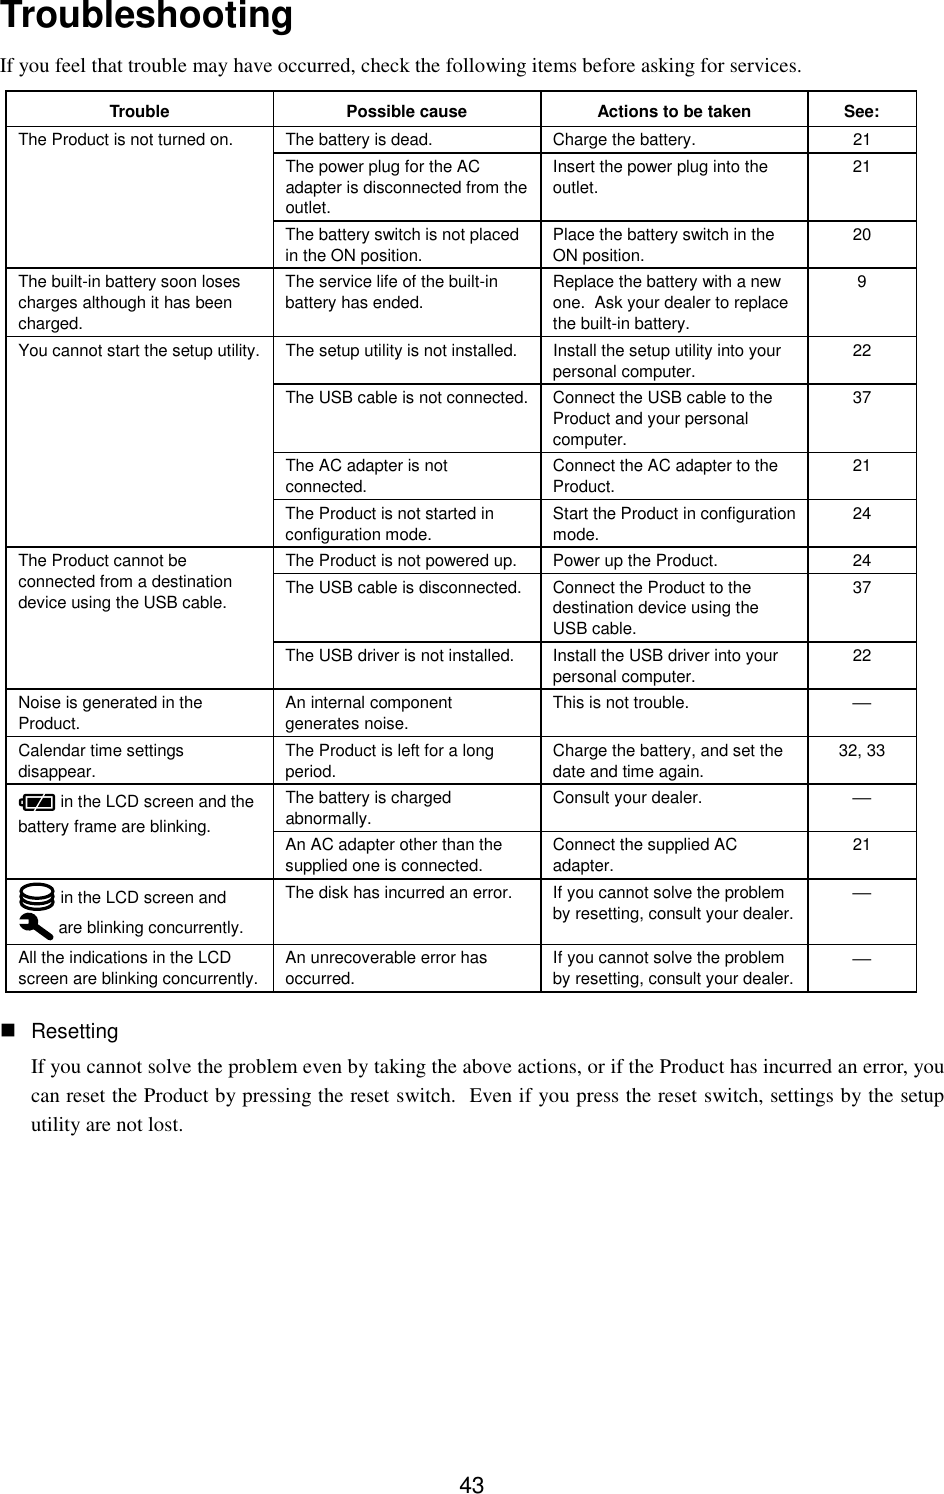
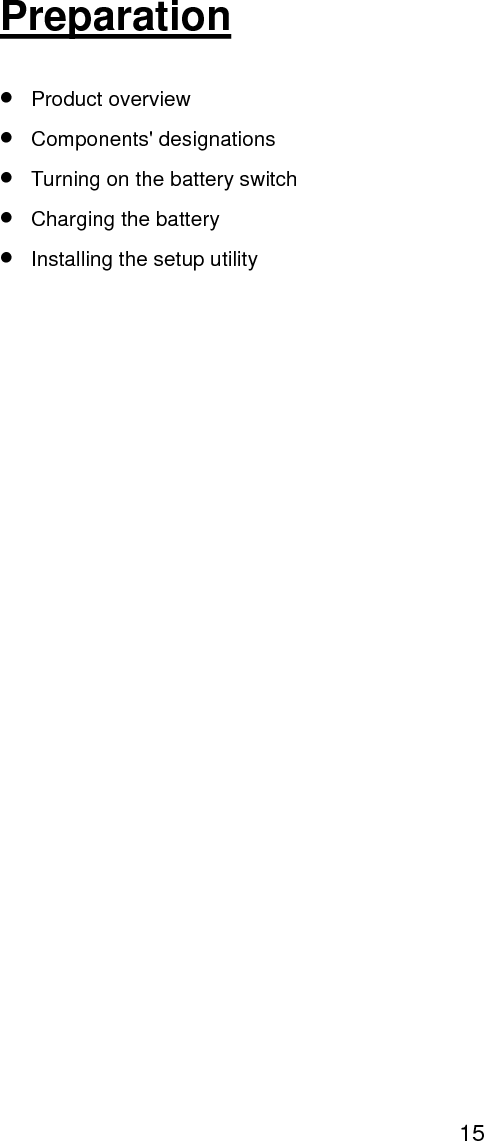
![22Charging the batteryThe battery is built in the main body. When initially using the Product, turn on the battery switch (see page 20),then charge the battery. De-energize the Product before connecting it to the AC adapter.When the Product begins to be charged, the battery status LCD indicator starts to blink. When the Productfinishes being charged, the battery status LCD indication changes to .Notes• Charging the battery requires about four hours with the Product de-energized.• The time required for charging the battery varies with the status of the built-in battery and theambient temperature.• The connected AC adapter allows you to use the Product without consuming the built-in battery.• Charge the built-in battery in the ambient temperature range of 5 to 40 degrees C. Out of thisrange, you cannot charge the built-in battery.• The built-in battery status LCD indication ( see page 10) changes from through to as it loses charges. If the battery has discharged significantly, charge it.Attention• If appears in the LCD display, immediately stop using the Product which is supplied by thebattery.Insert the connection plug for the AC adapter into the Product'sAC adapter connector. [1]Connection plugPower plugInsert the power plug into an outlet. [2]](https://usermanual.wiki/Dynabook/UDB1H05BT/User-Guide-300428-Page-25.png)