Dynabook UPA3494G3 3G Wireless Module User Manual host manual
Toshiba Corporation 3G Wireless Module host manual
UserManual.wiki
>
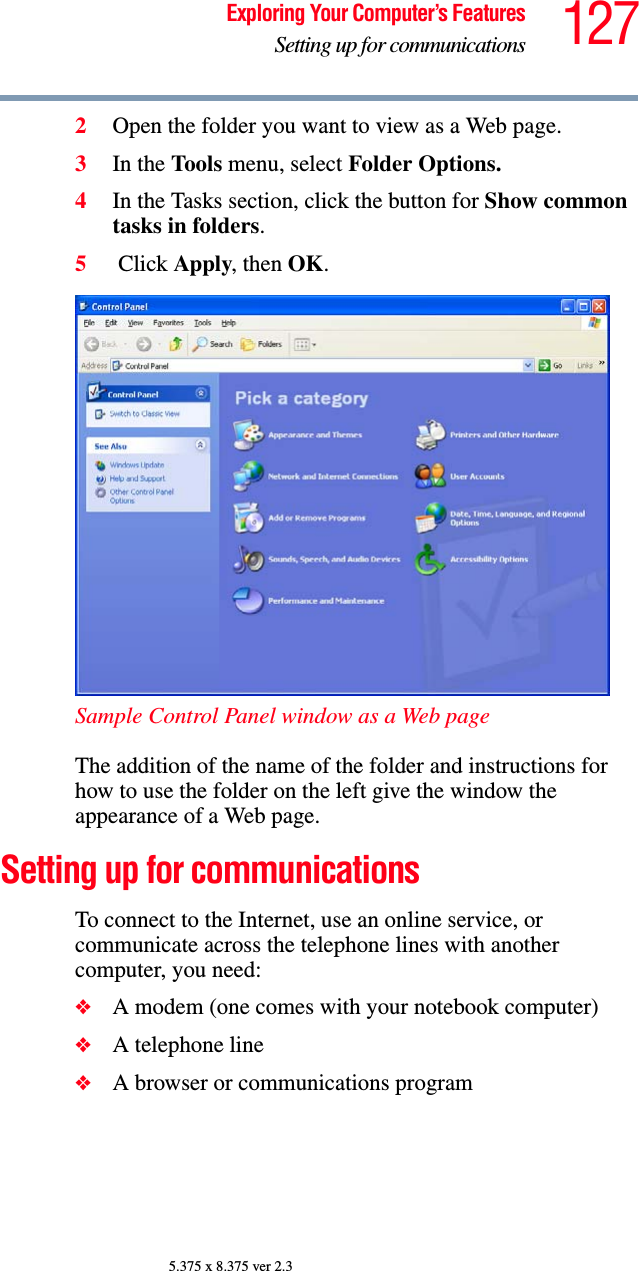
Dynabook
>
UPA3494G3 User Manual
>
host manual
Contents
1.
Manual update
2.
host manual
host manual
Navigation menu
Upload a User Manual
Namespaces
Wiki Guide
HTML
PDF
Info
Views
User Manual
Discussion / Help
Navigation
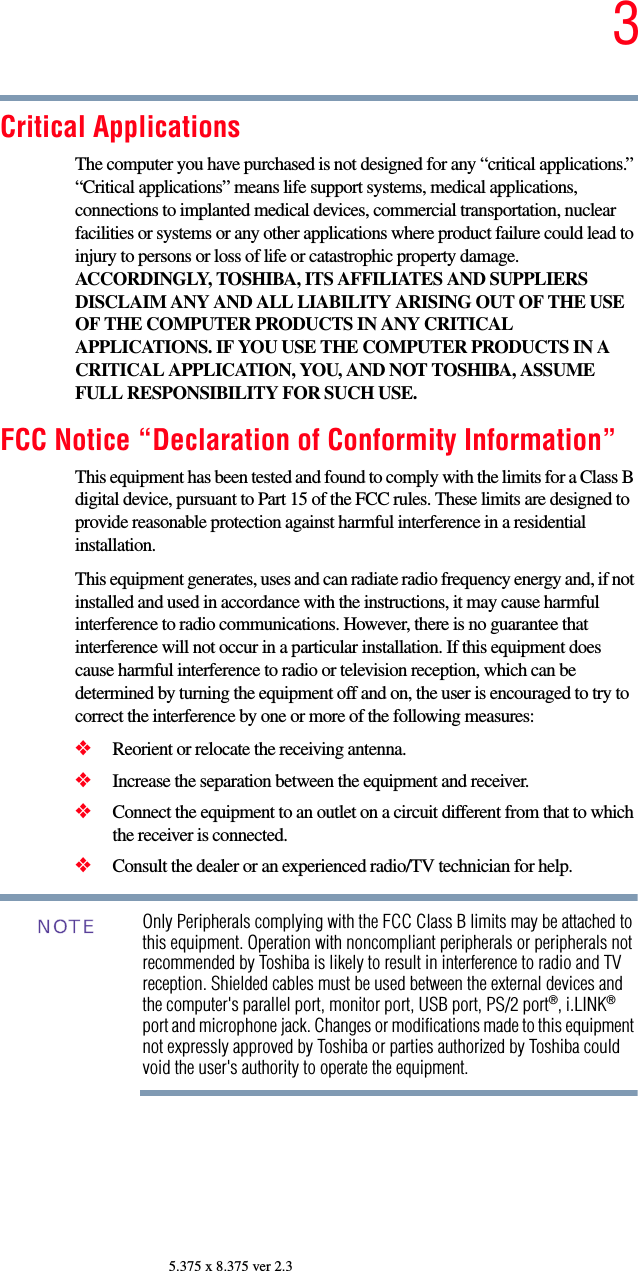
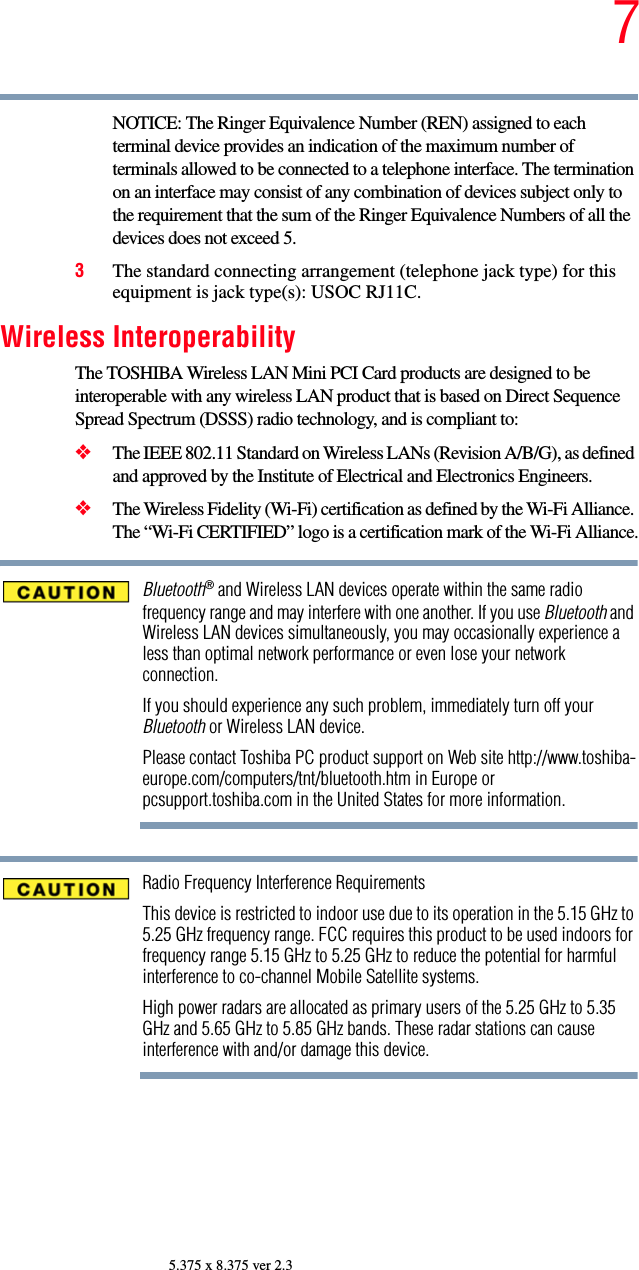
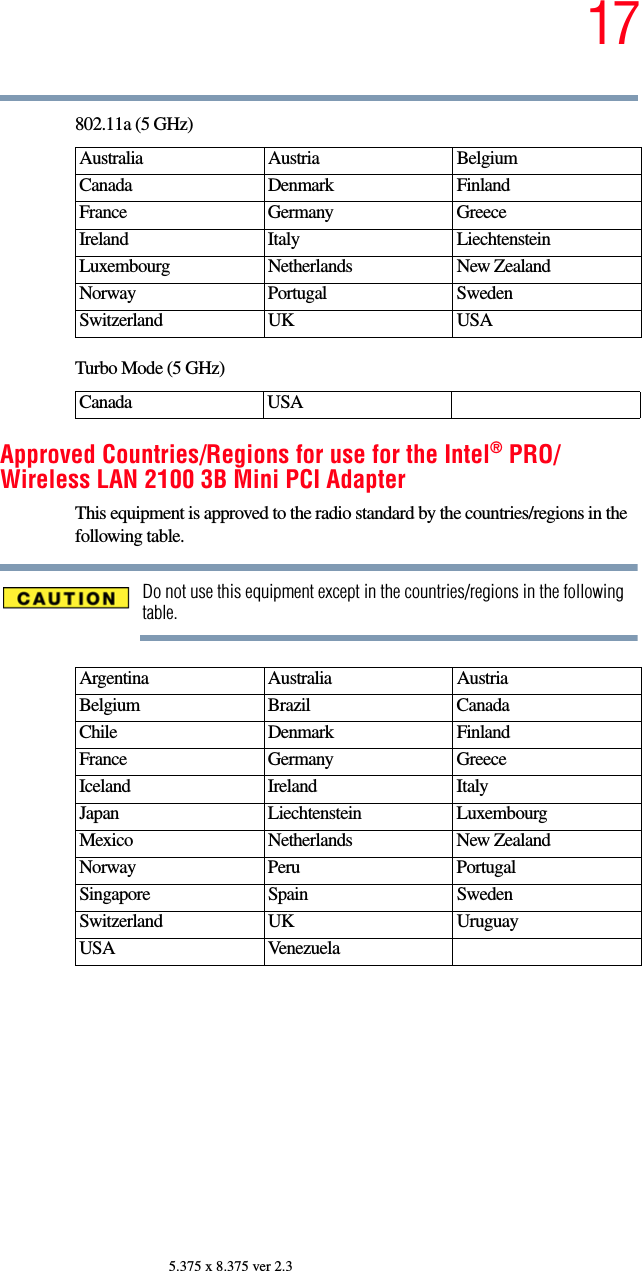
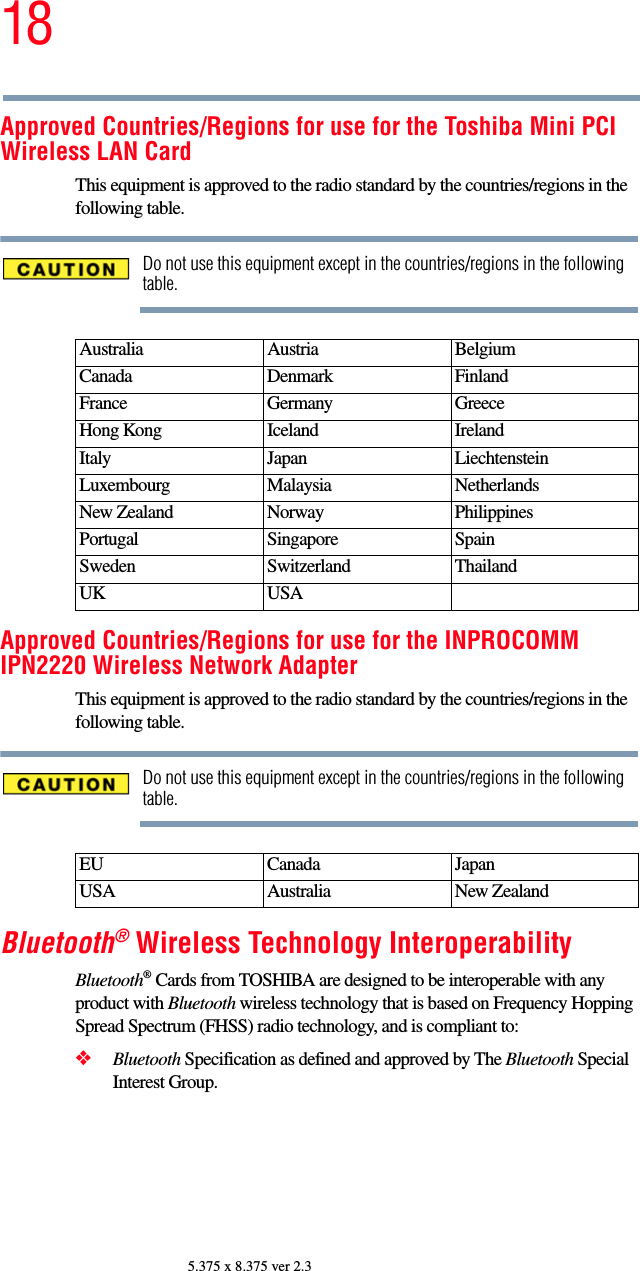
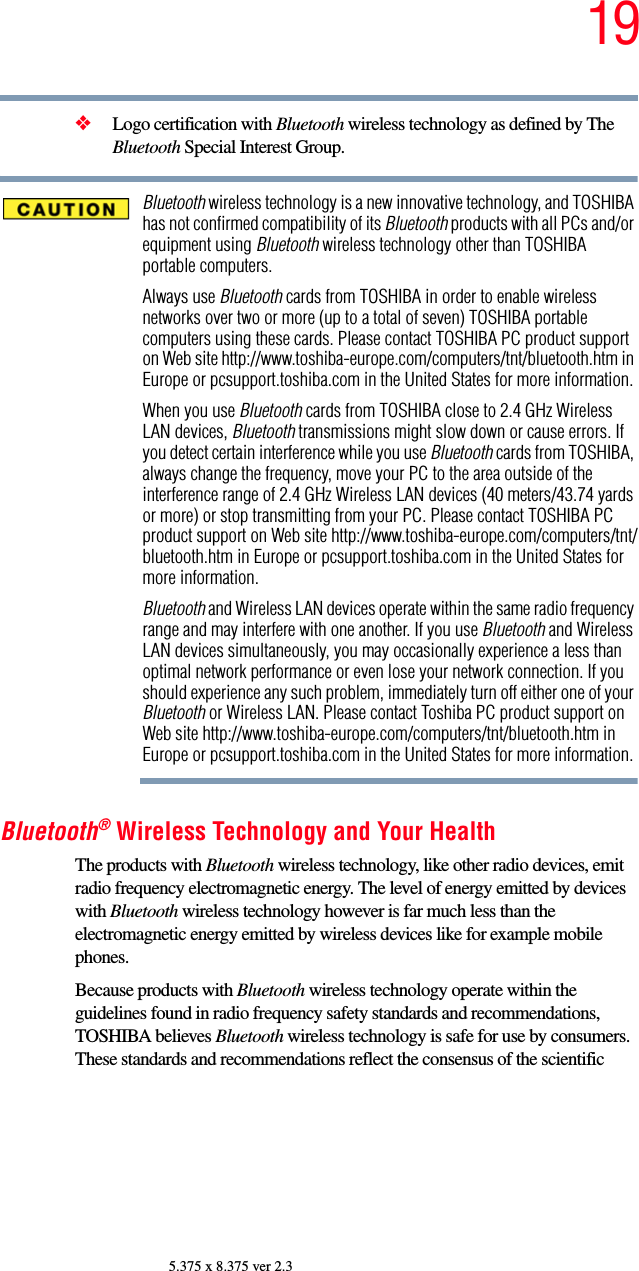
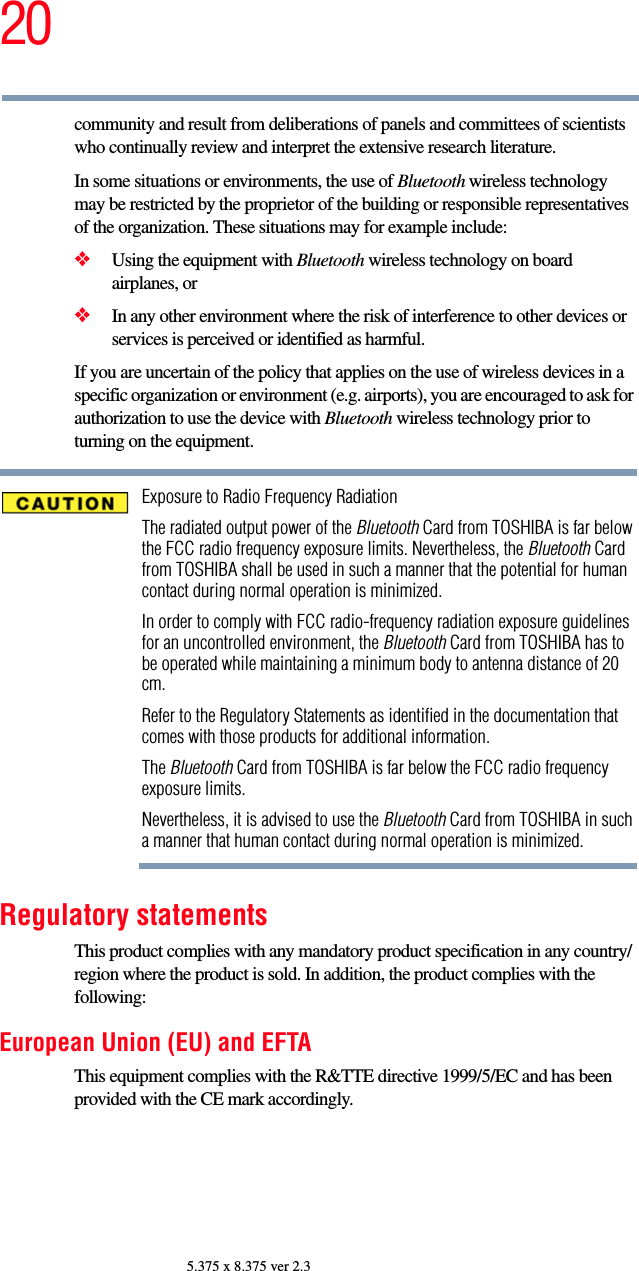
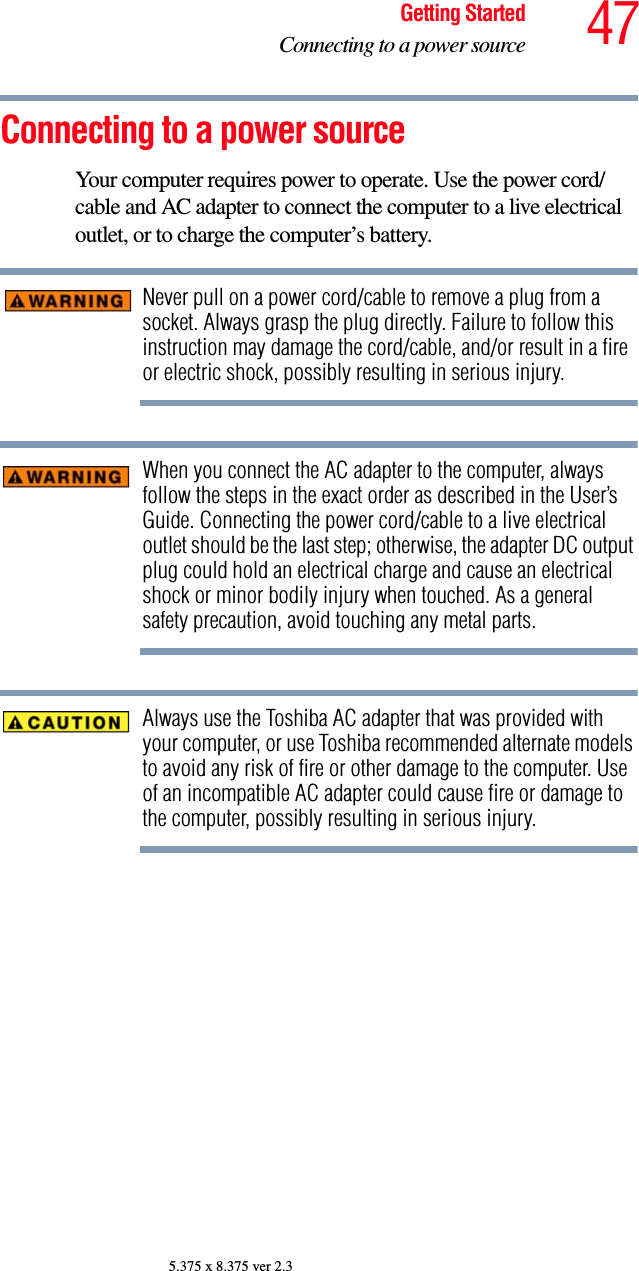
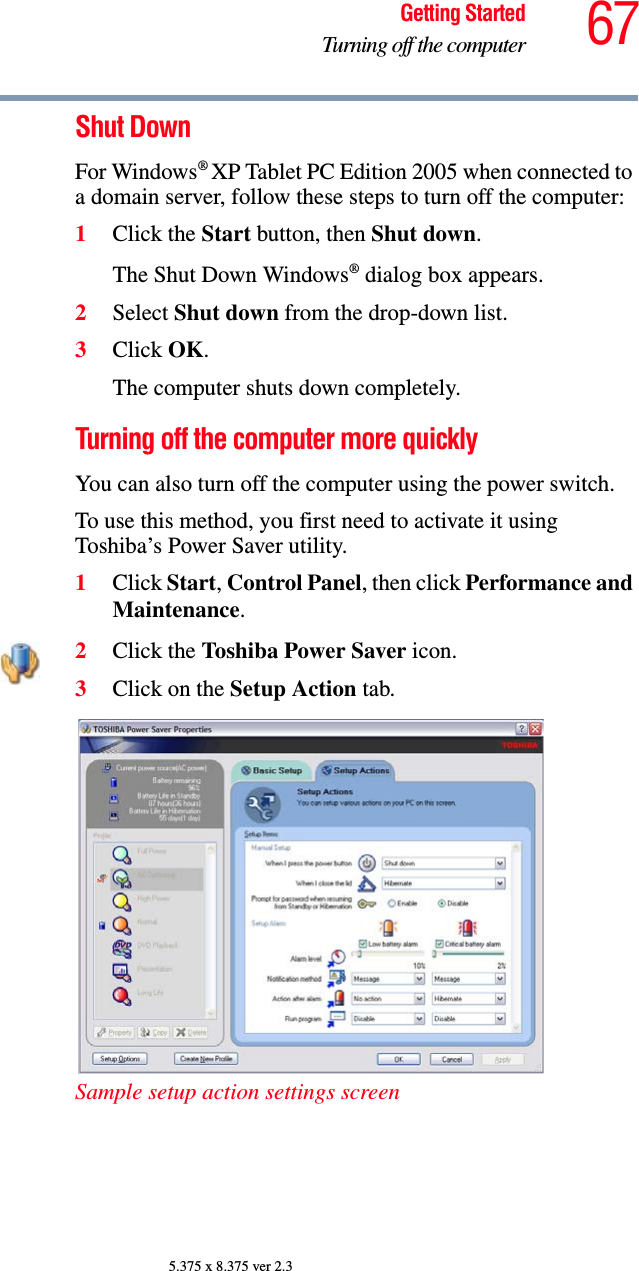
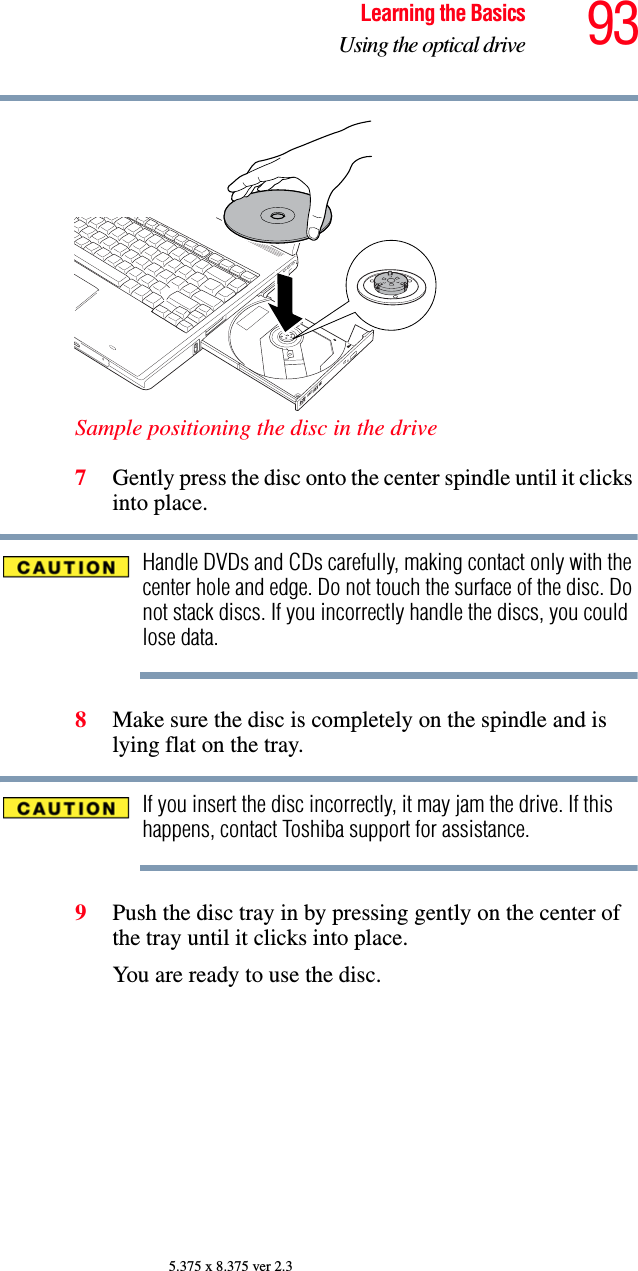
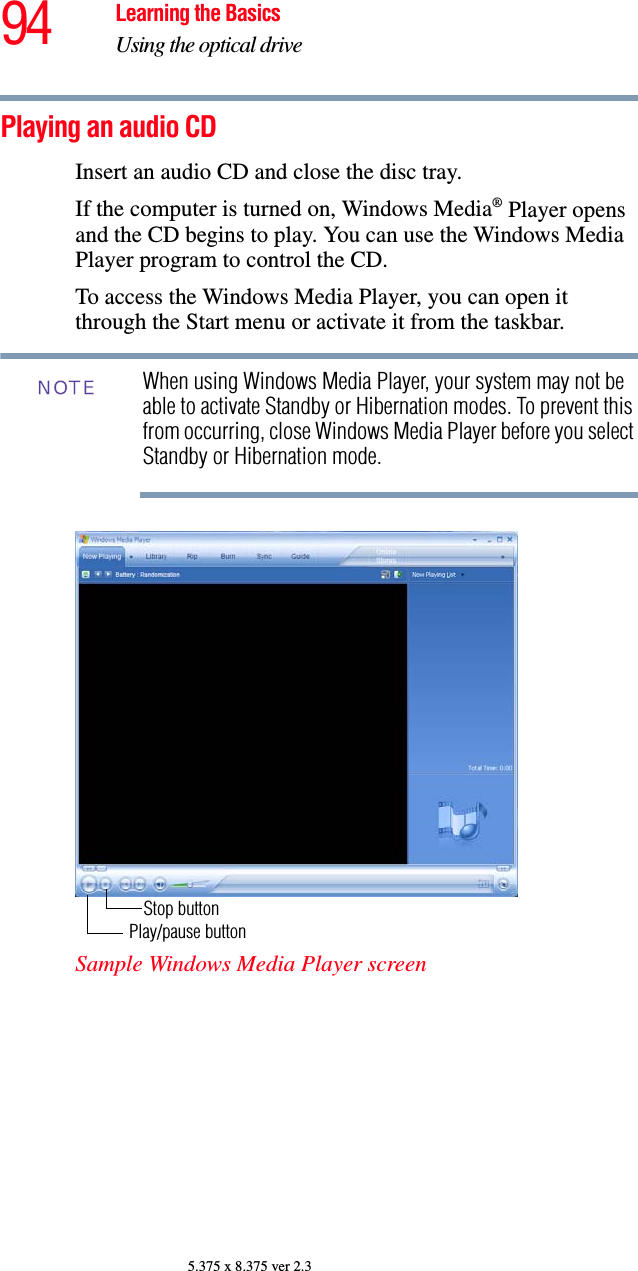
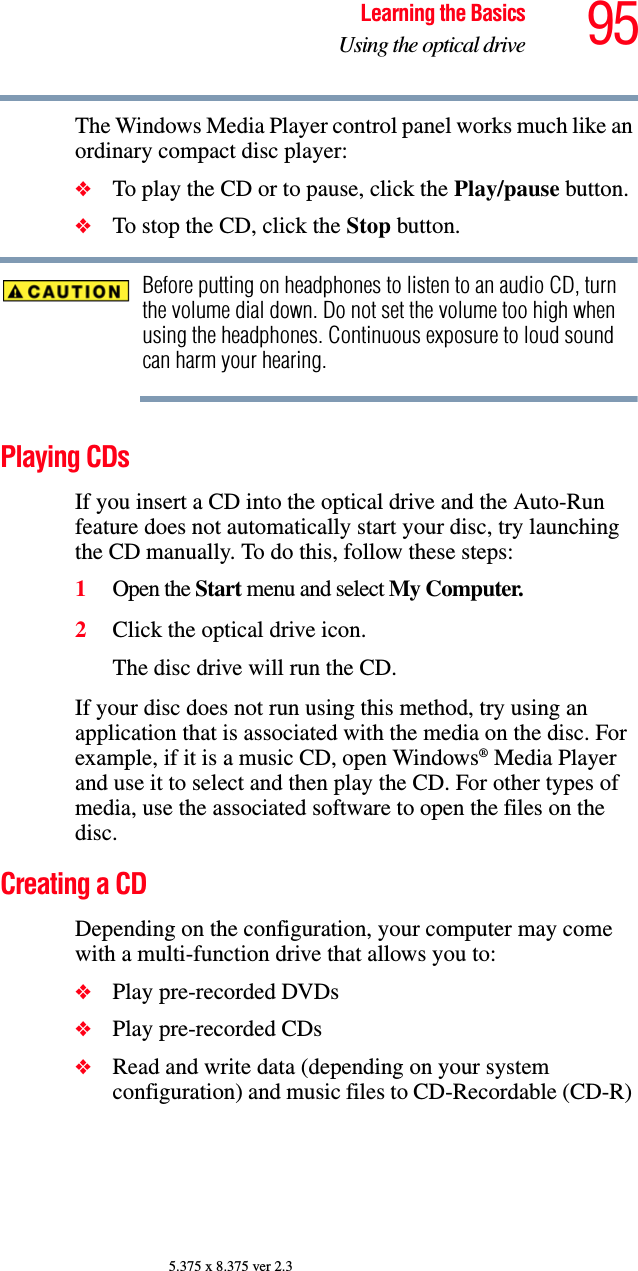
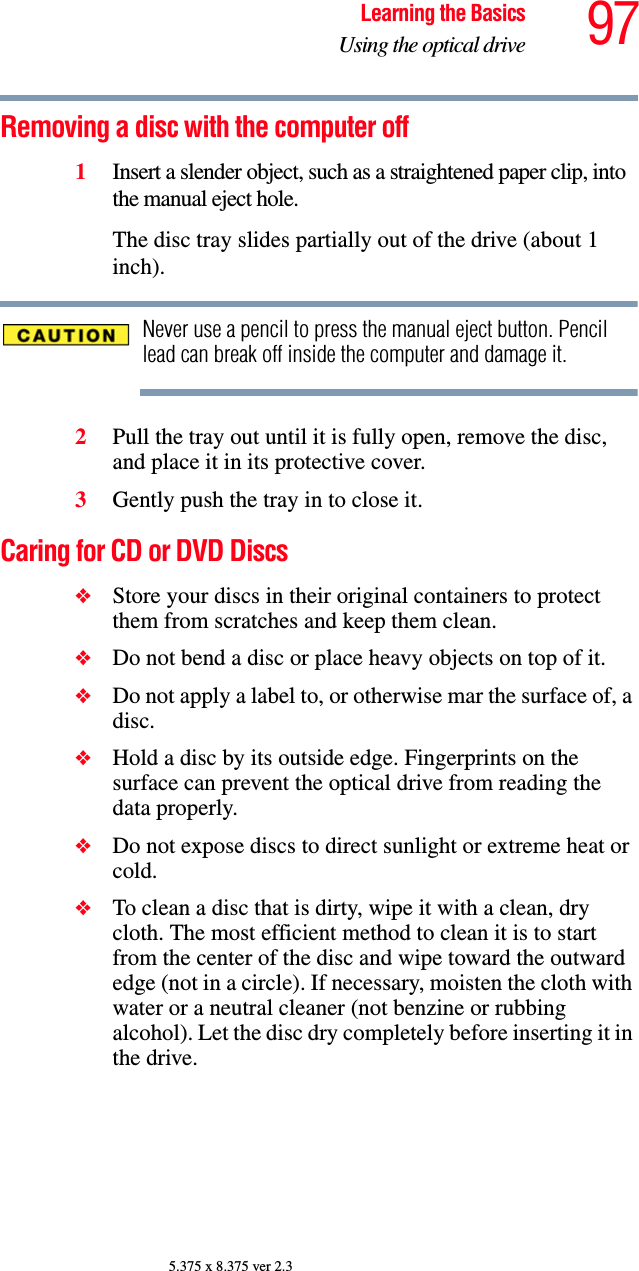
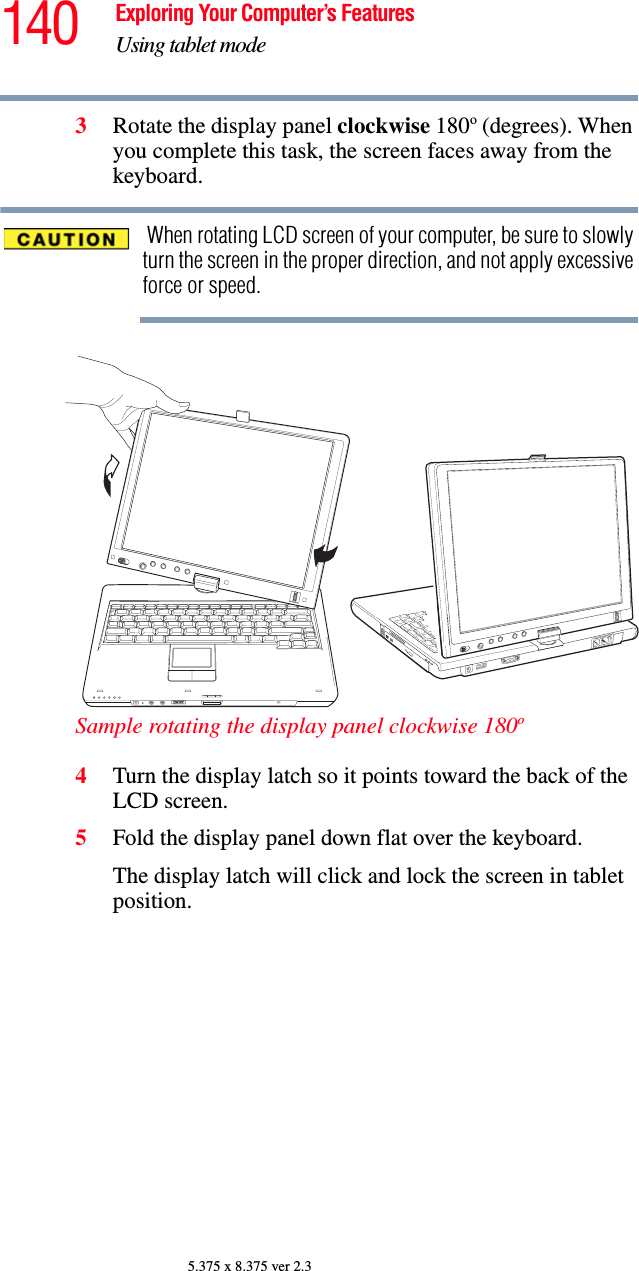
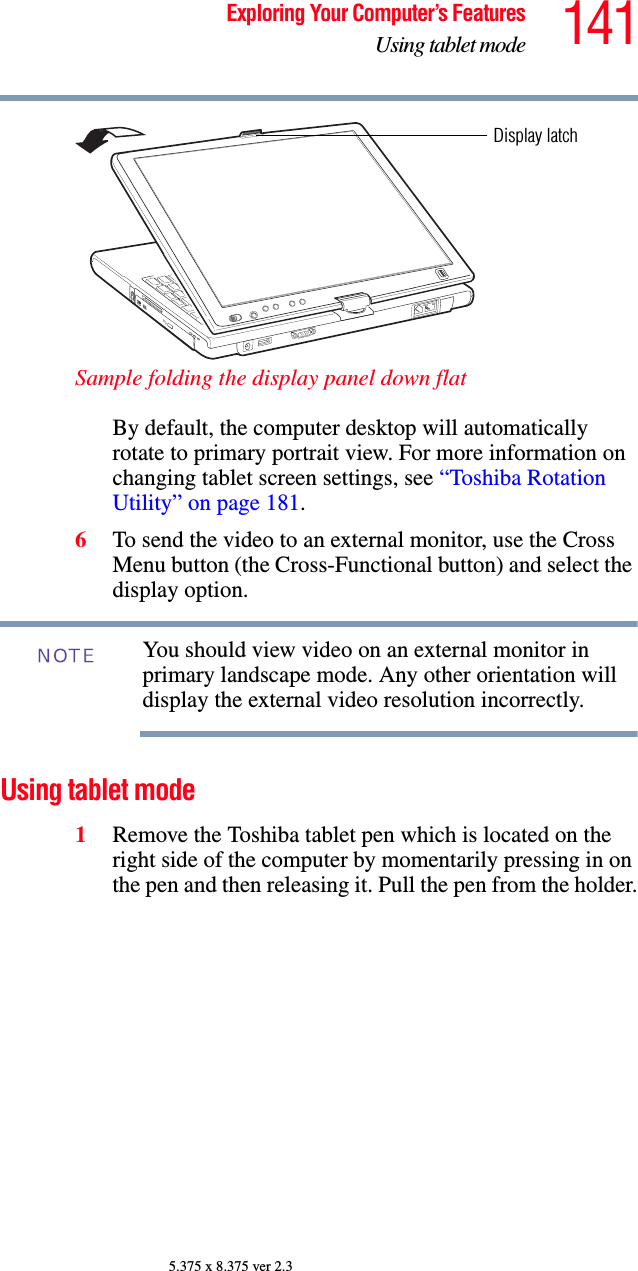
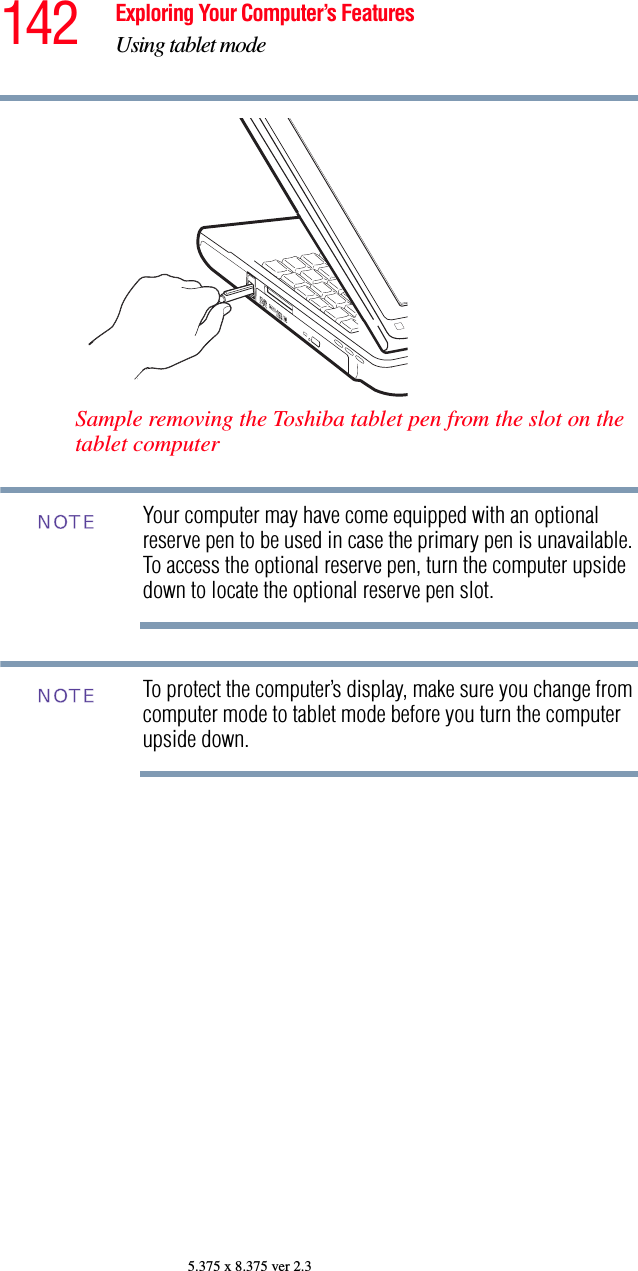
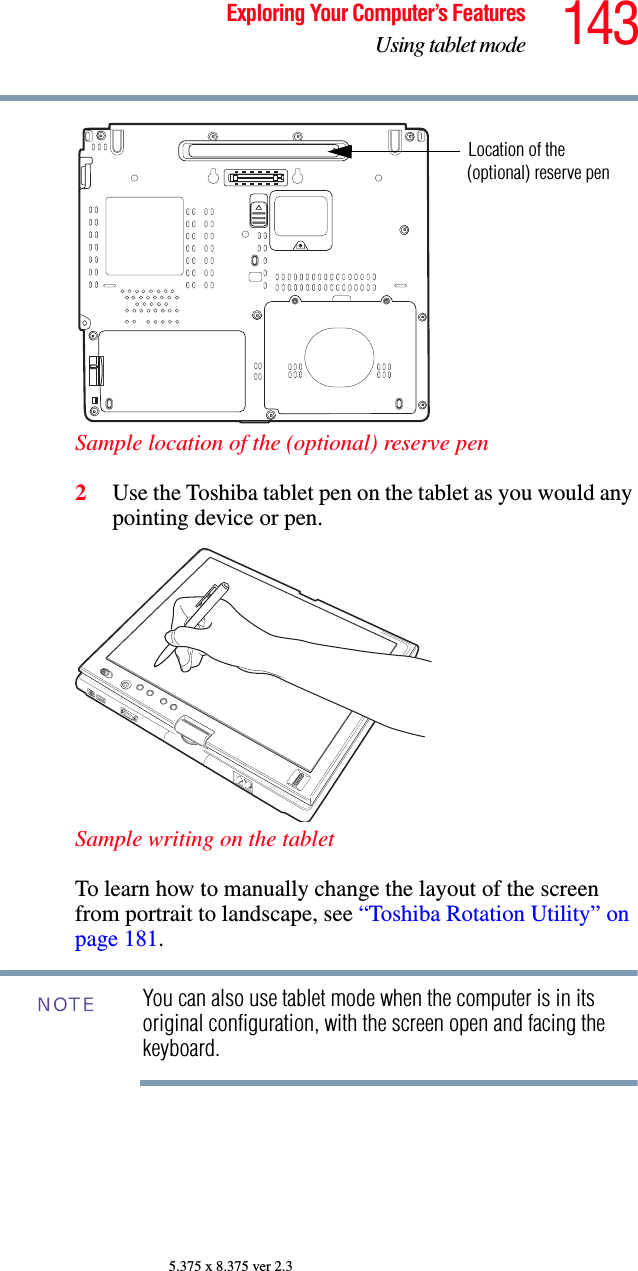
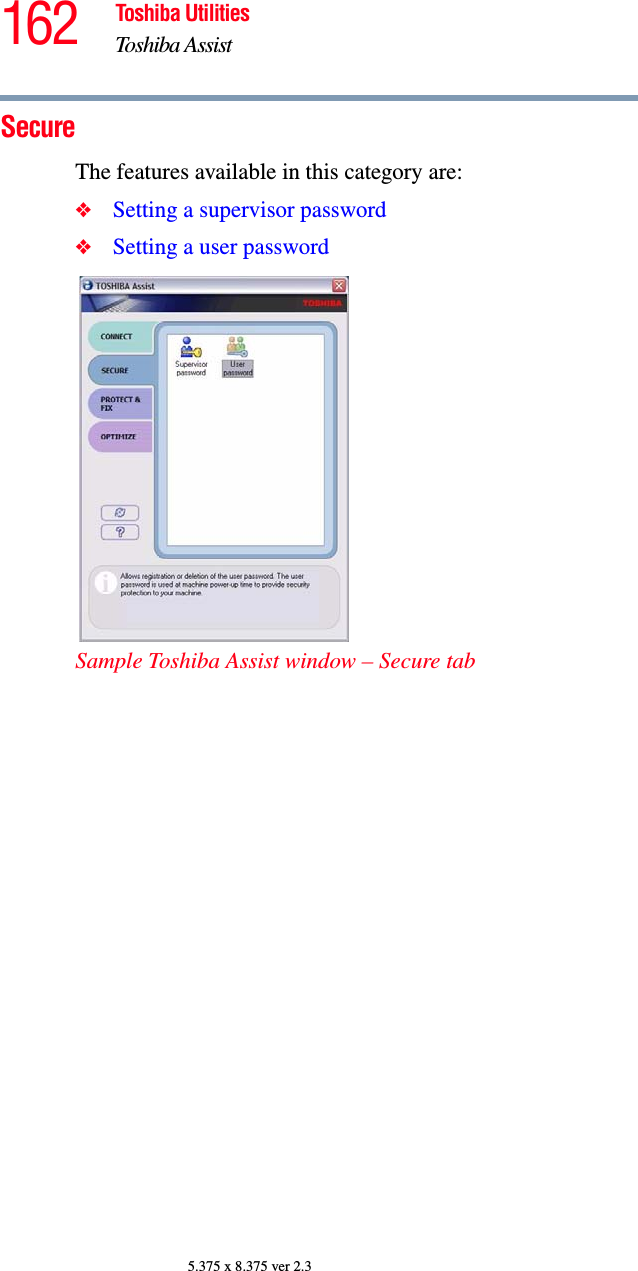
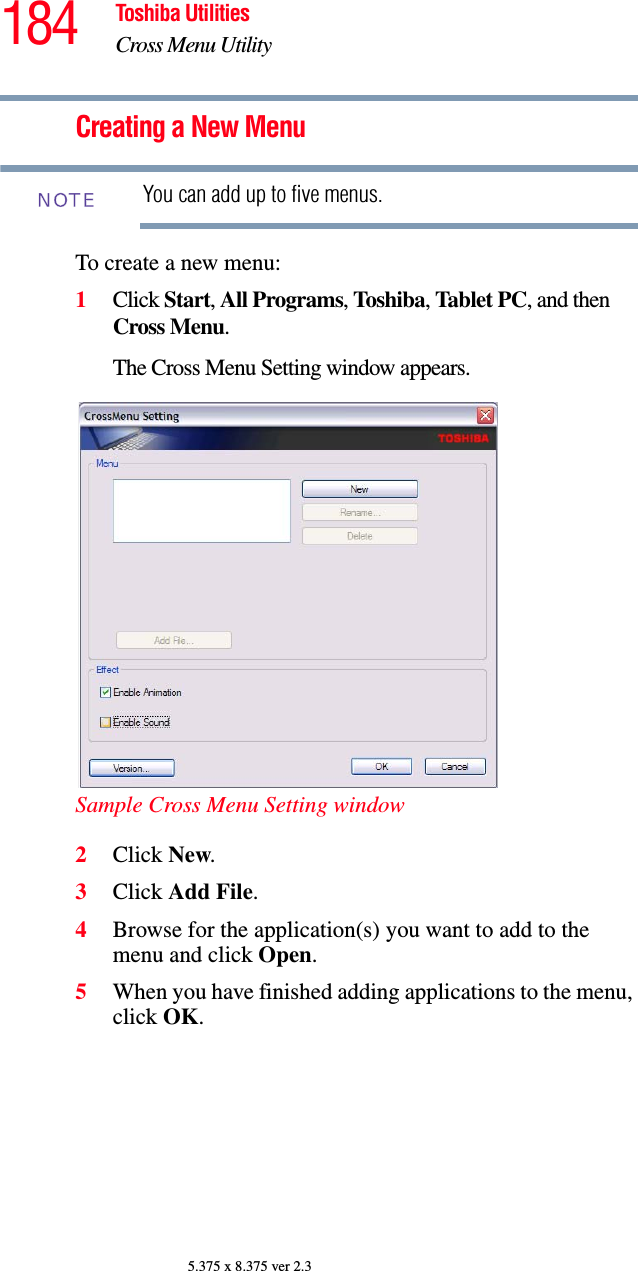
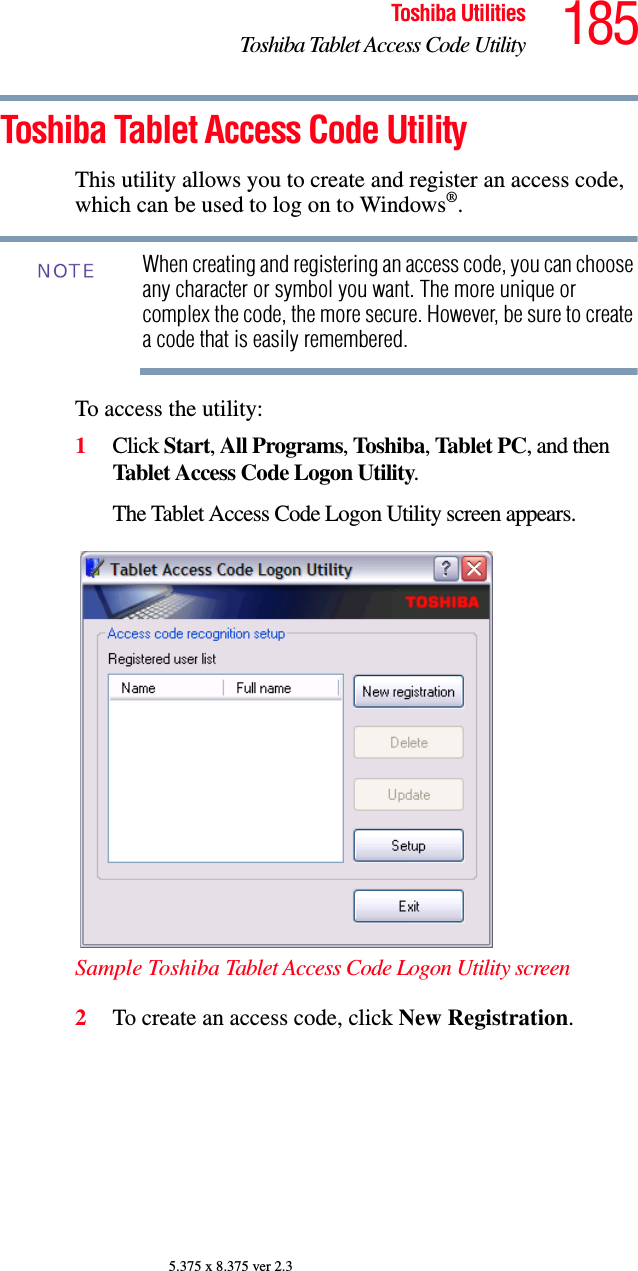
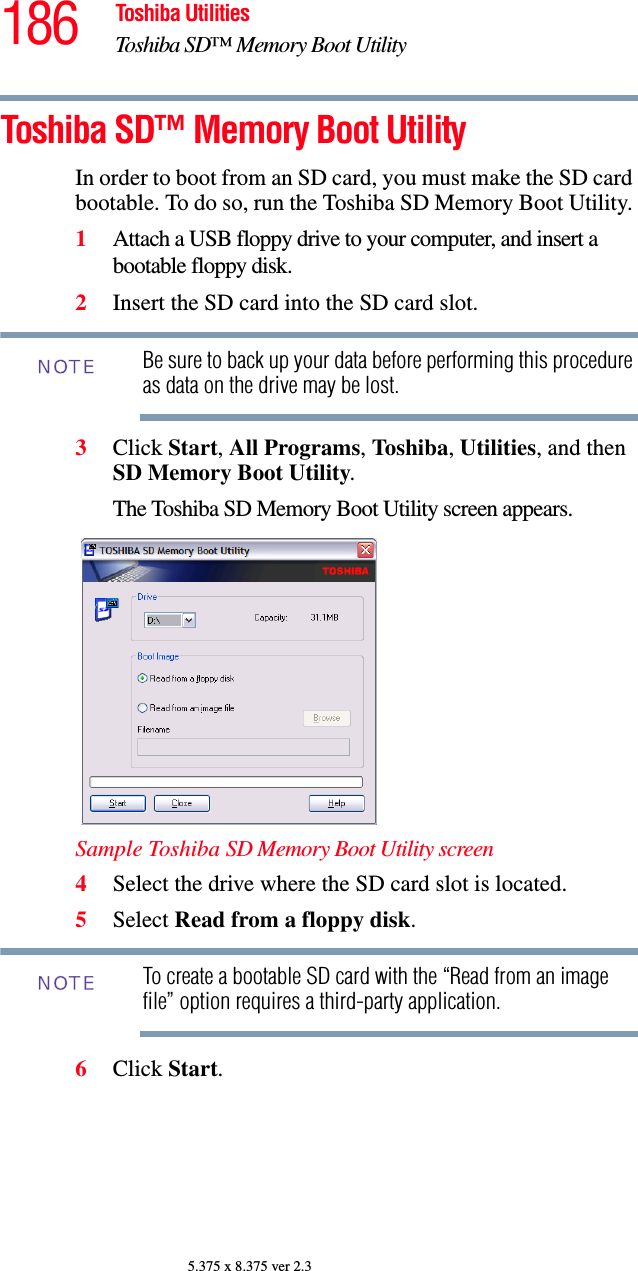
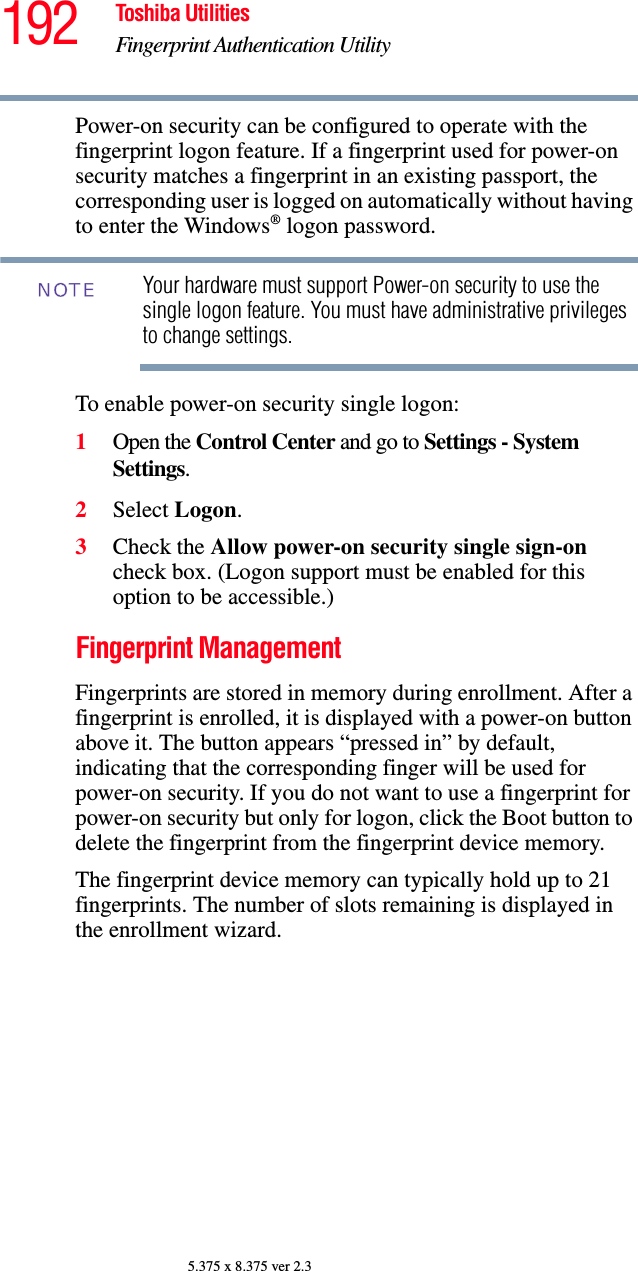
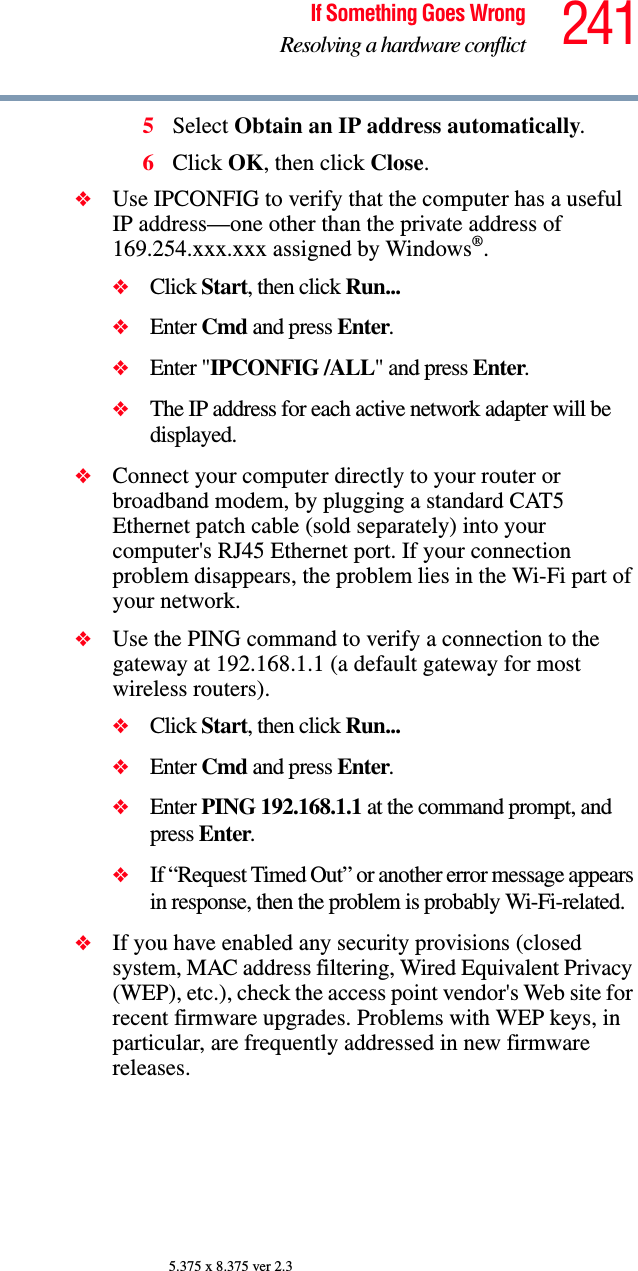
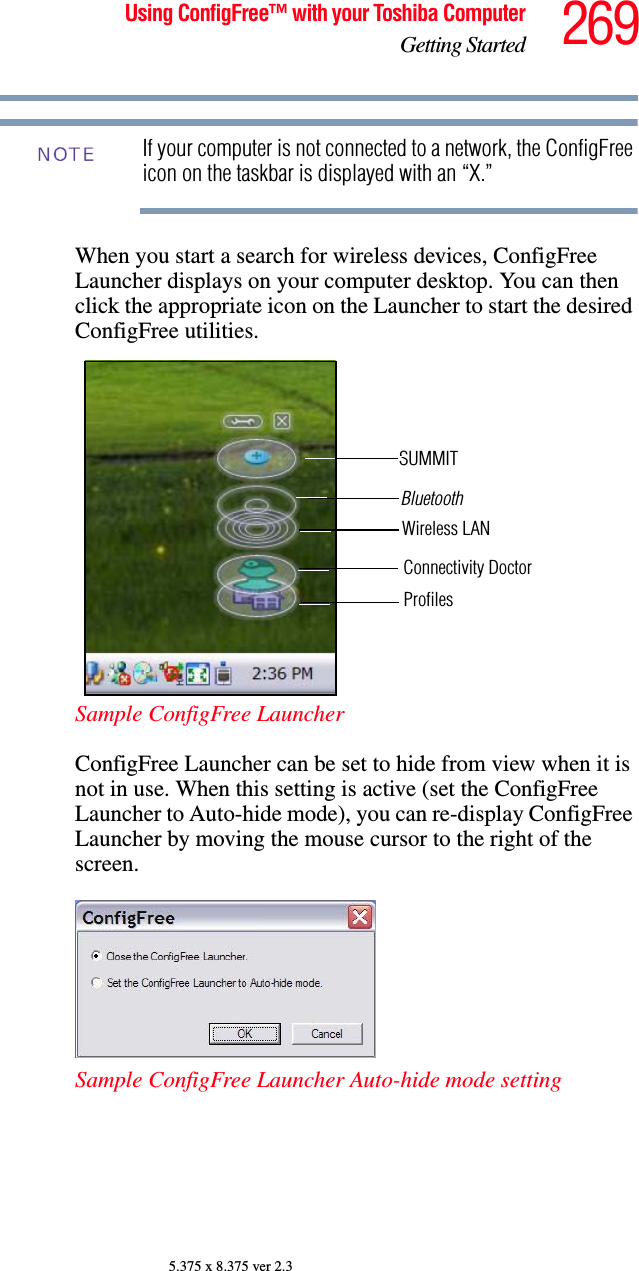
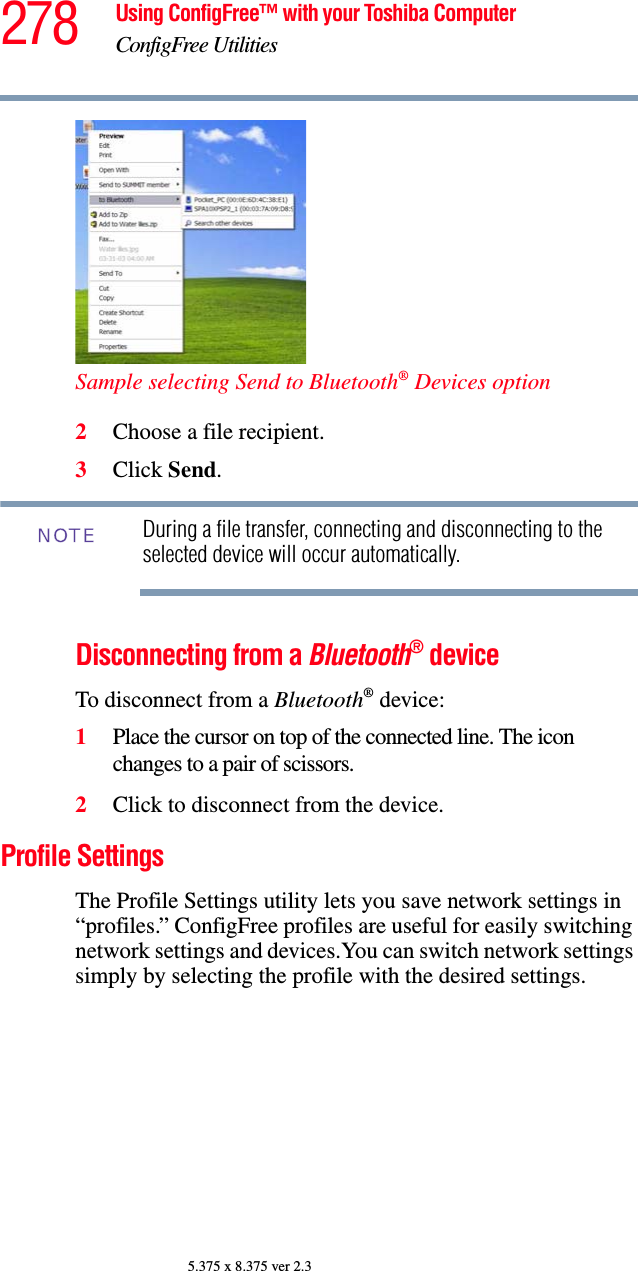
![105.375 x 8.375 ver 2.3EU Declaration of ConformityTOSHIBA declares, that the product: PLU10* conforms to the following Standards:This product is carrying the CE-Mark in accordance with the related European Directives. Responsible for CE-Marking is TOSHIBA Europe, Hammfelddamm 8, 41460 Neuss, Germany.VCCI Class B InformationModem Warning NoticeConformity StatementThe equipment has been approved to [Commission Decision “CTR-21”] for pan-European single terminal connection to the Public Switched Telephone Network (PSTN).However, due to differences between the individual PSTNs provided in different countries/regions the approval does not, of itself, give an unconditional assurance of successful operation on every PSTN network termination point.In the event of problems, you should contact your equipment supplier in the first instance.The above Caution information applies to products that operate with an 802.11a device.Supplementary Information:*The product complies with the requirements of the Low Voltage Directive 72/23/EEC, the EMC Directive 89/336/EEC and/or the R&TTE Directive 1999/05/EEC.NOTE](https://usermanual.wiki/Dynabook/UPA3494G3.host-manual/User-Guide-721047-Page-10.png)

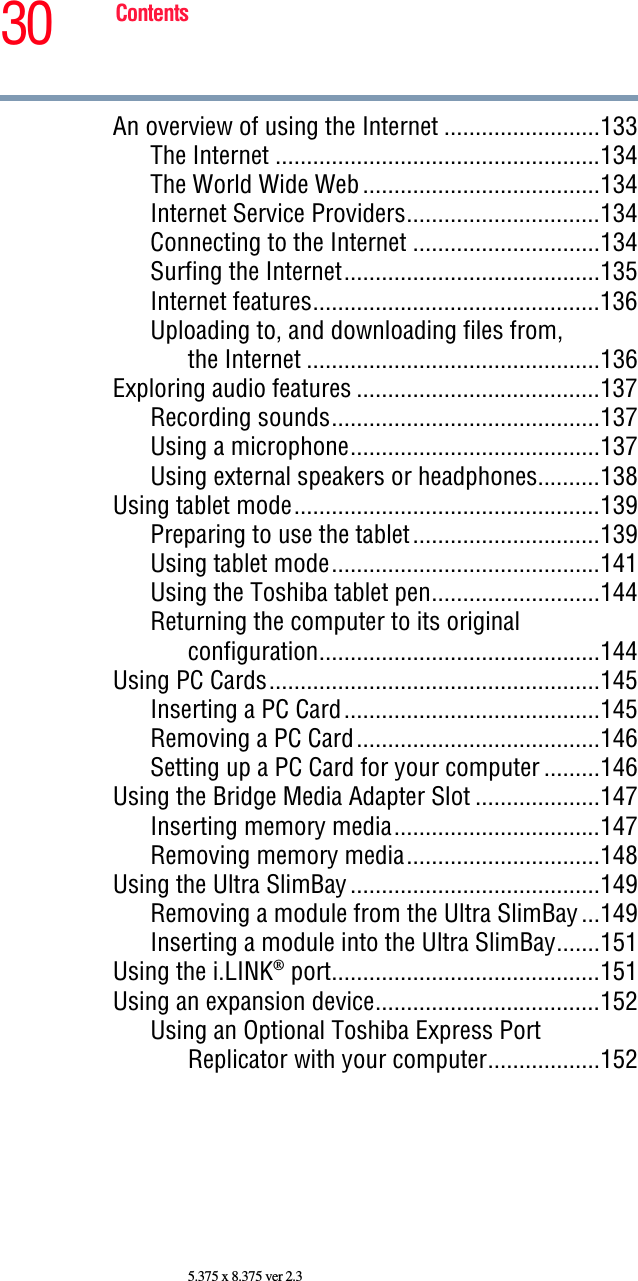


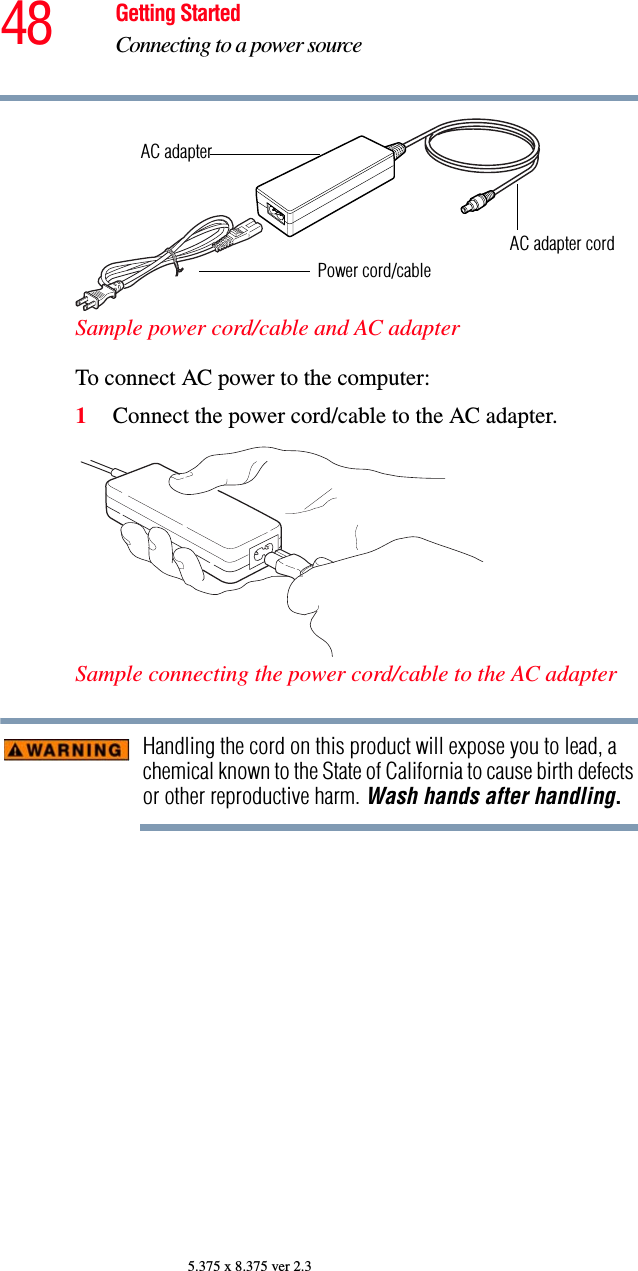
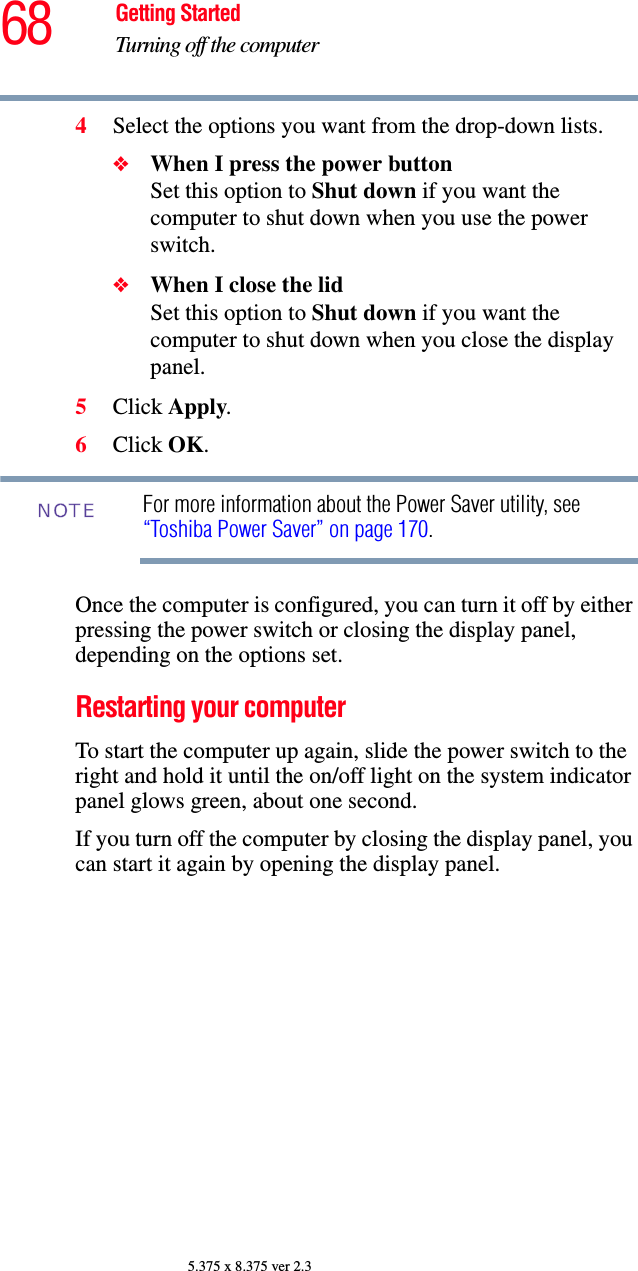


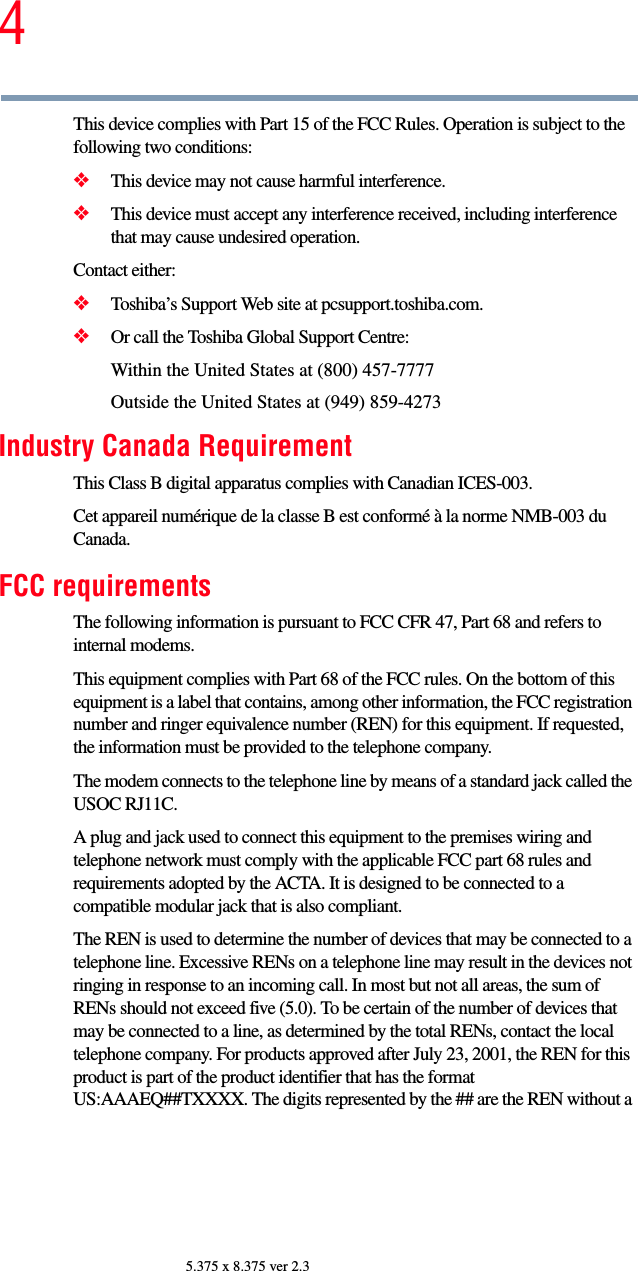
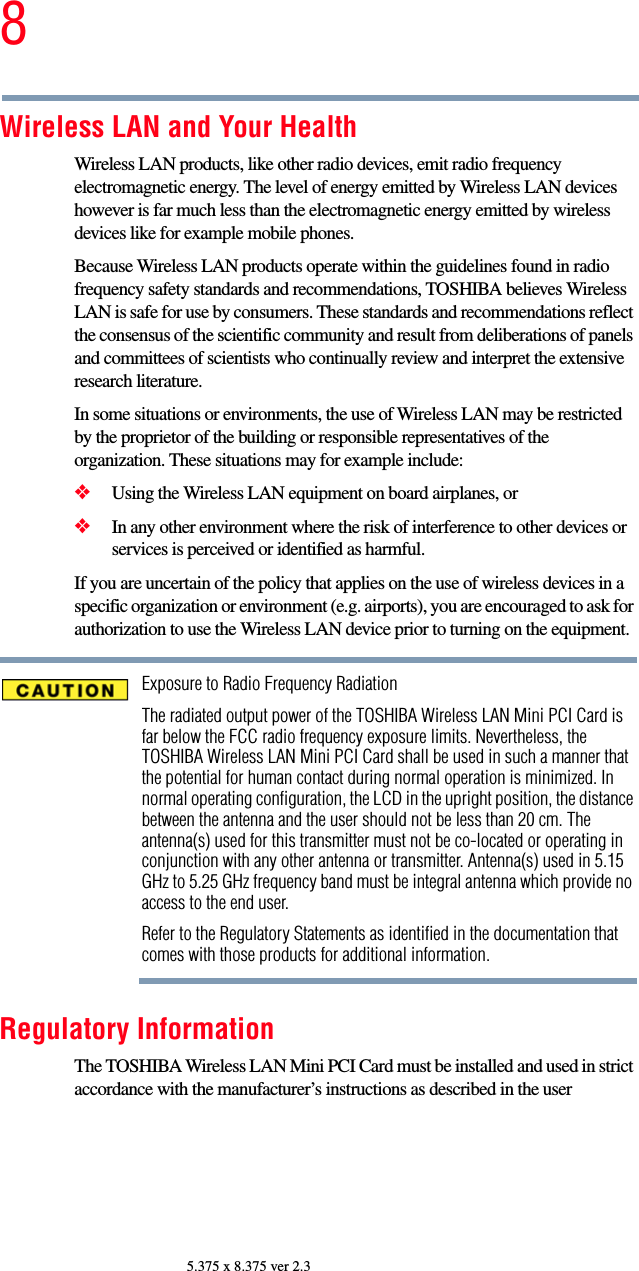
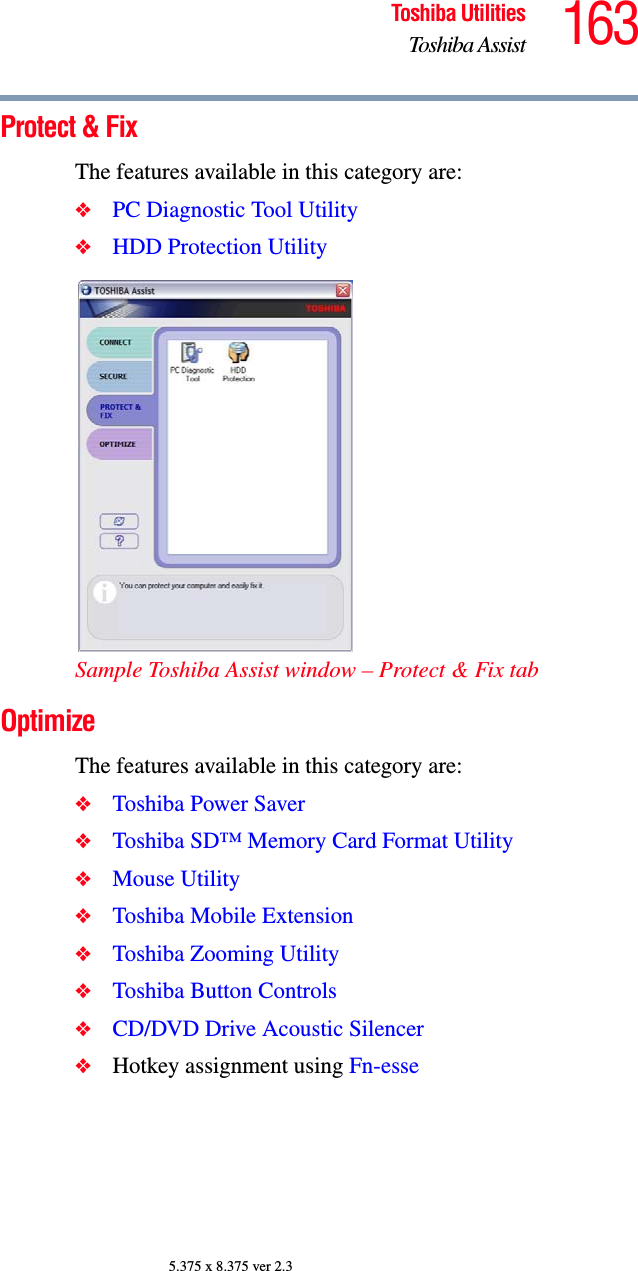
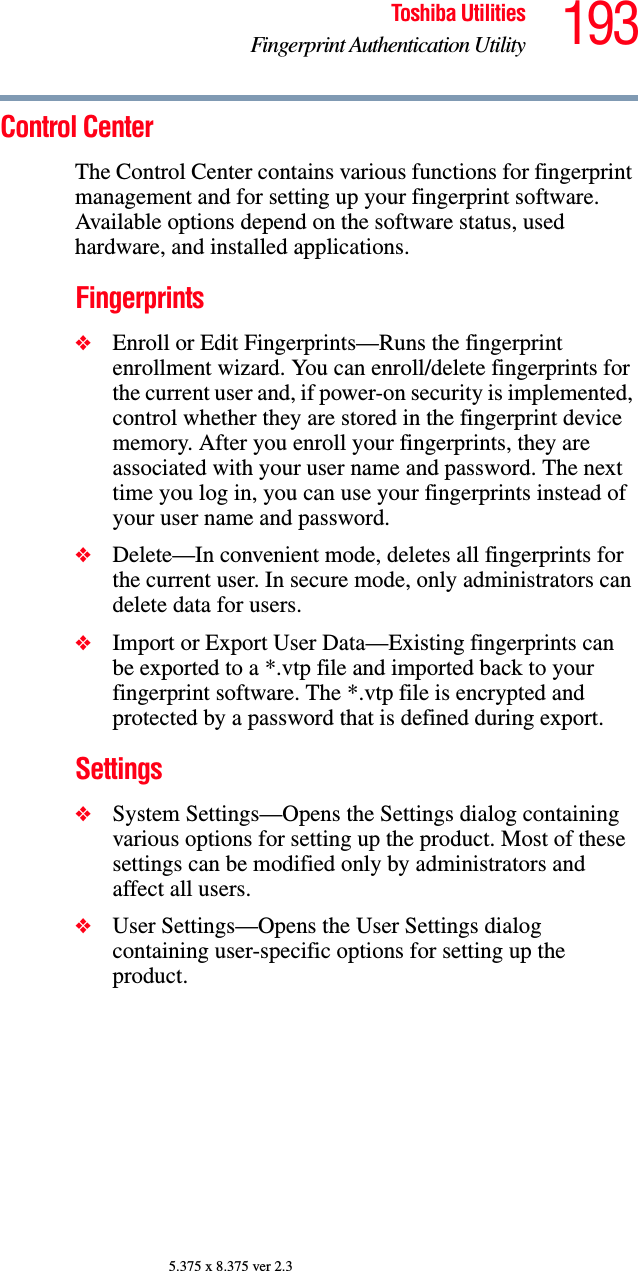
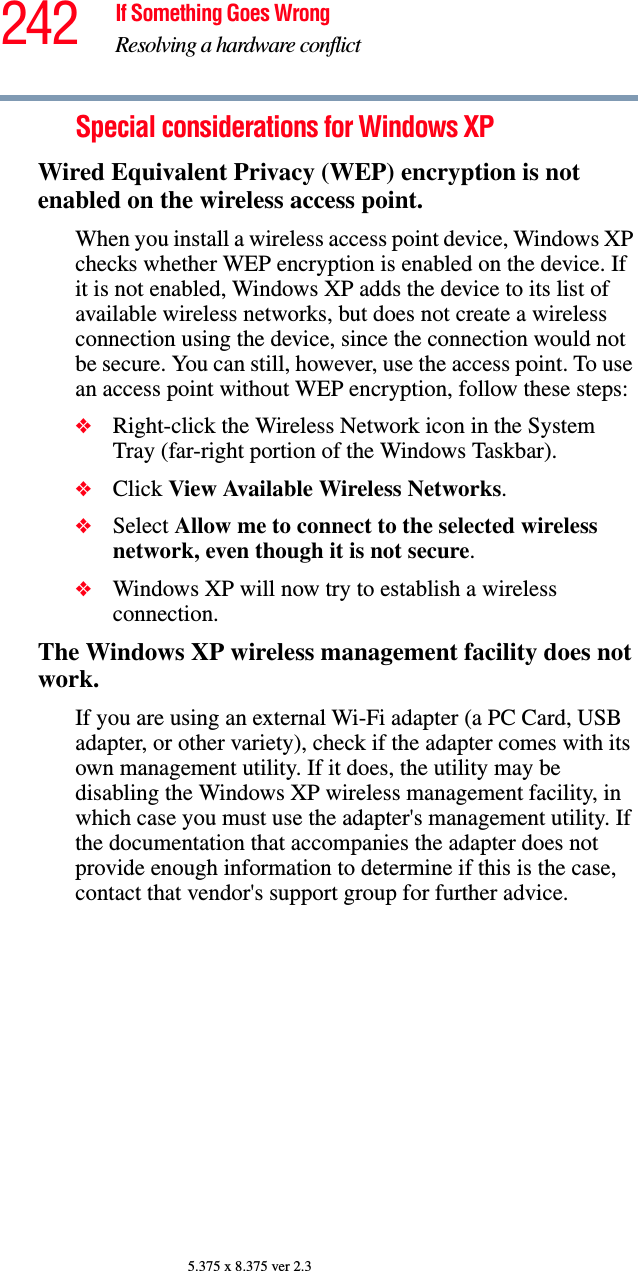
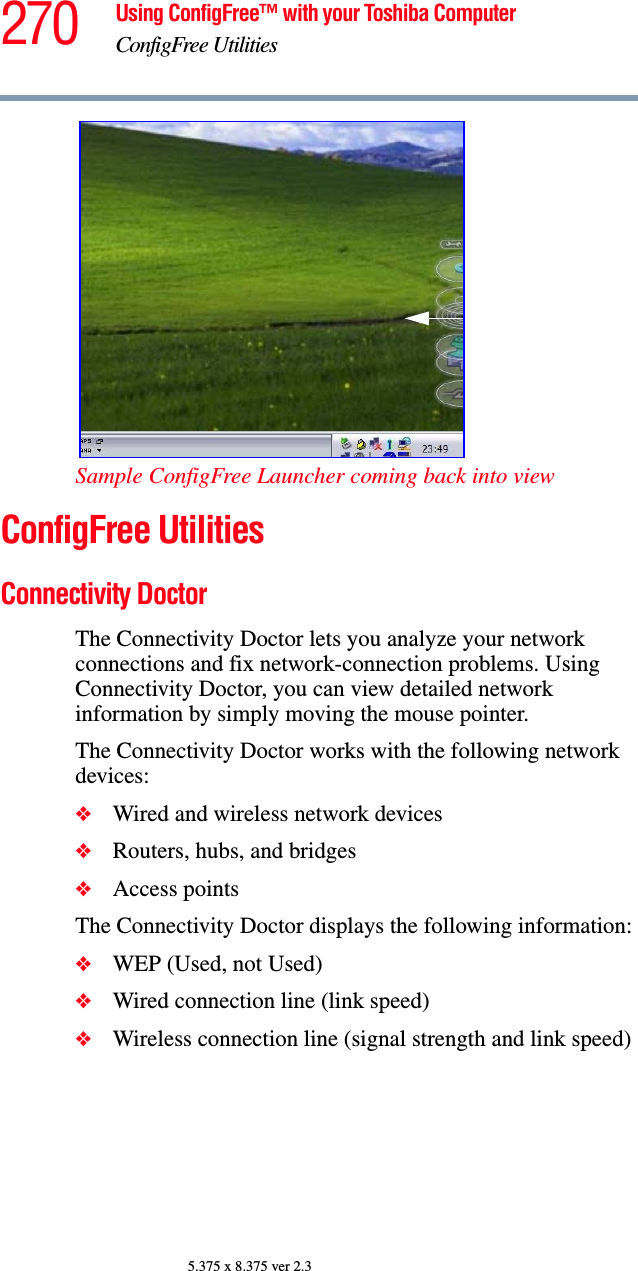
![158 Toshiba UtilitiesToshiba Hotkey Utility5.375 x 8.375 ver 2.3Viewing existing key assignmentsTo view the existing key assignments, choose Assignments from the Fn-esse keyboard. Fn-esse displays the Function Key Assignments dialog box. This box lists all the key assignments and the program or document to which each key is assigned.To view items in a popup list, click the Expand popup lists check box.Changing or removing existing key assignments 1In the Fn-esse keyboard, click the key you wish to change with the secondary button.Fn-esse displays the Assignment Type dialog box.2To change the key assignment, click Direct or Popup and continue as if you were creating a new assignment. 3To remove the key assignment, click Clear.Toshiba Hotkey UtilityThe Hotkey utility allows you to receive a confirmation message when you use the hot key combination for Standby [Fn+F3] and Hibernation [Fn+F4].To activate the utility:1Click Start, All Programs, Toshiba, Utilities, then click Hotkey utility.](https://usermanual.wiki/Dynabook/UPA3494G3.host-manual/User-Guide-721047-Page-158.png)

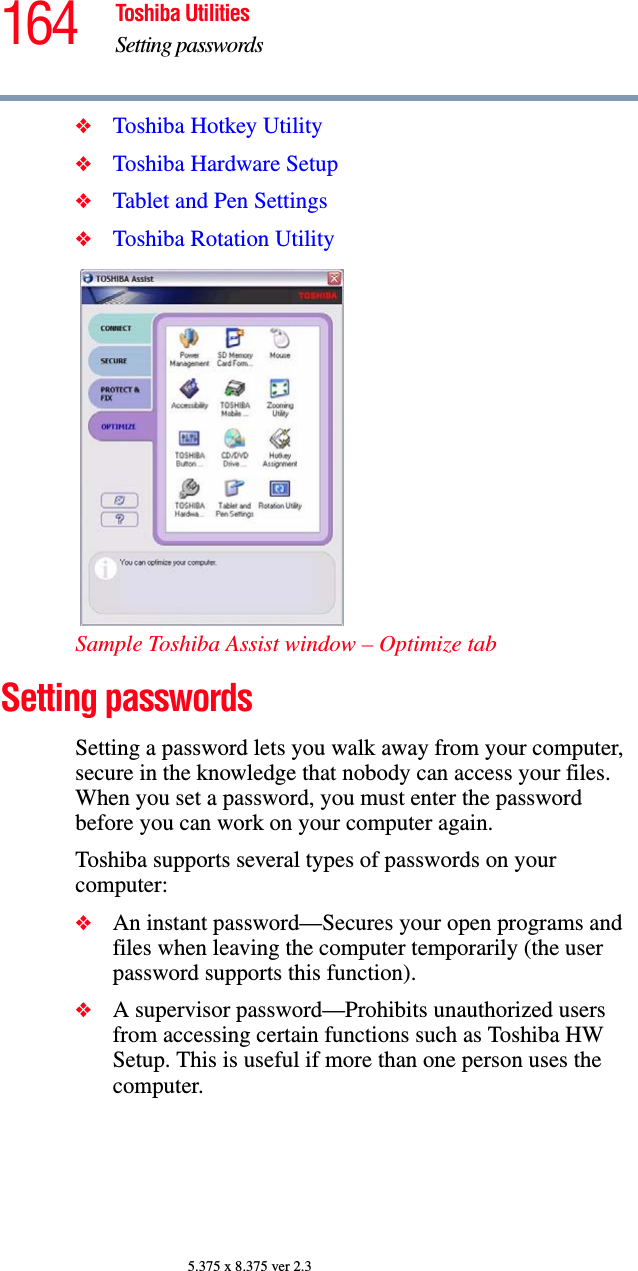


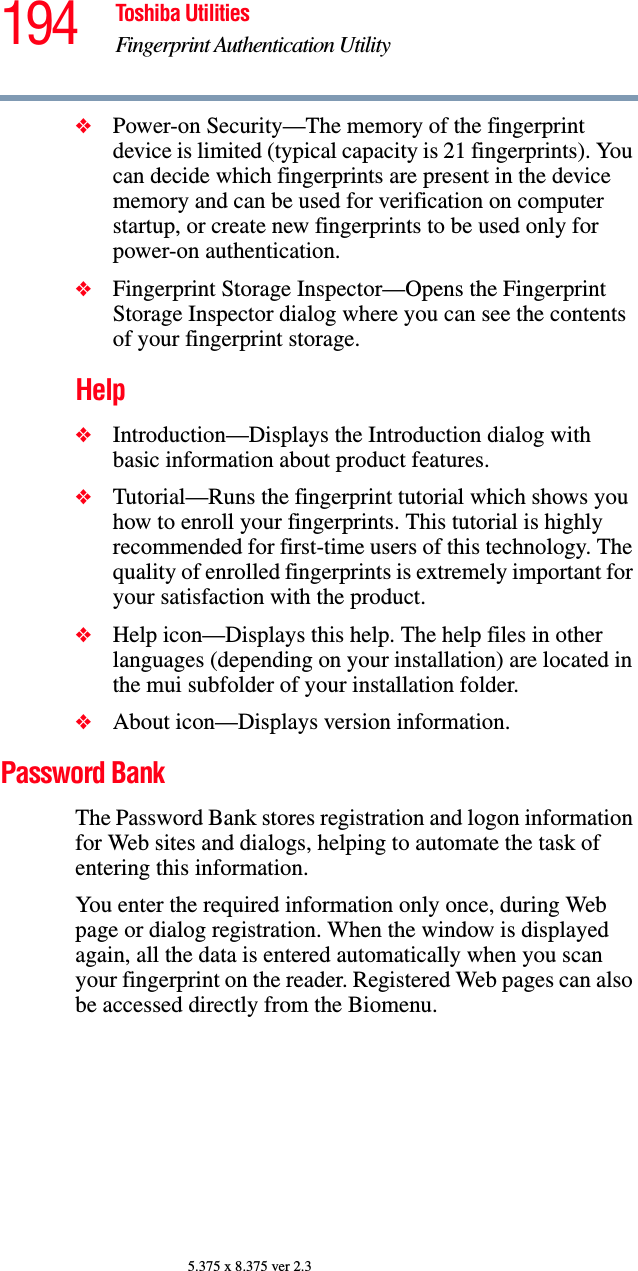

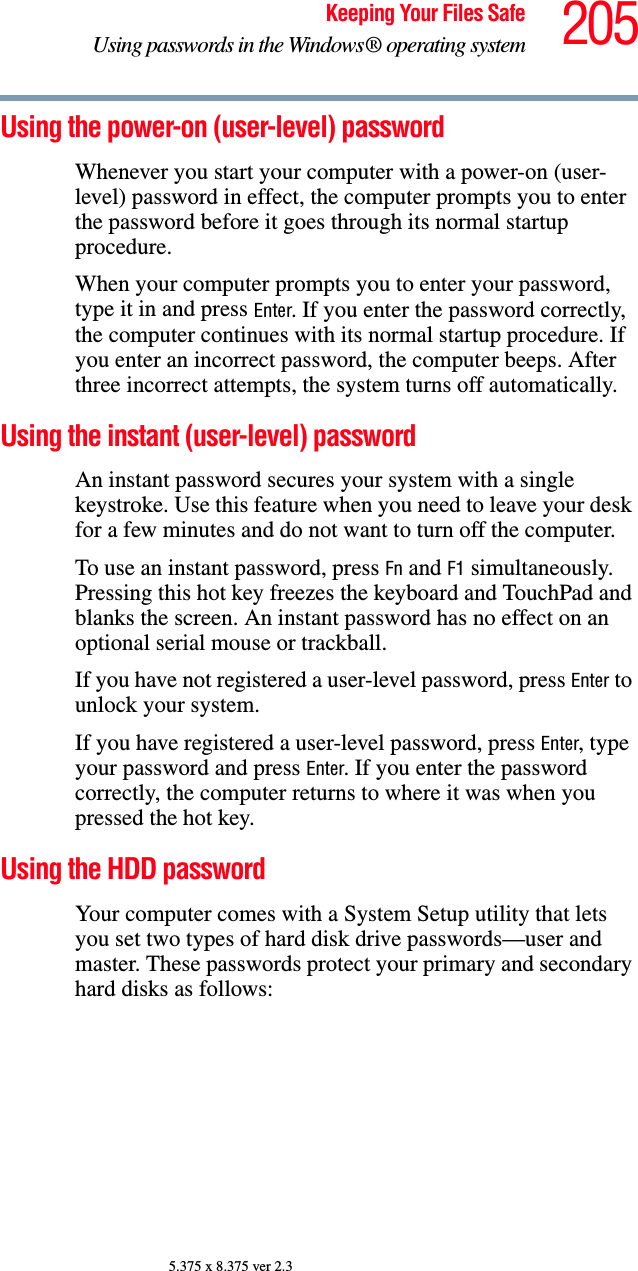
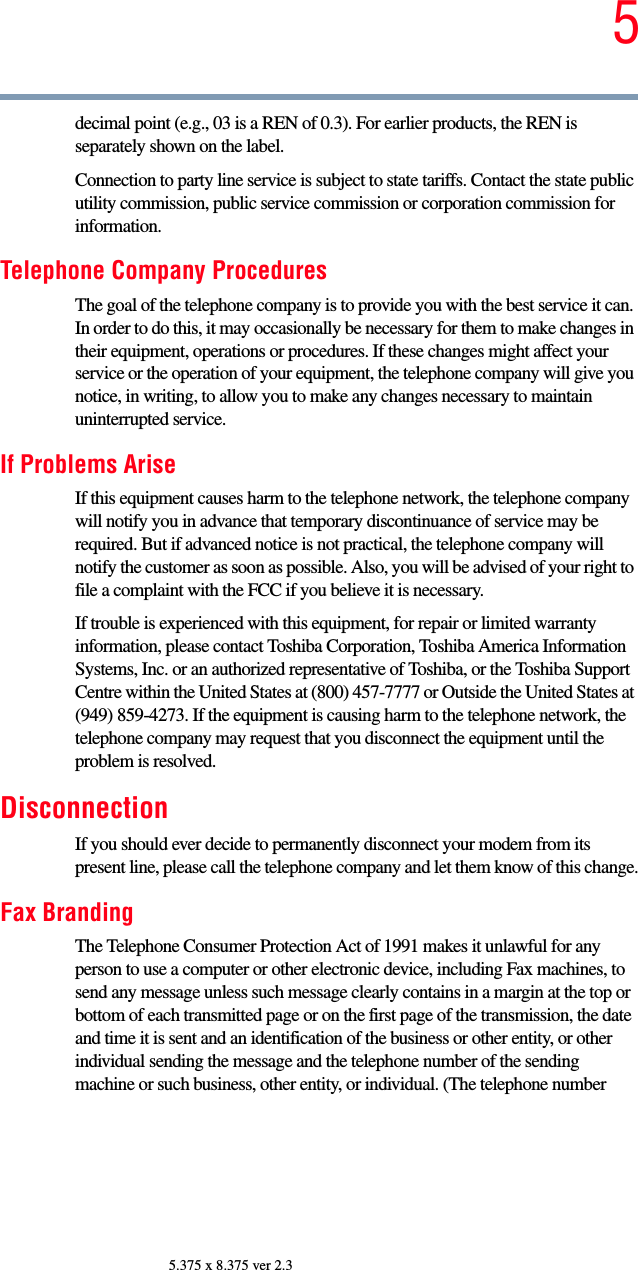
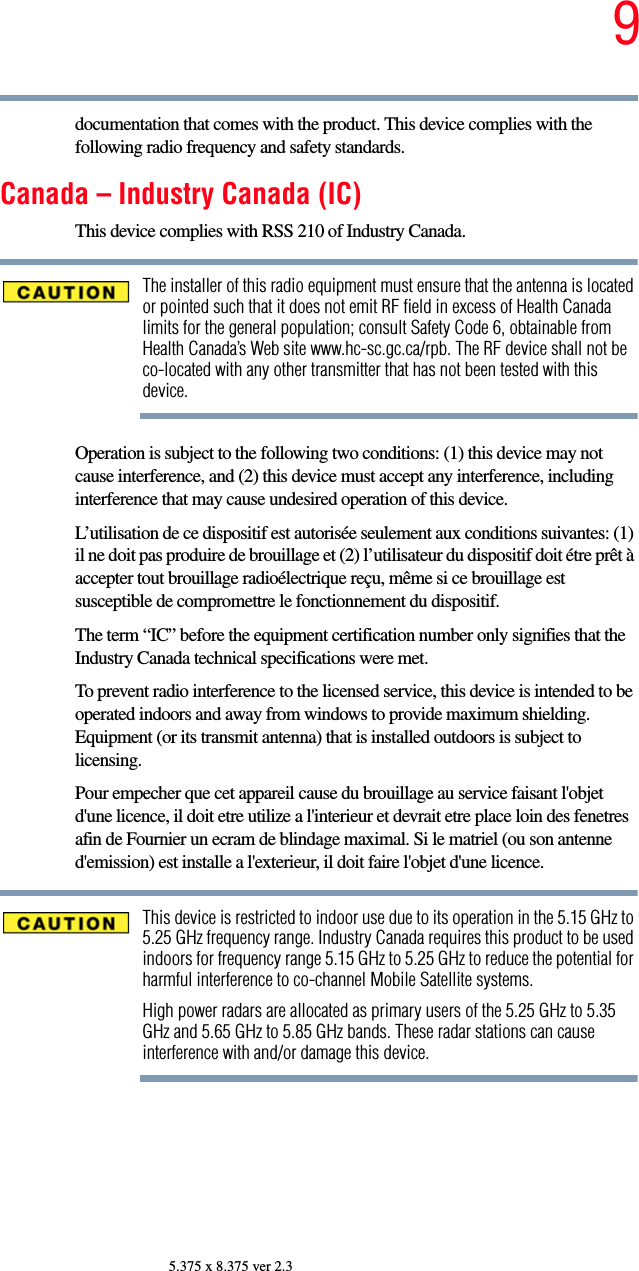
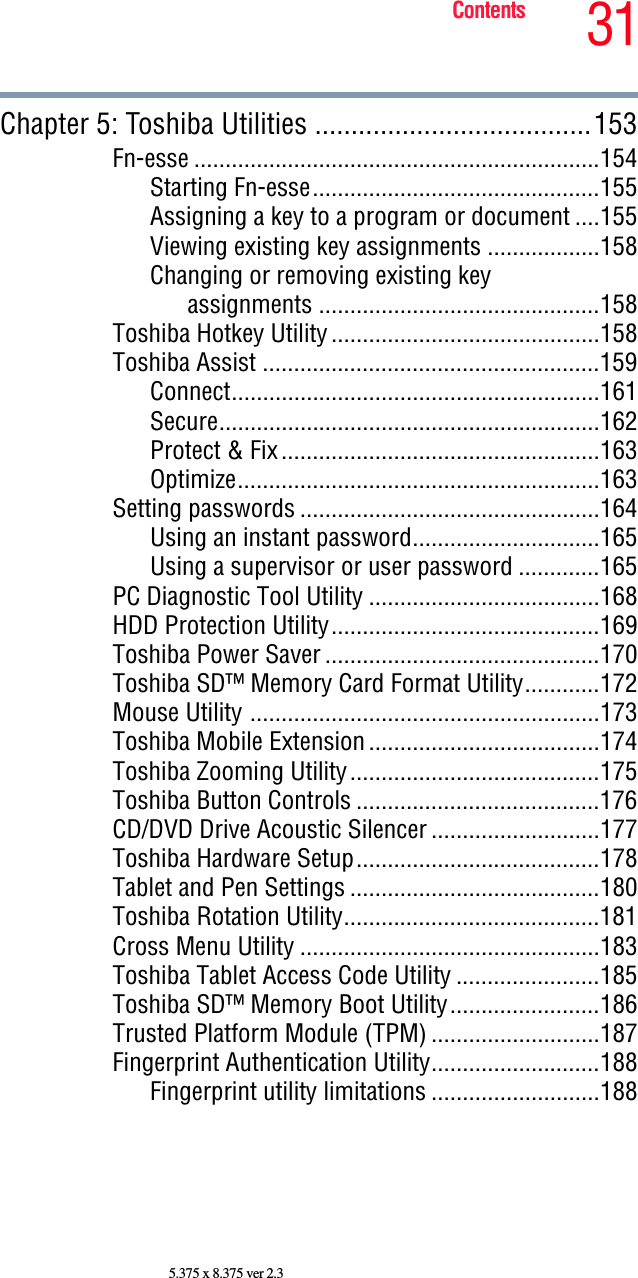
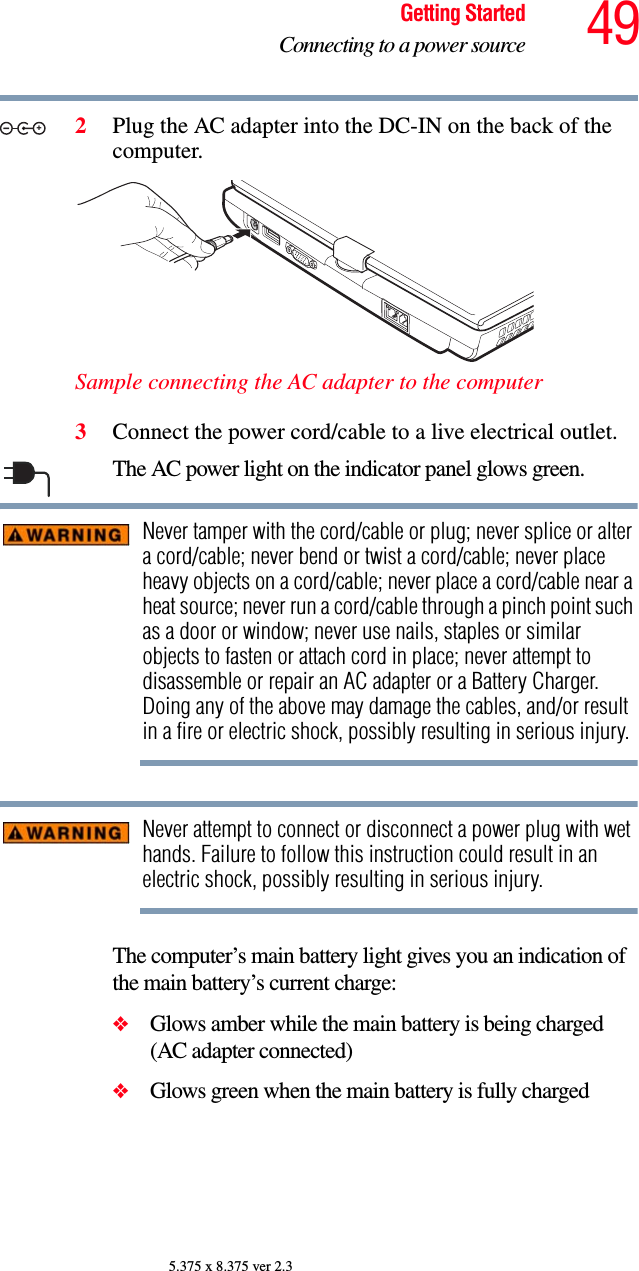
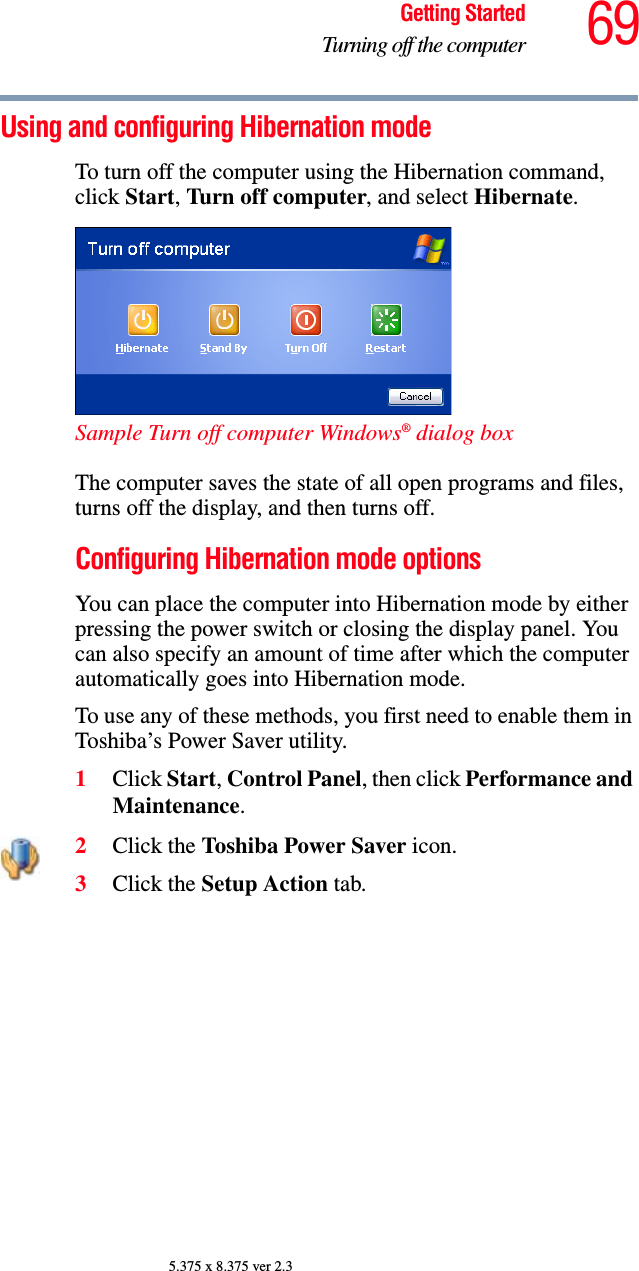
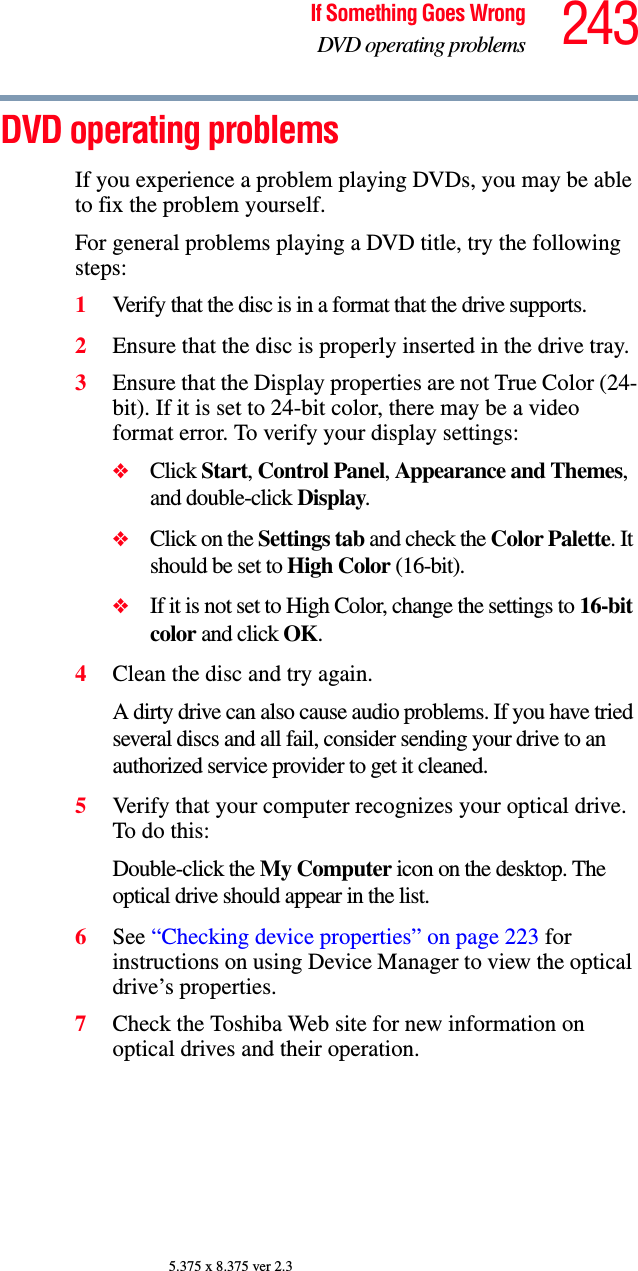
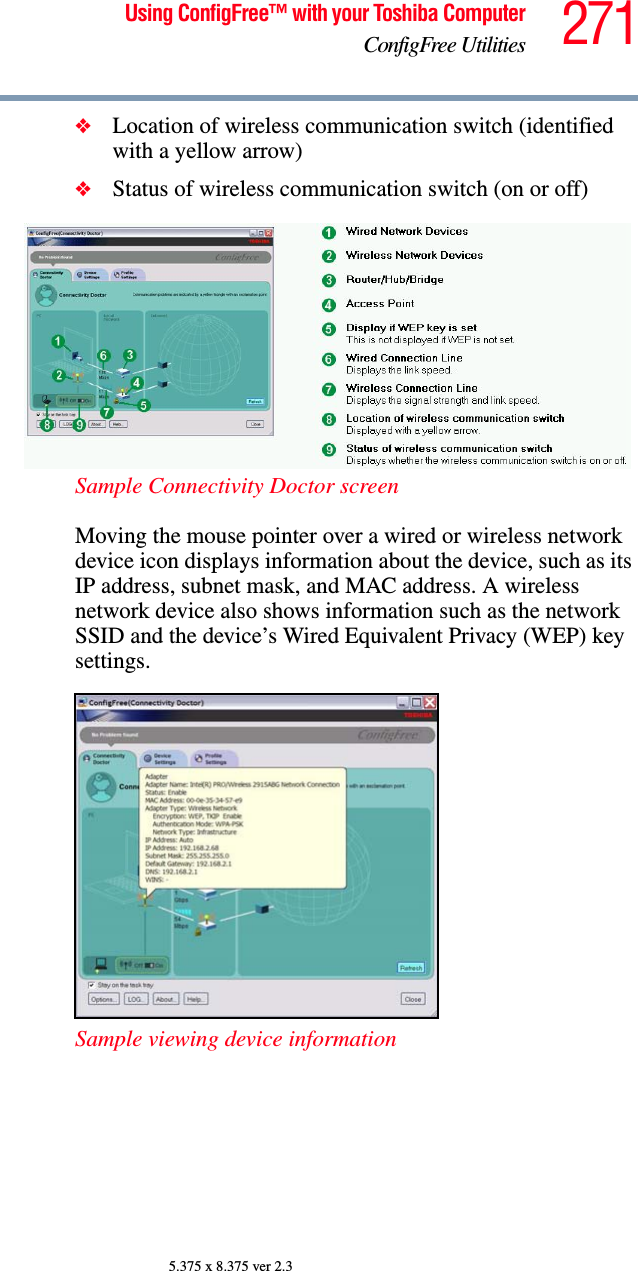
![207Keeping Your Files SafeUsing passwords in the Windows® operating system5.375 x 8.375 ver 2.3To register a user only password in System Setup:1Click Start, then click Shutdown, and click OK.The computer shuts down. 2Hold down the Esc key and press and hold the power switch until the on/off light on the system indicator panel illuminates (green) for approximately one second. When the following message appears on the screen: “Check system, Then press [F1] key,” press F1. The System Setup screen appears.3Press H to move to the HDD PASSWORD section on the screen.4Press the spacebar to select User Only password mode.5Press the down arrow key to move to the User Password section.6Press the spacebar, then type a password of 1 to 16 characters and press Enter. You may use any combination of letters and numbers in your password.7When System Setup prompts you to verify the password, type it again and press Enter. If the two passwords match, System Setup displays: Registered. If the two passwords do not match, an error message appears. Repeat steps 6 and 7 to enter the password again.8Press End to save the change. 9When System Setup prompts you to confirm your change, Press Y.](https://usermanual.wiki/Dynabook/UPA3494G3.host-manual/User-Guide-721047-Page-207.png)
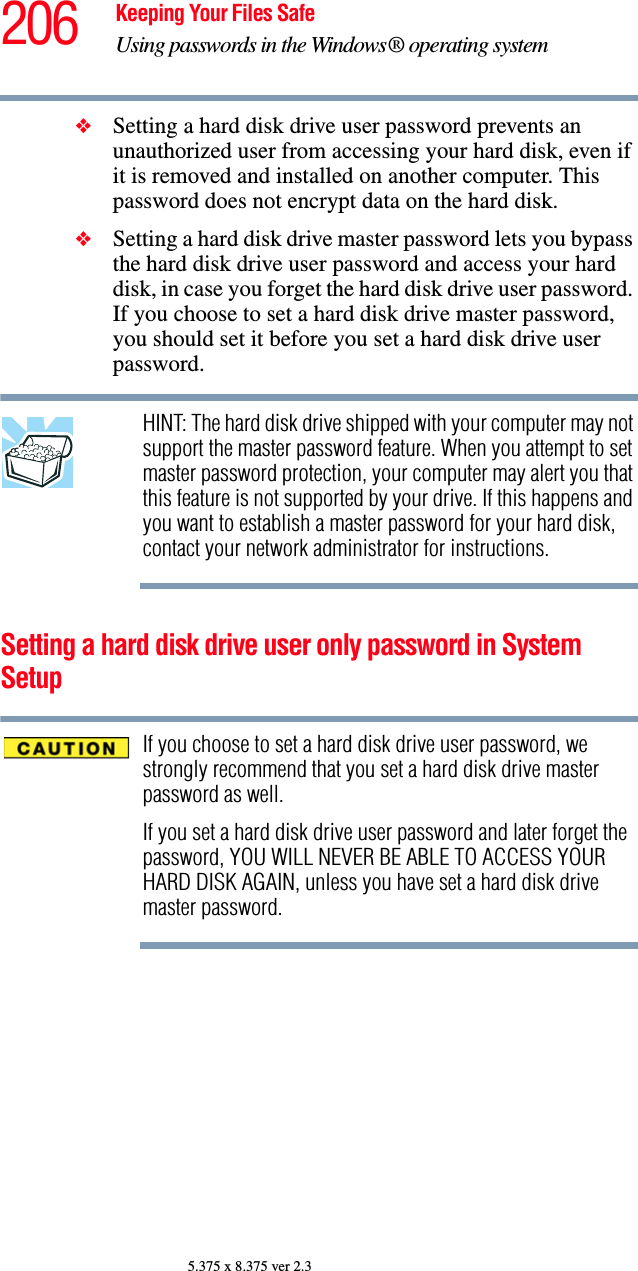
![208 Keeping Your Files SafeUsing passwords in the Windows® operating system5.375 x 8.375 ver 2.3Deleting or changing a hard disk drive user only password in System SetupTo delete or change a user only password in System Setup:1Click Start, then click Shutdown, and click OK.The computer shuts down. 2Hold down the Esc key and press and hold the power switch until the on/off light on the system indicator panel illuminates (green) for approximately one second. When the following message appears on the screen: “Check system, Then press [F1] key,” press F1. The System Setup screen appears.3Press H to move to the HDD PASSWORD section on the screen.4Press the spacebar, then type in your user password and press Enter.5If you want to change the password, input the new password.6When System Setup prompts you to verify the password, type it again and press Enter. If the two passwords match, System Setup displays: Registered. If the two passwords do not match, an error message appears. Repeat steps 5 and 6 to enter the password again.7If you want to delete the user password, leave the space blank and press Enter twice. System Setup displays: Not Registered.8Press End to save the change. 9When System Setup prompts you to confirm your change, Press Y.](https://usermanual.wiki/Dynabook/UPA3494G3.host-manual/User-Guide-721047-Page-208.png)
![209Keeping Your Files SafeUsing passwords in the Windows® operating system5.375 x 8.375 ver 2.3Setting a hard disk drive master and user password in System SetupMake sure you choose a hard disk drive master password you can remember easily. If you set a hard disk drive user password and later forget the password or lose your password diskette, you will need to enter the hard disk drive master password in order to access your hard disk.To register master and user passwords in System Setup:1Click Start, then click Shutdown, and click OK.The computer shuts down. 2Hold down the Esc key and press and hold the power switch until the on/off light on the system indicator panel illuminates (green) for approximately one second. When the following message appears on the screen: “Check system, Then press [F1] key,” press F1. The System Setup screen appears.3Press H to move to the HDD PASSWORD section on the screen.4Press the spacebar to select Master + User password mode.5Press the down arrow key to move to the Master Password section. You must register a Master Password first. 6Press the spacebar, then type a password of 1 to 16 characters and press Enter. You may use any combination of letters and numbers in your password.](https://usermanual.wiki/Dynabook/UPA3494G3.host-manual/User-Guide-721047-Page-209.png)
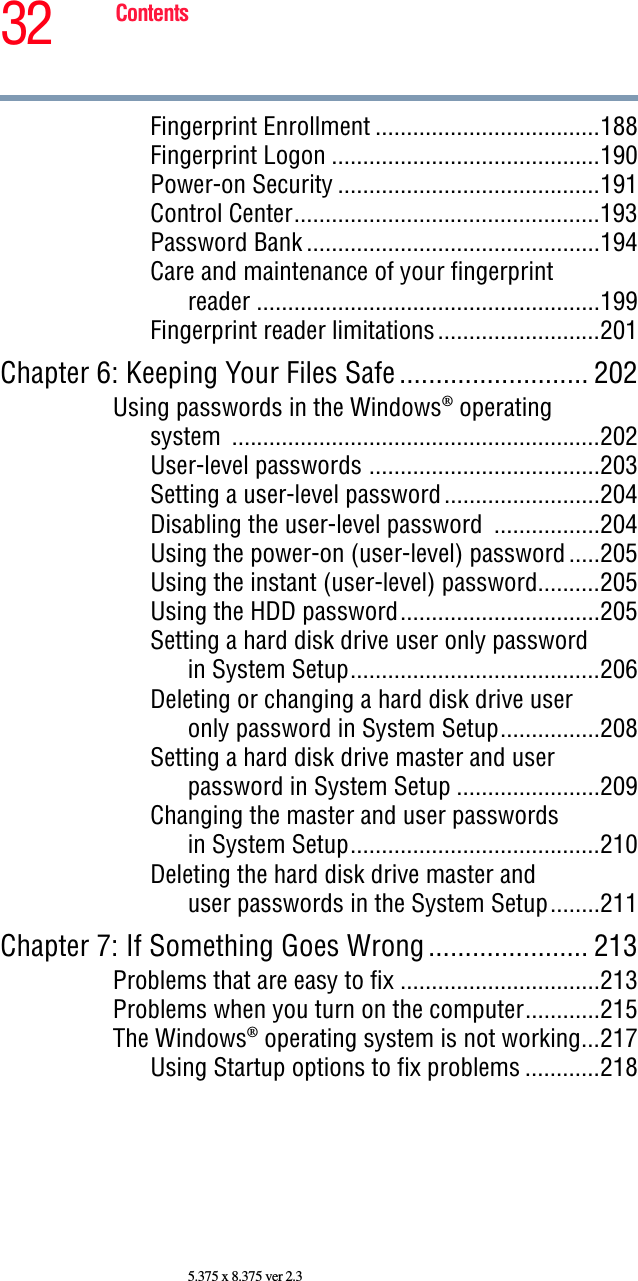
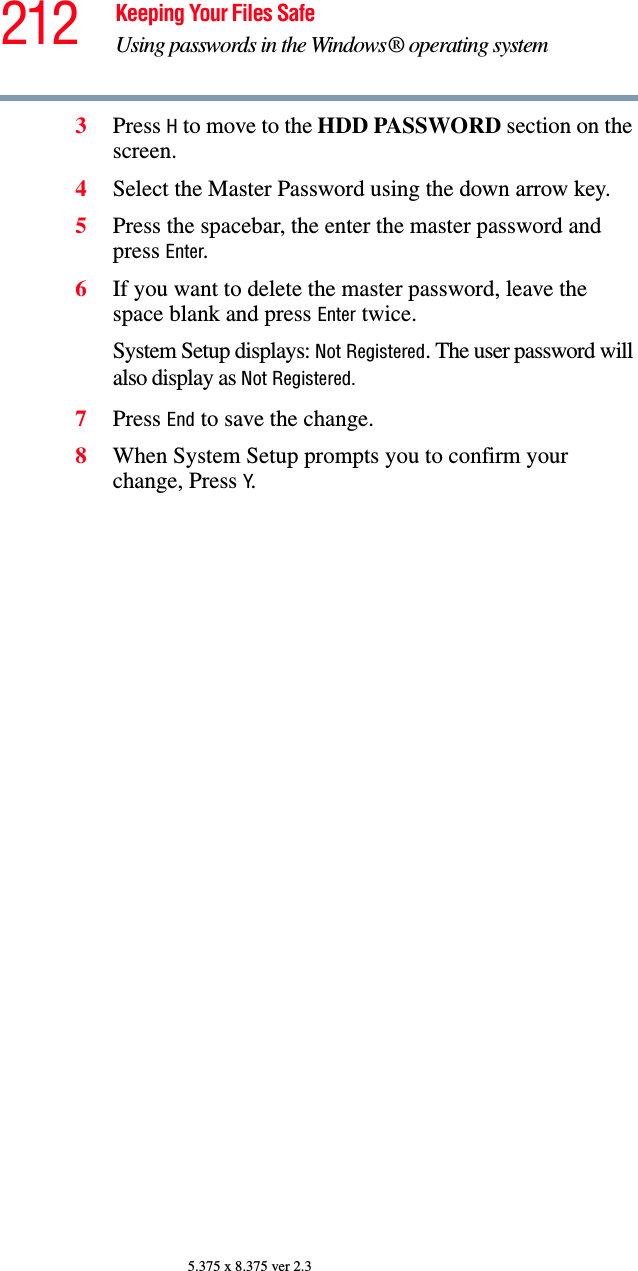
![210 Keeping Your Files SafeUsing passwords in the Windows® operating system5.375 x 8.375 ver 2.37When System Setup prompts you to verify the password, type it again and press Enter. If the two passwords match, System Setup displays: Registered for both User and Master passwords. If the two passwords do not match, an error message appears. Repeat steps 6 and 7 to enter the password again.8Press End to save the change. 9When System Setup prompts you to confirm your change, Press Y.Changing the master and user passwords in System SetupTo change the master and user passwords in System Setup:1Click Start, then click Shutdown, and click OK.The computer shuts down. 2Hold down the Esc key and press and hold the power switch until the on/off light on the system indicator panel illuminates (green) for approximately one second. When the following message appears on the screen: “Check system, Then press [F1] key,” press F1. The System Setup screen appears.3Press H to move to the HDD PASSWORD section on the screen.4Use the up and down arrow keys to select the password you wish to change. 5Press the spacebar, then enter the appropriate password and press Enter.](https://usermanual.wiki/Dynabook/UPA3494G3.host-manual/User-Guide-721047-Page-210.png)
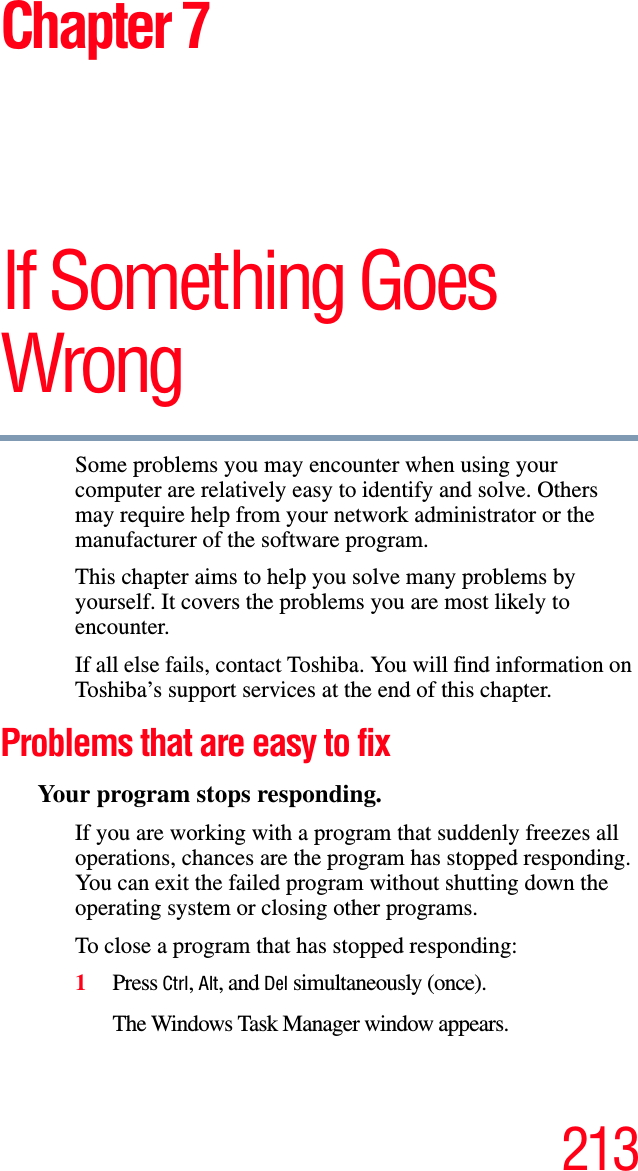
![211Keeping Your Files SafeUsing passwords in the Windows® operating system5.375 x 8.375 ver 2.36If you want to change your password, input the new password.7When System Setup prompts you to verify the password, type it again and press Enter.If the two passwords match, System Setup displays: Registered. Note that you can only change (not delete) the user password if a master password is registered.8Press End to save the change.9When System Setup prompts you to confirm your change, Press Y.Deleting the hard disk drive master and user passwords in the System SetupHINT: You must delete the hard disk drive master password before you can delete the hard disk drive user password.To delete the master and user passwords in System Setup:1Click Start, then click Shutdown, and click OK.The computer shuts down. 2Hold down the Esc key and press and hold the power switch until the on/off light on the system indicator panel illuminates (green) for approximately one second. When the following message appears on the screen: “Check system, Then press [F1] key,” press F1. The System Setup screen appears.](https://usermanual.wiki/Dynabook/UPA3494G3.host-manual/User-Guide-721047-Page-211.png)


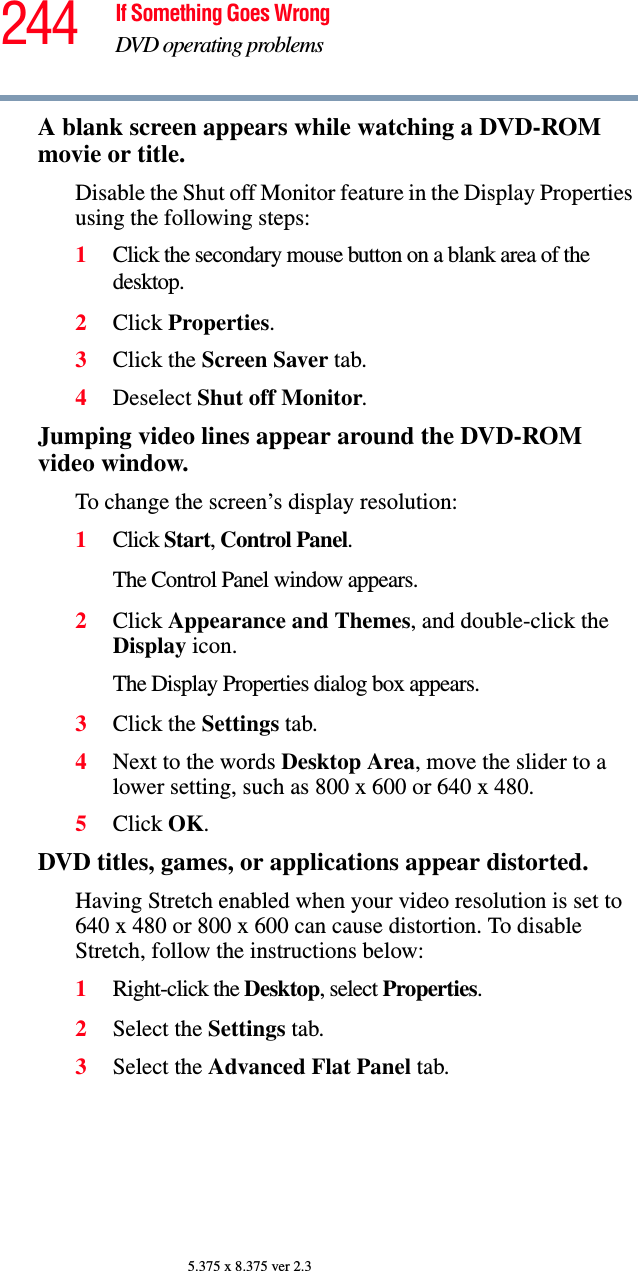


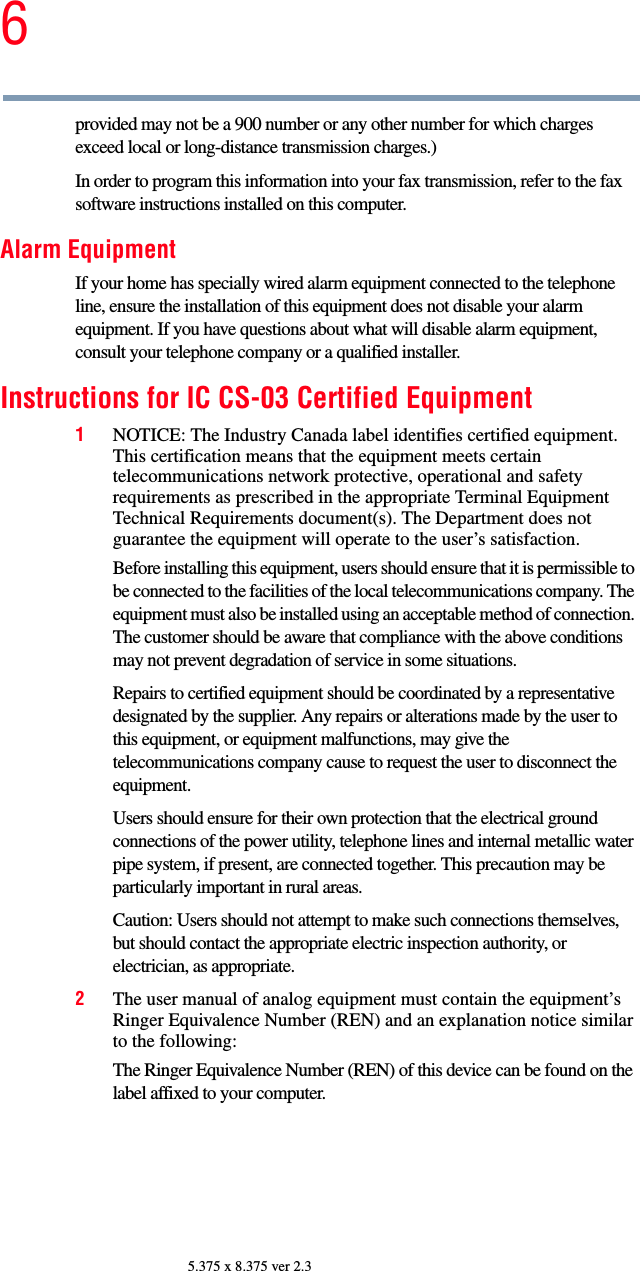
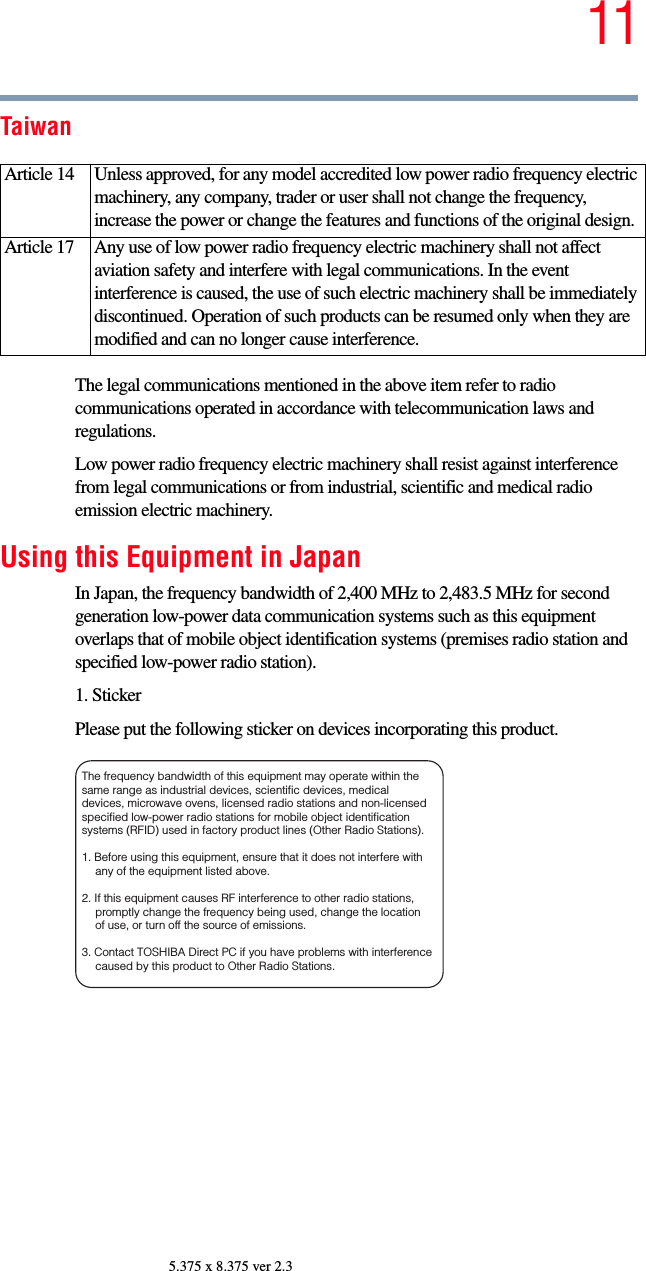
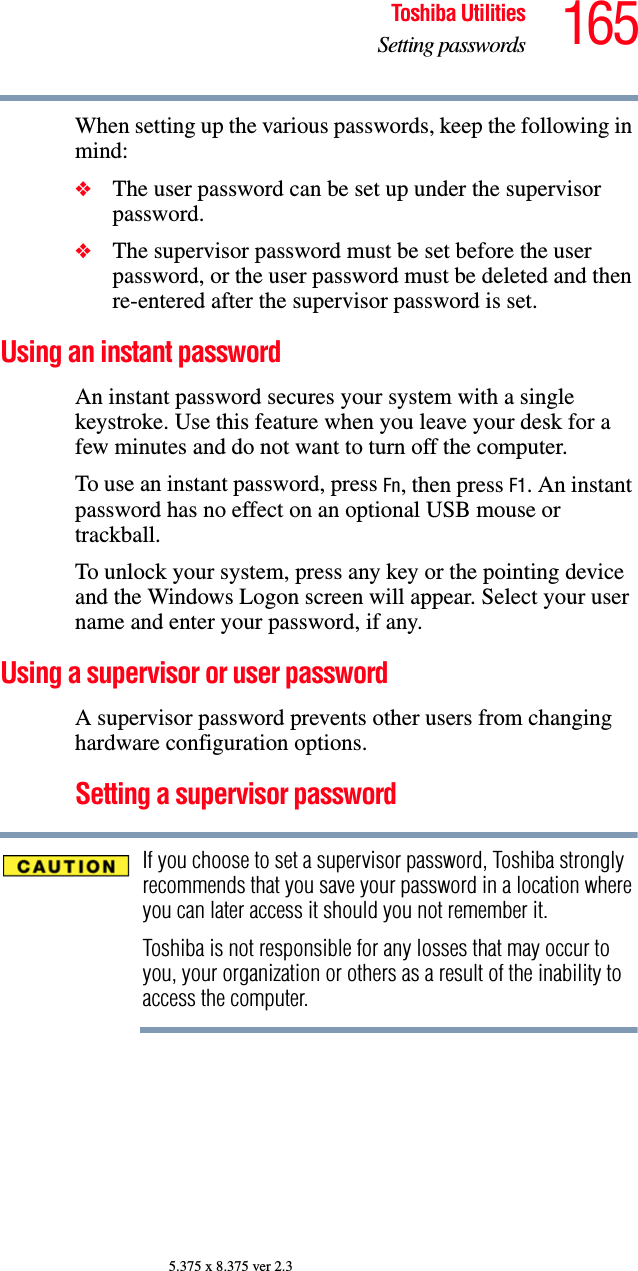
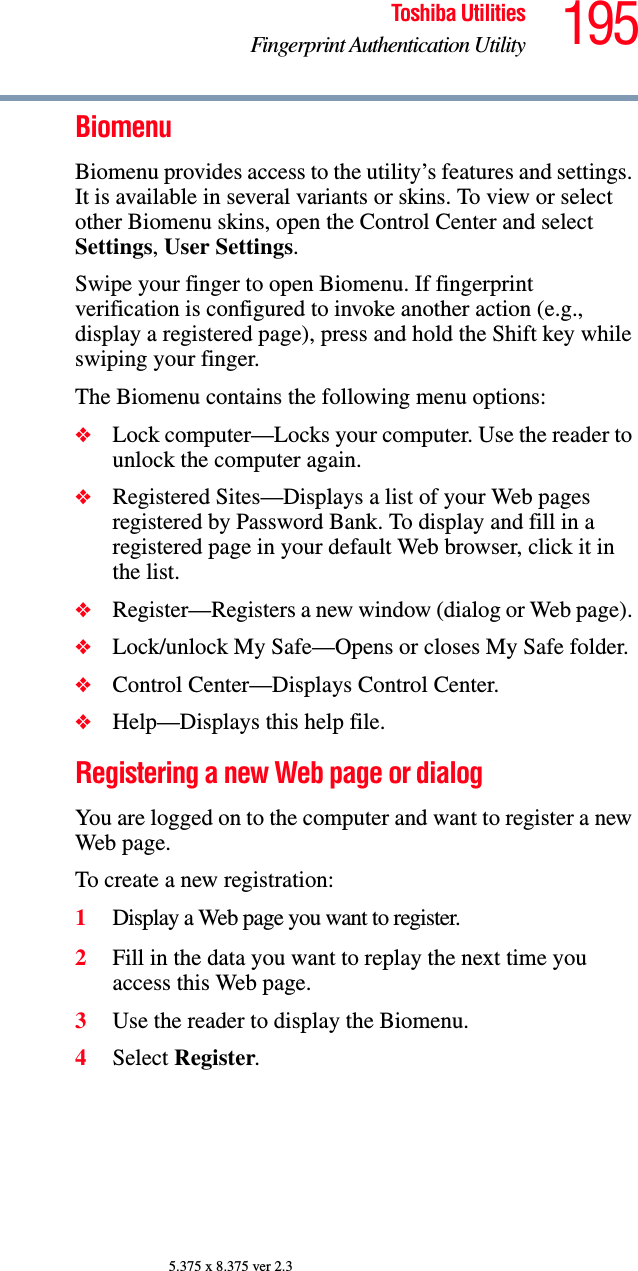
![265Hot KeysKeyboard hot keys5.375 x 8.375 ver 2.3.2Keyboard hot keys Display resolutionZooming applications in/outFn + This hot key turns the cursor control overlay on and off.Fn + This hot key turns the numeric overlay on and off.Fn + This hot key turns the scroll lock feature on and off.Fn + [spacebar]This hot key toggles the display resolution.Fn + This hot key turns the Zooming utility to zoom-out. For more information, see “Toshiba Zooming Utility” on page 175.Fn + This hot key turns the Zooming utility to zoom-in. For more information, see “Toshiba Zooming Util-ity” on page 175.](https://usermanual.wiki/Dynabook/UPA3494G3.host-manual/User-Guide-721047-Page-265.png)
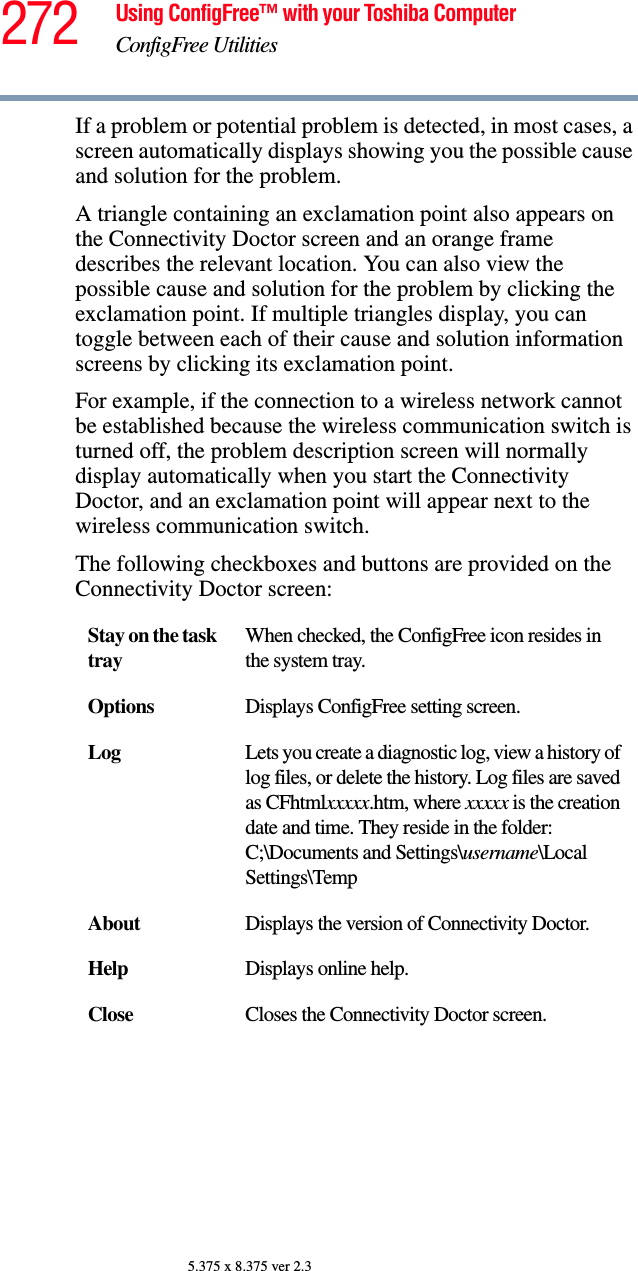


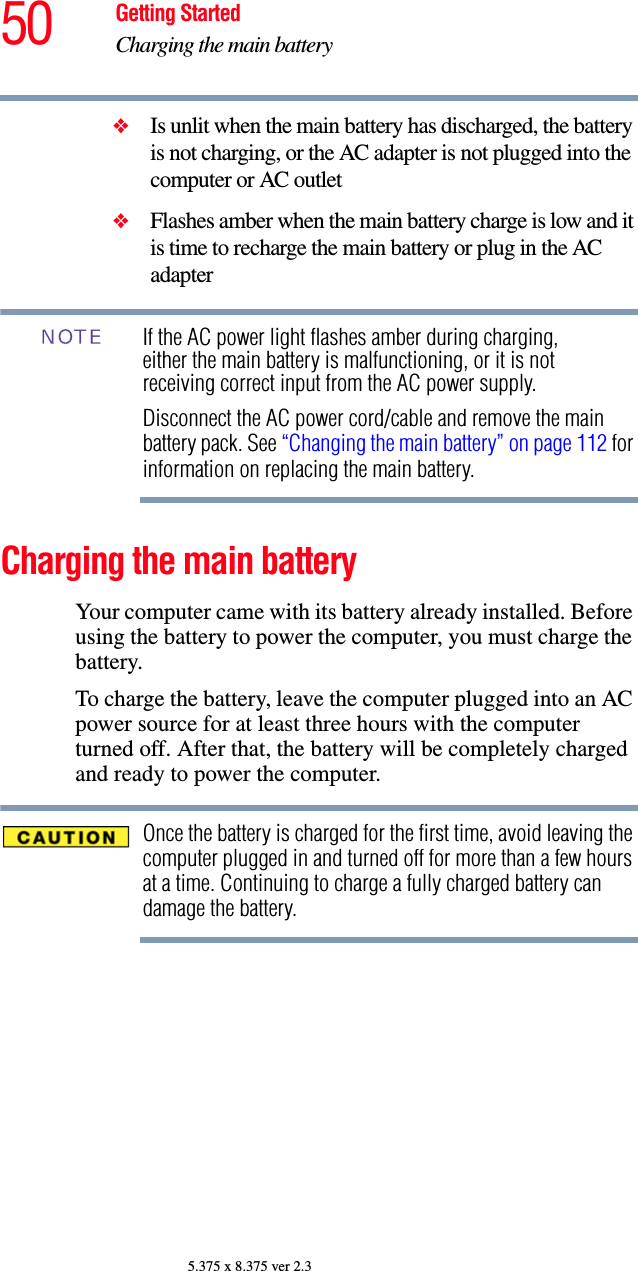
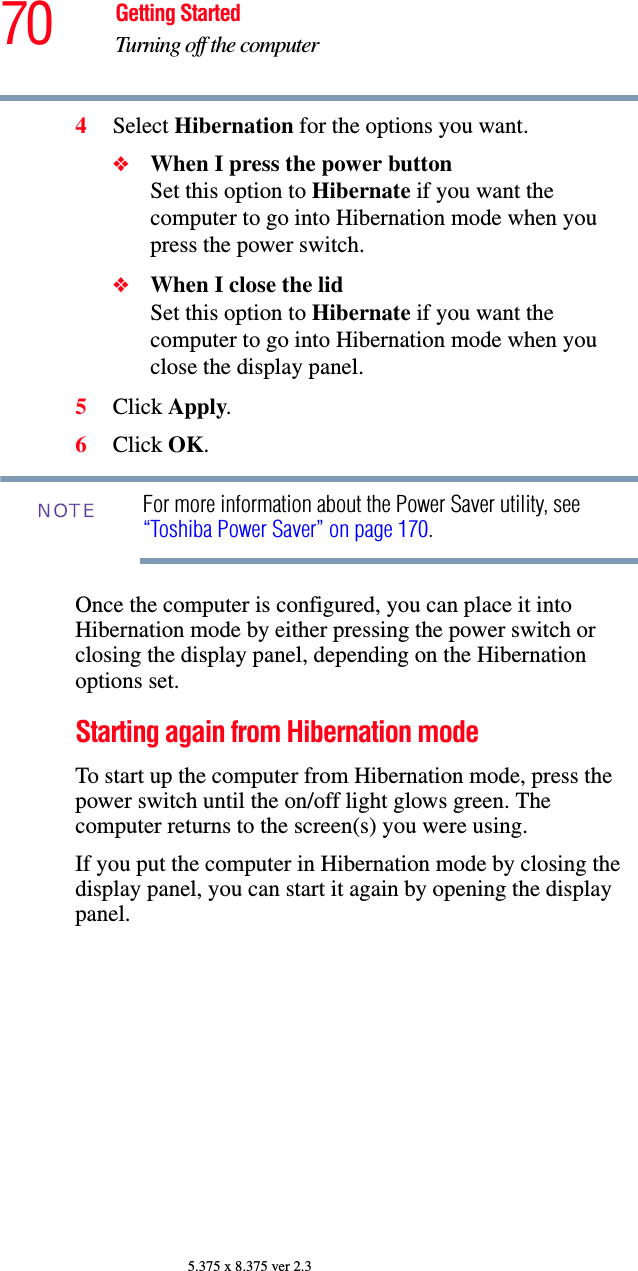
![298 Glossary5.375 x 8.375 ver 2.3DVD-ROM (digital versatile [or video] disc read-only memory) — A very high-capacity storage medium that uses laser optics for reading data. Each DVD-ROM can hold as much data as several CD-ROMs. Compare CD-ROM.Eemulation — A technique in which a device or program imitates another device or program.enable — To turn on a computer option. See also disable.executable file — A computer program that is ready to run. Application programs and batch files are examples of executable files. Names of executable files usually end with a .bat or .exe extension.expansion device — A device that connects to a computer to expand its capabilities. Other names for an expansion device are port expander, port replicator, docking station, or network adapter.extension — See file extension.external device — See device.Ffile — A collection of related information, saved on disk with a unique name. A file may be a program, information used by a program, or a document. See also document.file allocation table (FAT) — The section of a disk that keeps track of the location of files stored on the disk.file name — A set of characters that uniquely identifies a file within a particular folder. It consists of two parts: the actual name and the file name extension. See also file extension.file extension — The three characters following the period (pronounced “dot”) at the end of a file name. The extension indicates the type of file. Examples are .exe for program files and .hlp for help files. See also file name.folder — Also called directory. A container for organizing files saved to a disk. A folder is symbolized on screen by a graphical image (icon) of a file folder. A folder can contain files and other folders.format — (verb) To prepare a blank disk for use with the computer’s operating system. Formatting creates a structure on the disk so the operating system can write information to the disk or read information from it.](https://usermanual.wiki/Dynabook/UPA3494G3.host-manual/User-Guide-721047-Page-298.png)