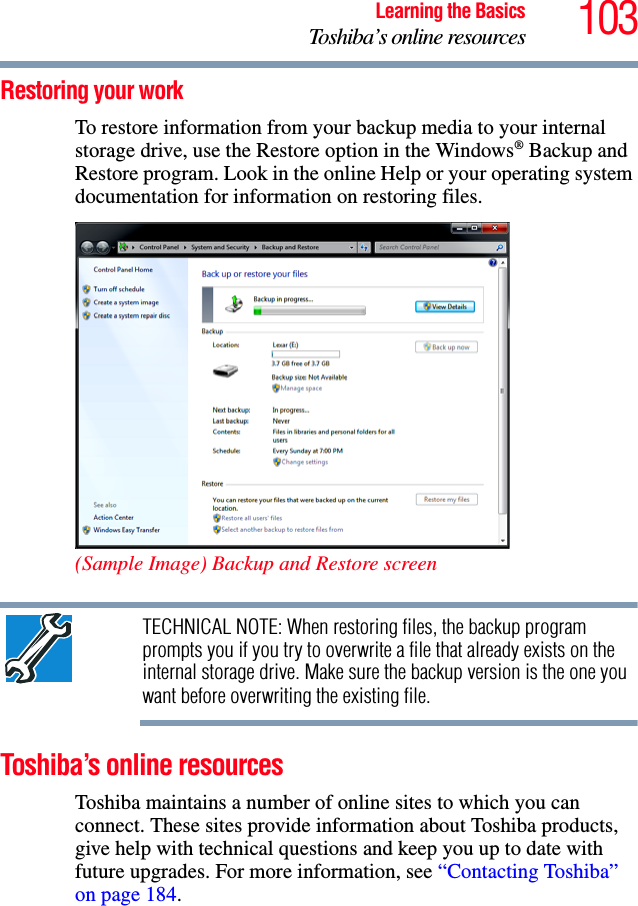
Dynabook UPA3726WL 802.11b/g RTL8187SE miniCard User Manual Satellite T110 T130 Series User s Guide
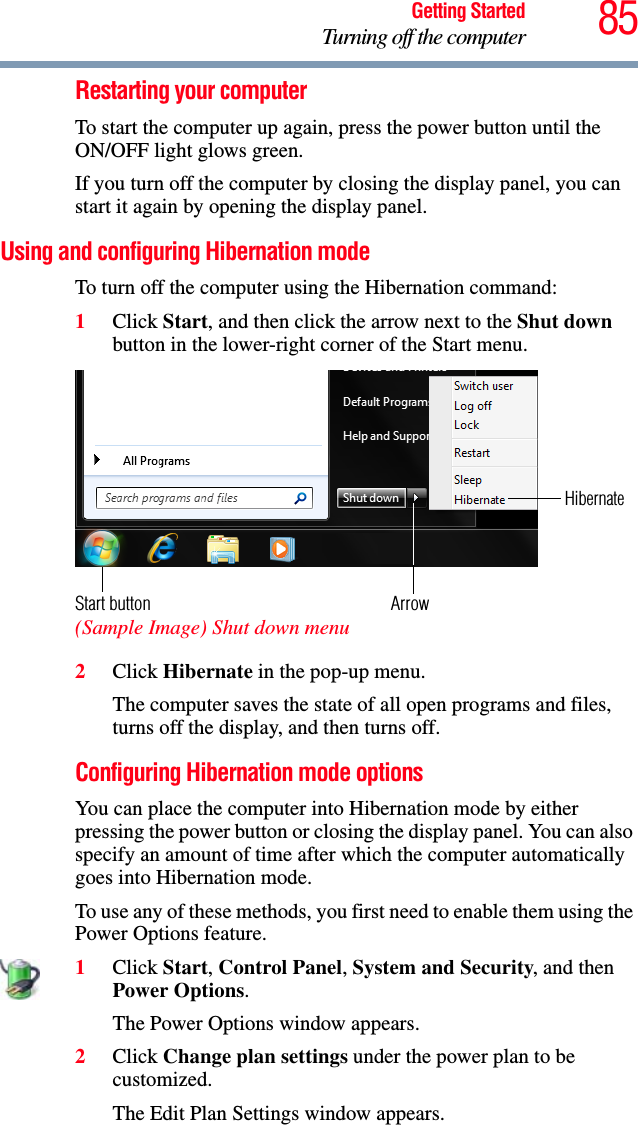
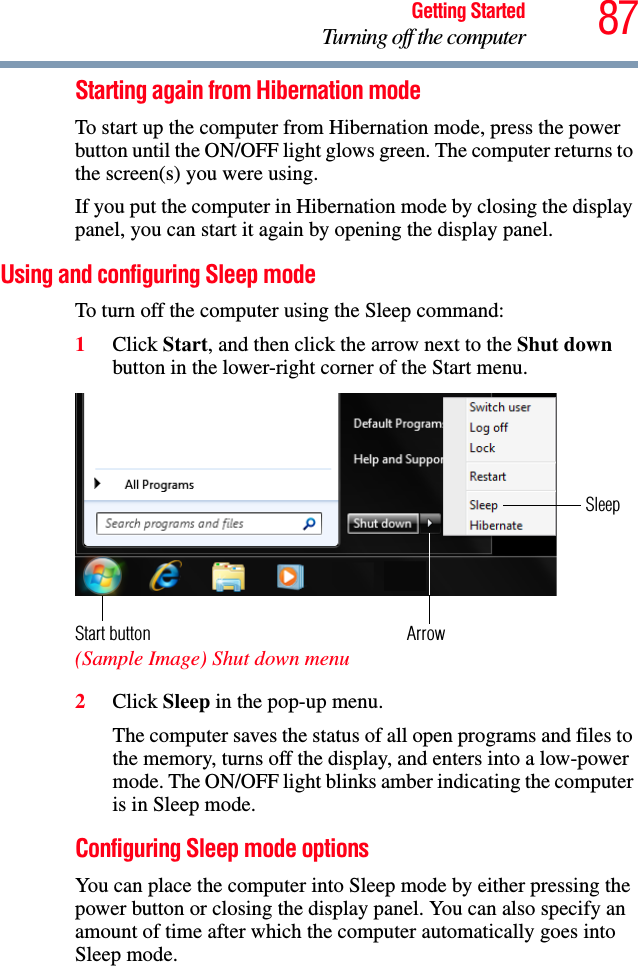
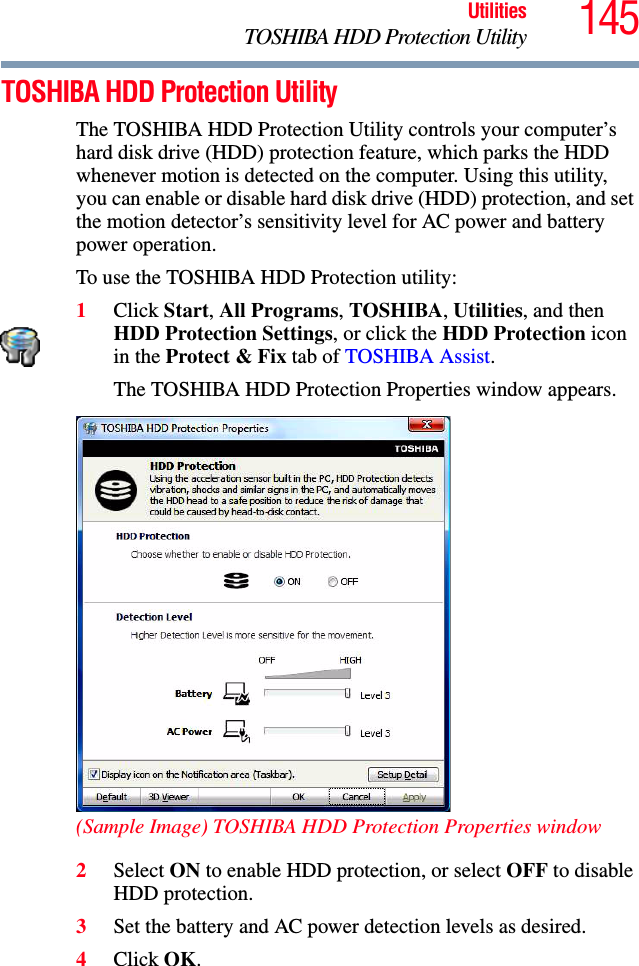
Toshiba Corporation 802.11b/g RTL8187SE miniCard Satellite T110 T130 Series User s Guide
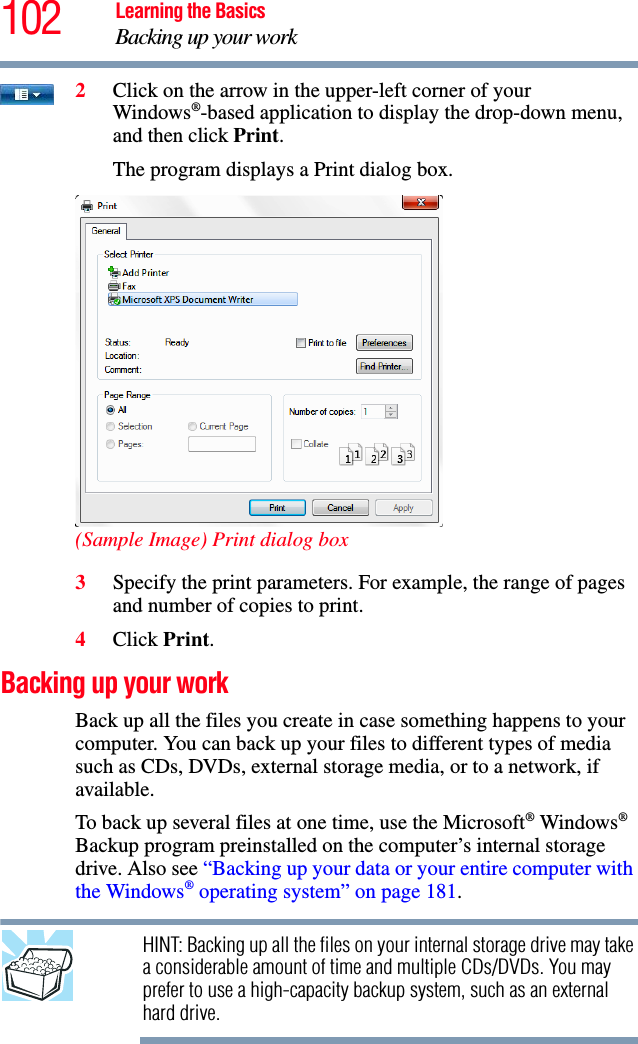
UserManual.wiki
>
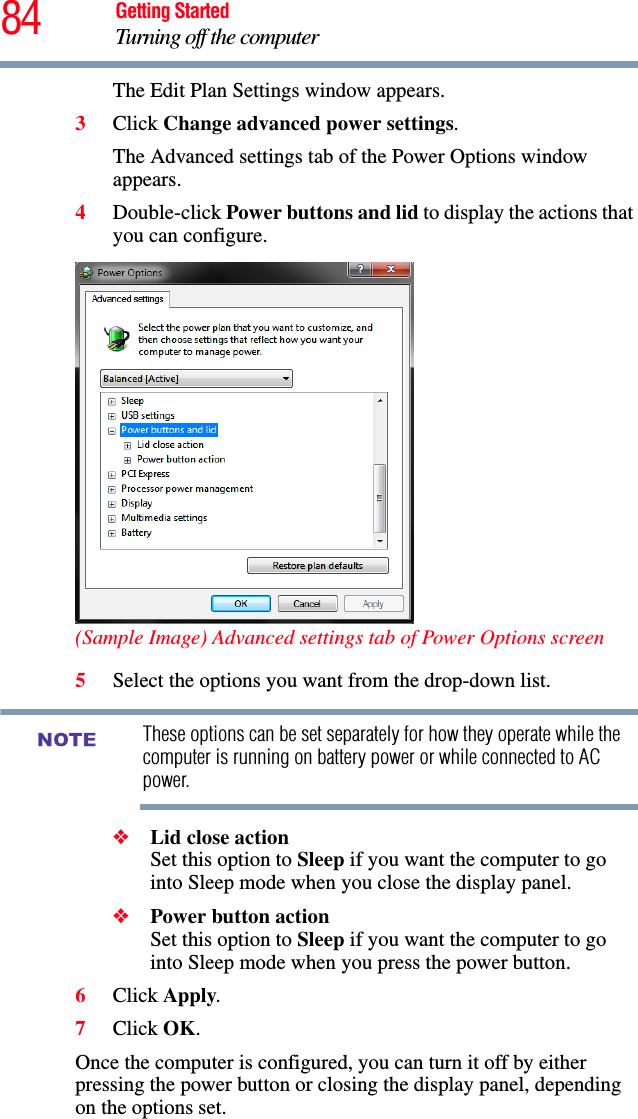
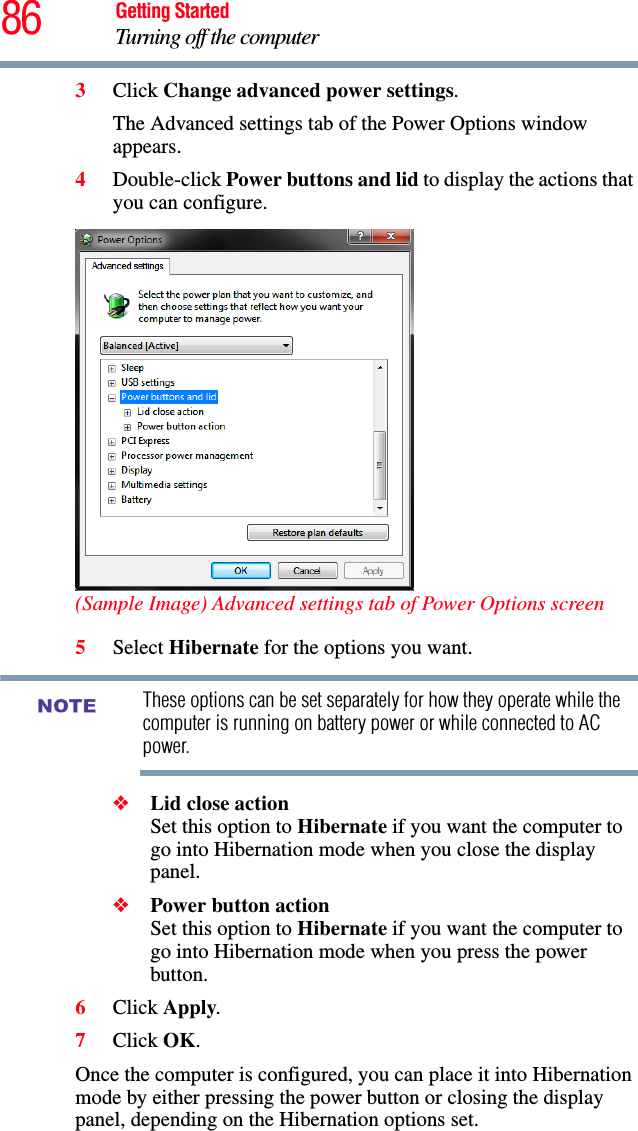
Dynabook
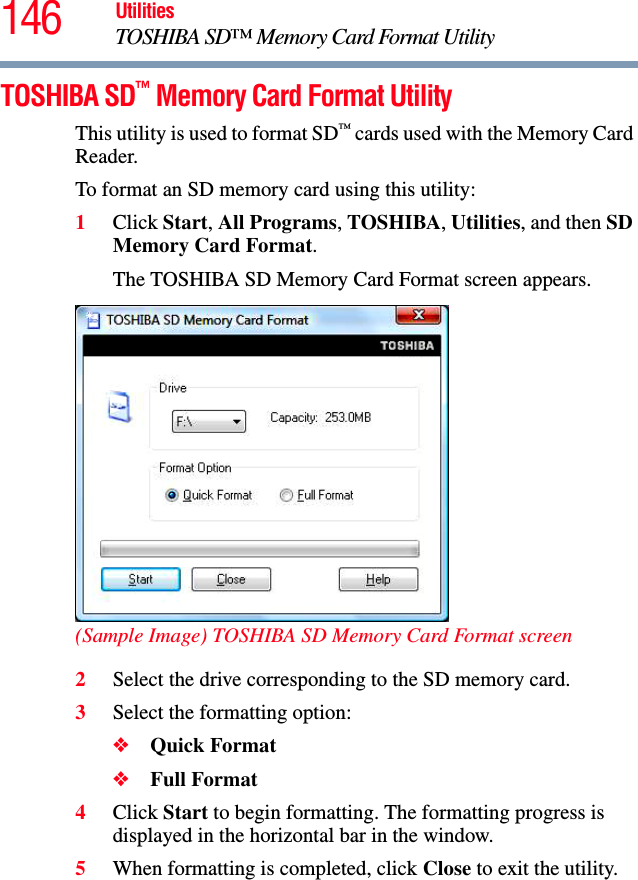
>
UPA3726WL User Manual
Manual
Navigation menu
Upload a User Manual
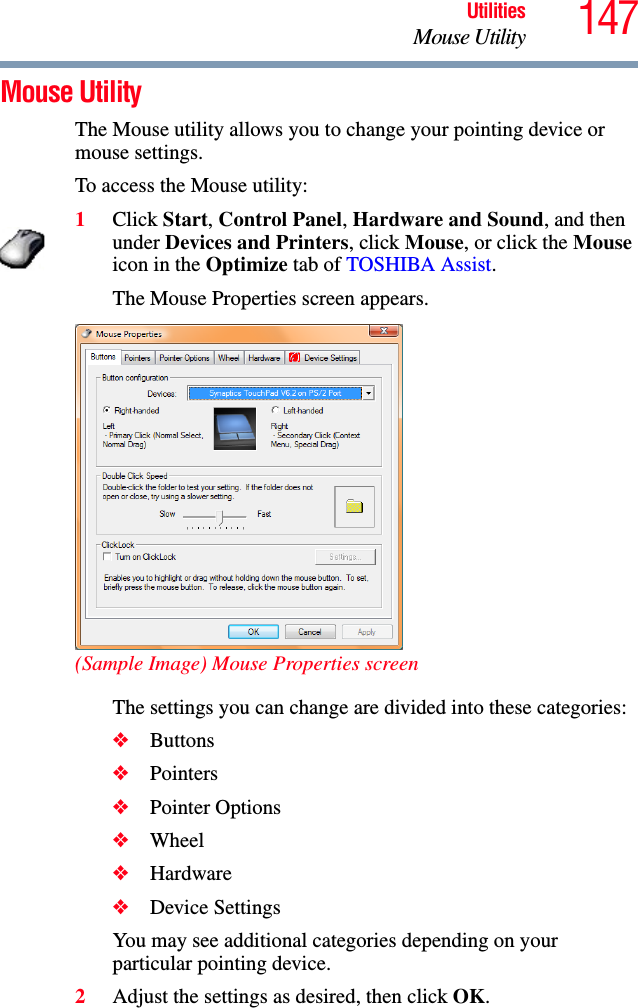
Namespaces
Wiki Guide
HTML
PDF
Info
Views
User Manual
Discussion / Help
Navigation

![115.375 x 8.375 ver 2.3VCCI Class B InformationModem Warning NoticeConformity StatementThe equipment has been approved to [Commission Decision “CTR21”] for pan-European single terminal connection to the Public Switched Telephone Network (PSTN).However, due to differences between the individual PSTNs provided in different countries/regions the approval does not, of itself, give an unconditional assurance of successful operation on every PSTN network termination point.In the event of problems, you should contact your equipment supplier in the first instance.TaiwanThe legal communications mentioned in the above item refer to radio communications operated in accordance with telecommunication laws and regulations.Low power radio frequency electric machinery shall resist against interference from legal communications or from industrial, scientific and medical radio emission electric machinery.Article 14 Unless approved, for any model accredited low power radio frequency electric machinery, any company, trader or user shall not change the frequency, increase the power or change the features and functions of the original design.Article 17 Any use of low power radio frequency electric machinery shall not affect aviation safety and interfere with legal communications. In the event interference is caused, the use of such electric machinery shall be immediately discontinued. Operation of such products can be resumed only when they are modified and can no longer cause interference.](https://usermanual.wiki/Dynabook/UPA3726WL/User-Guide-1175498-Page-11.png)


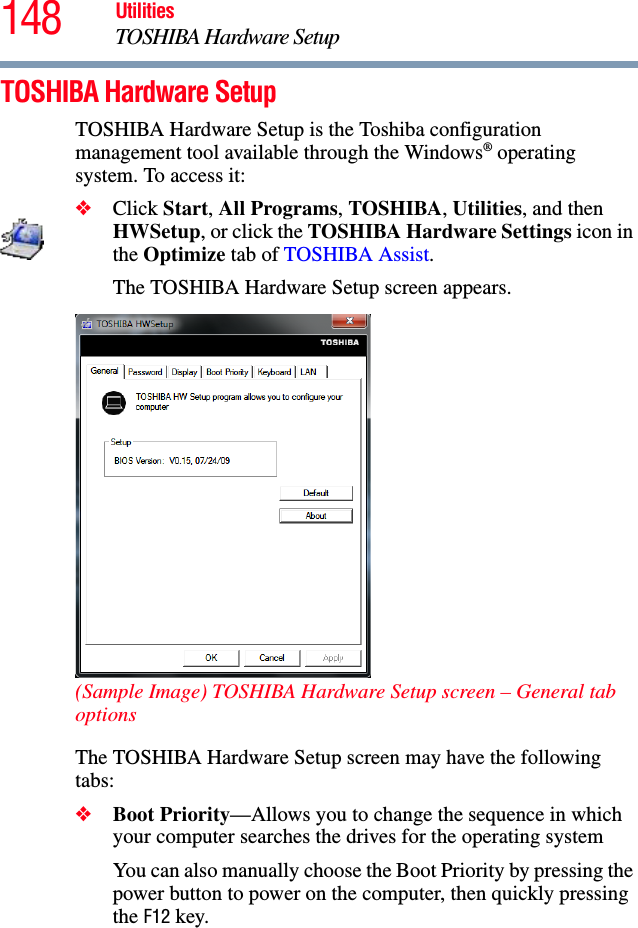


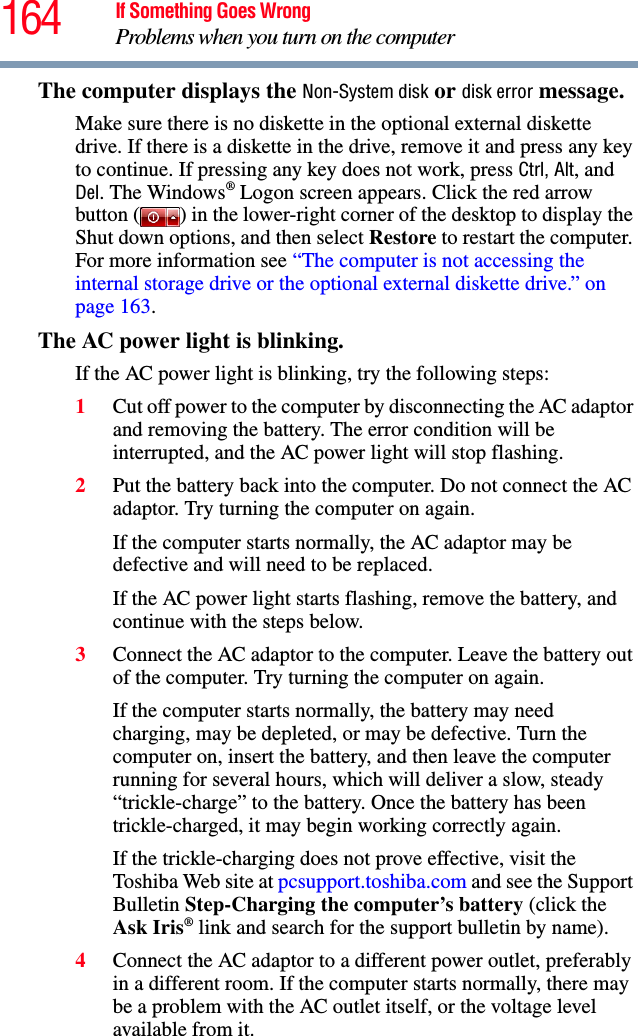


![178 If Something Goes WrongDevelop good computing habits3Enter IPCONFIG /ALL and press Enter.The IP address for each active network adapter will be displayed.❖Connect your computer directly to your router or broadband modem, by plugging a standard CAT5 Ethernet patch cable (sold separately) into your computer's RJ45 Ethernet port. If your connection problem disappears, the problem lies in the Wi-Fi® part of your network.❖Use the PING command to verify a connection to the gateway at 192.168.1.1 (a default gateway for most wireless routers).1Click Start to open the Start menu.2Type Cmd in the Search programs and files field.3Enter PING 192.168.1.1 at the command prompt, and press Enter.If “Request Timed Out” or another error message appears in response, then the problem is probably Wi-Fi®-related.❖If you have enabled any security provisions (closed system, MAC address filtering, Wired Equivalent Privacy [WEP], etc.), check the access point vendor's Web site for recent firmware upgrades. Problems with WEP keys, in particular, are frequently addressed in new firmware releases.The Windows® operating system wireless management utility does not work.If you are using an external Wi-Fi® adapter (a PC Card, USB adapter, or other variety), check if the adapter comes with its own management utility. If it does, the utility may be disabling the Windows® operating system wireless management utility, in which case you must use the adapter's management utility. If the documentation that accompanies the adapter does not provide enough information to determine if this is the case, contact that vendor's support group for further advice.Develop good computing habitsSave your work frequently.You can never predict when your computer will lock, forcing you to close a program and lose unsaved changes. Many software programs build in an automatic backup, but you should not rely solely on this feature. Save your work! See “Computing tips” on page 92 for instructions.](https://usermanual.wiki/Dynabook/UPA3726WL/User-Guide-1175498-Page-178.png)


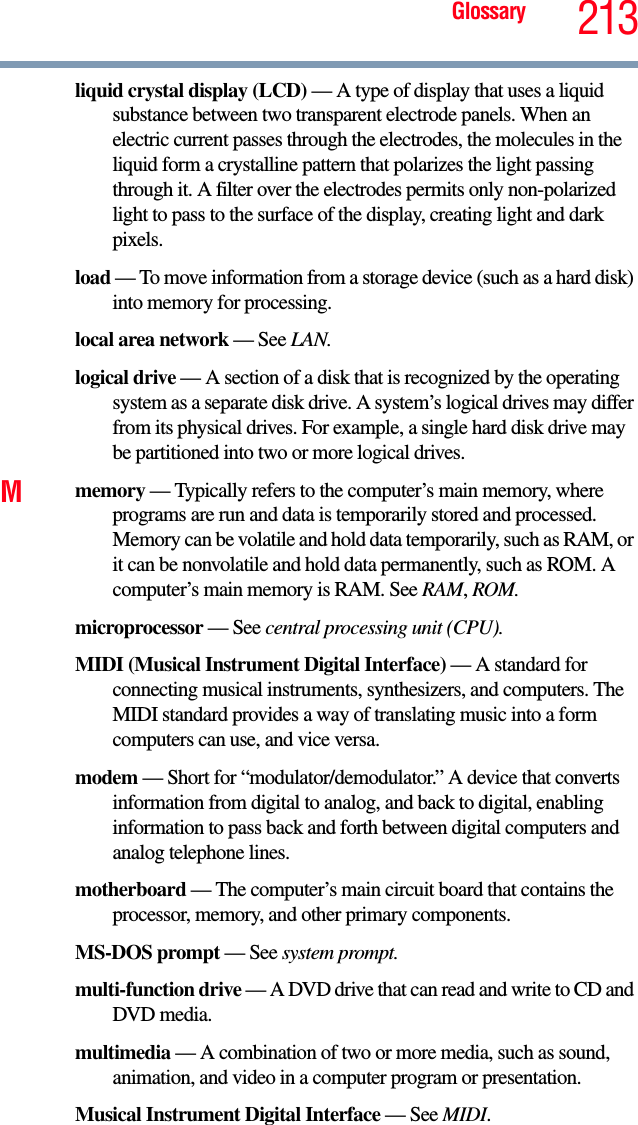
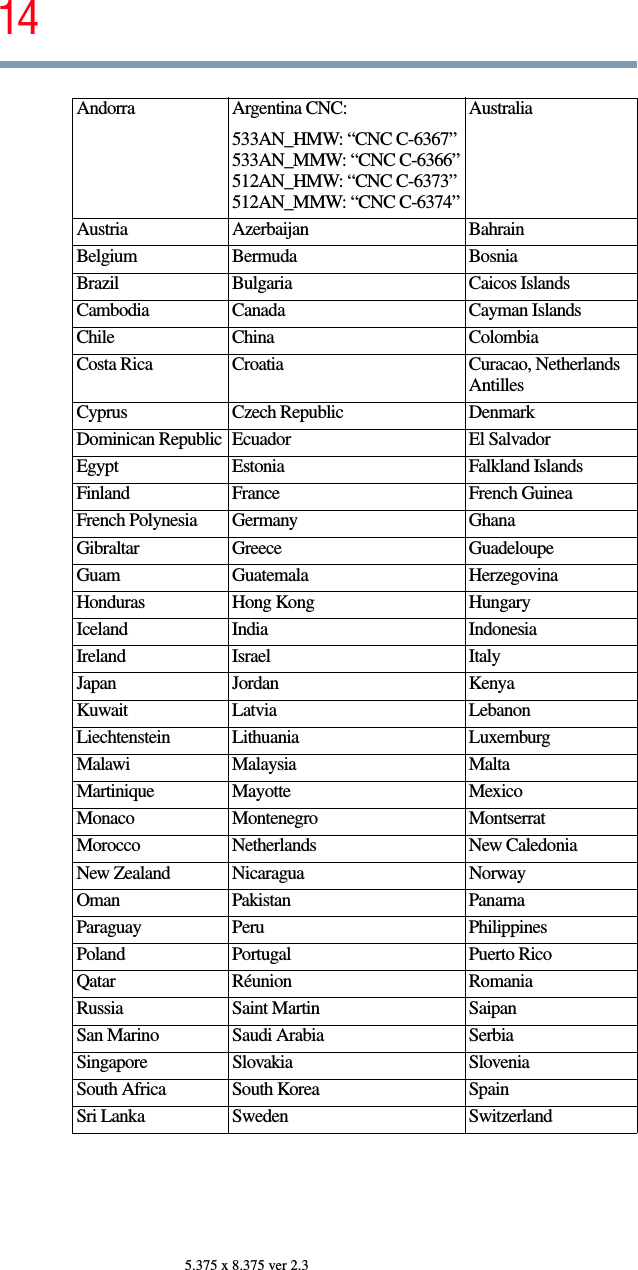
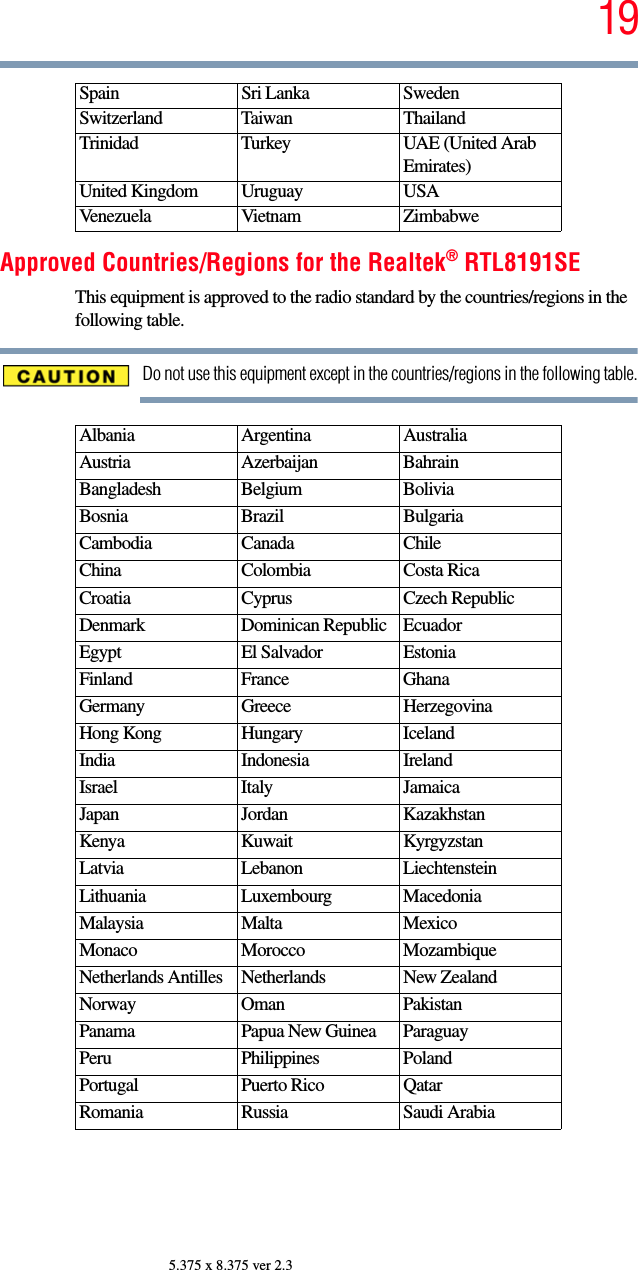
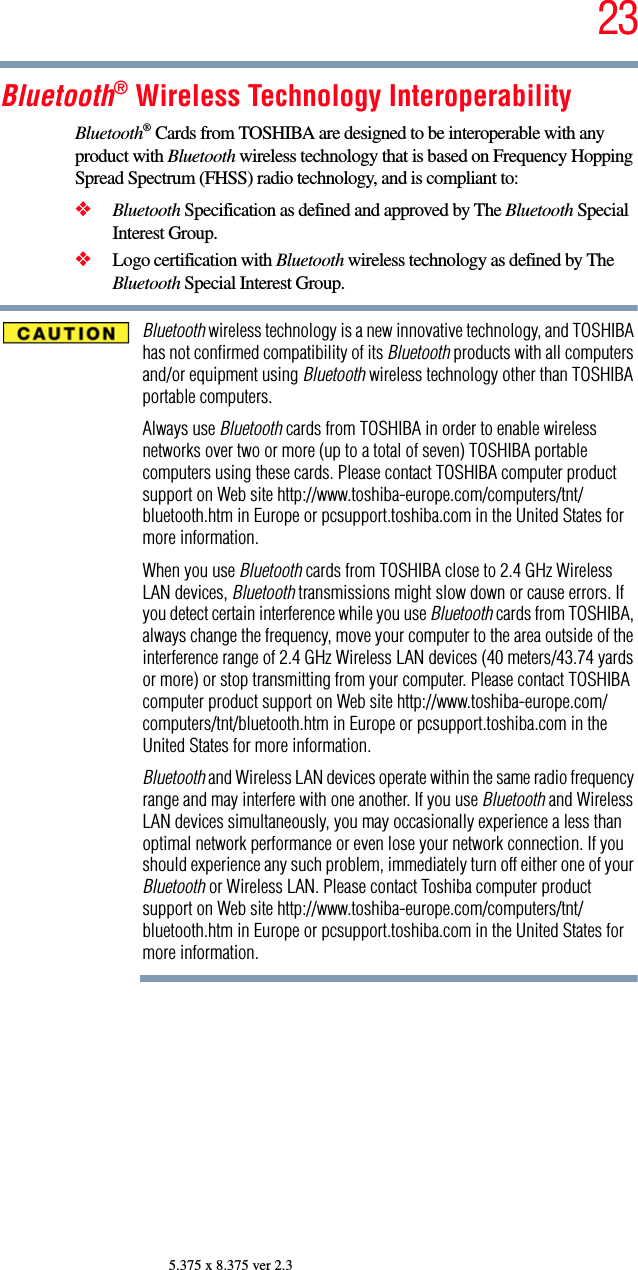
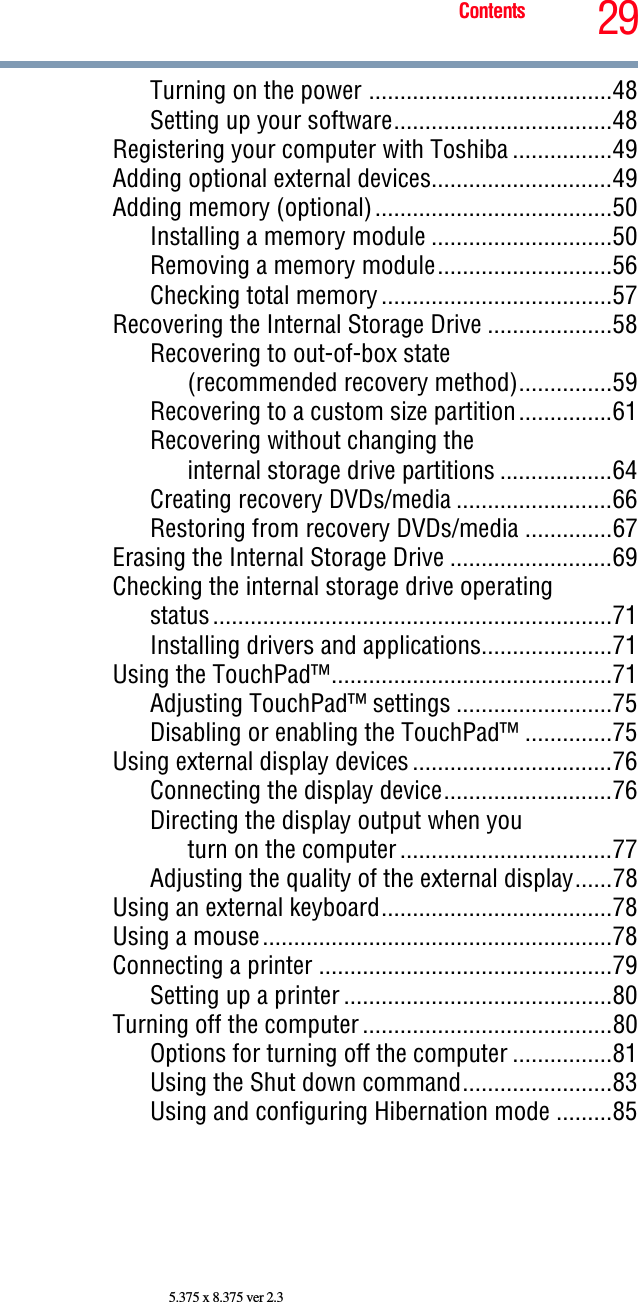
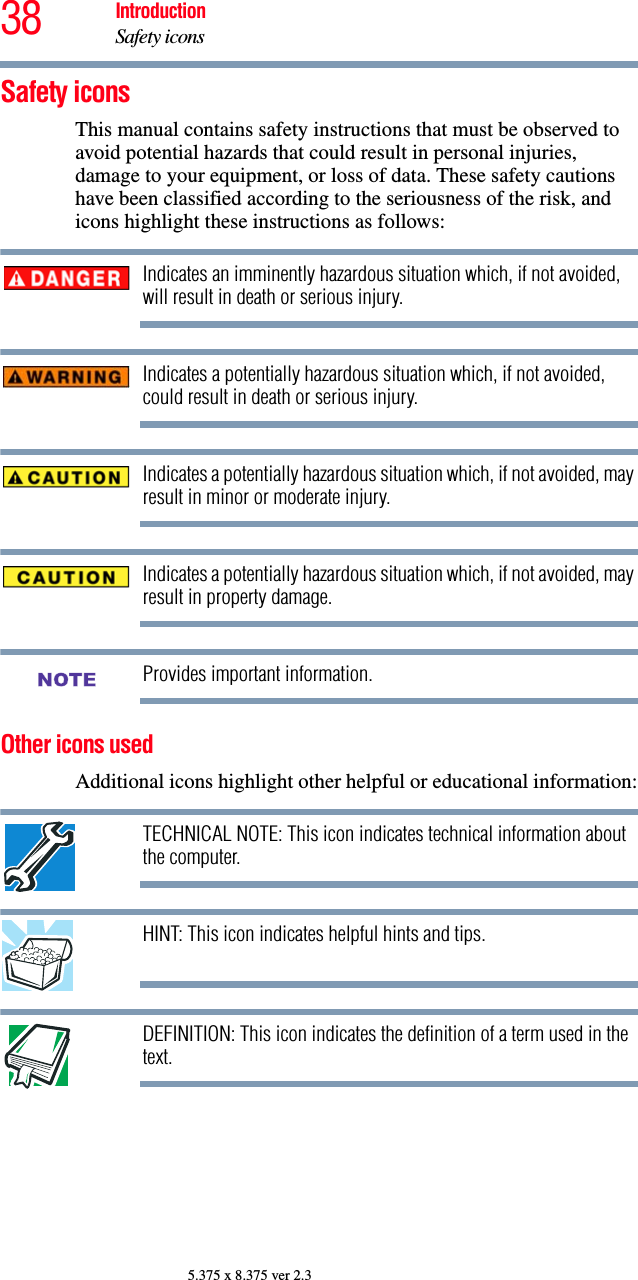
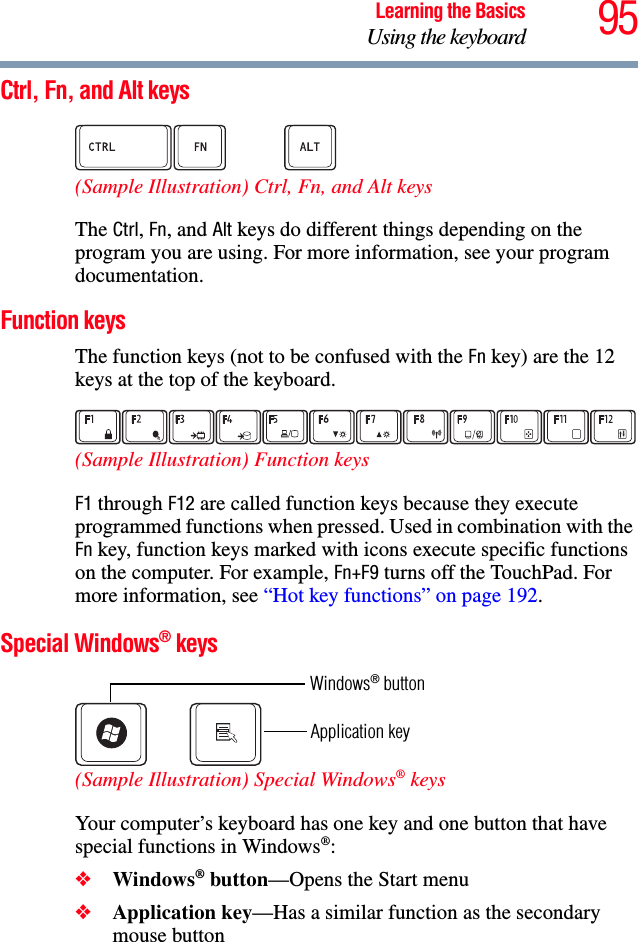
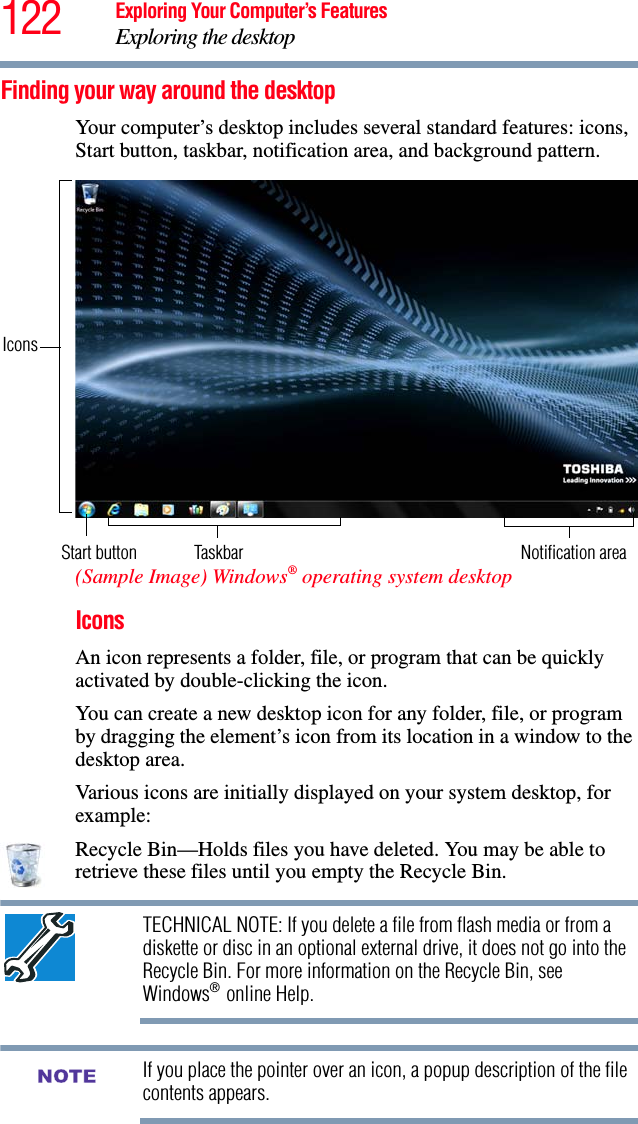
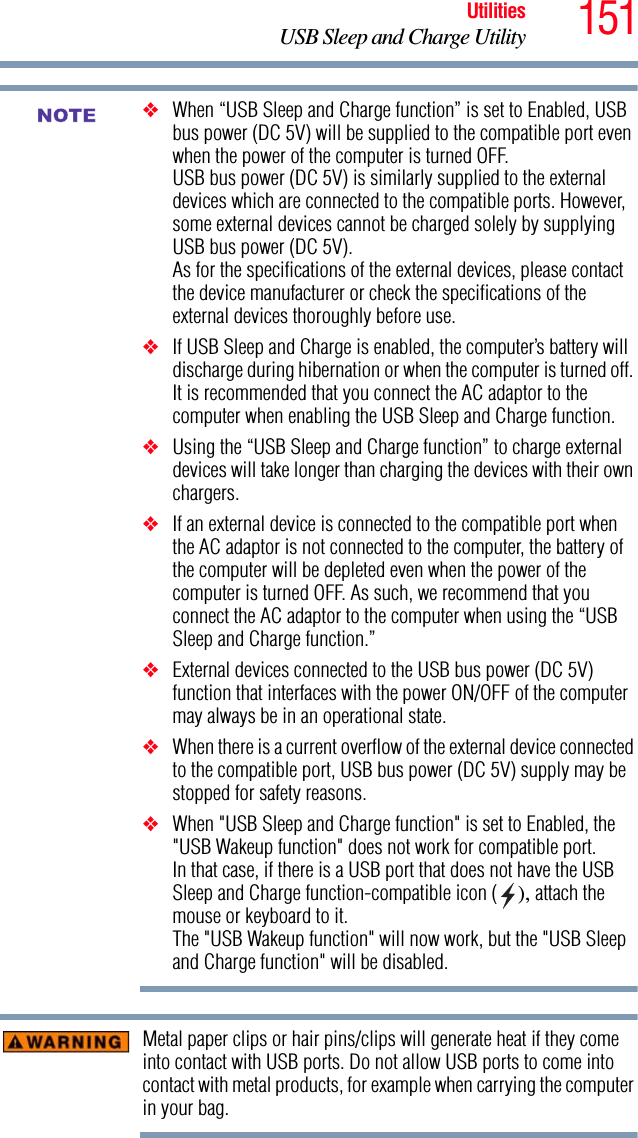
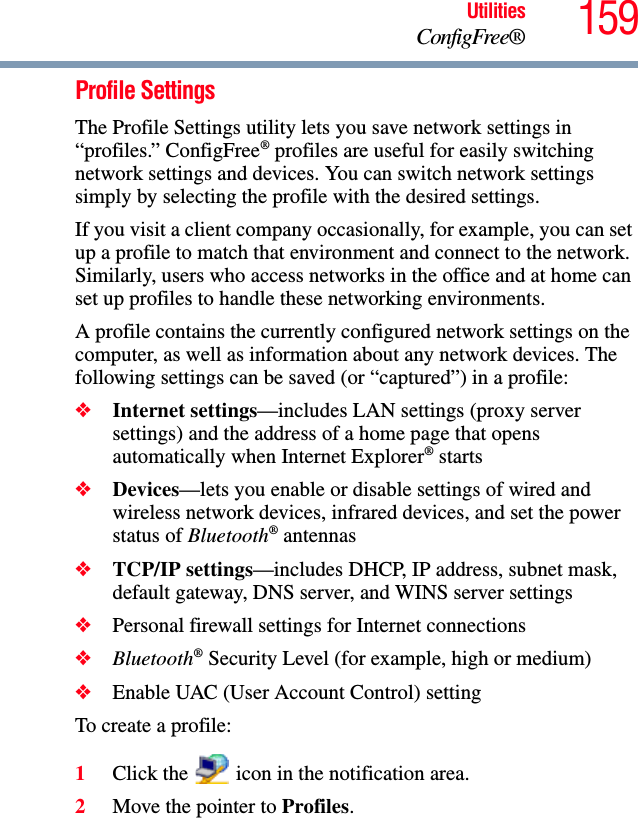
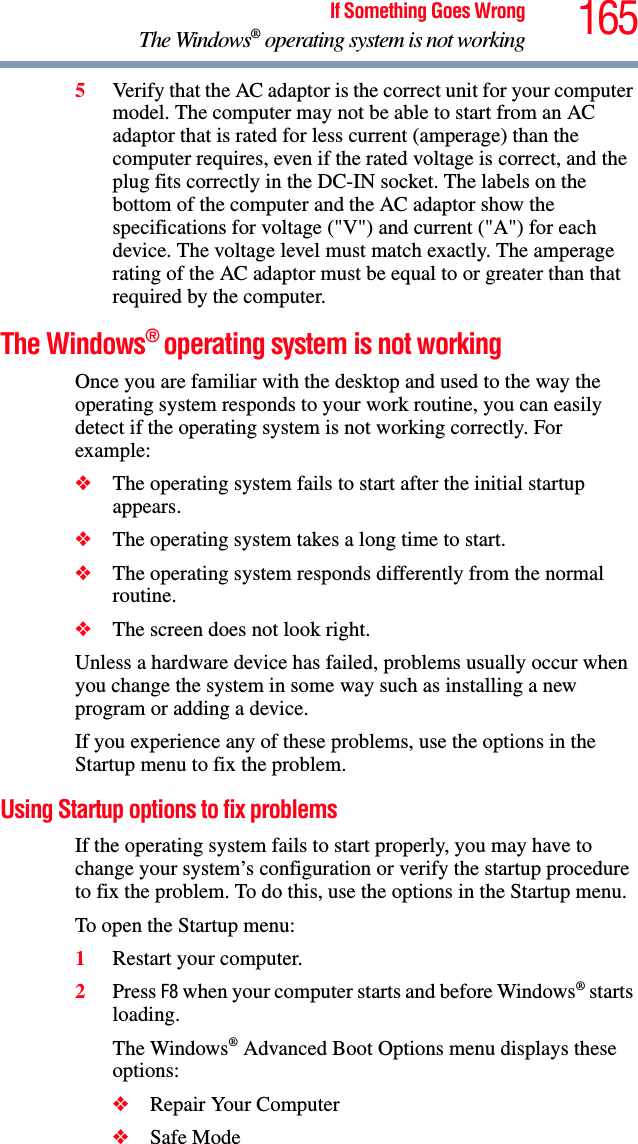
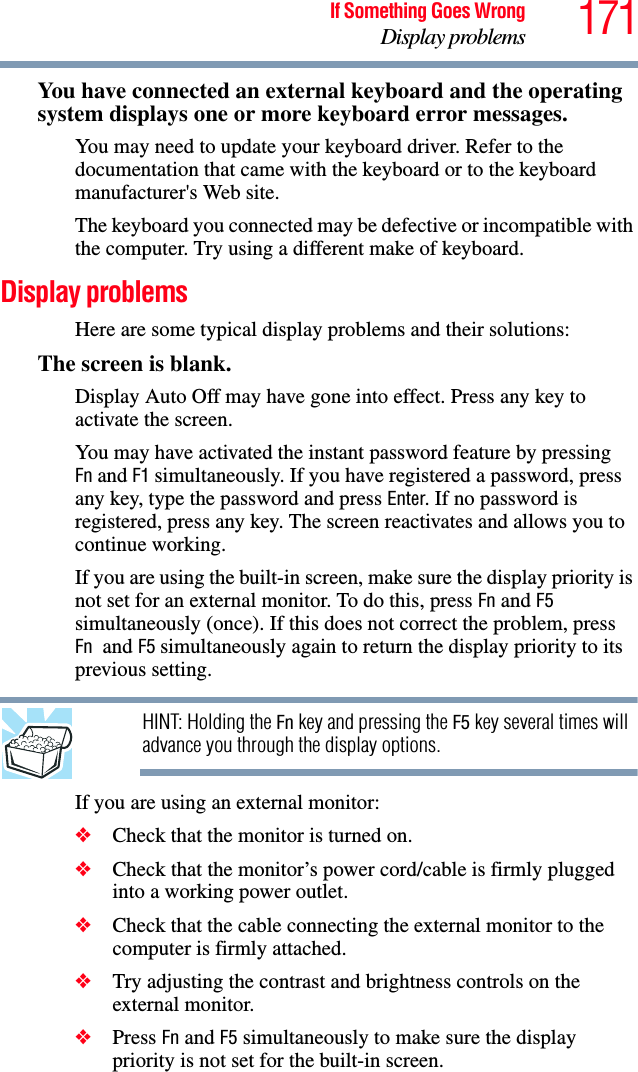
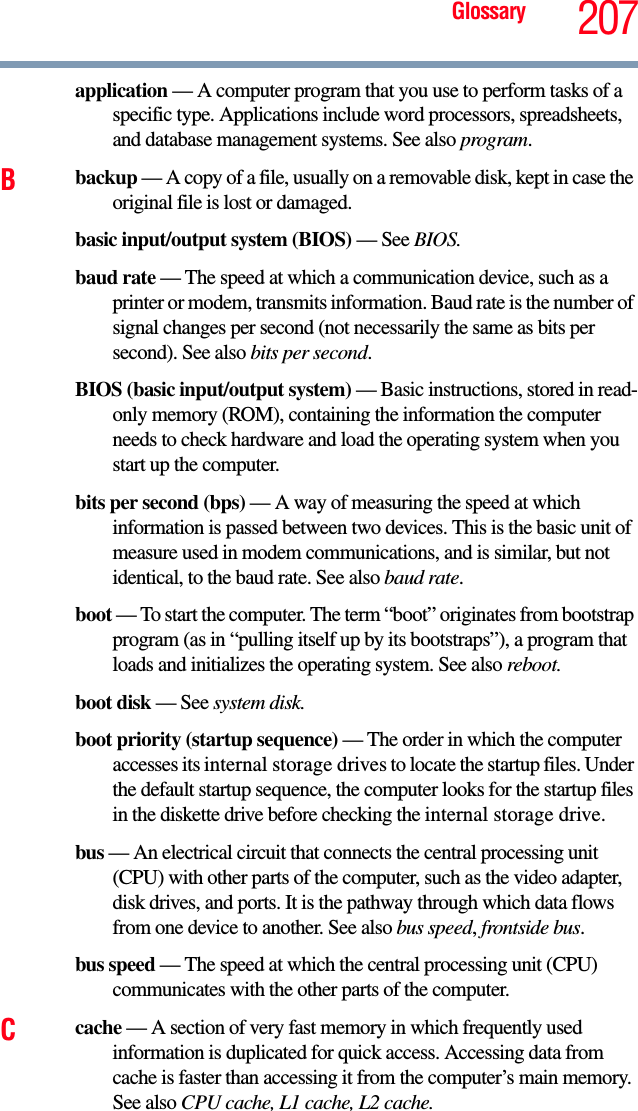
![201Hot Keys/TOSHIBA CardsHot key functions5.375 x 8.375 ver 2.3Zoom (Display resolution)orFn + [Space bar]This TOSHIBA Card or hot key switches screen resolution.Selecting this Card or pressing the hot key displays the following options:(Sample Image) Screen resolution optionsCycle through the screen resolutions, then select the desired resolution.](https://usermanual.wiki/Dynabook/UPA3726WL/User-Guide-1175498-Page-201.png)
![210 Glossarydocument — Any file created with an application and, if saved to disk, given a name by which it can be retrieved. See also file.double-click — To press and release the pointing device’s primary button rapidly twice without moving the pointing device. In the Windows® operating system, this refers to the pointing device’s left button, unless otherwise stated.double-density diskette — A 3.5-inch diskette that can hold up to 720 KB of information (half the capacity of a high-density diskette). See also diskette, high-density diskette.download — (1) In communications, to receive a file from another computer through a modem or network. (2) To send font data from the computer to a printer. See also upload.drag — To hold down the mouse button while moving the pointer to drag a selected object. In the Windows® operating system, this refers to the left mouse button, unless otherwise stated.driver — See device driver.DVD — An individual digital versatile (or video) disc. See also DVD-ROM.DVD-ROM (digital versatile [or video] disc read-only memory) — A very high-capacity storage medium that uses laser optics for reading data. Each DVD-ROM can hold as much data as several CD-ROMs. Compare CD-ROM.Eemulation — A technique in which a device or program imitates another device or program.enable — To turn on a computer option. See also disable.executable file — A computer program that is ready to run. Application programs and batch files are examples of executable files. Names of executable files usually end with a .bat or .exe extension.expansion device — A device that connects to a computer to expand its capabilities. Other names for an expansion device are port expander, port replicator, docking station, or network adapter.extension — See file extension.external device — See device.](https://usermanual.wiki/Dynabook/UPA3726WL/User-Guide-1175498-Page-210.png)