Dynabook UPA3901WB Intel Centrino Wireless-N 1030 User Manual TOSHIBA WT200 User s Manual
Toshiba Corporation Intel Centrino Wireless-N 1030 TOSHIBA WT200 User s Manual
UserManual.wiki
>
Dynabook
>
UPA3901WB User Manual
User Manual
Navigation menu
Upload a User Manual
Namespaces
Wiki Guide
HTML
PDF
Info
Views
User Manual
Discussion / Help
Navigation


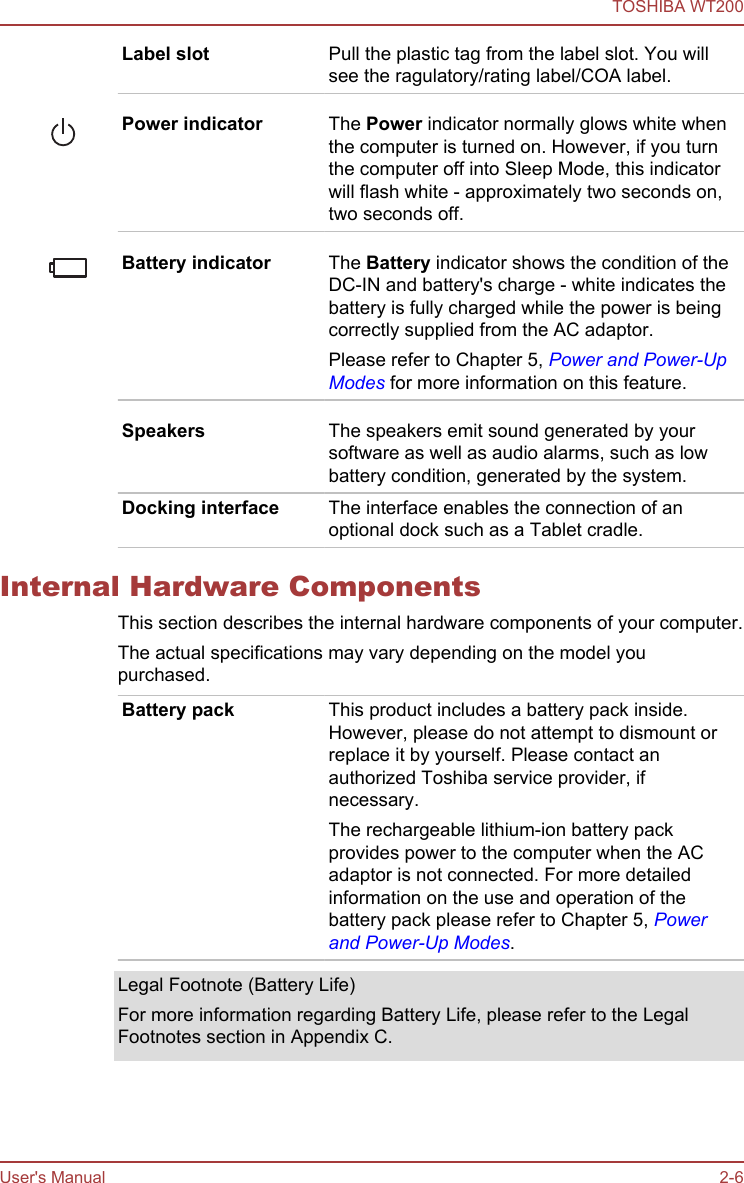

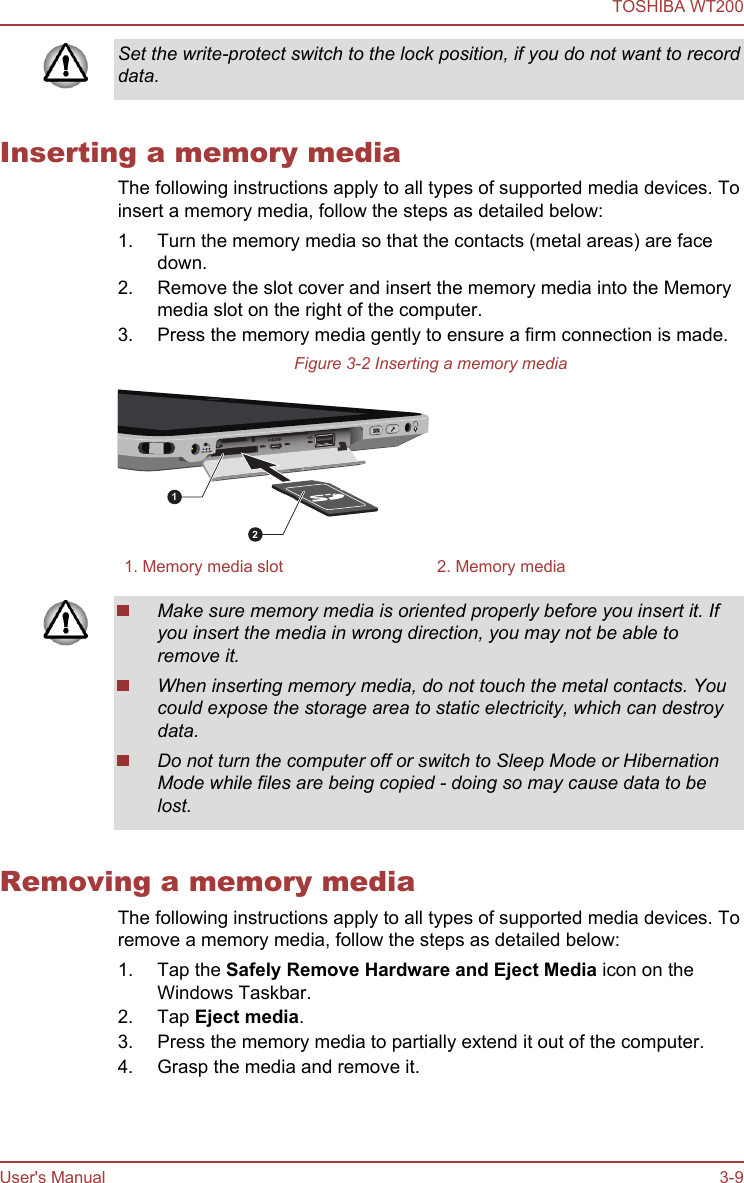
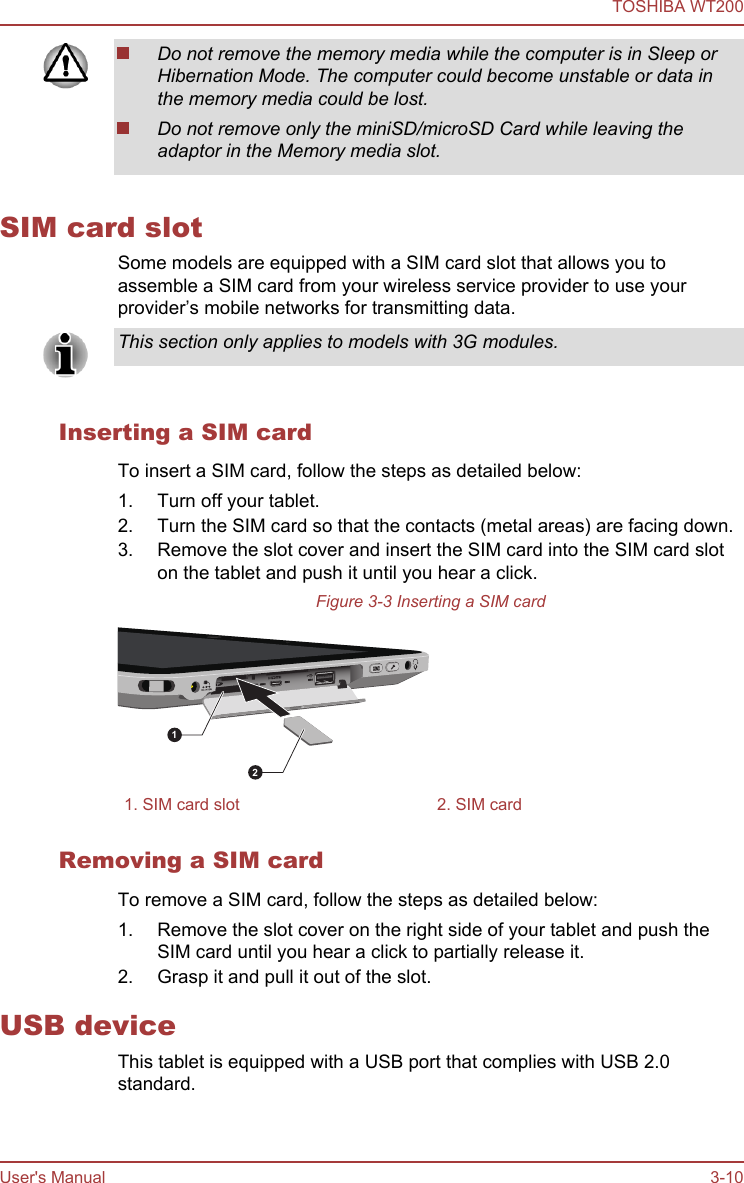

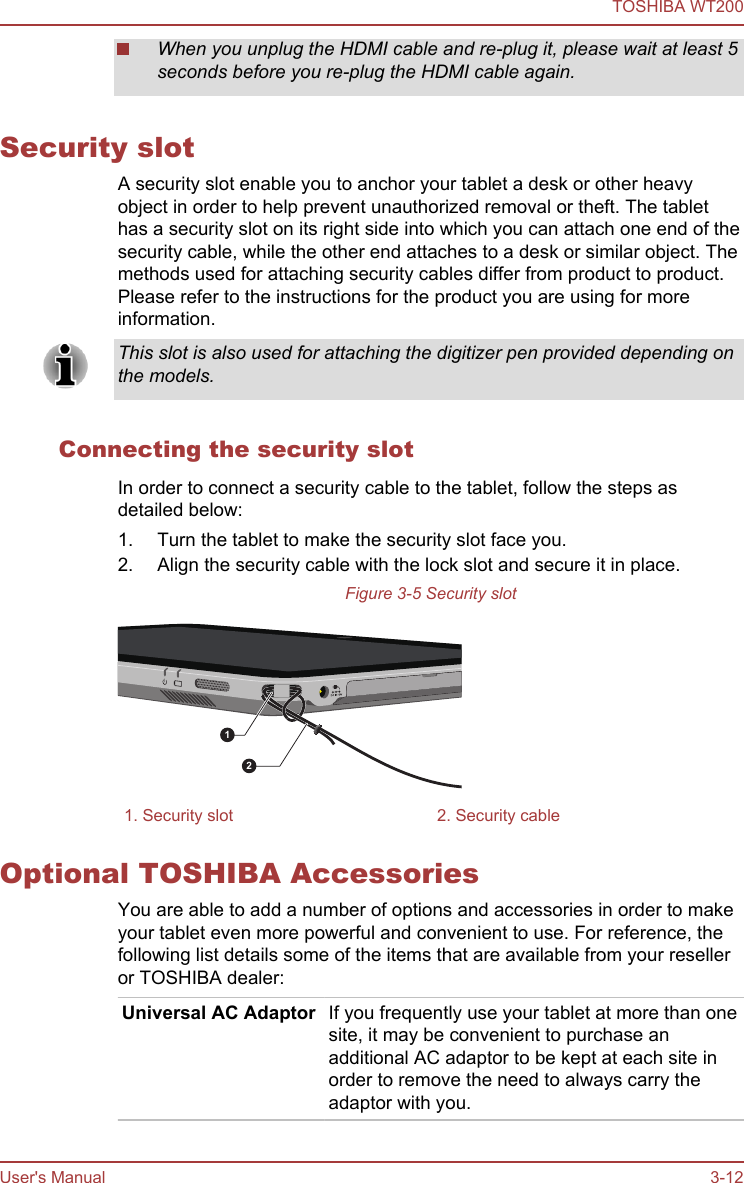
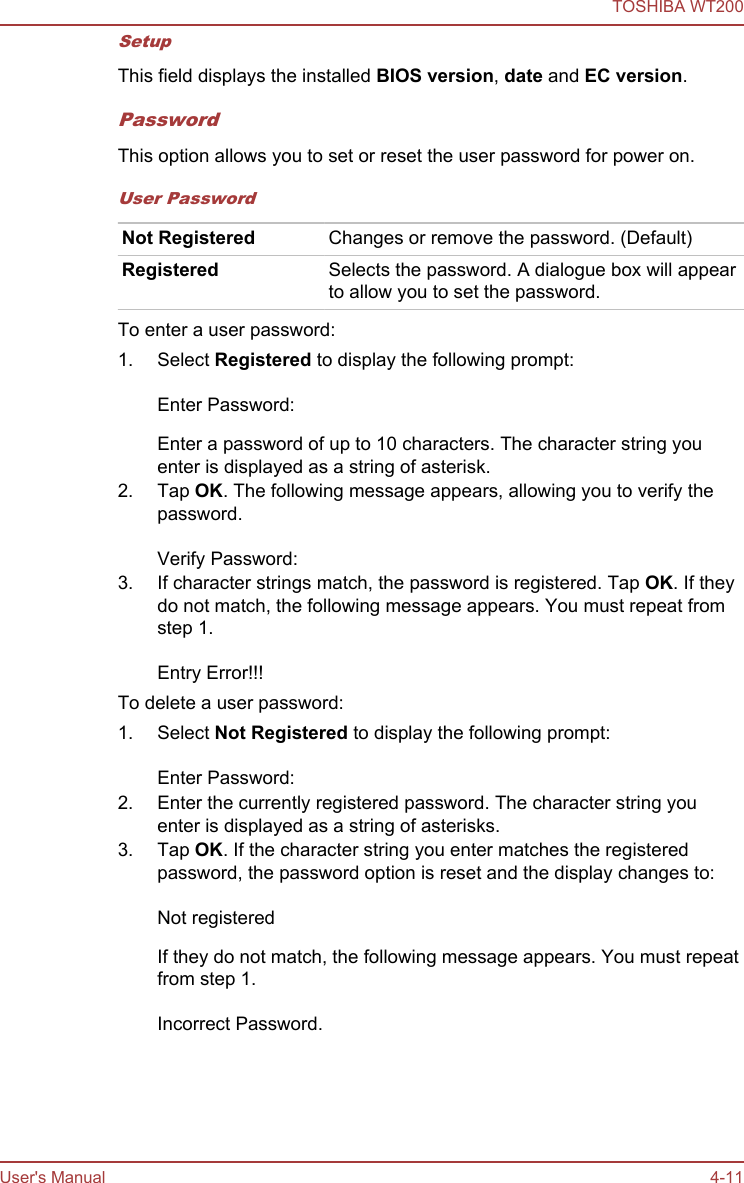
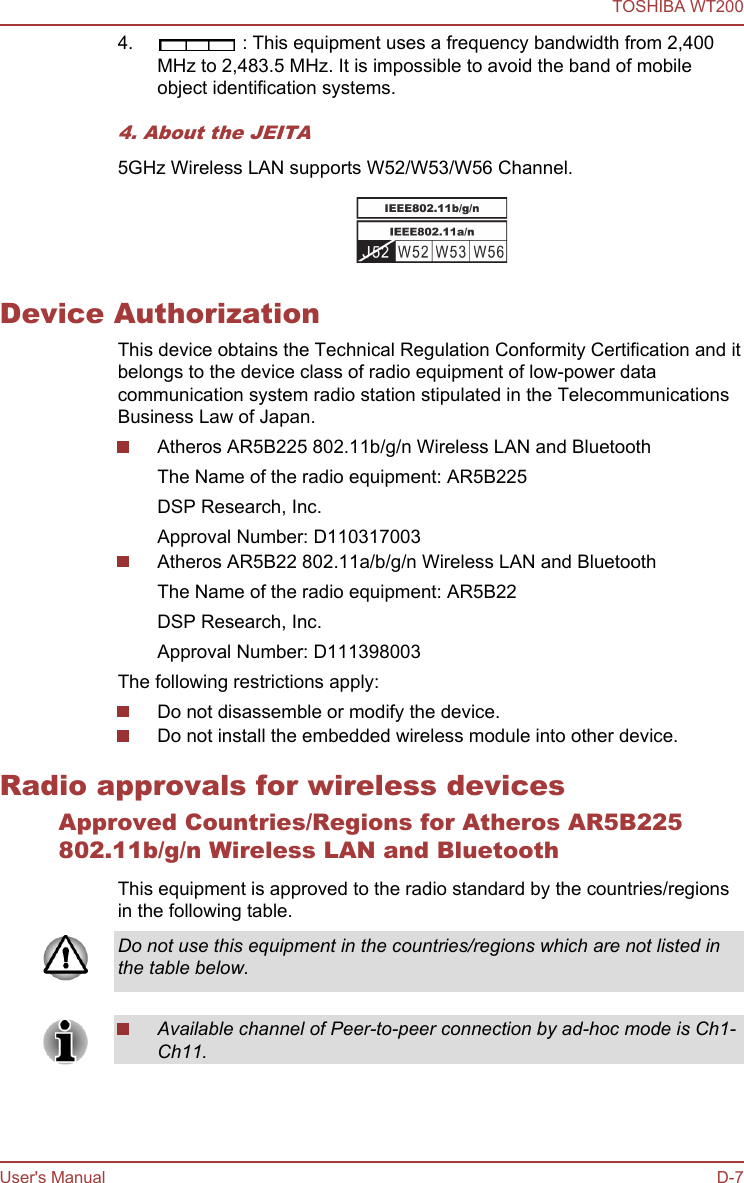
![1. Turn on the power as described in Chapter 1, Getting Started. Thefollowing message will appear in the screen: Enter Password [ ] 2. Enter the Password.3. Press ENTER.If you enter the password incorrectly three times in a row, the computershuts off. In this case, you must turn the computer back on to retrypassword entry.HW SetupThis section explains how to use the TOSHIBA HW Setup program toconfigure your computer, and provides information on settings for variousfunctions.Accessing HW SetupTo run the HW Setup program, tap Start -> All Programs -> TOSHIBA ->Tools & Utilities -> HWSetup.HW Setup windowThe HW Setup window contains a number of tabs (General, Password,Display, Boot Setting and USB) to allow specific functions of the computerto be configured.In addition there are also three buttons : OK, Cancel and Apply.OK Accepts your changes and closes the HW Setupwindow.Cancel Closes the window without accepting yourchanges.Apply Accepts all your changes without closing the HWSetup window.Some options shown in grey are possible to confirm their status.GeneralThis window displays the BIOS/EC version and contains two buttons :Default and About.Default Return all HW Setup values to the factorysettings.About Display the HW Setup version.TOSHIBA WT200User's Manual 4-10](https://usermanual.wiki/Dynabook/UPA3901WB/User-Guide-1674072-Page-58.png)