Dynamics CENIOR GSM mobile phone User Manual CENIOR
Dynamics Hong Kong Limited GSM mobile phone CENIOR
UserManual.wiki
>
Dynamics
>
CENIOR User Manual
user manual
Navigation menu
Upload a User Manual
Namespaces
Wiki Guide
HTML
PDF
Info
Views
User Manual
Discussion / Help
Navigation
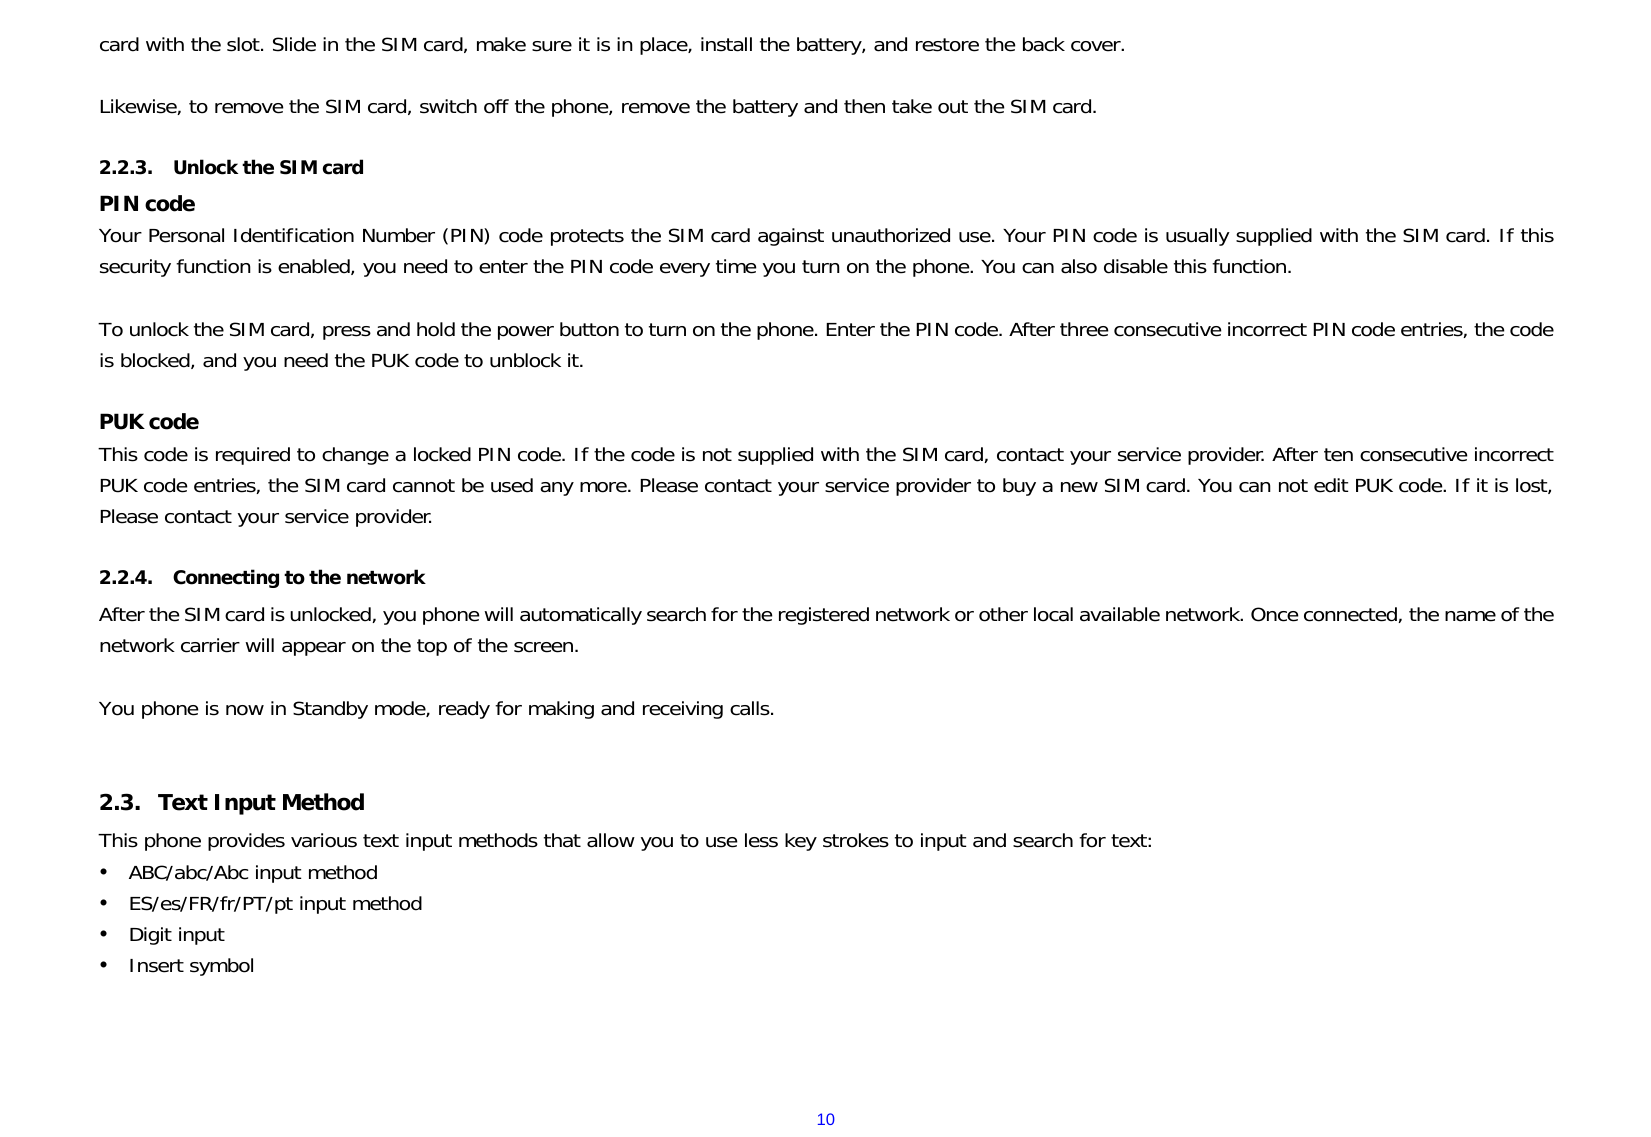

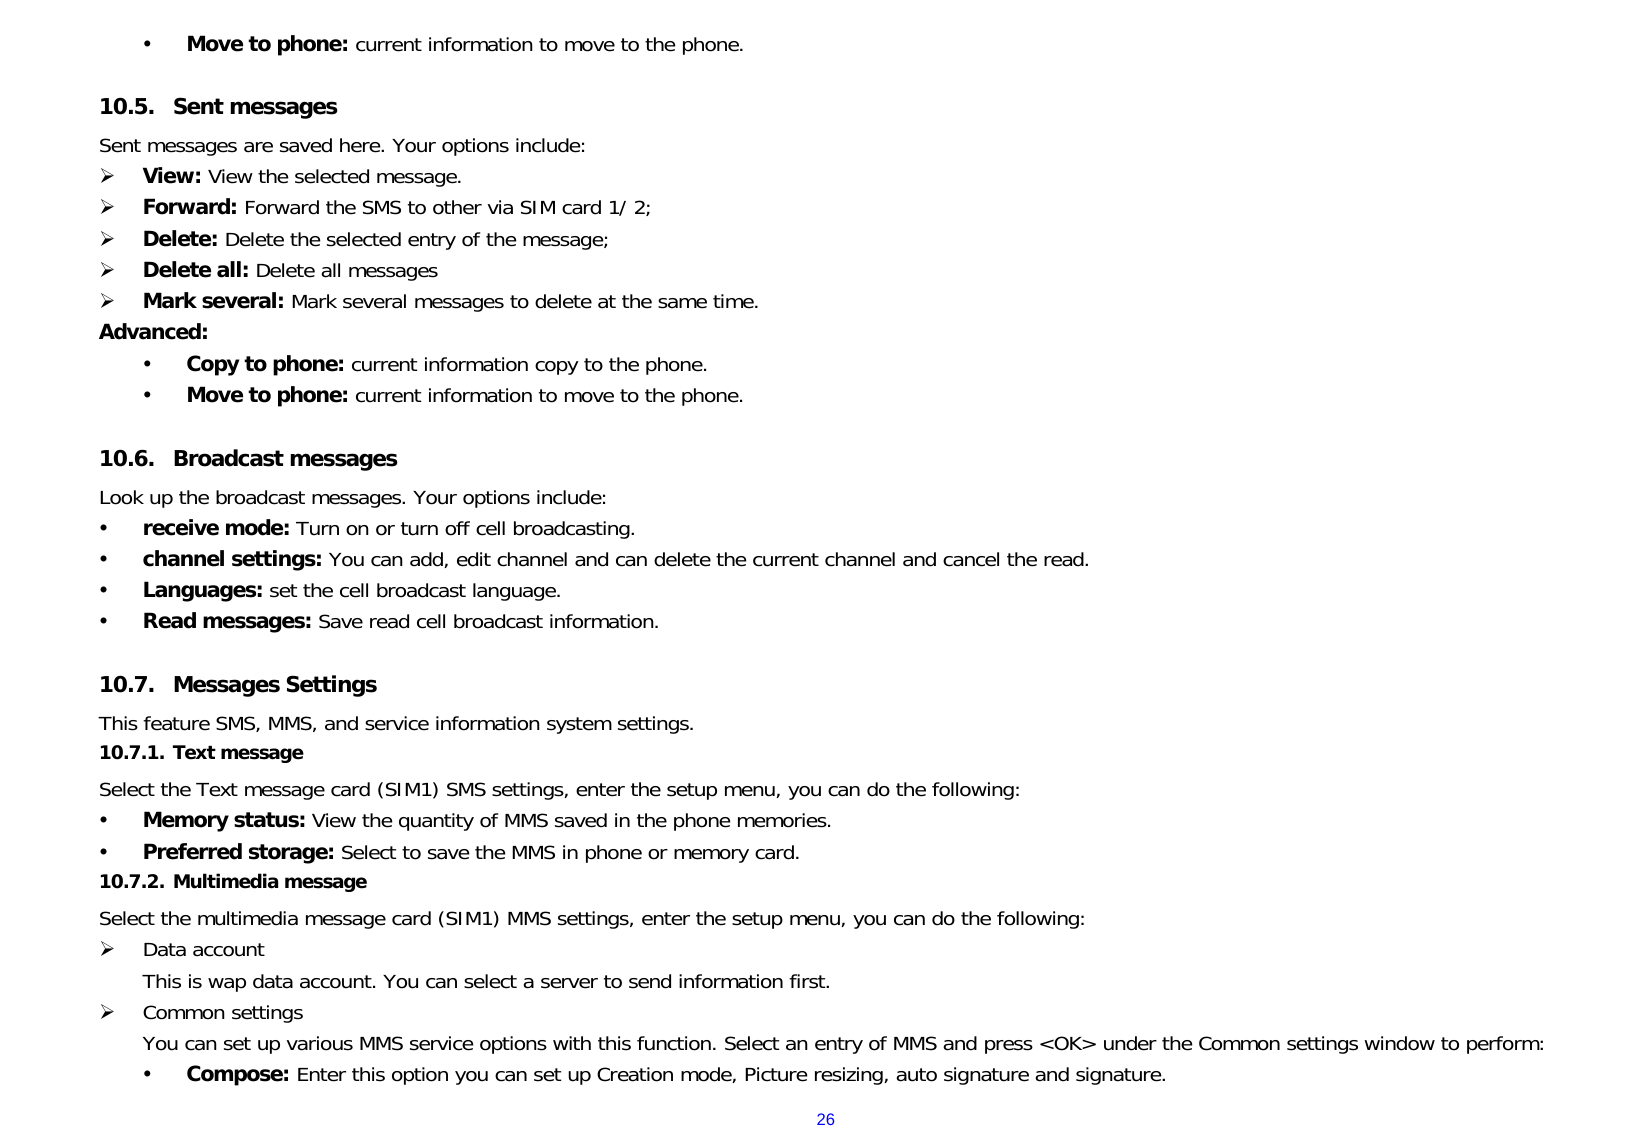
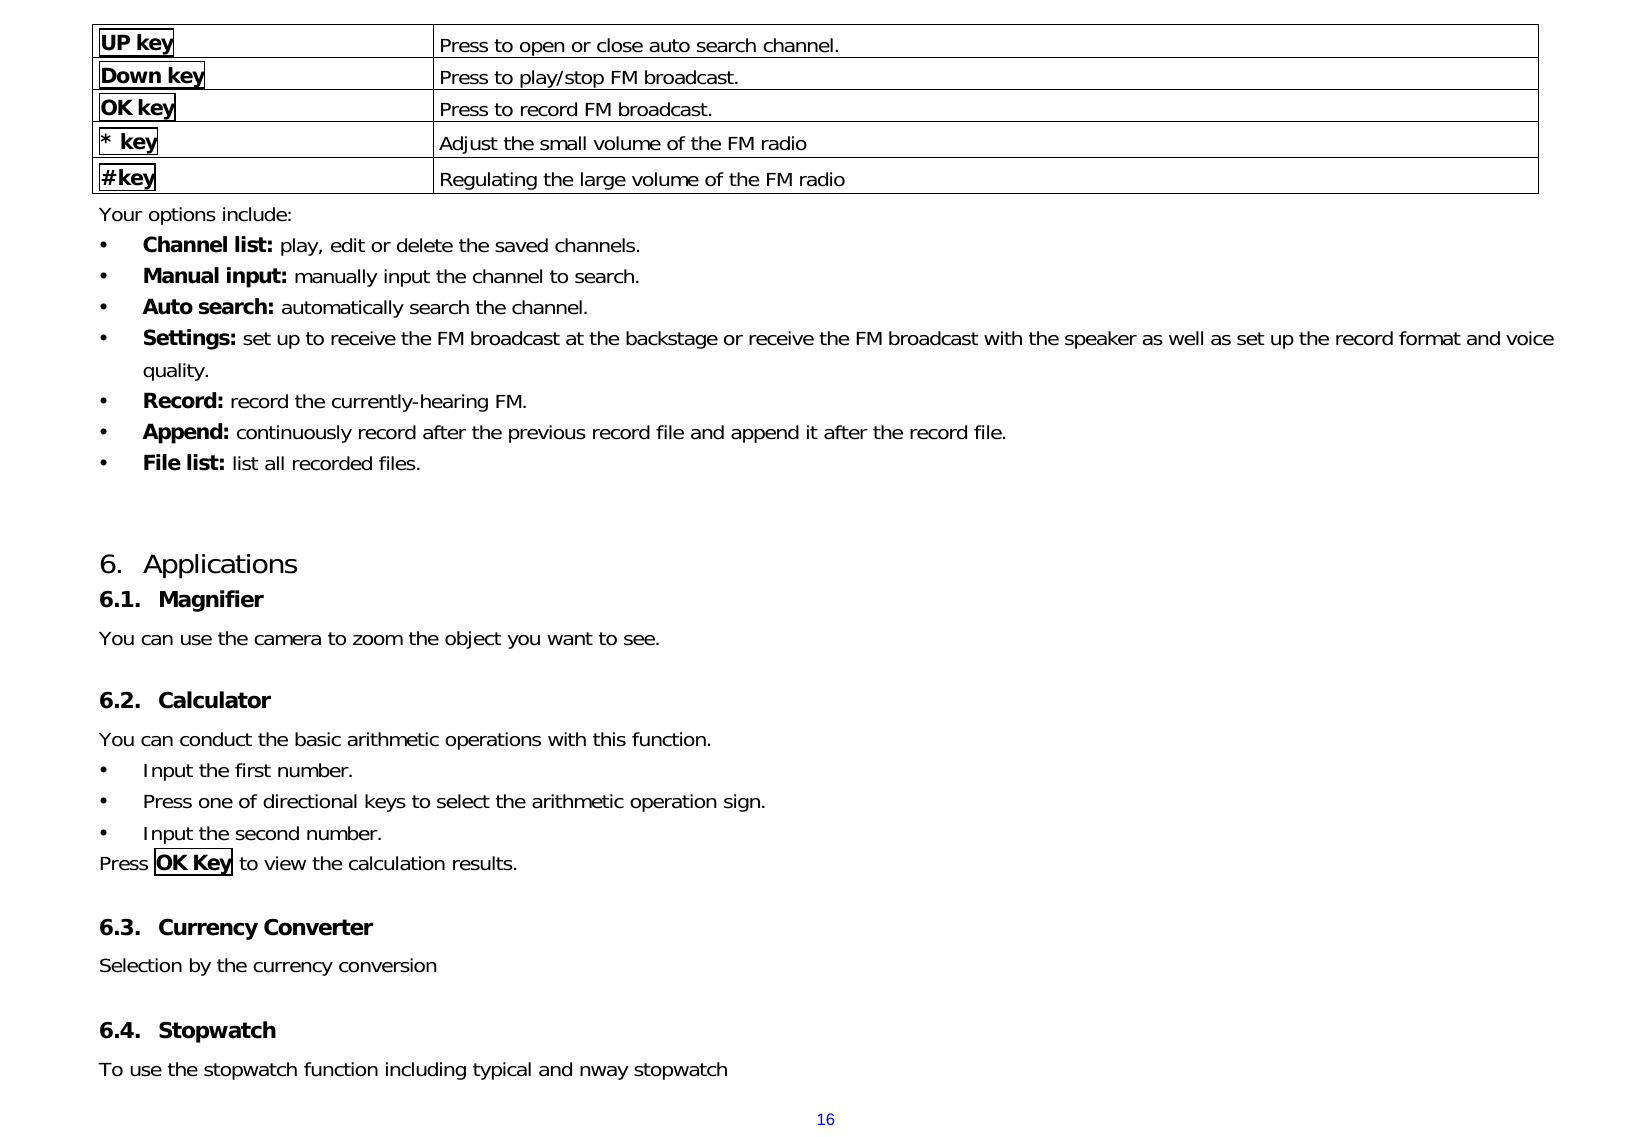
![14y Camcorder settings: Set up the video recorder. y Video settings: Set up the video parameters. y White balance:Adjust the color balance of the photo. y Effect settings: There are four options at your choice: Normal, Sepia, Sepia blue and Color invert. y Storage:Set the storage for the recording files. y Restore default: Recover all settings into the initial values. Note : Photograph interface can also be on key focal length, adjust the button around adjust brightness, numeric keys corresponding function 5.4. Video player You can play the video with this function. Select a video and press [OK] Key under the video list window and begin to play. You can use the following keys during the play. Key Function Left key Press to go backwards. Press and hold to continuously go backwards. Right key Press to go forwards. Press and hold to continuously go forwards. OK Key Press to play/pause the video. Left soft key Press to go to Options. Right soft key Press to stop the video. Your options include: y Play: Play the selected Video file with the video player. y Send: Send the selected video file to MMS or Bluetooth. y Rename: Change the name of the current video file. y Delete: Delete the currently-selected video file. y Delete all files: Delete all the currently-selected video files. y Sort by: Sort the video files by menu: Name, Type, Time and Size etc. 5.5. Audio Player You can enjoy the music with this function. You can use the following keys during the play. Key Function Left Key Press to switch to a previous song with cursor. Press and hold: go backwards](https://usermanual.wiki/Dynamics/CENIOR/User-Guide-1742094-Page-14.png)
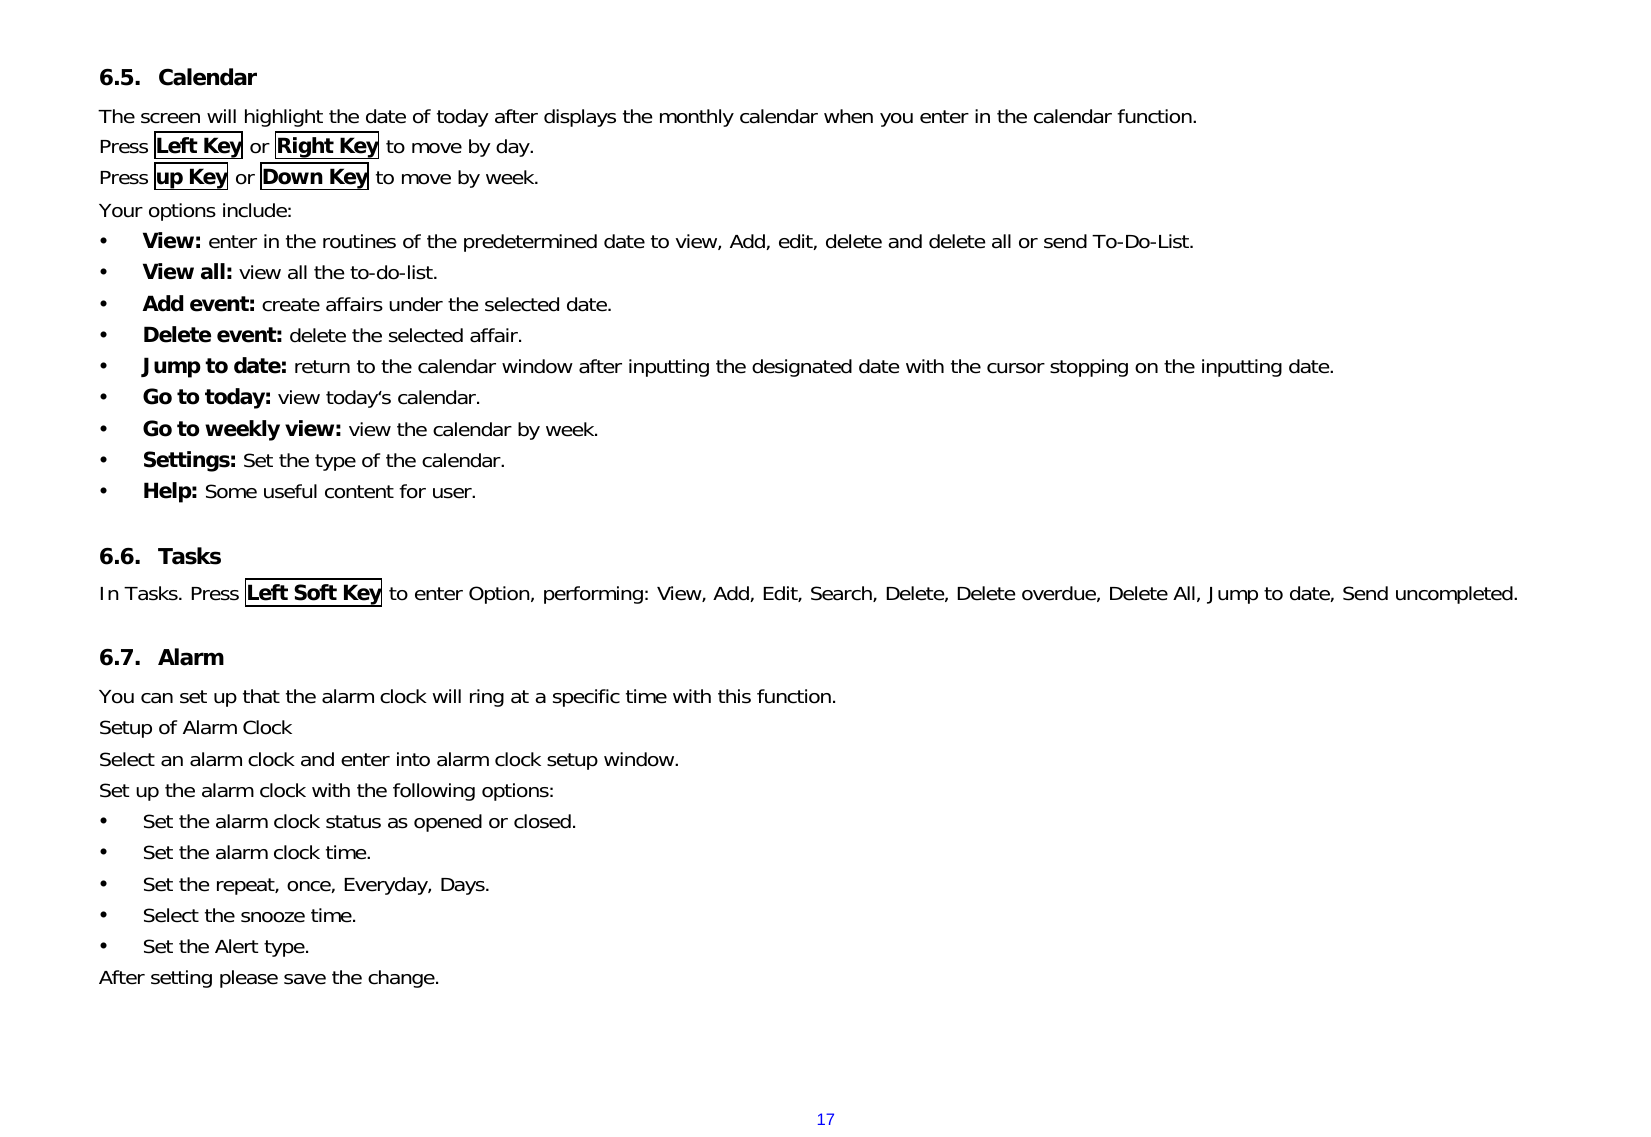
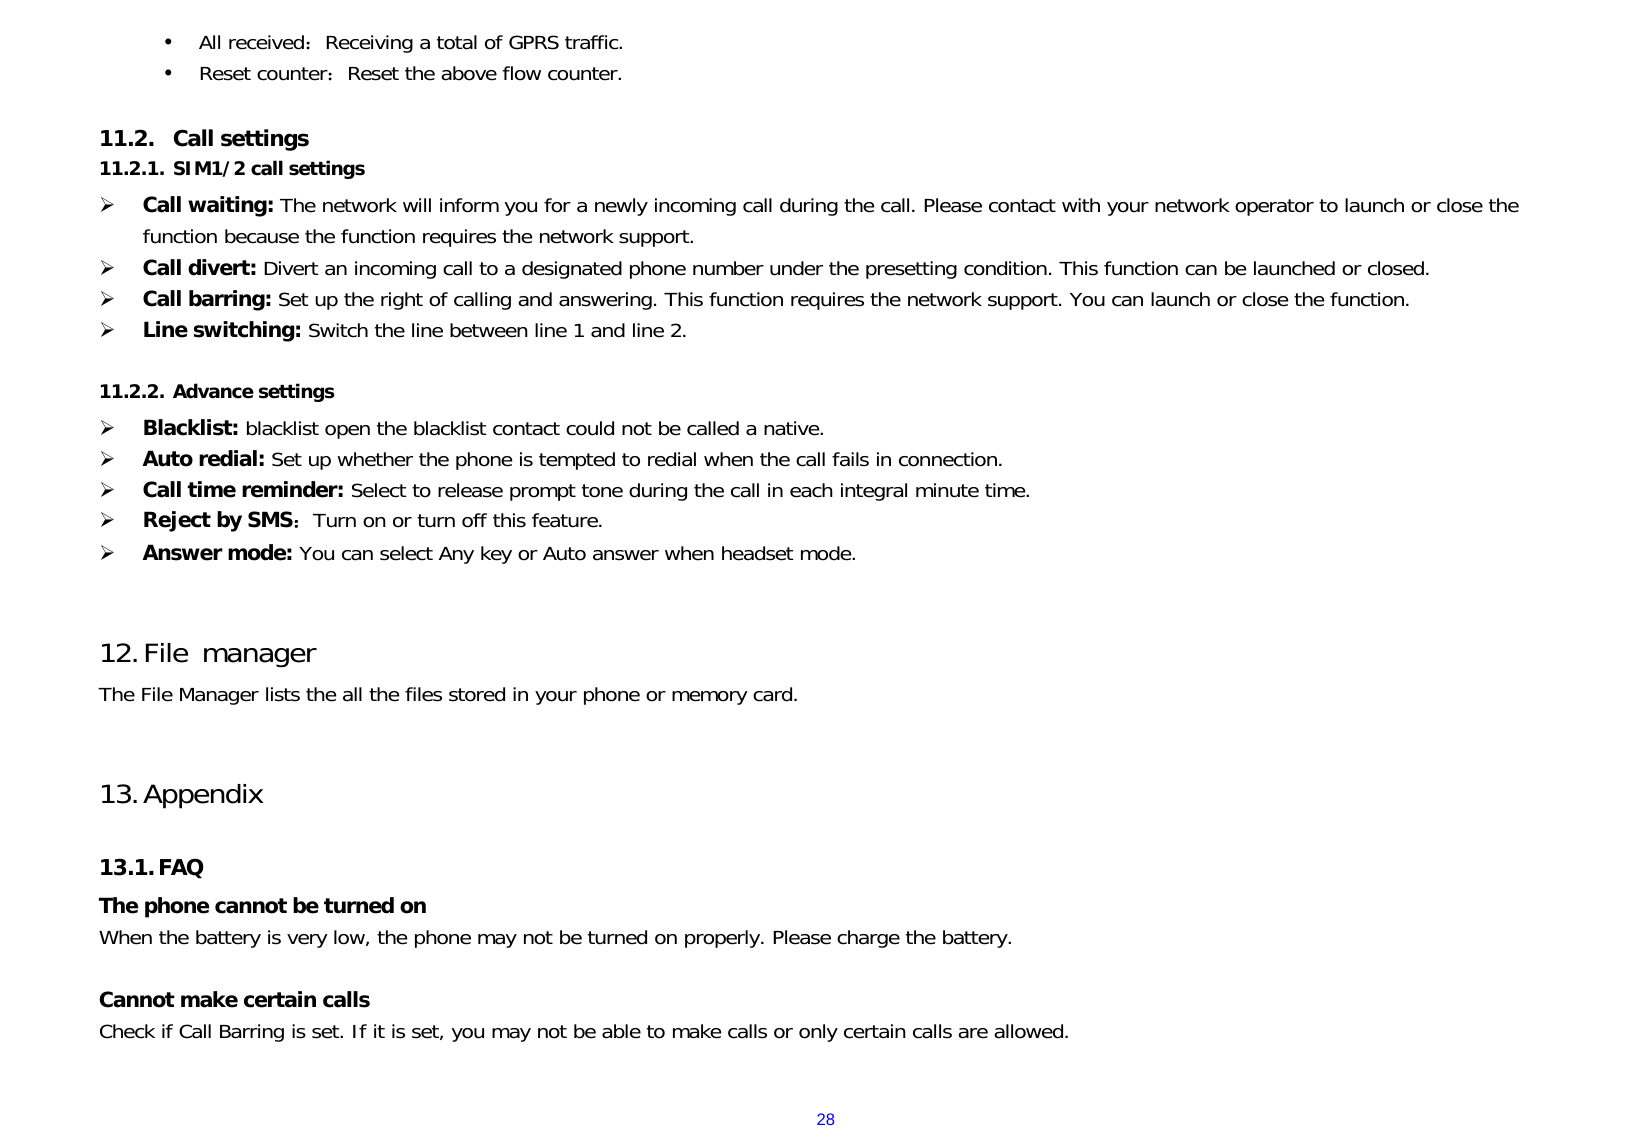
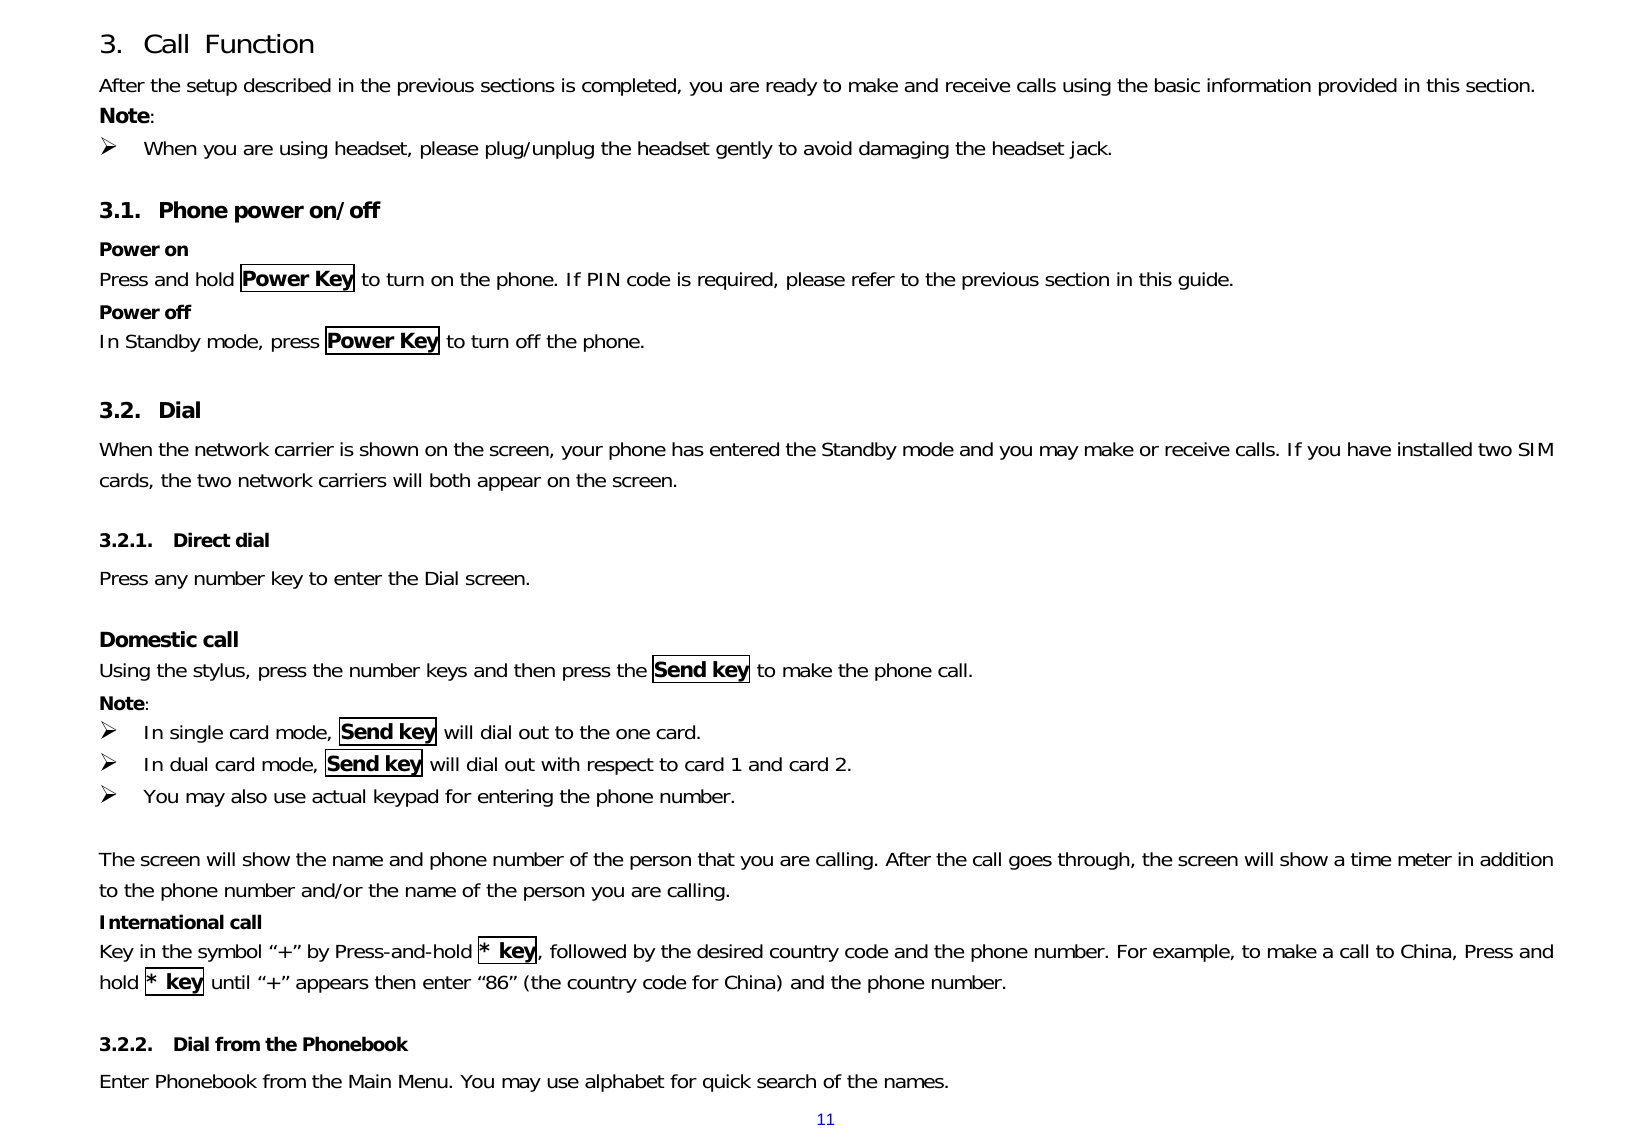
![23y Backup contacts:You can back up the phonebook numbers in this function; 10. Messages You can send and receive the SMS and MMS as well as use Cell Location Display with this function. This chapter introduces the message services provided by the GSM network. Some services may not be supported by the local network. 10.1. Write message You can edit and send the SMS and MMS with this function. 10.1.1. Text message (SMS) ¾ Send to: Input number and then send SMS to the imput number. ¾ Input method: Change the input method. ¾ Set Cstar: On/ off the input methods. ¾ Advanced: Insert pictures, melody, phone number and bookmark. y Insert number: Insert the number of the contacts. y Insert name: Insert the phone book name. y Insert bookmark: Insert the website in bookmark. ¾ Save to Draft: Save the SMS in the Draft box. Select [send to] to enter in the sending window after finishing the creation of the SMS. Select [Enter number] or [Add from phonebook] to search a phone number of the receiver and finally press Left Soft Key: y Send: Send the SMS to sender y Edit recipient: Edit the recipient number. y Remove recipient: Delete the selected recipient. y Remove all recipients: Delete all recipients. y Save to Draft: Save the SMS in the Draft box. Press OK Key to send the SMS. 10.1.2. Multimedia Messages(MMS) ¾ Send to: Input number and then send MMS to the imput number. ¾ Input method: Change the input method. ¾ Set Cstar: On/ off the input methods.](https://usermanual.wiki/Dynamics/CENIOR/User-Guide-1742094-Page-23.png)
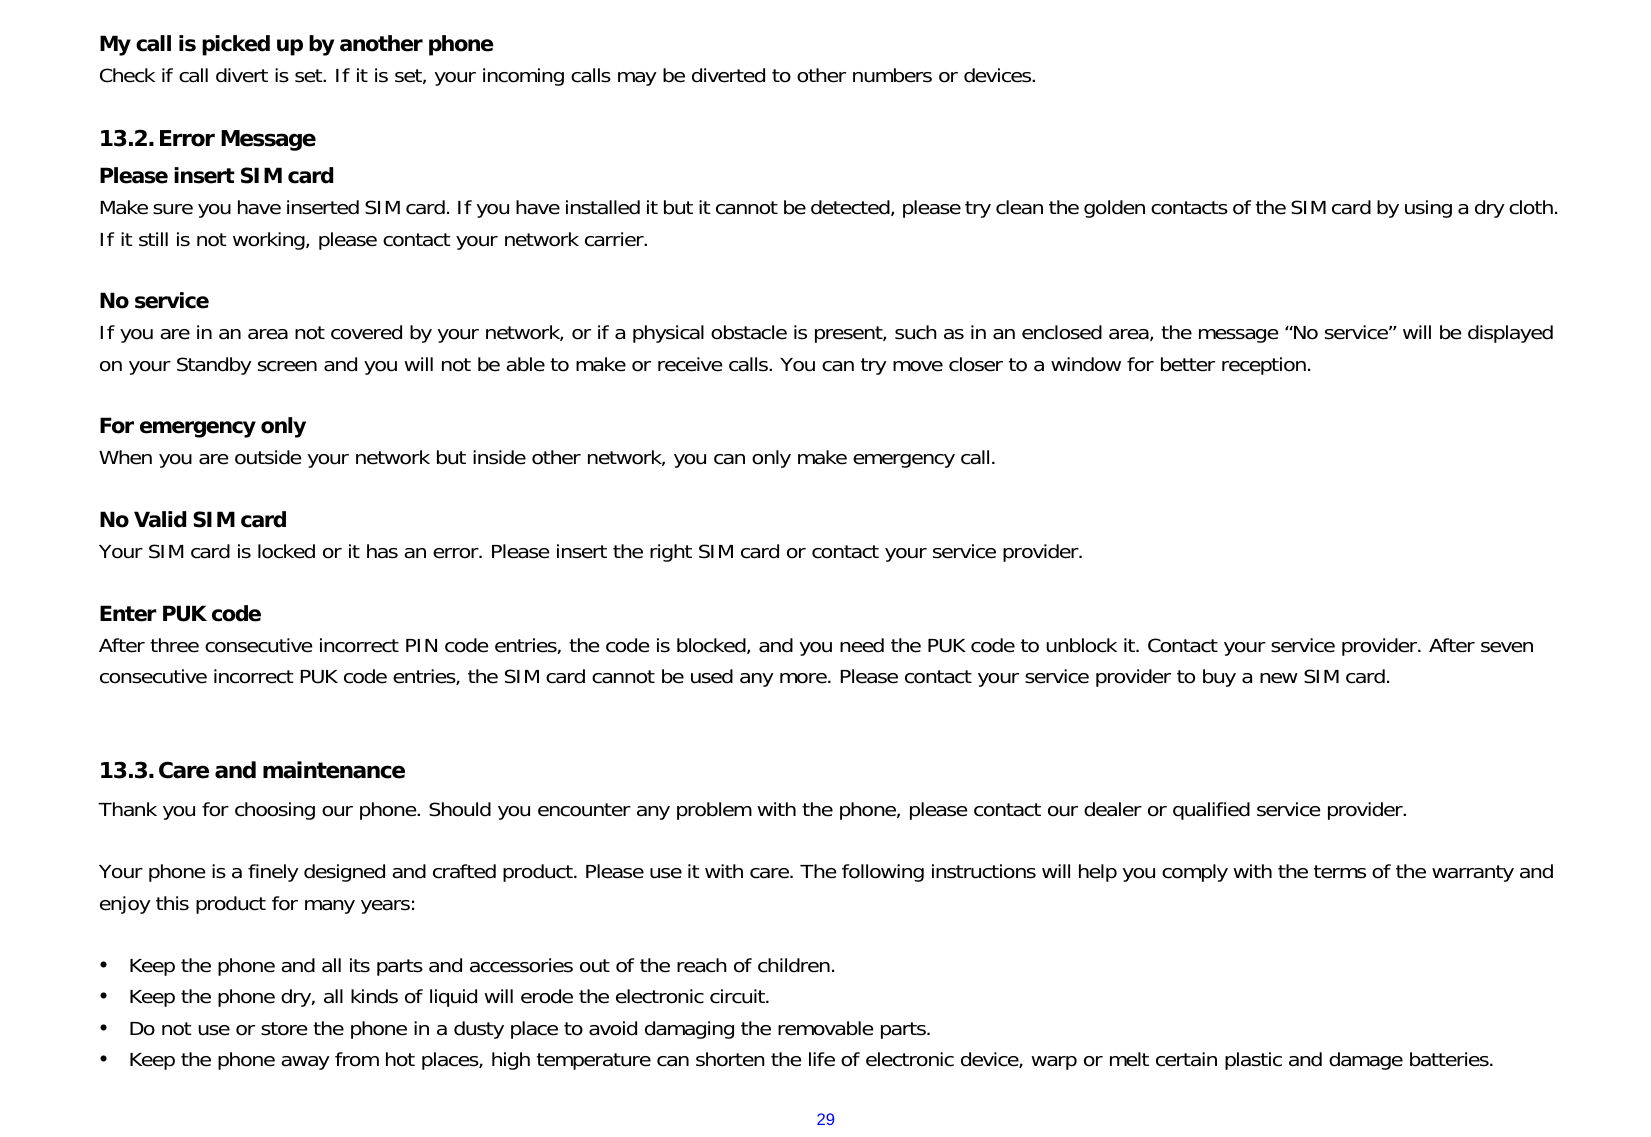
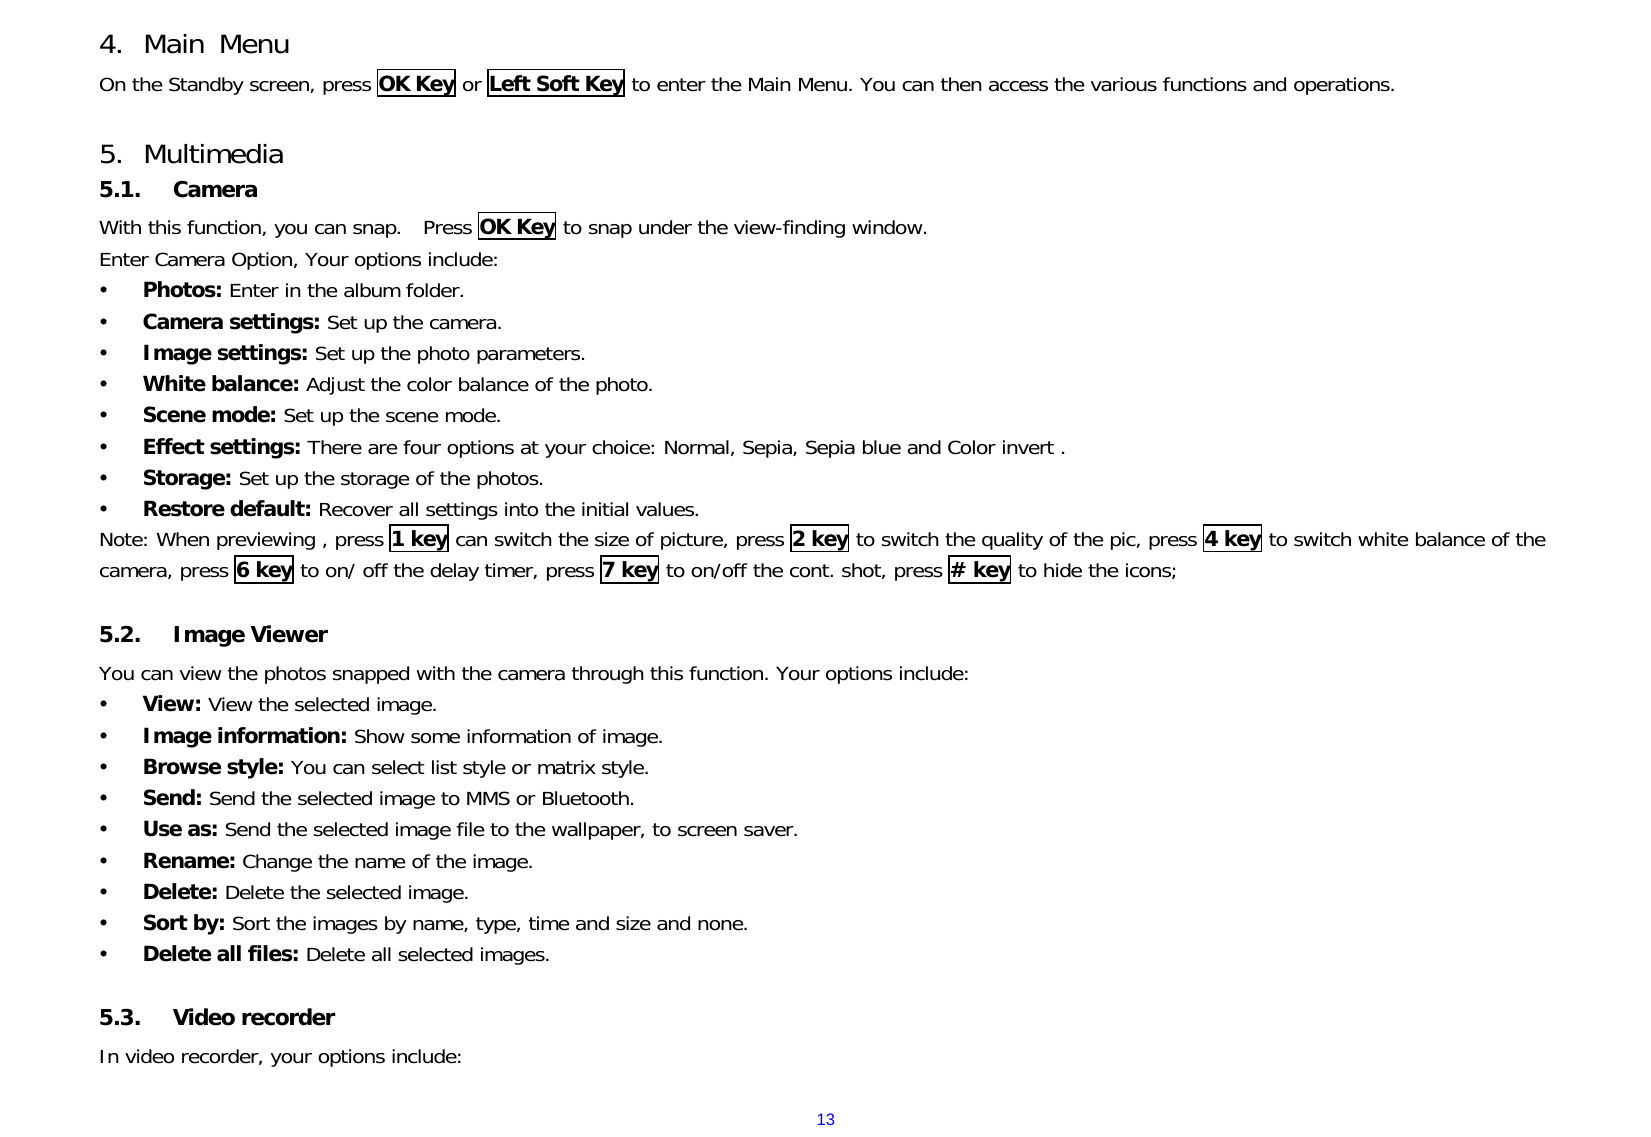
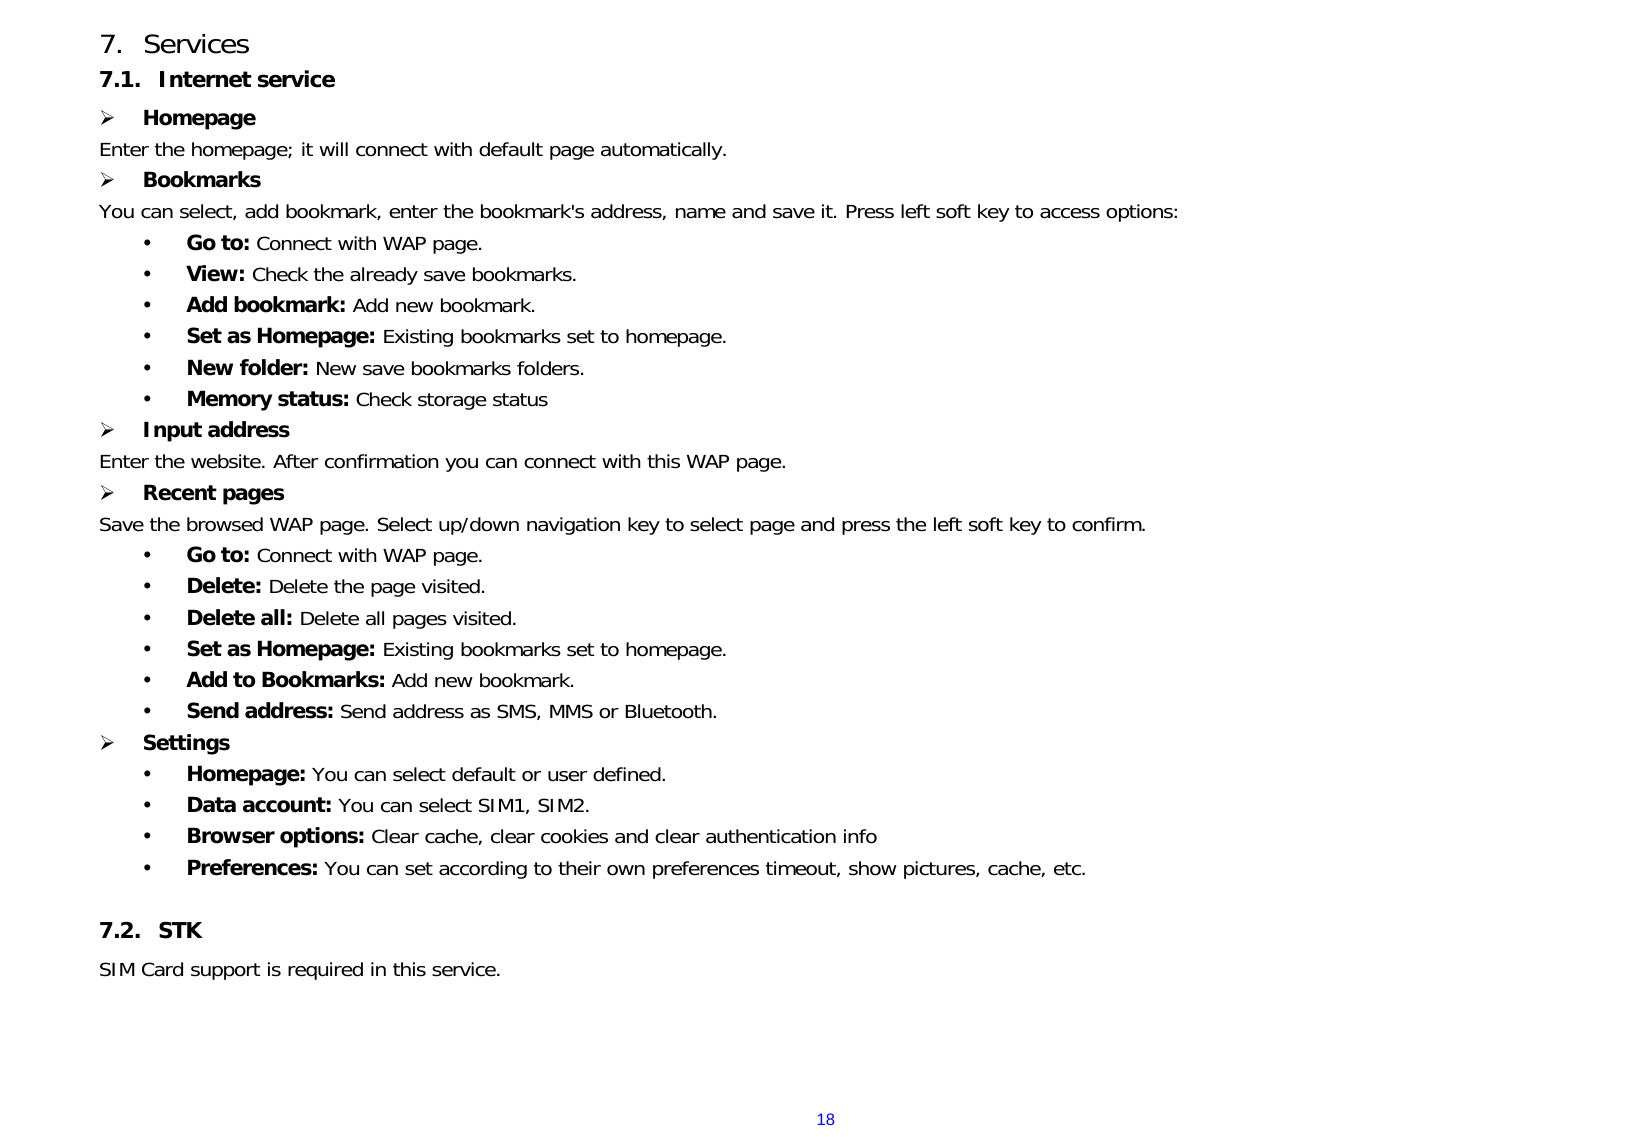
![24¾ Add picture: Insert picture. ¾ Add sound: Insert the audio file. ¾ Add video: Insert the video file. ¾ Add subject: Write subject. ¾ Preview MMS: View the edited MMS. ¾ Slide options y Add slide behind: Insert new slide after current slide. y Add slide before: All new slide before current slide. y Slide timing: Set up the time of the slide. ¾ Advanced y Insert text template:Text messages templates stored the article 10 template; You can according to their use custom editor his template. y Insert attachment: Exchange the attachment. y Insert bookmark: Add bookmark to MMS. Save to Drafts: Save the MMS in the Drafts. Select [send to] to enter in the sending window after finishing the creation of the SMS. Select [Enter number] or [Add from phonebook] to search a phone number of the receiver and finally press Left Soft Key: y Send: Send the SMS to sender y Send options: You can set validity period, delivery report, read report, etc. y Edit recipient: Edit the recipient number. y Remove recipient: Delete the selected recipient. y Remove all recipients: Delete all recipients. y Change to Cc: MMS Cc to contact. y Change to Bcc: MMS Cc to contact. y Save to Drafts: Save the MMS in the Drafts. Press OK Key to send the MMS. 10.2. Inbox The Inbox lists the received SMS and MMS. You can view the received SMS with this function. Select an entry of SMS and press <Option> under the inbox SMS list window to perform: ¾ View: View the selected message. ¾ Reply by SMS: Reply the SMS to the sender; ¾ Reply by MMS: Reply the MMS to the sender; ¾ Call sender: Call the sender of the selected message.](https://usermanual.wiki/Dynamics/CENIOR/User-Guide-1742094-Page-24.png)
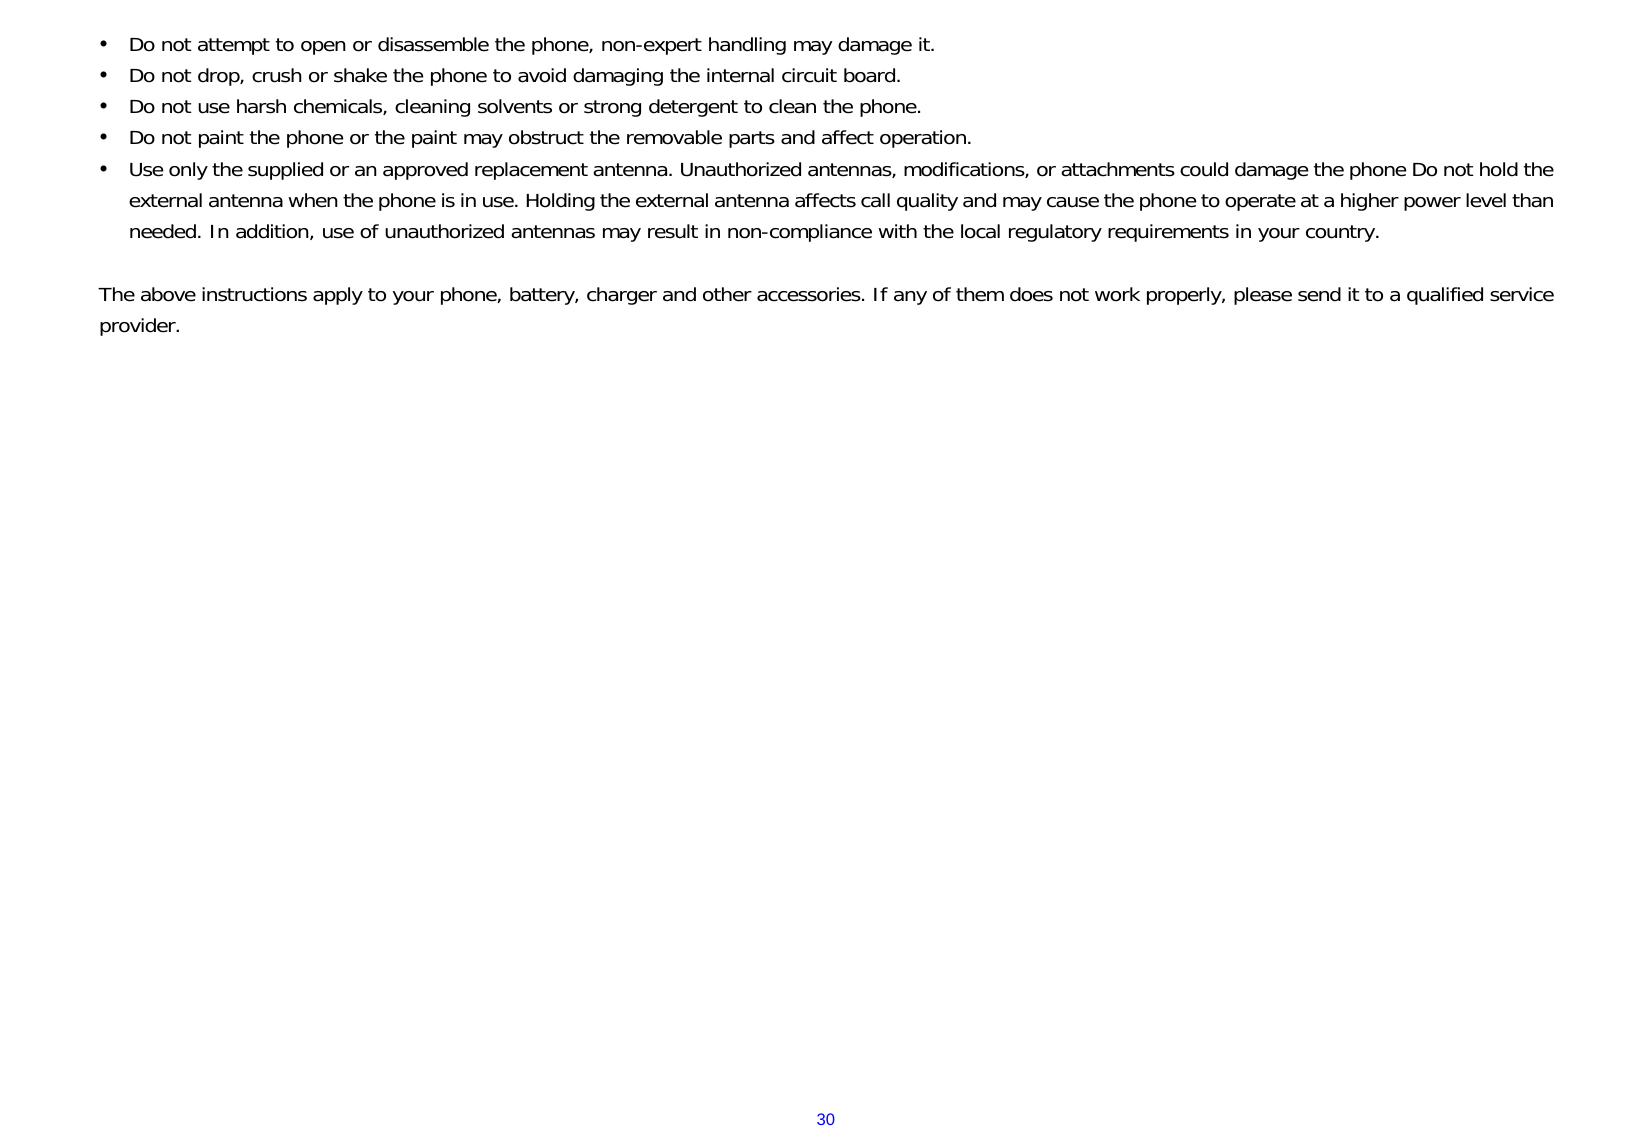
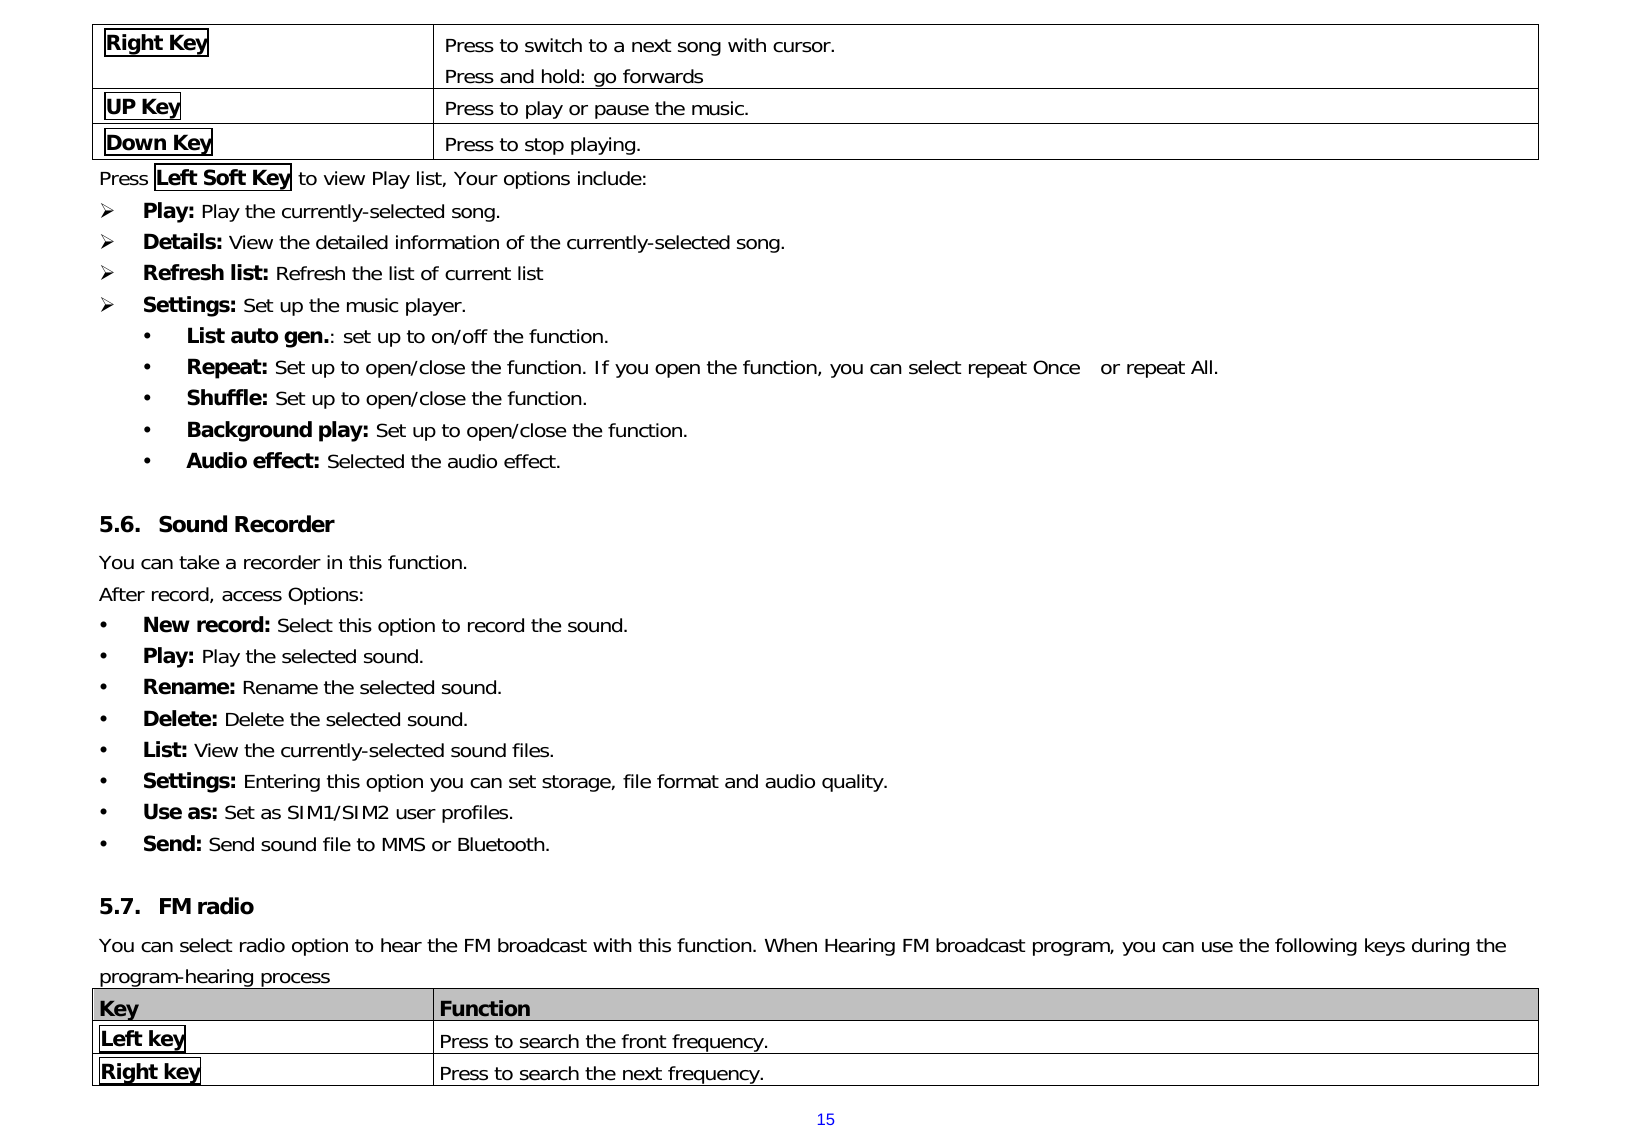
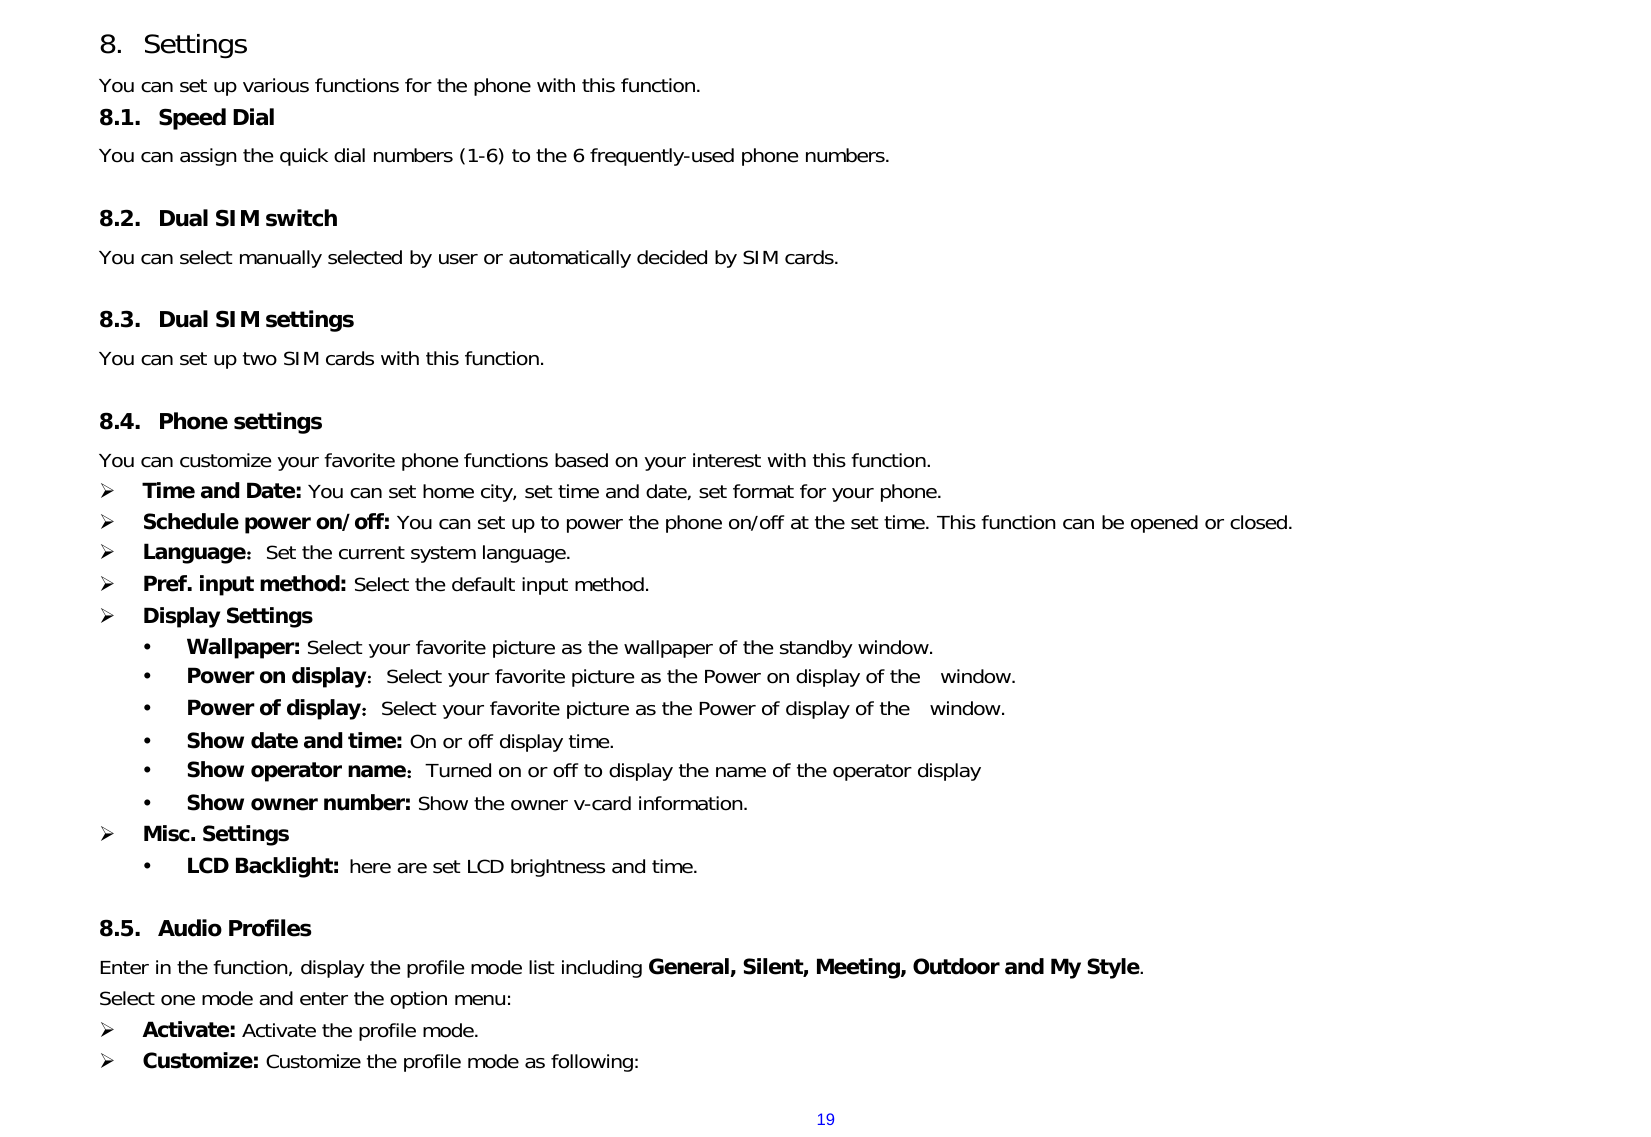
![25¾ Forward: Forward the SMS to other via SIM card 1/ 2; ¾ Delete: Delete the selected entry of the message; ¾ Delete all: Delete all messages ¾ Save to phonebook: Will the sender saved to the phonebook. ¾ Mark Several: Delete the marked messages at the same time. ¾ Advanced: Press OK Key under this window to perform: y Copy to phone: current information copy to the phone. y Move to phone: current information to move to the phone. 10.3. Drafts Saved messages and unsent message are saved here. Press OK Key to enter SIM1 drafts. And press Left Soft Key under the Drafts list window to perform: ¾ View: View the selected message. ¾ Send: Send the selected message. ¾ Edit: Edit the selected message. ¾ Delete: Delete the selected entry of the message; ¾ Delete all: Delete all messages ¾ Mark several: Mark several messages to delete at the same time. ¾ Advanced: Press [OK] under this window to perform: y Copy to phone: current information copy to the phone. y Move to phone: current information to move to the phone. 10.4. Outbox The out-going messages are listed here. Your options include: ¾ View: View the selected message. ¾ Resend: Send the selected message. ¾ Edit: Edit the selected message. ¾ Delete: Delete the selected entry of the message; ¾ Delete all: Delete all messages ¾ Mark several: Mark several messages to delete at the same time. ¾ Advanced: y Copy to phone: current information copy to the phone.](https://usermanual.wiki/Dynamics/CENIOR/User-Guide-1742094-Page-25.png)