Dynamics TRO71 GSM Mobile Phone User Manual 7206 En A 1 20101119
Dynamics Hong Kong Limited GSM Mobile Phone 7206 En A 1 20101119
UserManual.wiki
>
Dynamics
>
TRO71 User Manual
User Manual
Navigation menu
Upload a User Manual
Namespaces
Wiki Guide
HTML
PDF
Info
Views
User Manual
Discussion / Help
Navigation


![V Declaration The content of this guide is protected by Copyright Law. It is forbidden to copy, distribute, publish or cite the content of this user guide, in whatever form without empowerment of our company. The company has carefully and closely reviewed the content of this user guide. Nevertheless, it is possible that there are mistakes and omissions. The pictures in this manual only works as the reference, please base on the actual picture while using the phone. The company reserves the right to update and improve any products described in this guide, as well as the content of this guide. Amendments will be made without prior notification. This is the user guide for the mobile phone only and does not include an introduction to this product’s software and hardware configuration. Some functions mentioned in this guide also need the support of a network operator or service provider. If you are unable to confirm whether you will be able to use certain functions or services with this phone, please consult your network operator or service provider. The phone may include some commodities, technology or software, which is under the control of export law, and regulations of China or other countries and areas; therefore, any illegal transfer action is forbidden. In the fullest extent permitted by applicable law, in any case, the company or the party with its permit should take no responsibility for any loss of data, income and any special, occasional or indirect loss, no matter what reason it caused by. In order to ensure your safety, please read the “Safety Notice” and “Safety Precaution”. Typographic conventions used in this user guide include: <>: Shows function key; “ ”: Shows prompts on the phone interface; 【 】:Shows the keys; [ ]: Shows the phone menus.](https://usermanual.wiki/Dynamics/TRO71/User-Guide-1499805-Page-6.png)
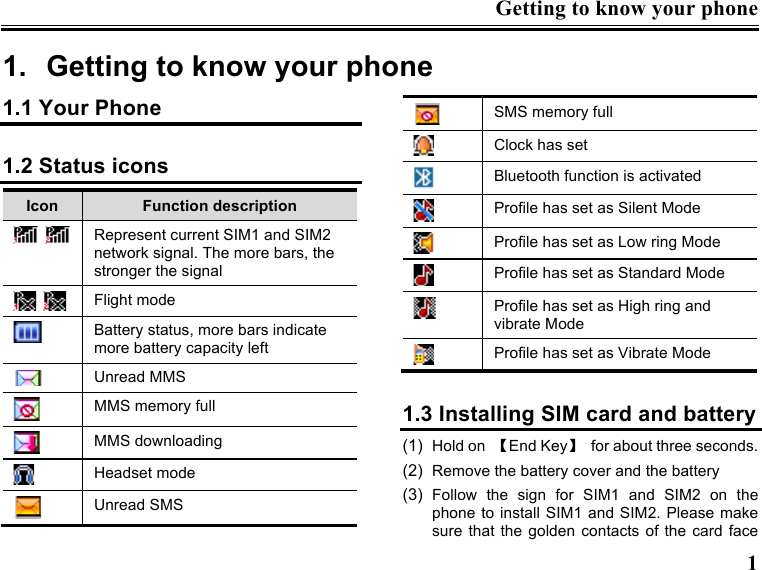
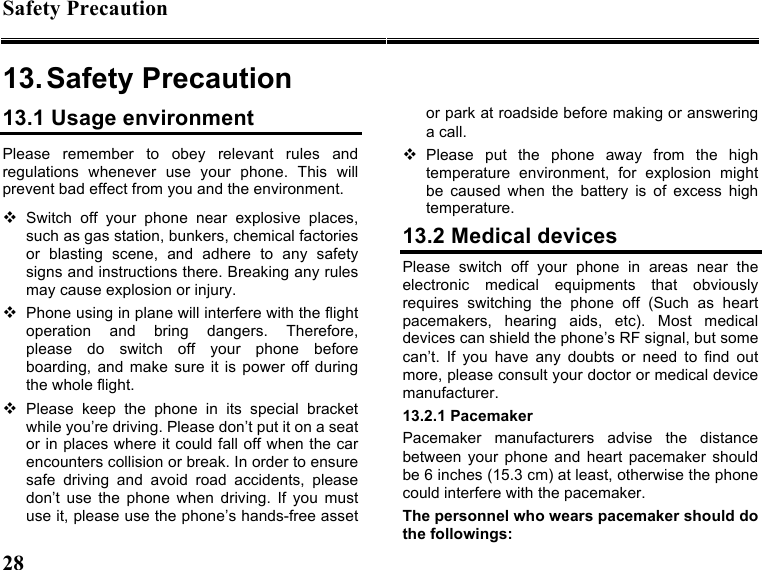
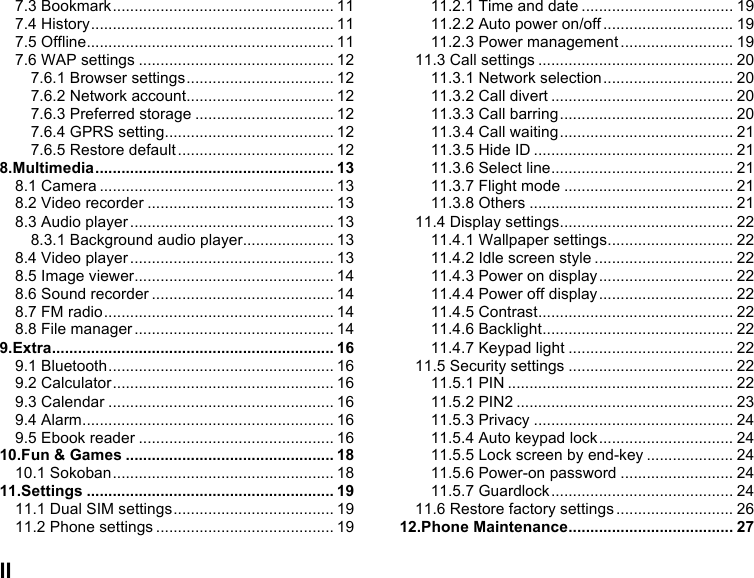
![Getting to know your phone 2 into the phone and the notched corner has the same direction with the card slot, then push the other side of the card gently until it fixes itself in the card slot. (4) Replace the battery with its golden contact part facing the set phone battery contact piece, and then replace the battery cover. Caution: All function described in this User Manual is based on two SIM cards inserted, please select [Settings →Dual SIM settings →Standby mode→Dual SIM dual standby]. If only one SIM card is inserted or the Dual card function doesn’t be activated, then the phone display screen and selecting items might be different with what the user manual described. 1.4 Installing Storage card (1) Hold on 【End Key】 for about three seconds to switch off the phone. (2) Remove the battery cover. (3) Follow the arrow direction of "OPEN" on the T-Card slot cover, open card slot cover, put the T-Card into the slot vertically, make sure that the gold contacts of the card face upwards, until the card fixes itself in the card slot. (4) Follow the arrow direction of "LOCK" on the T-Card slot cover, pull card slot cover to lock the card slot. 1.5 Battery charging Charged by the travel charger (1) Install the battery correctly into the phone. (2) Insert the lead of the travel charger to connecting slot of the phone, and then connect the charger to a standard power socket. When charging is complete, unplug the charger from the standard power socket first, and then disconnect the phone and charger.](https://usermanual.wiki/Dynamics/TRO71/User-Guide-1499805-Page-9.png)
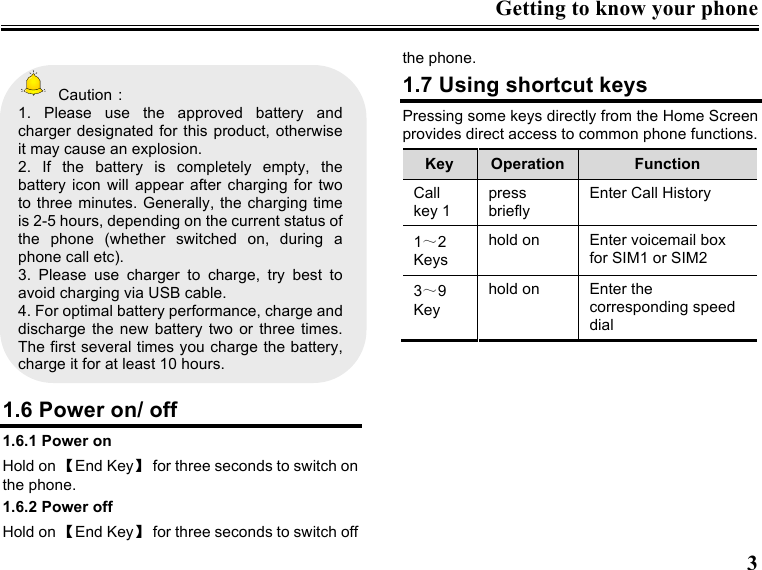

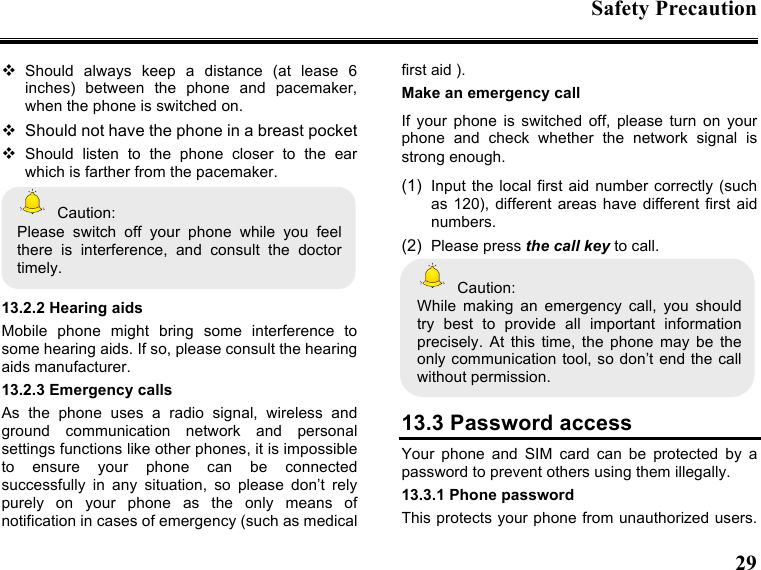
![Messaging 8 6. Messaging 6.1 Write message 6.1.1 New SMS On the Home Screen, press【Left Soft Key】and select [Messaging→Write message→New SMS] to edit a new SMS directly. After writing an SMS, click <Send > to send the message. 6.1.2 New MMS On the Home Screen, press【Left Soft Key】and select [Messaging→Write message→New MMS] to create a new MMS. 6.2 Inbox Store all received SMS and MMS. 6.3 Outbox Store all SMS and MMS failed to be sent. 6.4 Drafts Save edited SMS and MMS haven’t sent. 6.5 Sentbox Store all the SMS and MMS successfully sent out. If you want the sent messages be saved automatically, please select [Messaging→Options], then select [SMS settings→Save sent messages→Save]. 6.6 Message setting On the Home Screen, press【Left Soft Key】to enter the main menu, then select [Messaging→Options] to enter the message setting menu. 6.6.1 Templates While editing messages, you can directly cite the preset common phrases. Select <Edit> to set the common phrases by yourselves. 6.6.2 Voice mail server This function works like an answering machine, which can transfer a missed call to your personal voice mail, allowing the caller to leave a voice message and notify you by an SMS. Voice Mail is a part of the bundled software provided by network](https://usermanual.wiki/Dynamics/TRO71/User-Guide-1499805-Page-15.png)
![Messaging 9 operator, therefore, you need to register to active this function, and manually set the phone. Please contact with your network operator for more details. 6.6.3 Broadcast message You can receive broadcast text messages with various contents via network service, such as news, weather or traffic information. For more details, please consult your network operator. 6.6.4 SMS settings SIM1 msg center: While sending messages, you must set the service center number provided by network operator. Most SIM cards defaulted contain the service center number. You can also gain this number directly from the network operator. Caution: If you modify or delete the service center number, an SMS might not be sent successfully. SIM2 msg center: Please refer to [SIM1 msg center]. Message validity period: Allows you to set the length of time during which your SMS will be stored in the message center. The validity period depends on the network operator. Status report: Select [On], then the text message center will inform you when you successfully sent a message. Save sent messages: You can select whether to save the sent message or not. Preferred storage: You can select to save the SMS to the SIM card or the phone first. 6.6.5 MMS settings SIM1 MMS account/SIM2 MMS account: You can select SIM1 MMS account or SIM2 MMS account Delivery report: Select [Activate], then the MMS center will inform you that the recipient has received and downloaded the MMS. Send read report: Click [Activate], then you will receive a report message when the sent MMS has been read by the recipients. Anonymous send: Select [Activate], the MMS will be sent to the desired recipient without displaying the sender’s phone number.](https://usermanual.wiki/Dynamics/TRO71/User-Guide-1499805-Page-16.png)
![Messaging 10 Priority: Set the priority level for MMS. Receive MMS: You can select [Manual receive] between [Auto receive]. If manual retrieve function is activated, then you have to manually download the received MMS from the inbox; if auto function is chosen, then the phone will automatically download the received MMS once the phone is back to the Home Screen. Play audio: After activated, the phone will play sound while reading a MMS. Allow adversting: After activated, the phone will receive advertisement while receiving a MMS. Validity period: You can set the validity for the MMS. The period depends on the service provided by network operator. Storage: You can select the desired storage location for pictures, music or video files of MMS. Restore default: Reset to the default setting. 6.6.6 Message capacity You can view memory capacity status for SMS and MMS via this function.](https://usermanual.wiki/Dynamics/TRO71/User-Guide-1499805-Page-17.png)
![Services 11 7. Services On the Home screen, press【Left Soft Key】and select [Services→Internet service]. Caution: 1.Your network service provider may not support some functions. In order to ensure the browser work normally, please confirm first that your SIM card supports and have the Internet function activated. 2. If you browse the web page, flowrate fee will be charged. 7.1 Input URL Enter the wanted website, and click <Confirm> to connect it. 7.2 Homepage By selecting this option, your mobile phone will directly visit the preset or defaulted homepage. While browsing the website, press【Left Soft Key】 to switch between address bar, websites and tool bar. 7.3 Bookmark Bookmarks are defaulted as blank, and you are able to edit it as you want. Save the common visited website into the Favorites, and marked by simple names. Select one saved name, then the corresponding web will be connected. Please refer to below setting: Add bookmark: Enter the new bookmark address and name, then select <Confirm> to save it. 7.4 History Record the websites you visited before. 7.5 Offline After saving a website as snapshot, you can browse the website while offline.](https://usermanual.wiki/Dynamics/TRO71/User-Guide-1499805-Page-18.png)
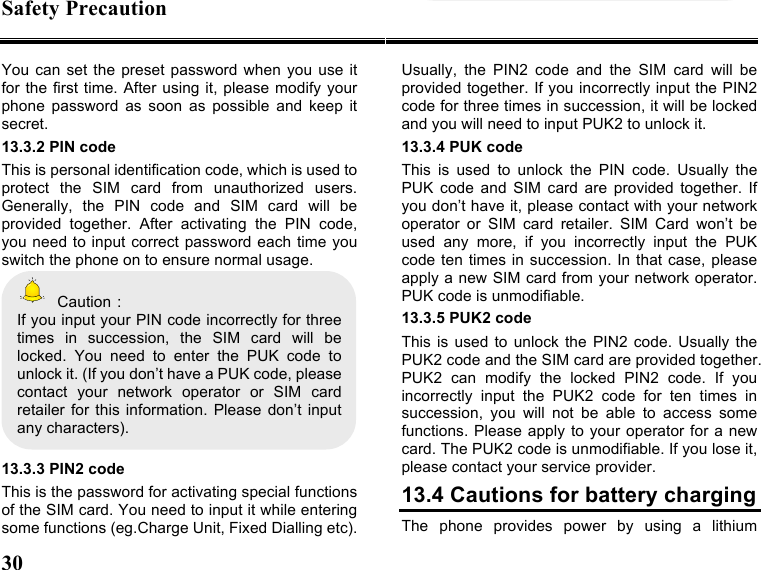
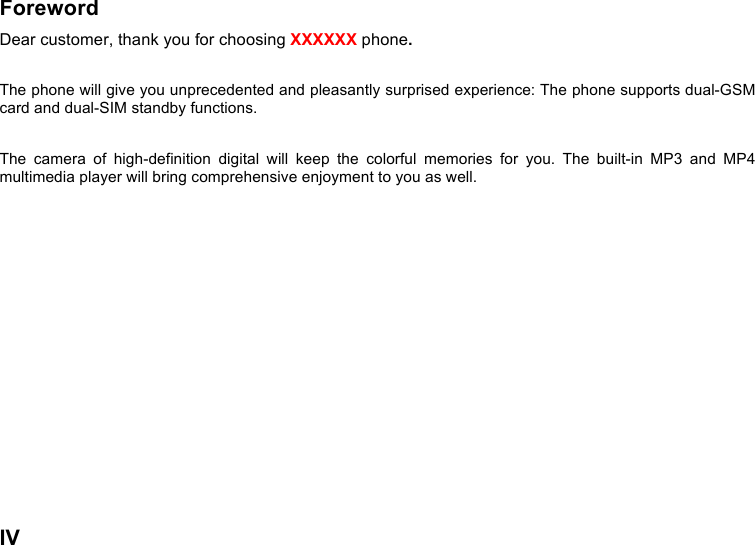
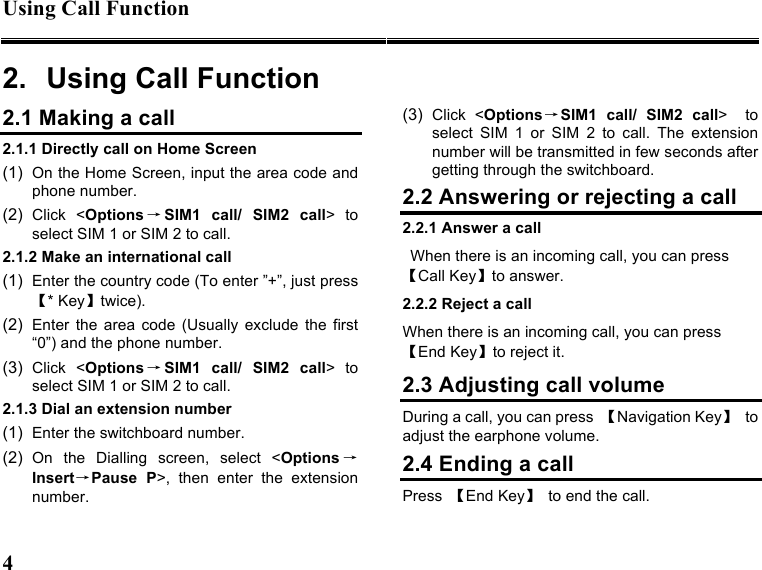
![Multimedia 13 8. Multimedia8.1 Camera Enter the main menu, and select [Camera] to enter the camera preview screen, press 【OK Key】to take a photo. 8.2 Video recorder Enter the main menu, and select [Multimedia→Video recorder] to enter the video preview screen, and press 【OK Key】to start recording the video. 8.3 Audio player On Home Screen, press 【Left Soft Key】 to enter the Main menu, and select [Multimedia→Audio player] to enter the Audio Player screen. The below table shows the icons on the Player screen: Icon Description Press【Up Key】 to display or pause Press 【Down Key】 to stop / Press【Left/Right Key】 to skip to last or next one Show the playing volume, press【+ Key】/【- Key】to turn up/down the volume 8.3.1 Background audio player While playing a song, press 【End Key】to quit the Playing screen to enter the background playing mode. 8.4 Video player Enter the Main menu, and click [Multimedia →Video player]. Icon description: Icon Description](https://usermanual.wiki/Dynamics/TRO71/User-Guide-1499805-Page-20.png)
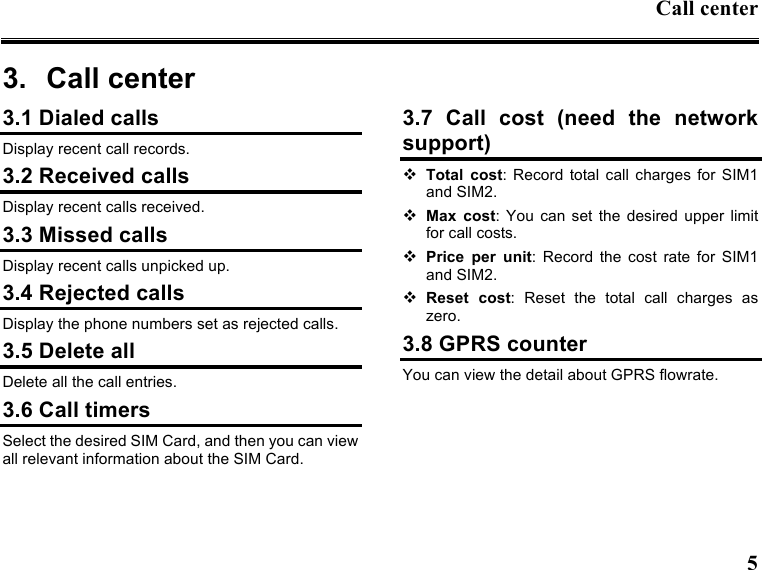
![Multimedia 14 / Play or pause / Skip to the last/next file Stop playing Turn up or down the volume. Press【+Key】or 【- Key】to adjust the volume. 8.5 Image viewer The function provides a prompt access to view the photos and pictures. 8.6 Sound recorder On Home Screen, press 【Left Soft Key】 to enter the main menu, select [Multimedia →Sound recorder], and choose <Options →Start recording> to start recording. Select <Pause> to have the recording pause for a while, select <Stop> to cease recording. After ceasing the recording, the recorded file will be automatically save in the folder [Audio], press 【Up/Down Key】to select or select <Options→Record file list> to check. 8.7 FM radio On standby mode, plug the earphone, press【Left Soft Key】 to enter the Main menu, then select [Multimedia→FM radio]. Icon description: Icon Description Press 【Down Key】 to activate or deactivate the radio press【Left/Right Key】 to adjust the frequency / Press【Left /Right Key】to adjust the radio frequency. Display the player volume, Press【+Key】or 【- Key】to adjust it 8.8 File manager This menu allows you to manage files stored in the](https://usermanual.wiki/Dynamics/TRO71/User-Guide-1499805-Page-21.png)
![Multimedia 16 9. Extra 9.1 Bluetooth Open/Close bluetooth: This function allows you to switch the Bluetooth on or off. Bluetooth visibility: Set to show or hide the Bluetooth of your phone. If you select to hide the phone, other devices cannot detect the Bluetooth device of your phone, even you activated your Bluetooth function. Paired device: You can search for the nearby Bluetooth-enabled devices. My Bluetooth name: If Bluetooth function activated, while other devices search for Bluetooth signal, the corresponding name represents your phone. Storage: Able to set the storage location for files received via Bluetooth. Help: Provide relevant Bluetooth helping information. 9.2 Calculator Directly input numbers, press【Navigation Key】 to select your desired operation symbols (+, -, /, X). Press 【OK Key】 to get the answer. 9.3 Calendar On the Home Screen, press【Left Soft Key】 to enter the main menu, and select [Extra→Calendar] to enter the Calendar screen. 9.4 Alarm On the Home Screen, press【Left Soft Key】 to enter the main menu, and select [Extra→Alarm], then you can set the alarm name, time, ring and mode. 9.5 Ebook reader You can view file in TXT format by Ebook and copy the TXT file to the [Ebook] folder in the memory card from your PC.](https://usermanual.wiki/Dynamics/TRO71/User-Guide-1499805-Page-23.png)
![Extra 17 On the Home Screen, press【Left Soft Key】to enter the main menu and select [Extra→Ebook reader] to enter the Ebook screen you read last time. Select <Back> to enter the Ebook list and reselect the desired file to read.](https://usermanual.wiki/Dynamics/TRO71/User-Guide-1499805-Page-24.png)
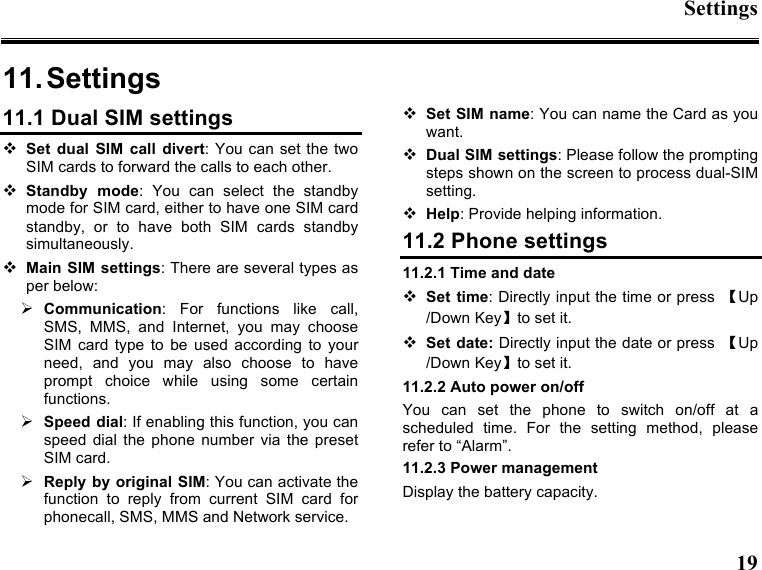
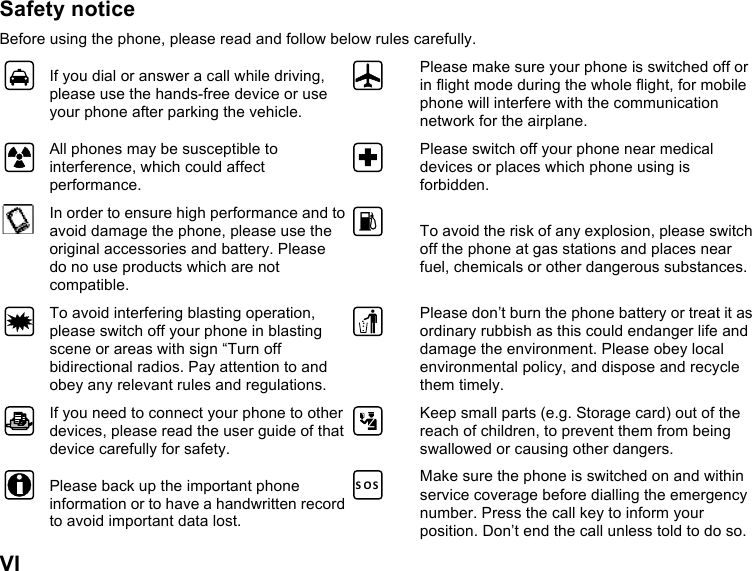
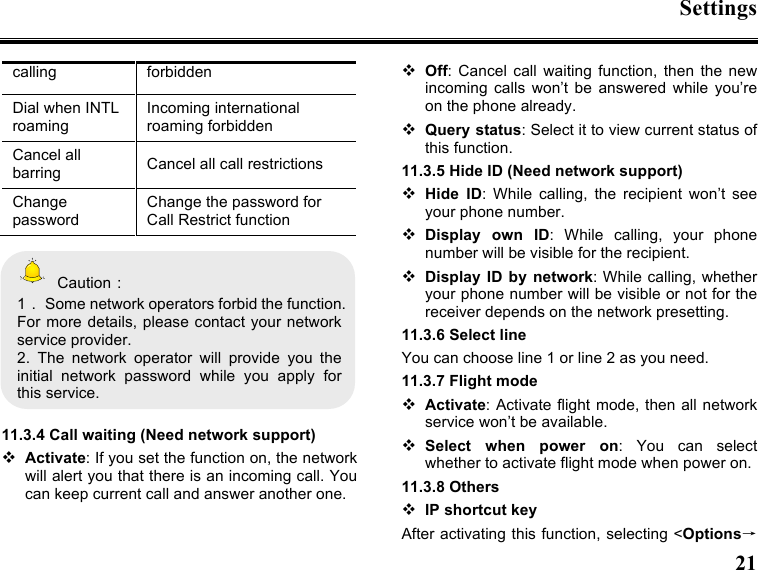
![Settings 20 11.3 Call settings 11.3.1 Network selection Auto select: The phone can automatically search and register available networks. Manual select: Enable this function, the phone will search for the network, and list all searched networks, then you need to choose the one needed to register. 11.3.2 Call divert Based the set diverting conditions, incoming calls will be forwarded into voice mail or other numbers. Unconditional transfer: All incoming calls will be transferred to the preset number or your voice mail. Select[Query status]to view the current unconditional call divert status. Divert if busy: Calls will be transferred to the voice mail or the preset phone number when you are on the phone. Divert if no answer options: Calls will be transferred to the voice mail or the preset phone number, if the set time is over and phone still won’t be answered. Divert if unreachable: Calls will be transferred to the appointed number or your voice mail, when your phone is out of the service coverage or is switched off. Cancel all diverts: All Call Divert functions are cancelled. 11.3.3 Call barring This function helps you to restrict the incoming and outgoing calls. Select the desired call and press <Confirm>, then you can select [Activated], [Off] or [Query status]. Select [Activated], the phone will need network support current setting. Below are the available restricted call selections. Option Description All outgoing calls Restrict all outgoing calls All incoming calls Restrict all incoming calls Incoming calls when roaming No incoming calls while roaming International Outgoing international calls](https://usermanual.wiki/Dynamics/TRO71/User-Guide-1499805-Page-27.png)

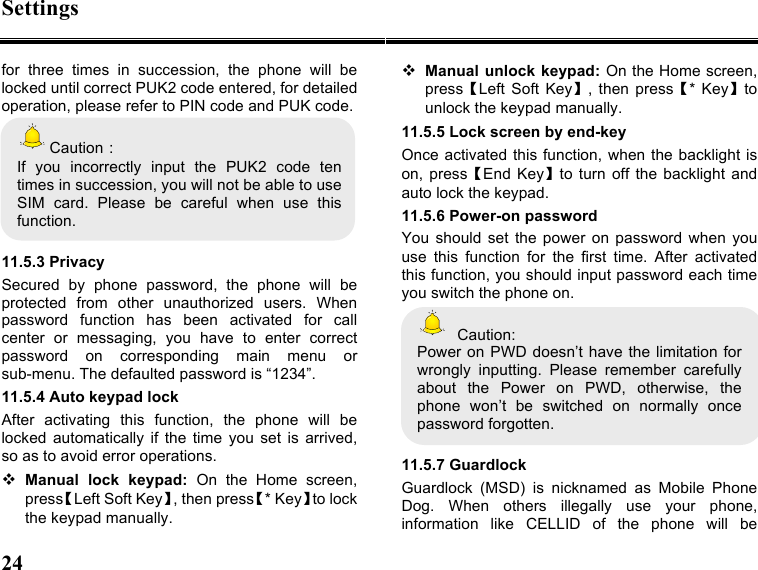
![Settings 26 password] to finish the password setting and back to activate this function. While activating it, guardlock password and notified mobile phone number (The number to receive the information of the SIM card illegally used in the stolen phone) are required. After these, guardlock function will work. Off: To deactivate guardlock function, you should input correct Guardlock password. Change password: Modify guardlock password. Warning: Please use this function carefully. The phone won’t be used if password forgotten. 11.6 Restore factory settings Reset all parameter values into default status. Please enter the privacy preserving password (Initial password is 1234) to resume factory setting.](https://usermanual.wiki/Dynamics/TRO71/User-Guide-1499805-Page-33.png)