E Lead Electronic EL708 In-Vehicle Entertainment User Manual Operating Manual keys
E-Lead Electronic Co., Ltd In-Vehicle Entertainment Operating Manual keys
UserManual.wiki
>
E Lead Electronic
>
EL708 User Manual
Users Manual
Navigation menu
Upload a User Manual
Namespaces
Wiki Guide
HTML
PDF
Info
Views
User Manual
Discussion / Help
Navigation
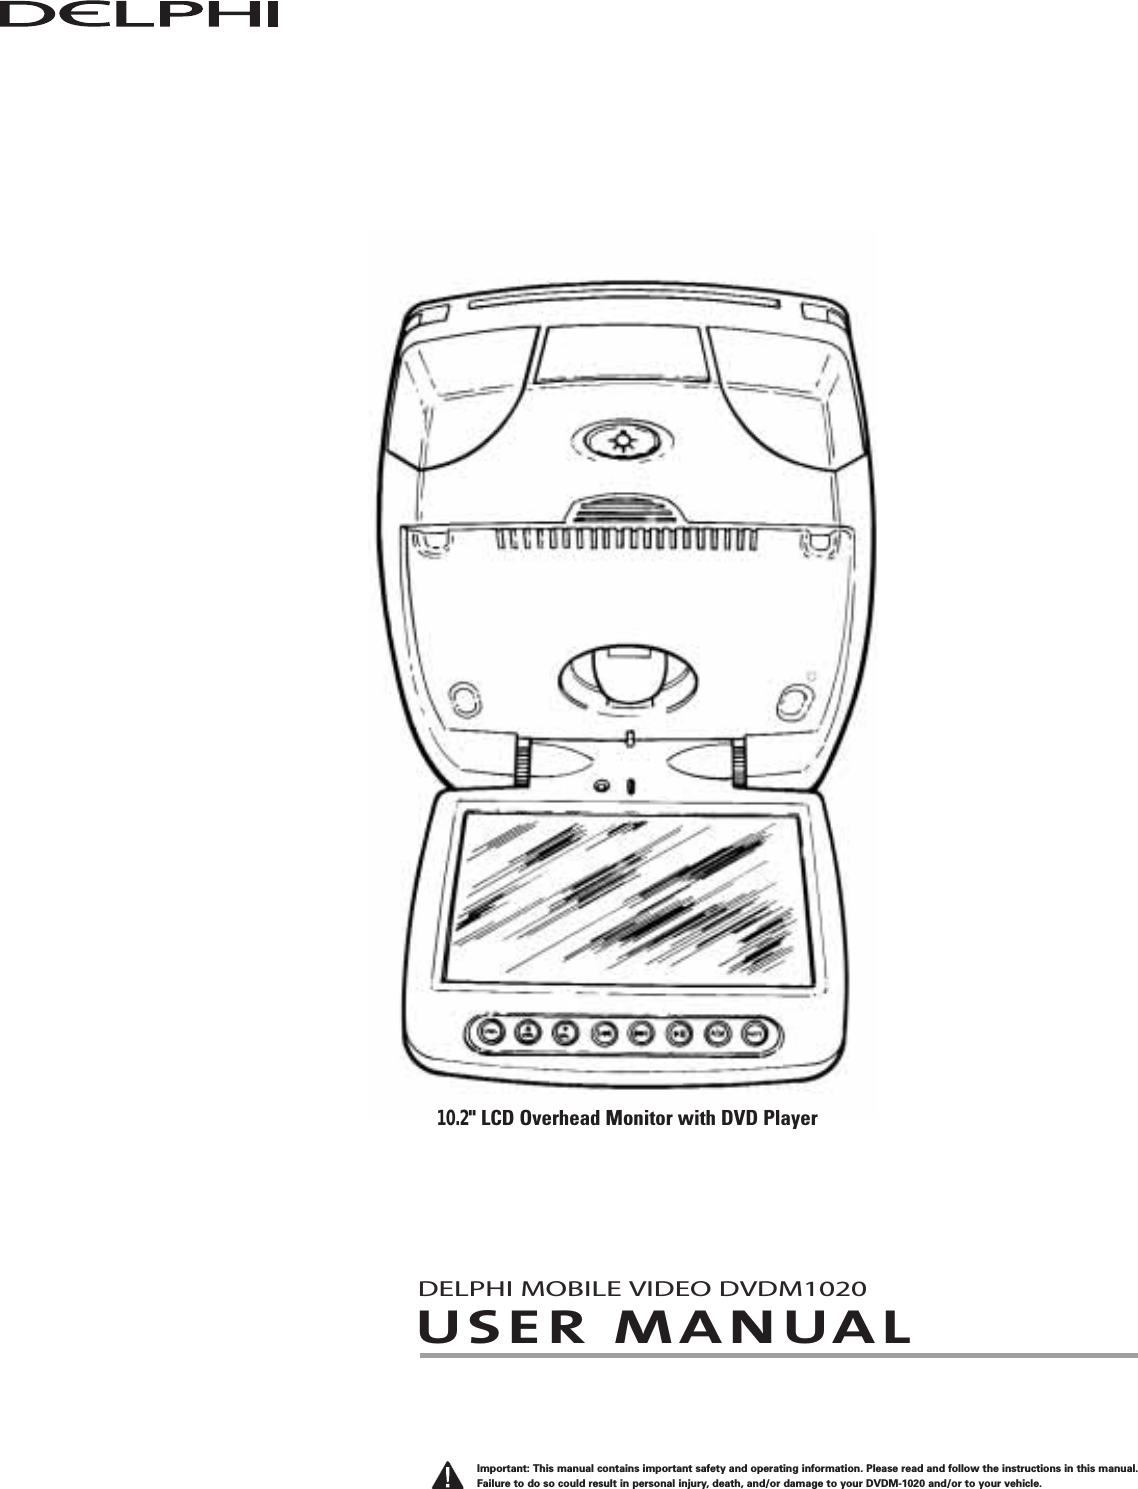
![©2004 Delphi Corporation. All rights reserved.DPSS-04-E-026Delphi Corporation1441 West Long Lake RoadTroy, Michigan 48098-5090 U.S.A.Customer Service: [1] 877.GO DELPHIwww.delphi.comSECTION 8:WARRANTYDelphi Product & Service Solutions (“Delphi”) warrants all DelphiMobile Video products sold by Delphi (“Products”) to be free of defectsin material and workmanship, subject to the following conditions.The duration of Delphi’s warranty with respect to Product is limited toone (1) year from the date of sale to the original consumer purchaser.No other express warranties are made with respect to any Product.All implied warranties, including warranties of merchantability andfitness for a particular purpose are limited to the warranty period setforth above. This warranty is not transferable and applies only to theoriginal consumer purchaser of the Product.Delphi will, as its sole obligation under this warranty, replace or repair,at its option, any Product that does not conform to this warranty. Underno circumstances will Delphi be liable for any incidental or conse-quential damages under this warranty or any implied warranties.Delphi will not be responsible for damage resulting from (i) any deviationfrom Delphi’s operating instructions as printed in Delphi’s catalog oron any packaging, labels, or other literature provided with a Product,(ii) installation of a Product in a manner which is inconsistent withDelphi’s written instructions, (iii) alteration or modification of aProduct, (iv) misuse, (v) neglect, (vi) abuse, (vii) accident, (viii) normalwear and tear, (ix) commercial use, (x) service by anyone other than aDelphi authorized repair facility, or (xi) other improper application,installation, or operation of the Product.HOW YOU (THE CUSTOMER) CAN GET SERVICETo obtain warranty service after installation, youmust return the defective Product with the originalreceipt to the original place of installation. Fortechnical support or if you have questions, callDelphi at 1.877.667.8700.If warranty service is needed at any time duringthe warranty period, the purchaser will berequired to furnish a sales receipt/proof of purchase indicating the date of purchase,amount paid, and place of purchase. Customerswho fail to provide such proof of purchase willbe charged for the repair of any Product.HOW STATE LAW RELATES TO THEWARRANTYSome states do not allow limitations on howlong implied warranties last, or the exclusion or the limitation of incidental or consequentialdamages. So the above limitations may notapply to you. This warranty gives you specificlegal rights. You may also have other rights that may vary from state to state.NO PERSON IS AUTHORIZED BY DELPHI TOMODIFY OR ADD TO THIS LIMITED WARRANTY.FCC STATEMENTThis equipment has been tested and found tocomply with the limits for a Class B digitaldevice, pursuant to Part 15 of the FCC rules.These limits are designed to provide reasonableprotection against harmful interference in a normalinstallation. This equipment generates, uses, andcan radiate radio frequency energy and, if notinstalled and used in accordance with theinstructions, may cause harmful interference toradio communications. However, there is noguarantee that interference will not occur in aparticular installation. If this equipment doescause harmful interference to radio or televisionreception, which can be determined by turningthe equipment off and on, the user is encouragedto try to correct the interference by one or moreof the following measures:•Reorient or relocate the receiving antenna•Increase the separation between the equipmentand receiver•Connect the equipment into an output on a circuit different from that to which the receiveris connected•Consult the dealer or an experienced electronicstechnician for help•A shielded cable must be used when connectinga peripheral to the serial portsWarning: Modifications not expressly approved bythe manufacturer could void the user’s authority to operate the equipment under FCC rules.](https://usermanual.wiki/E-Lead-Electronic/EL708/User-Guide-449355-Page-12.png)