E RAE Electronics Industry Co DLN-30D3 LCD TV User Manual 30LCDTV NTSC PDF 1123
E-RAE Electronics Industry Co Ltd LCD TV 30LCDTV NTSC PDF 1123
UserManual.wiki
>
E RAE Electronics Industry Co
>
DLN 30D3 User Manual
Users Manual
Navigation menu
Upload a User Manual
Namespaces
Wiki Guide
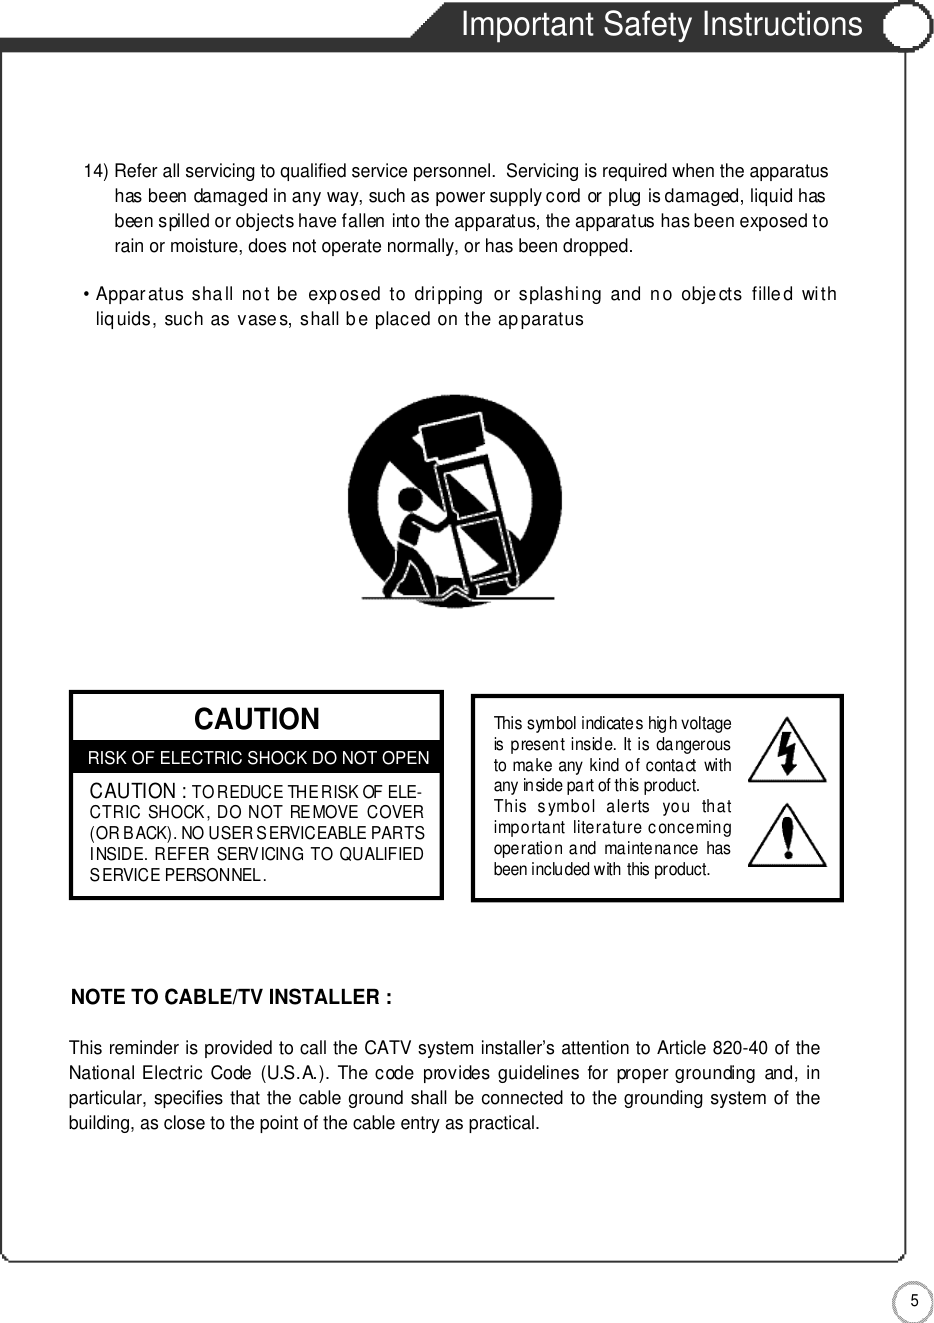
HTML
PDF
Info
Views
User Manual
Discussion / Help
Navigation
![4 4Supported Display ModesMaintenance and Service●Component Mode [Y, CB(PB), CR( PR)]Resolution Horizontal Frequency (KHz) Vertical Frequency (Hz)7 2 0×4 8 0 15.73 6 0 . 0 0 SDTV, DVD 480i7 2 0×4 8 0 31.47 5 9 . 9 4 SDTV, 480p1 2 8 0 ×7 2 0 45.00 6 0 . 0 0 HDTV, 720p1 2 8 0 ×7 2 0 44.96 5 9 . 9 4 HDTV, 720p1 9 2 0 ×1 0 8 0 33.75 6 0 . 0 0 HDTV, 1080i1 9 2 0 ×1 0 8 0 33.72 5 9 . 9 4 HDTV, 1080iThe outside design and specification can be modified without any previous notice for improving the performance. ●SpecificationsM O D E L D L N - 2 6 D 3 D L N - 3 0 D 3Aspect Ratio 15 : 9 15 : 9Screen Size (H×V ) 5 6 6 . 4 m m ×3 3 9 . 8 4 m m 6 4 3 . 2 m m ×3 8 5 . 9 2 m mR e s o l u t i o n 1 2 8 0×768(Wide XGA) 1 2 8 0 ×768(Wide XGA)Pixel pitch 0 . 4 4 2 5 m m×0 . 4 4 2 5 m m 0 . 1 6 7 5 m m×R G B×0 . 5 0 2 5 m mDisplayable Colors 1 6 . 7 M 1 6 . 7 MB r i g h t n e s s 4 5 0 cd/㎡( T y p i c a l ) 5 5 0 cd/㎡( T y p i c a l )C o n t r a s t 5 0 0 : 1 6 0 0 : 1Color Temperature 9 5 00。K9 5 00。K Viewing Angle 8 5。/ 85。/ 85。/ 85。8 5。/ 85。/ 85。/ 85Input signalNTSC, SD~HD, VGA~SXGAT u n e r N T S CRGB Input D-Sub, DVIDAC Input AC100-240V~, 50 /60Hz, 2A AC100-240V~, 50/60Hz, 2APower Consumption 1 4 0 W 1 5 0 WDimensions/ Weight TV Only - 818.5×4 3 4×116.5/ 15.2Kg TV Only - 933×4 7 9×10⁴/ 15.3Kg( H ×V×W) (Kg) with stand - 818.5×4 8 8 . 4 ×215/ 18.3Kg with stand - 933×5 2 6×215/ 18.4Kg](https://usermanual.wiki/E-RAE-Electronics-Industry-Co/DLN-30D3/User-Guide-513815-Page-44.png)