EU3C SCND902H1235 FilmScan35 II-Professional-2.4 User Manual
EU3C COMPANY LIMITED FilmScan35 II-Professional-2.4
UserManual.wiki
>
EU3C
>
SCND902H1235 User Manual
User Manual
Navigation menu
Upload a User Manual
Namespaces
Wiki Guide
HTML
PDF
Info
Views
User Manual
Discussion / Help
Navigation


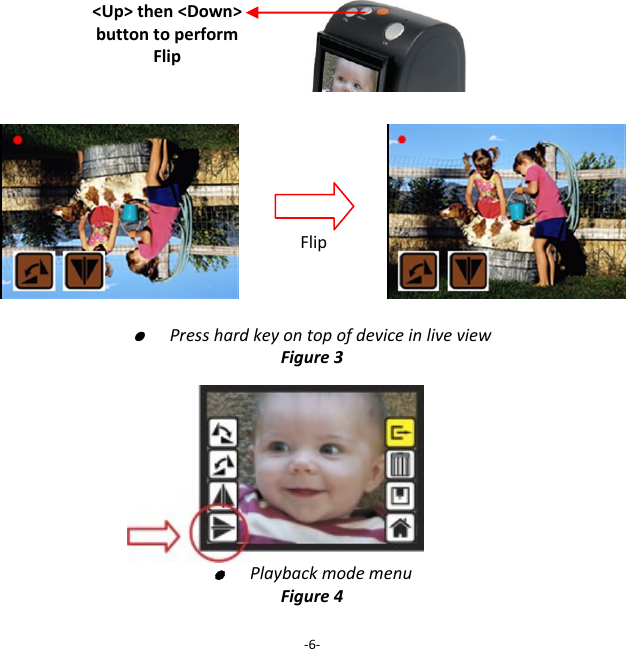
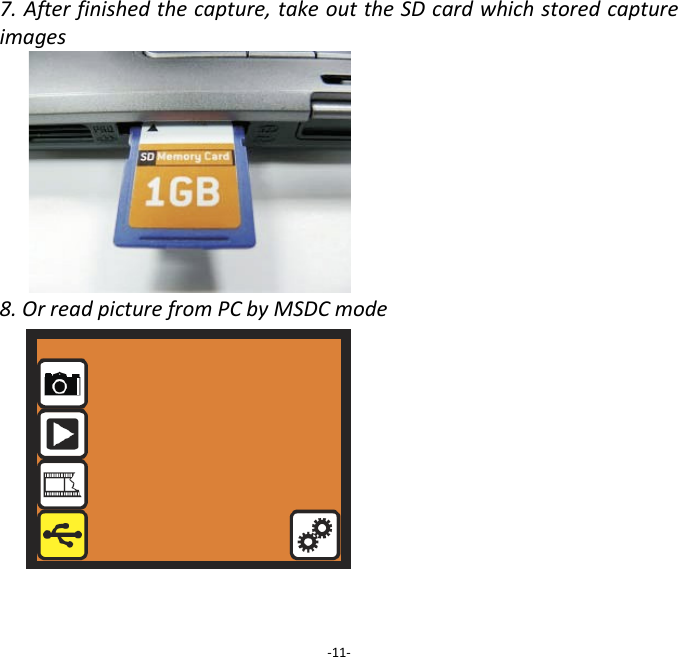
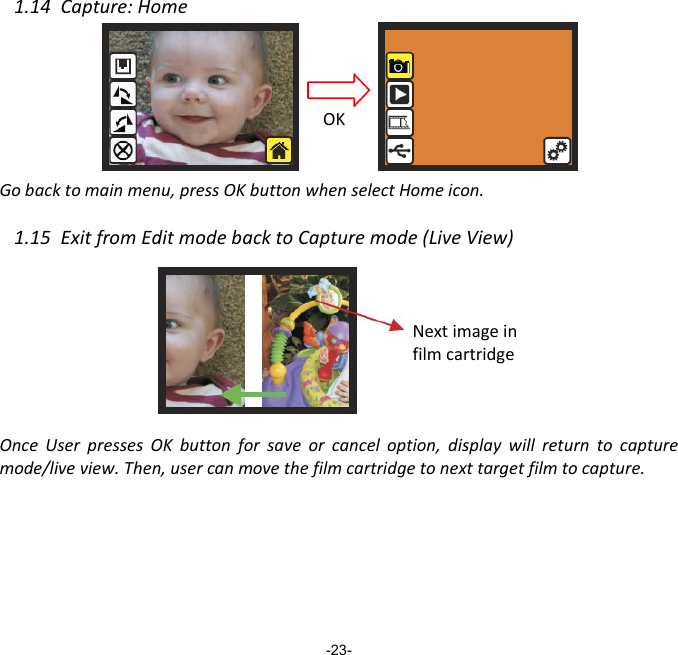
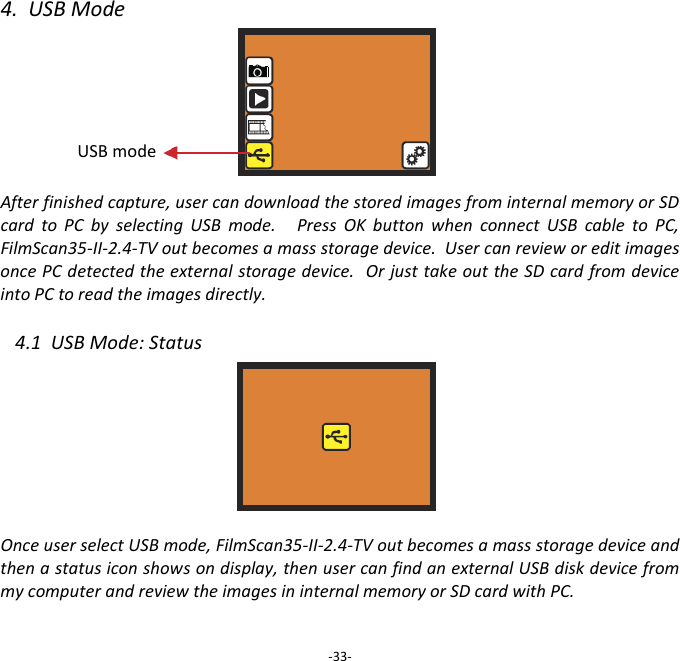
![Note To avoid mirror image, follow the serial numbers (from left to right) on top of film when install negative film into holder If the image is upside down [see fig.2], the image can be corrected by Flip function in hard key of device before capture, or enter playback edit menu after capture [see fig.3 and fig.4]. -5- Figure 1 Figure 2](https://usermanual.wiki/EU3C/SCND902H1235/User-Guide-1405513-Page-7.png)