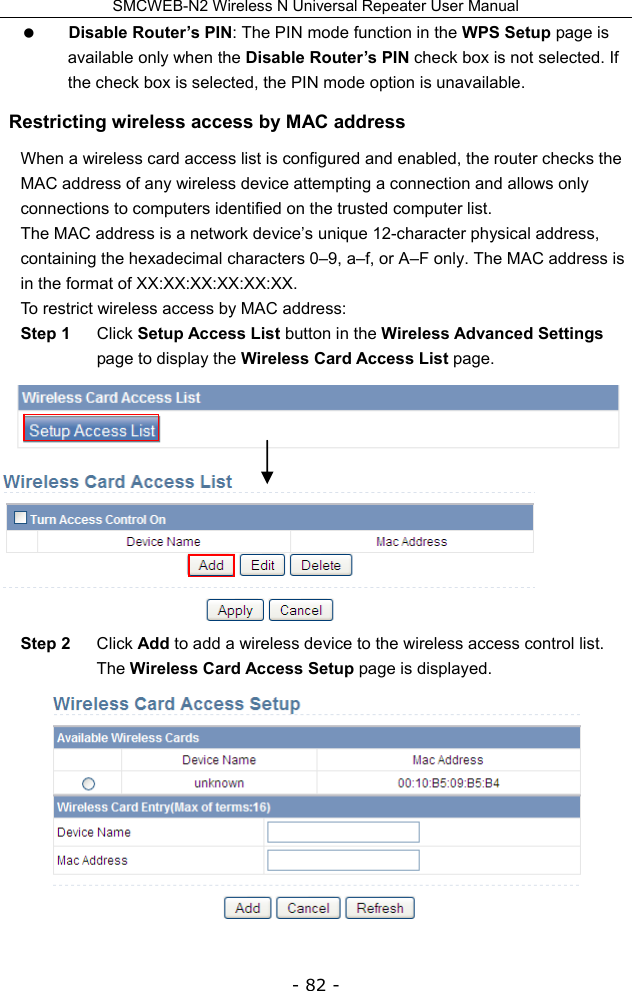
Edgecore Networks SMCWEBN2 Wireless Router User Manual SMCWEB N2 UG R01
Edgecore Networks Corporation Wireless Router SMCWEB N2 UG R01
UserManual.wiki
>
Edgecore Networks
>
SMCWEBN2 User Manual
User Manual
Navigation menu
Upload a User Manual
Namespaces
Wiki Guide
HTML
PDF
Info
Views
User Manual
Discussion / Help
Navigation

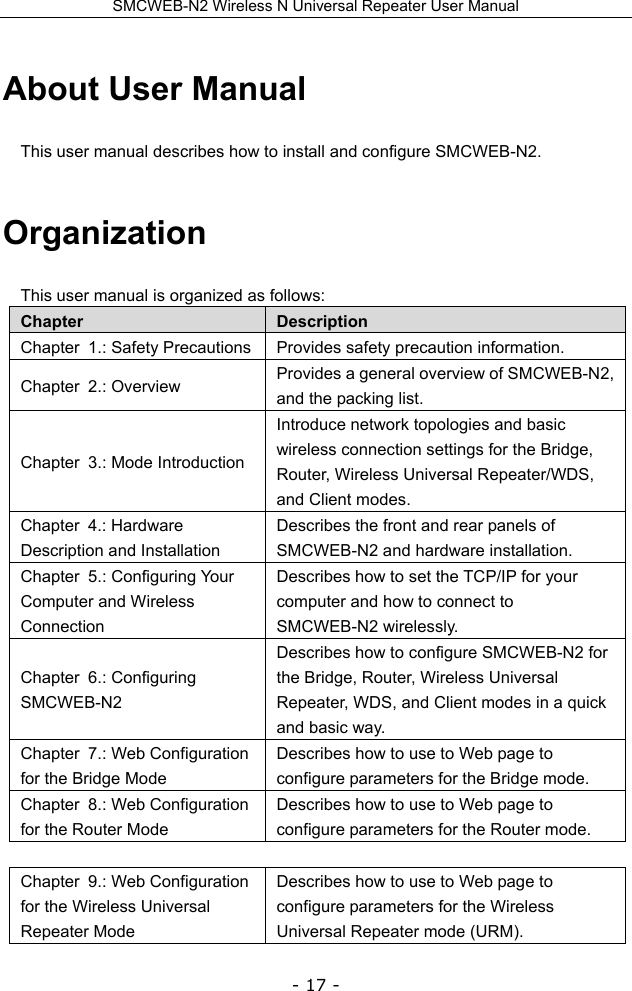

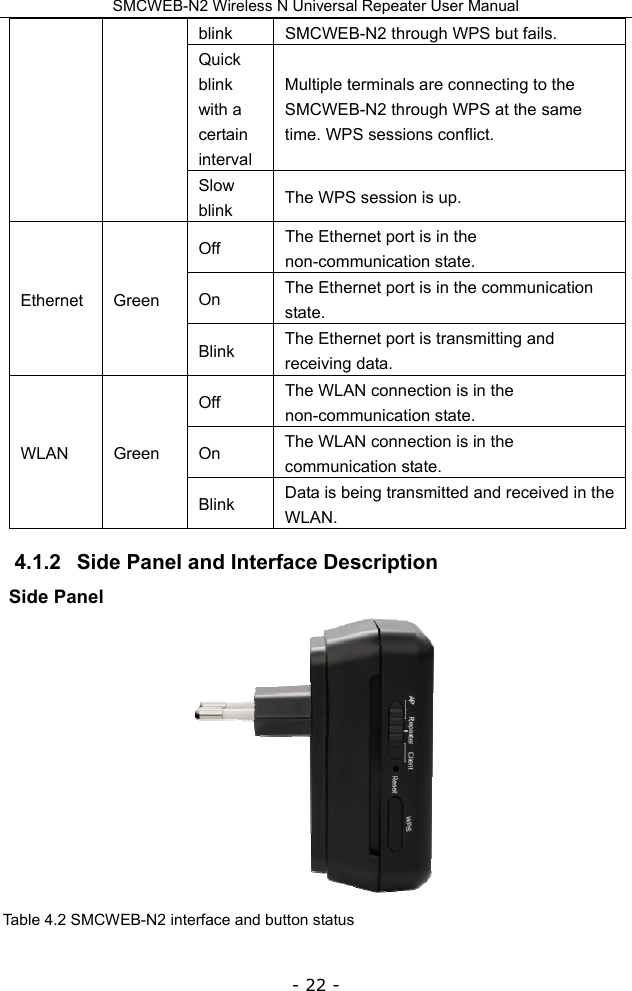

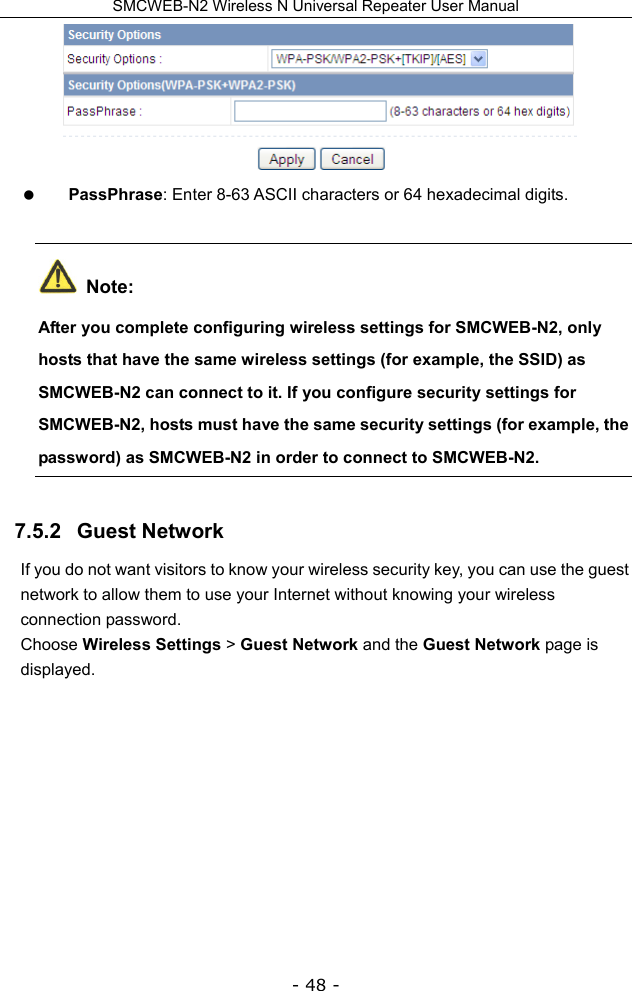
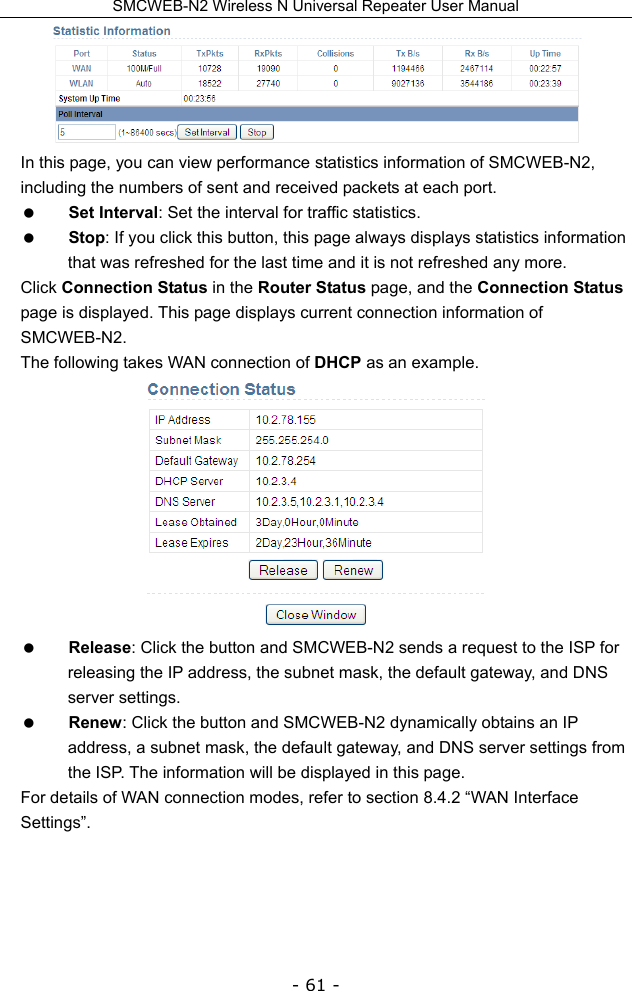
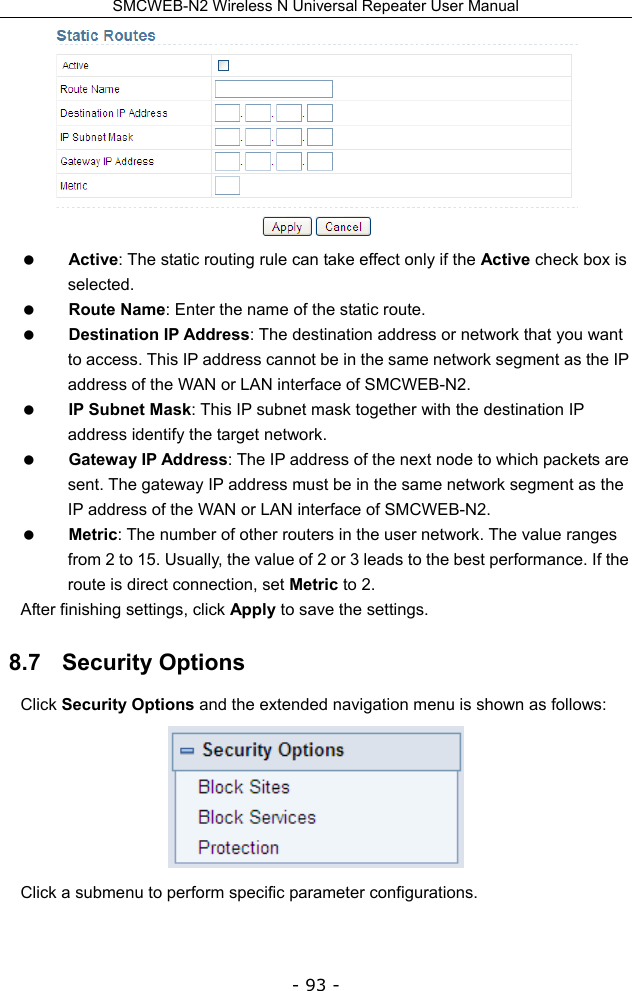
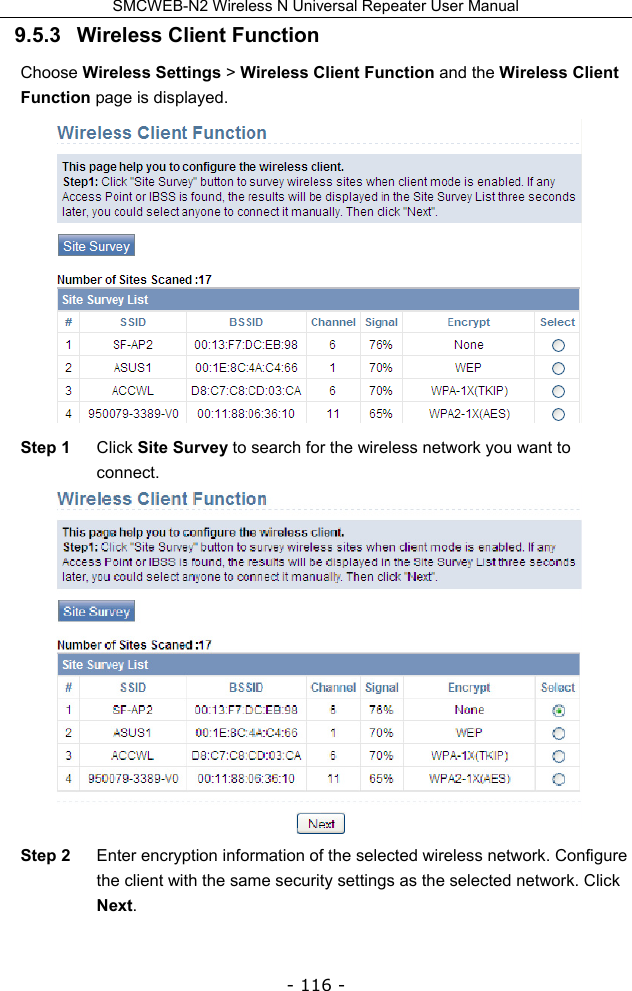
![SMCWEB-N2 Wireless N Universal Repeater User Manual - 47 - – If Encryption Strength is set to 128 bits, set the key to 26 hexadecimal digits or 13 ASCII characters. Key 1/2/3/4: Set the key based on the selected encryption type and encryption strength. - WPA-PSK[TKIP] or WPA2-PSK[TKIP] WPA-PSK: Preshared key Wi-Fi protection access WPA2-PSK: Preshared key Wi-Fi protection access version 2 TKIP: Temporal Key Integrity Protocol Note that the 802.11n mode does not support the TKIP algorithm. PassPhrase: Enter 8-63 ASCII characters or 64 hexadecimal digits. - WPA-PSK[AES] or WPA2-PSK[AES] WPA-PSK: Preshared key Wi-Fi protection access. WPA2-PSK: Preshared key Wi-Fi protection access version 2. AES: Advanced Encryption Standard PassPhrase: Enter 8-63 ASCII characters or 64 hexadecimal digits. - WPA-PSK/WPA2-PSK+[TKIP]/[AES] It allows the client to use either WPA-PSK[TKIP]/[AES] or WPA2-PSK [TKIP]/[AES].](https://usermanual.wiki/Edgecore-Networks/SMCWEBN2/User-Guide-2016496-Page-47.png)

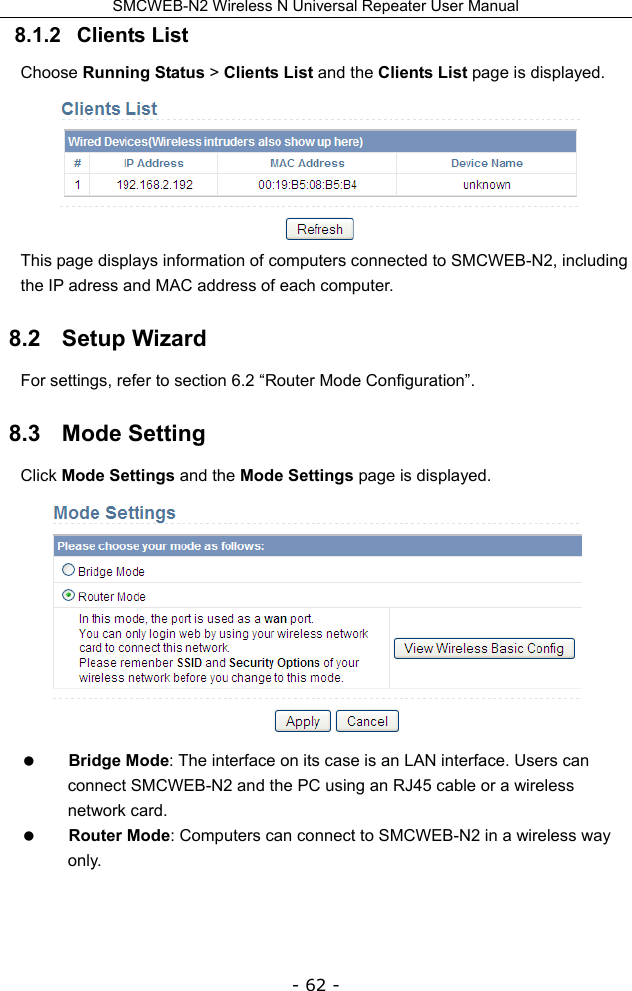
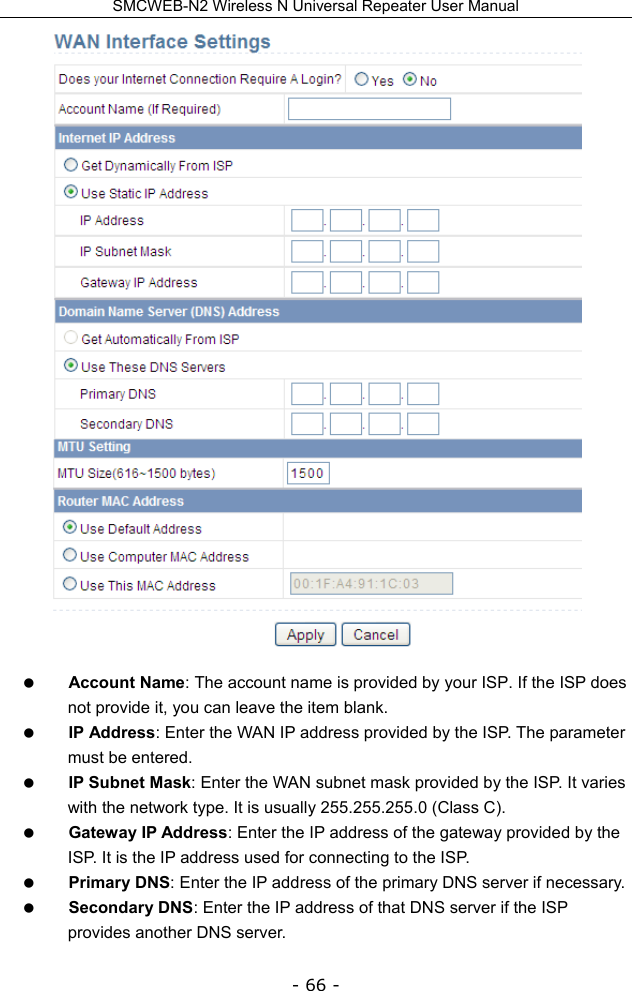


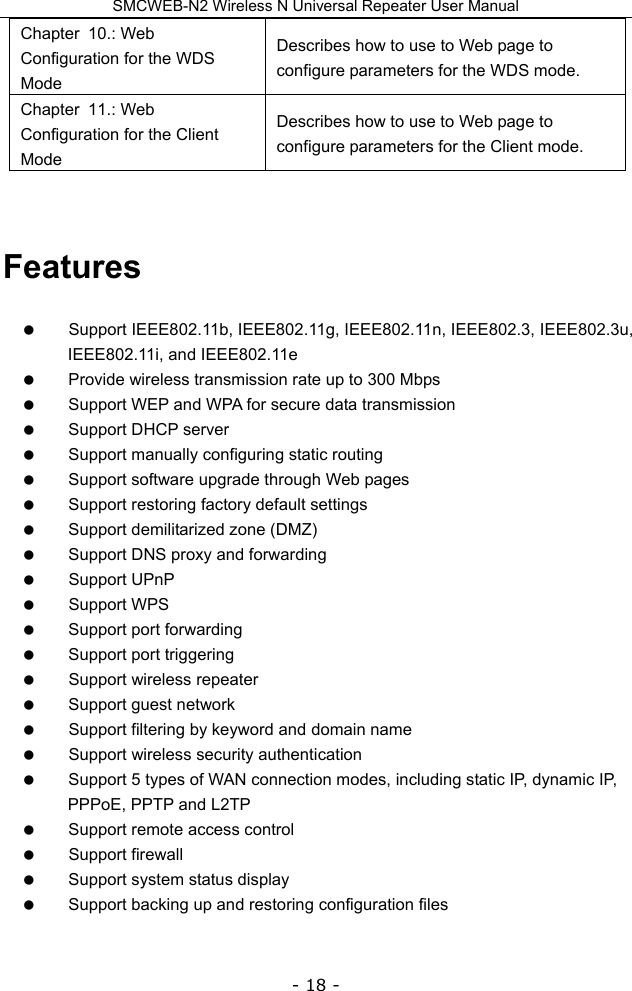
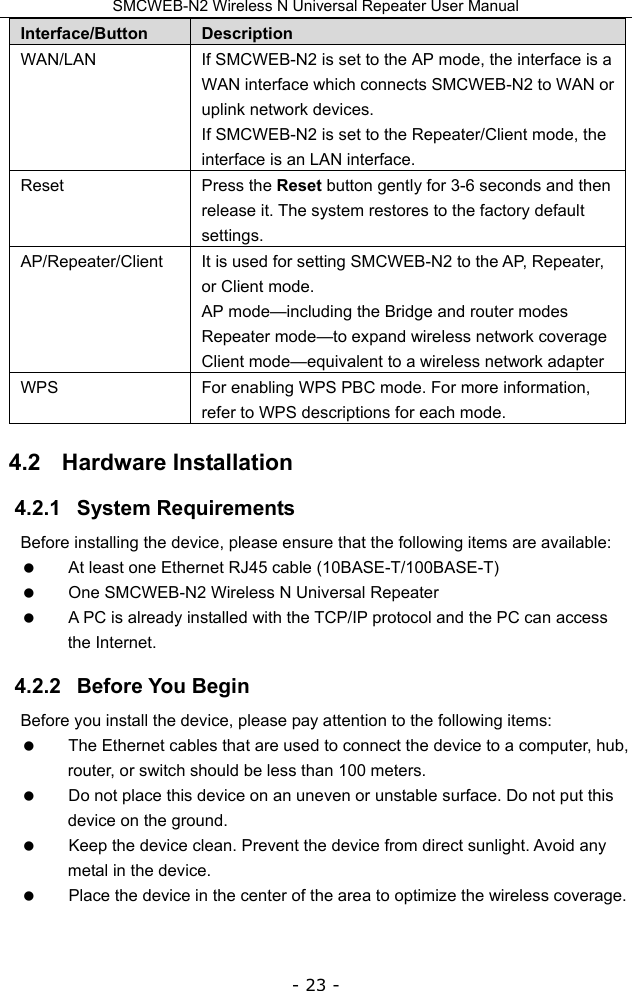
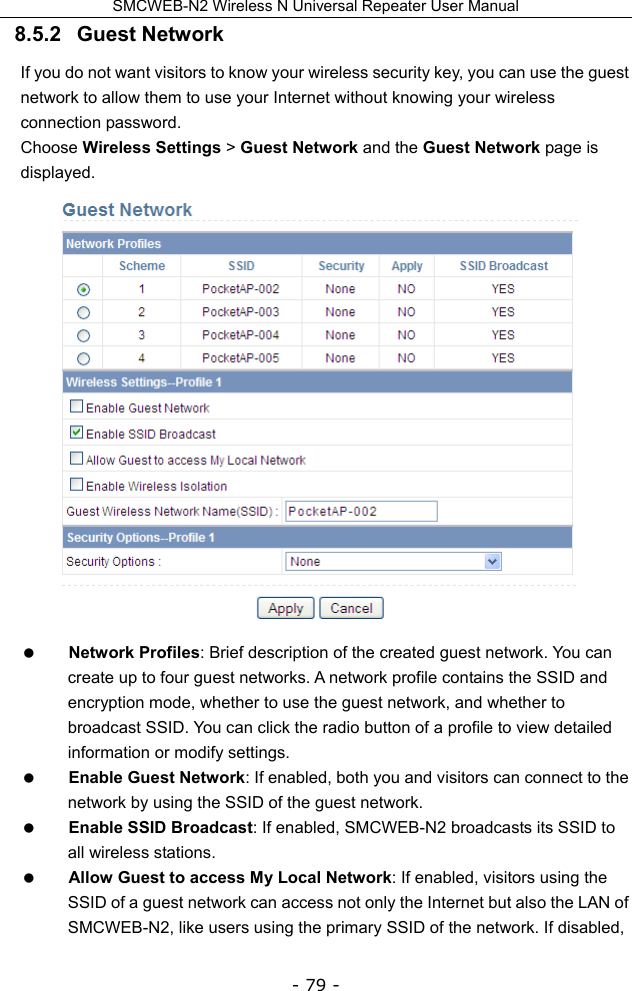
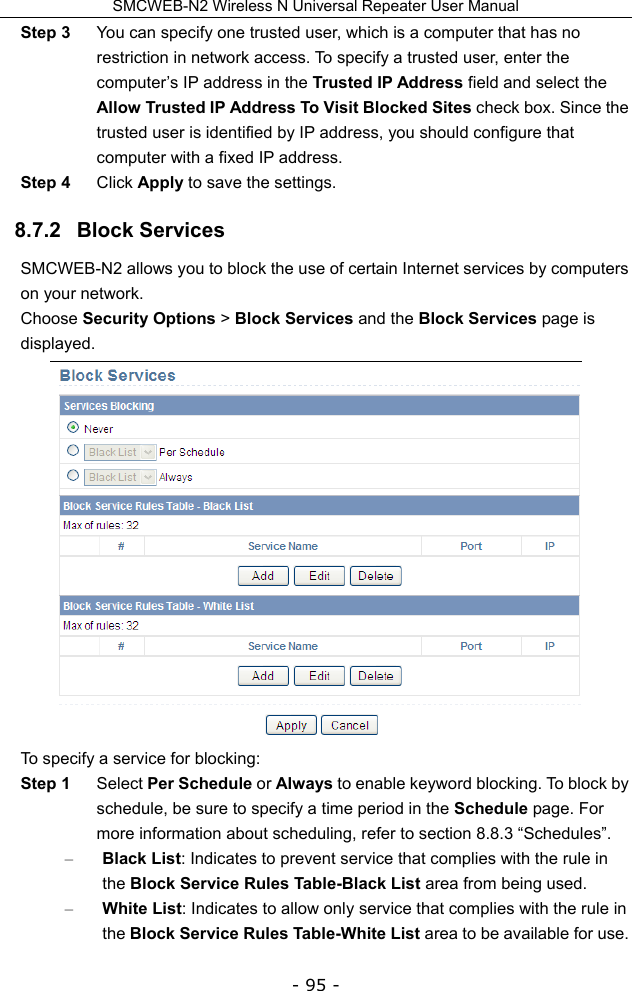
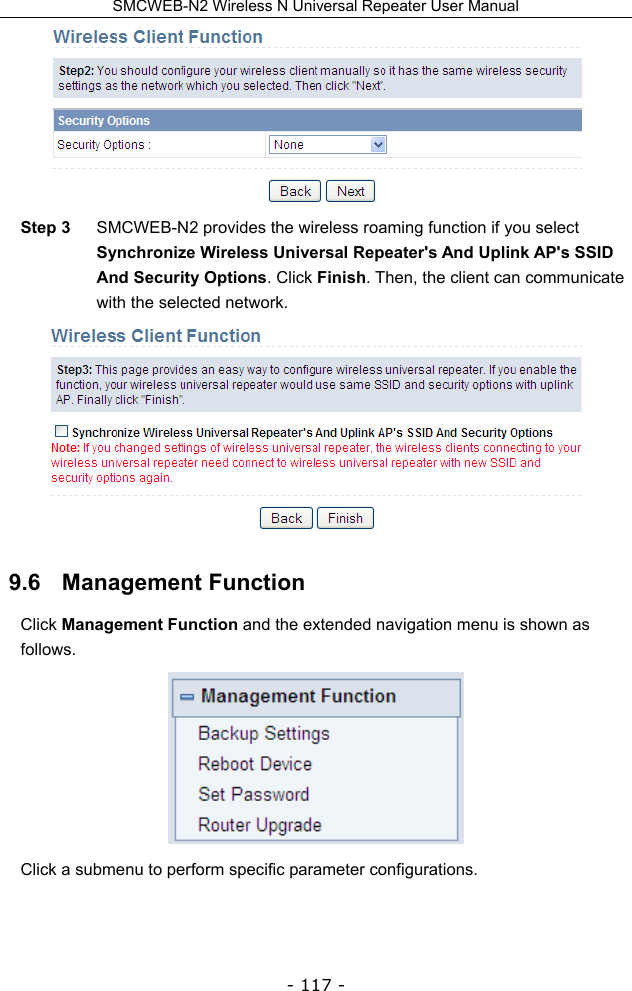
![SMCWEB-N2 Wireless N Universal Repeater User Manual - 77 - – Open: If selected, hosts in the wireless network can pass the authentication and connect to the wireless network without using a password. However, the password is required if you want to transmit data. – Shared keys: If selected, hosts in the wireless network can pass authentication only when the correct password is entered. Otherwise, the hosts cannot connect to the wireless network. Encryption Type: The type of the key to be set. Hexadecimal and ASCII code are available. – Hex: Valid characters for keys contain 0–9 and A–F. – ASCII: Valid characters for keys contain all characters of the key board. Encryption Strength: The encryption strength determines the length of the key. – If Encryption Strength is set to 64 bits, set the key to 10 hexadecimal digits or 5 ASCII characters. – If Encryption Strength is set to 128 bits, set the key to 26 hexadecimal digits or 13 ASCII characters. Key 1/2/3/4: Set the key based on the selected encryption type and encryption strength. - WPA-PSK[TKIP] or WPA2-PSK[TKIP] WPA-PSK: Preshared key Wi-Fi protection access WPA2-PSK: Preshared key Wi-Fi protection access version 2 TKIP: Temporal Key Integrity Protocol Note that the 802.11n mode does not support the TKIP algorithm. PassPhrase: Enter 8-63 ASCII characters or 64 hexadecimal digits. - WPA-PSK[AES] or WPA2-PSK[AES] WPA-PSK: Preshared key Wi-Fi protection access. WPA2-PSK: Preshared key Wi-Fi protection access version 2.](https://usermanual.wiki/Edgecore-Networks/SMCWEBN2/User-Guide-2016496-Page-77.png)
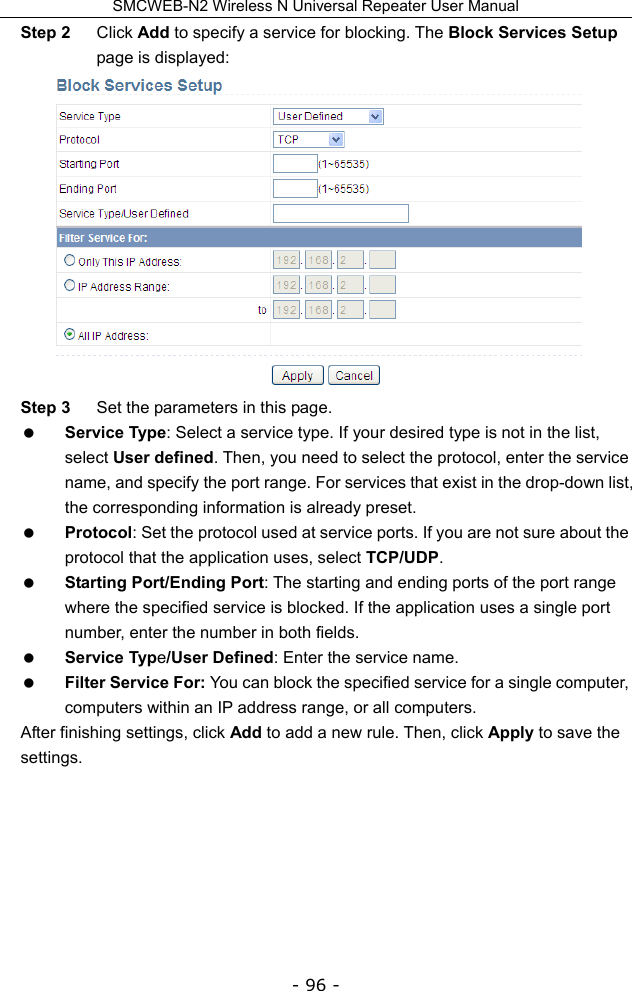
![SMCWEB-N2 Wireless N Universal Repeater User Manual - 78 - AES: Advanced Encryption Standard PassPhrase: Enter 8-63 ASCII characters or 64 hexadecimal digits. - WPA-PSK/WPA2-PSK+[TKIP]/[AES] It allows the client to use either WPA-PSK[TKIP]/[AES] or WPA2-PSK[TKIP]/[AES]. PassPhrase: Enter 8-63 ASCII characters or 64 hexadecimal digits. Note: After you complete configuring wireless settings for SMCWEB-N2, only hosts that have the same wireless settings (for example, the SSID) as SMCWEB-N2 can connect to SMCWEB-N2. If you configure security settings for SMCWEB-N2, hosts must have the same security settings (for example, the password) as SMCWEB-N2 in order to connect to SMCWEB-N2.](https://usermanual.wiki/Edgecore-Networks/SMCWEBN2/User-Guide-2016496-Page-78.png)
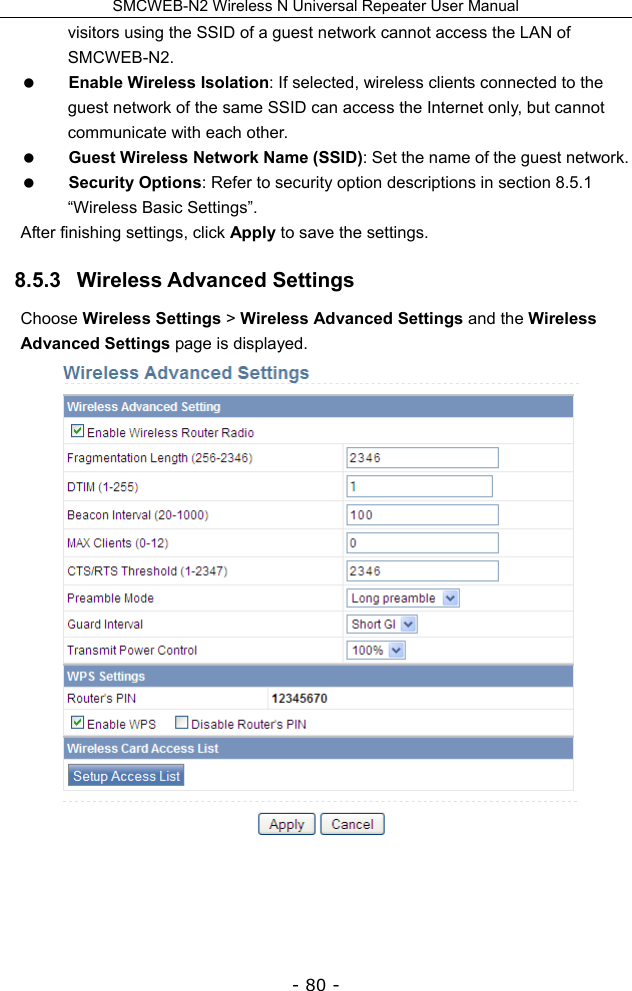


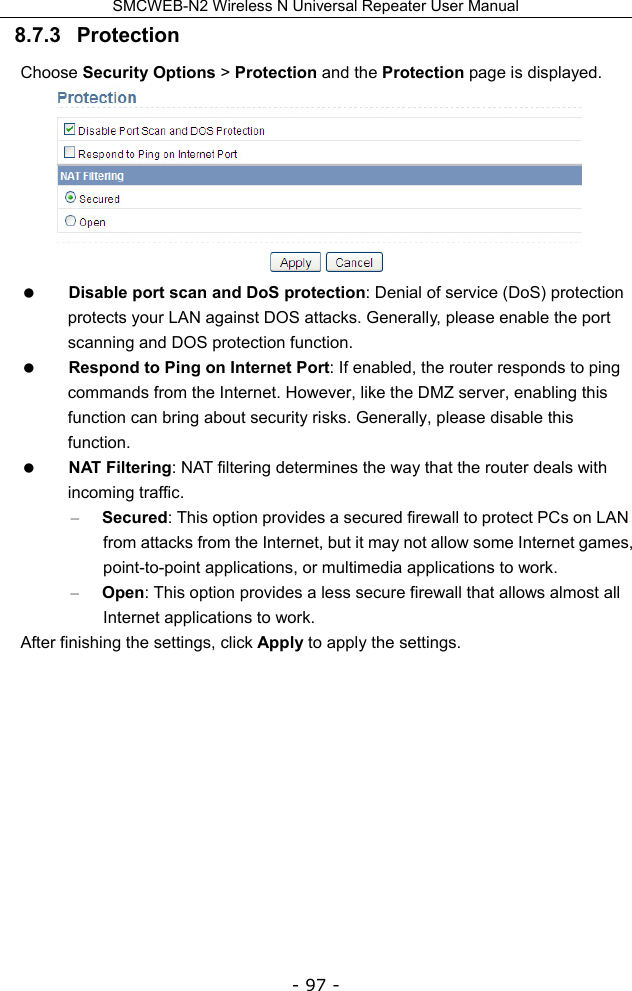


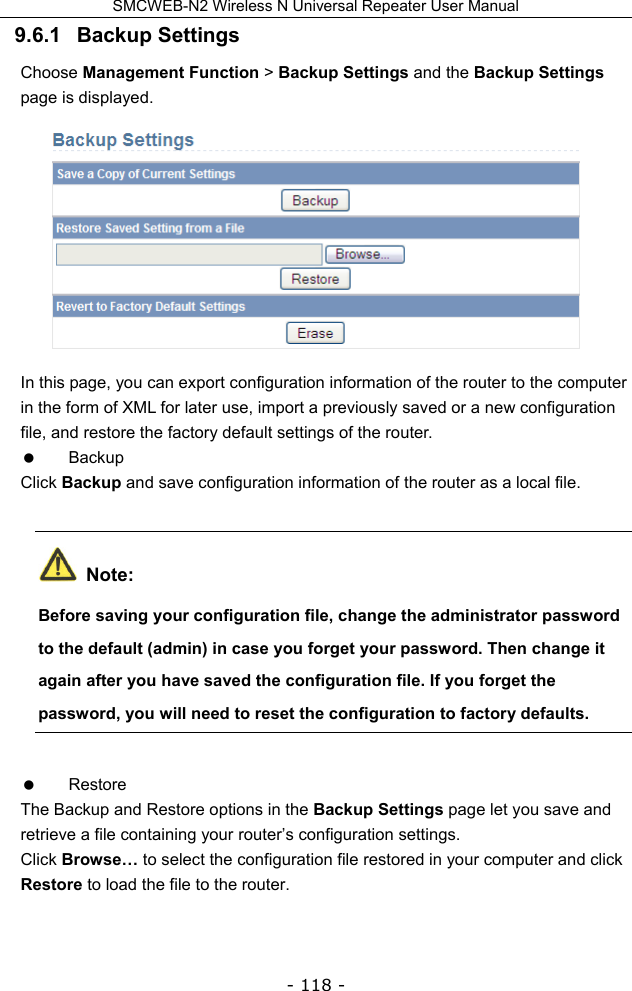
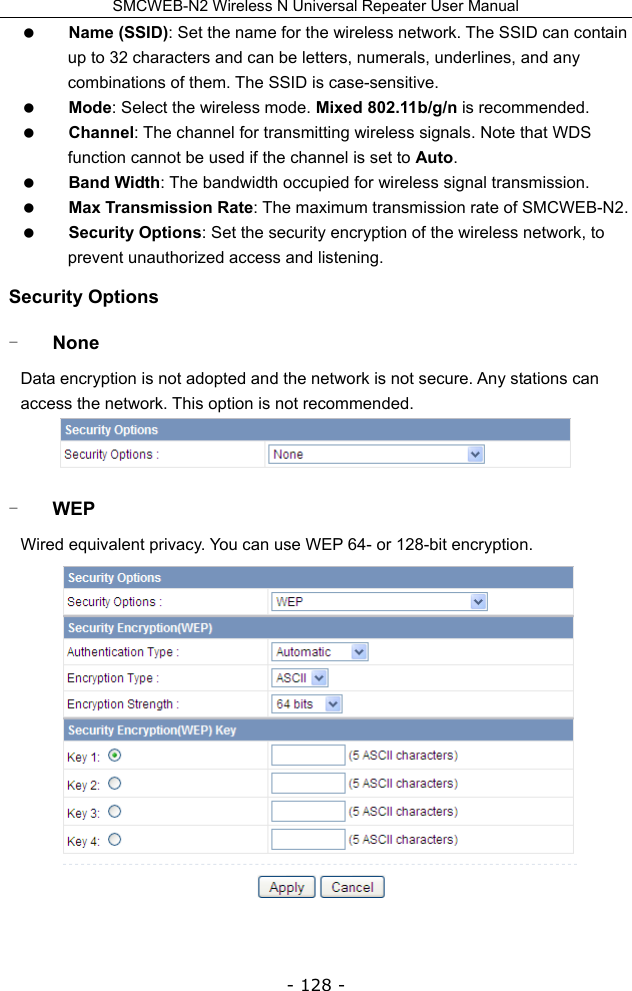
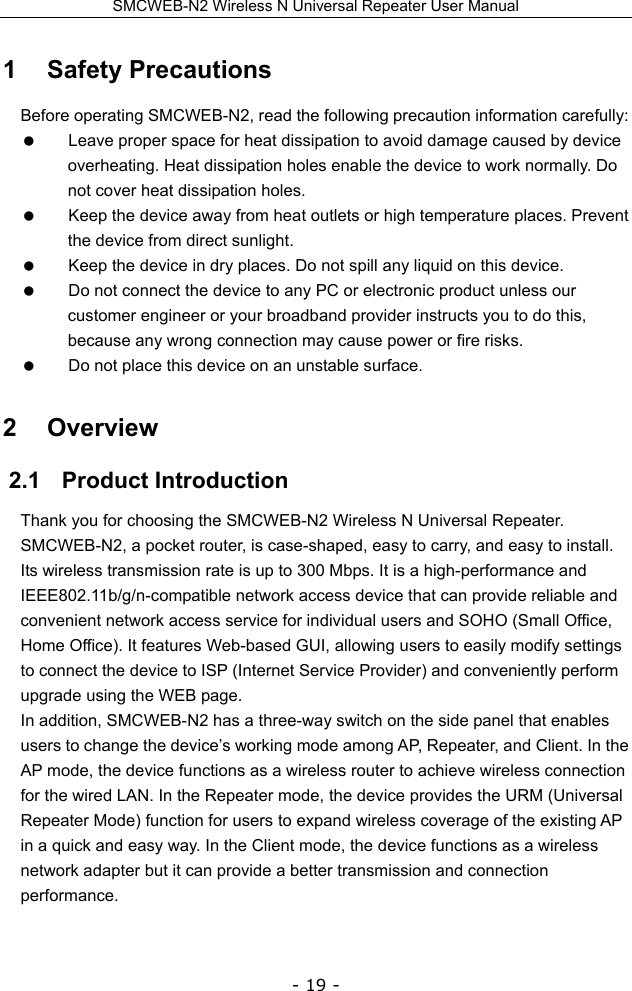
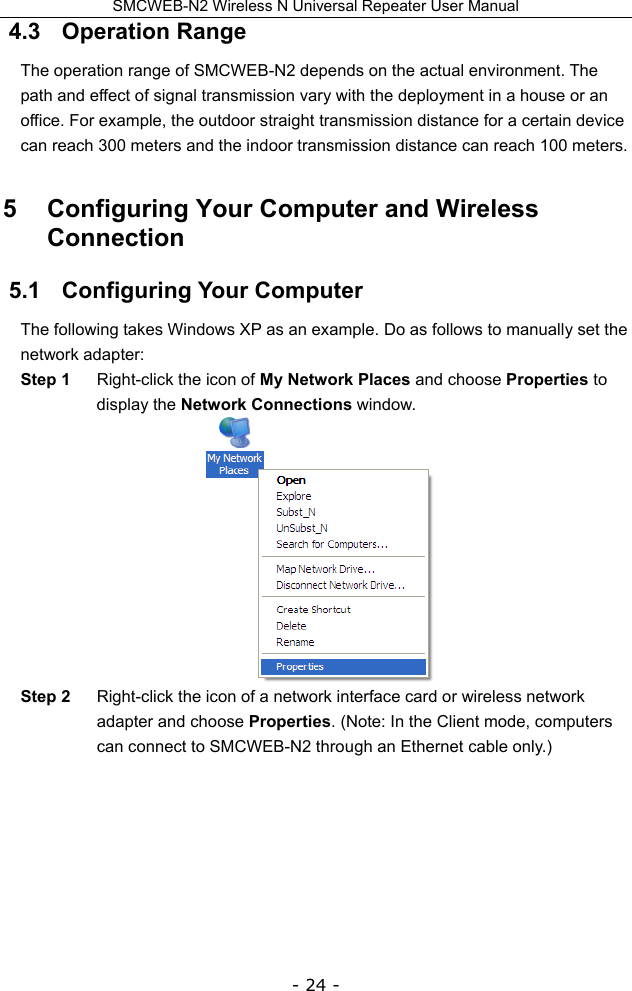
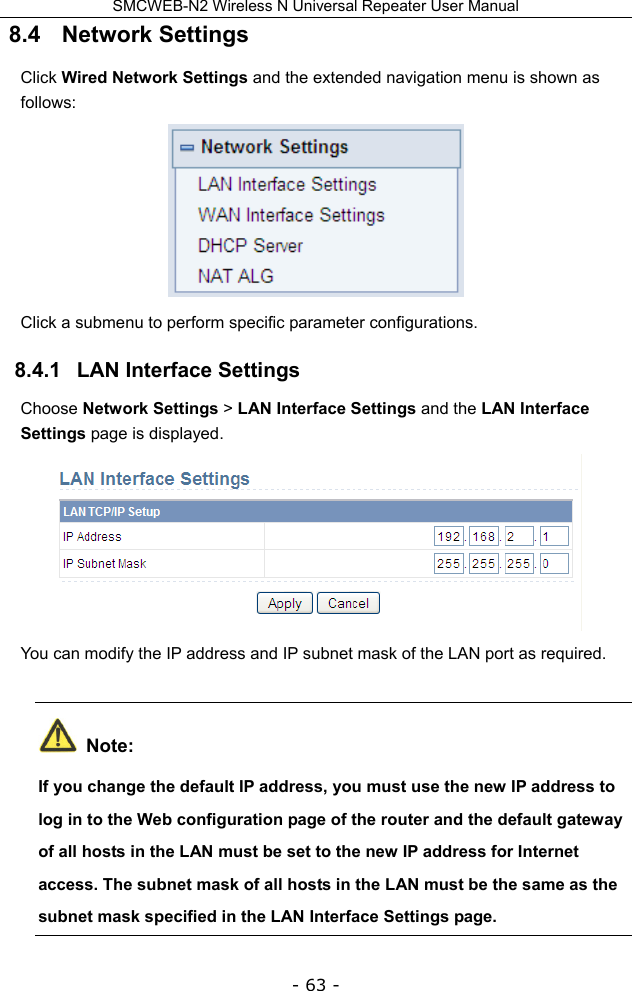
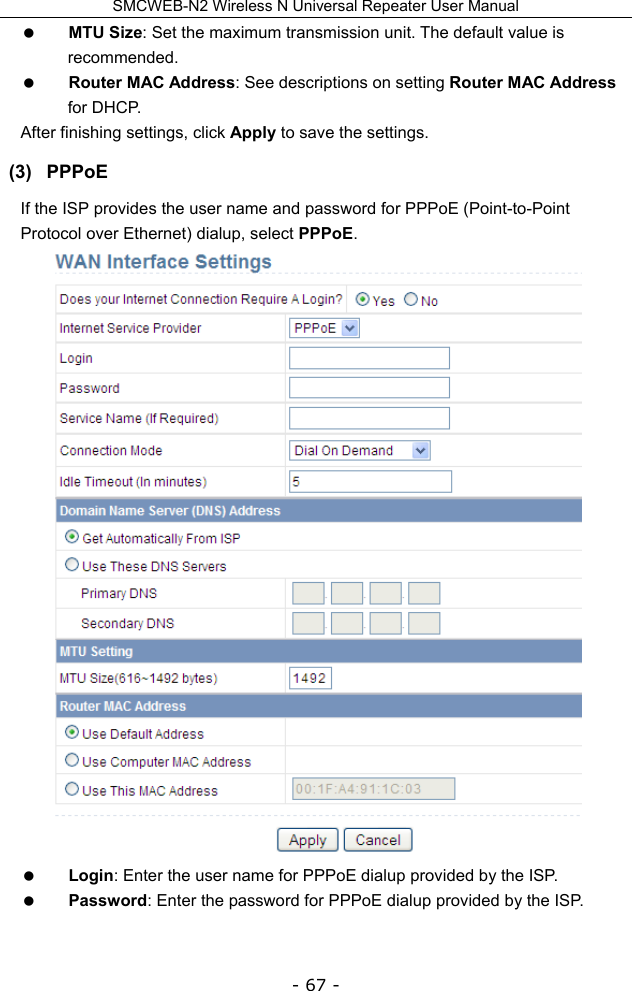
![SMCWEB-N2 Wireless N Universal Repeater User Manual - 129 - Authentication Type: Select the authentication type that the system adopts. Three authentication types are available: Automatic, Open, and Shared keys. – Automatic: If selected, the router uses an authentication type of Open or Shared keys according to the request of the host. – Open: If selected, hosts in the wireless network can pass the authentication and connect to the wireless network without using a password. However, the password is required if you want to transmit data. – Shared keys: If selected, hosts in the wireless network can pass authentication only when the correct password is entered. Otherwise, the hosts cannot connect to the wireless network. Encryption Type: The type of the key to be set. Hexadecimal and ASCII code are available. – Hex: Valid characters for keys contain 0–9 and A–F. – ASCII: Valid characters for keys contain all characters of the key board. Encryption Strength: The encryption strength determines the length of the key. – If Encryption Strength is set to 64 bits, set the key to 10 hexadecimal digits or 5 ASCII characters. – If Encryption Strength is set to 128 bits, set the key to 26 hexadecimal digits or 13 ASCII characters. Key 1/2/3/4: Set the key based on the selected encryption type and encryption strength. - WPA-PSK[TKIP] WPA-PSK: Preshared key Wi-Fi protection access TKIP: Temporal Key Integrity Protocol Note that the 802.11n mode does not support the TKIP algorithm. PassPhrase: Enter 8-63 ASCII characters or 64 hexadecimal digits.](https://usermanual.wiki/Edgecore-Networks/SMCWEBN2/User-Guide-2016496-Page-129.png)
![SMCWEB-N2 Wireless N Universal Repeater User Manual - 130 - - WPA2-PSK[AES] WPA2-PSK: Preshared key Wi-Fi protection access version 2. AES: Advanced Encryption Standard PassPhrase: Enter 8-63 ASCII characters or 64 hexadecimal digits. Note: After you complete configuring wireless settings for SMCWEB-N2, only hosts that have the same wireless settings (for example, the SSID) as SMCWEB-N2 can connect to SMCWEB-N2. If you configure security settings for SMCWEB-N2, hosts must have the same security settings (for example, the password) as SMCWEB-N2 in order to connect to SMCWEB-N2. 10.6 Management Function Click Management Function and the extended navigation menu is shown as follows. Click a submenu to perform specific parameter configurations.](https://usermanual.wiki/Edgecore-Networks/SMCWEBN2/User-Guide-2016496-Page-130.png)