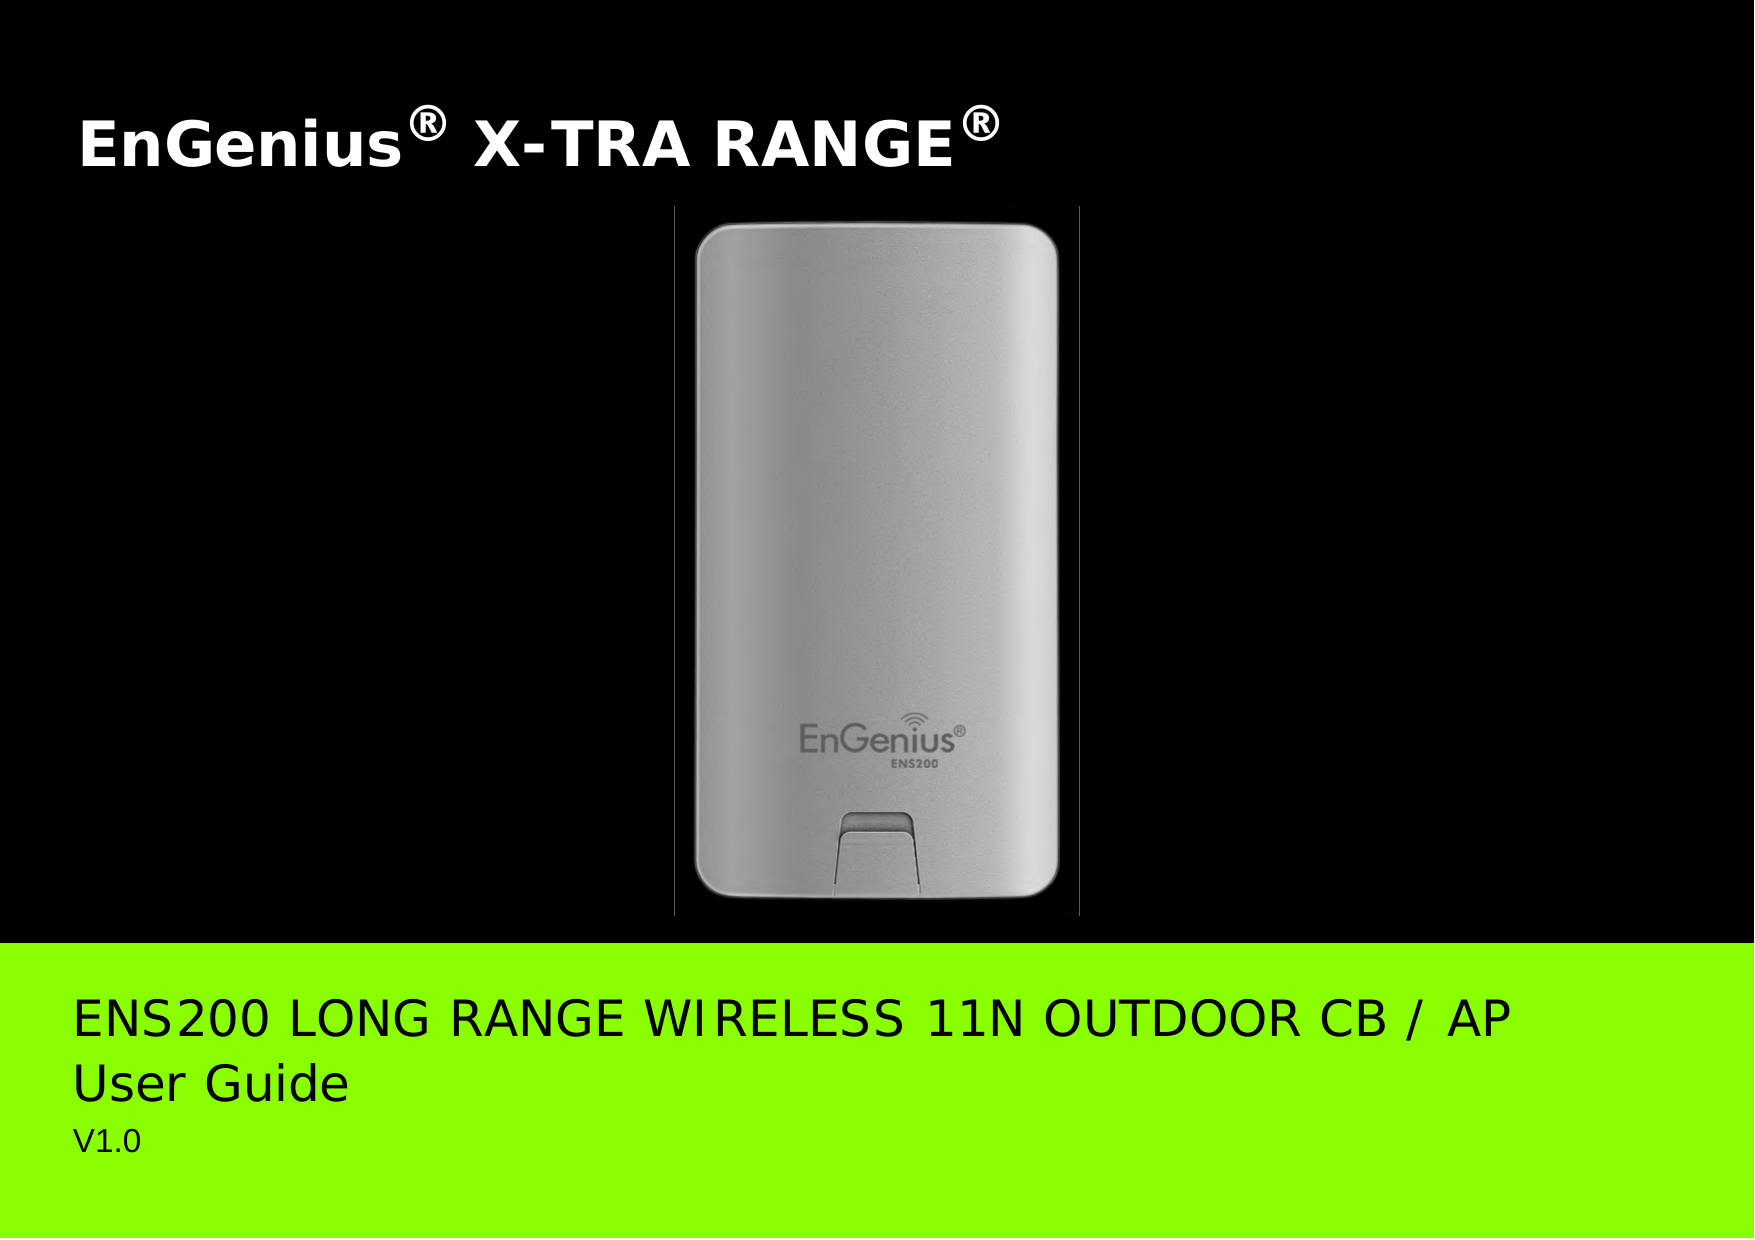
EnGenius Technologies ENS200 Secured Wireless Access Point User Manual ENS200
EnGenius Technologies Secured Wireless Access Point ENS200
Contents
- 1. User Man (ENS200)-1
- 2. User Man (ENS200)-2
- 3. User Man (ERA150)
- 4. User Man (FAP-112B)
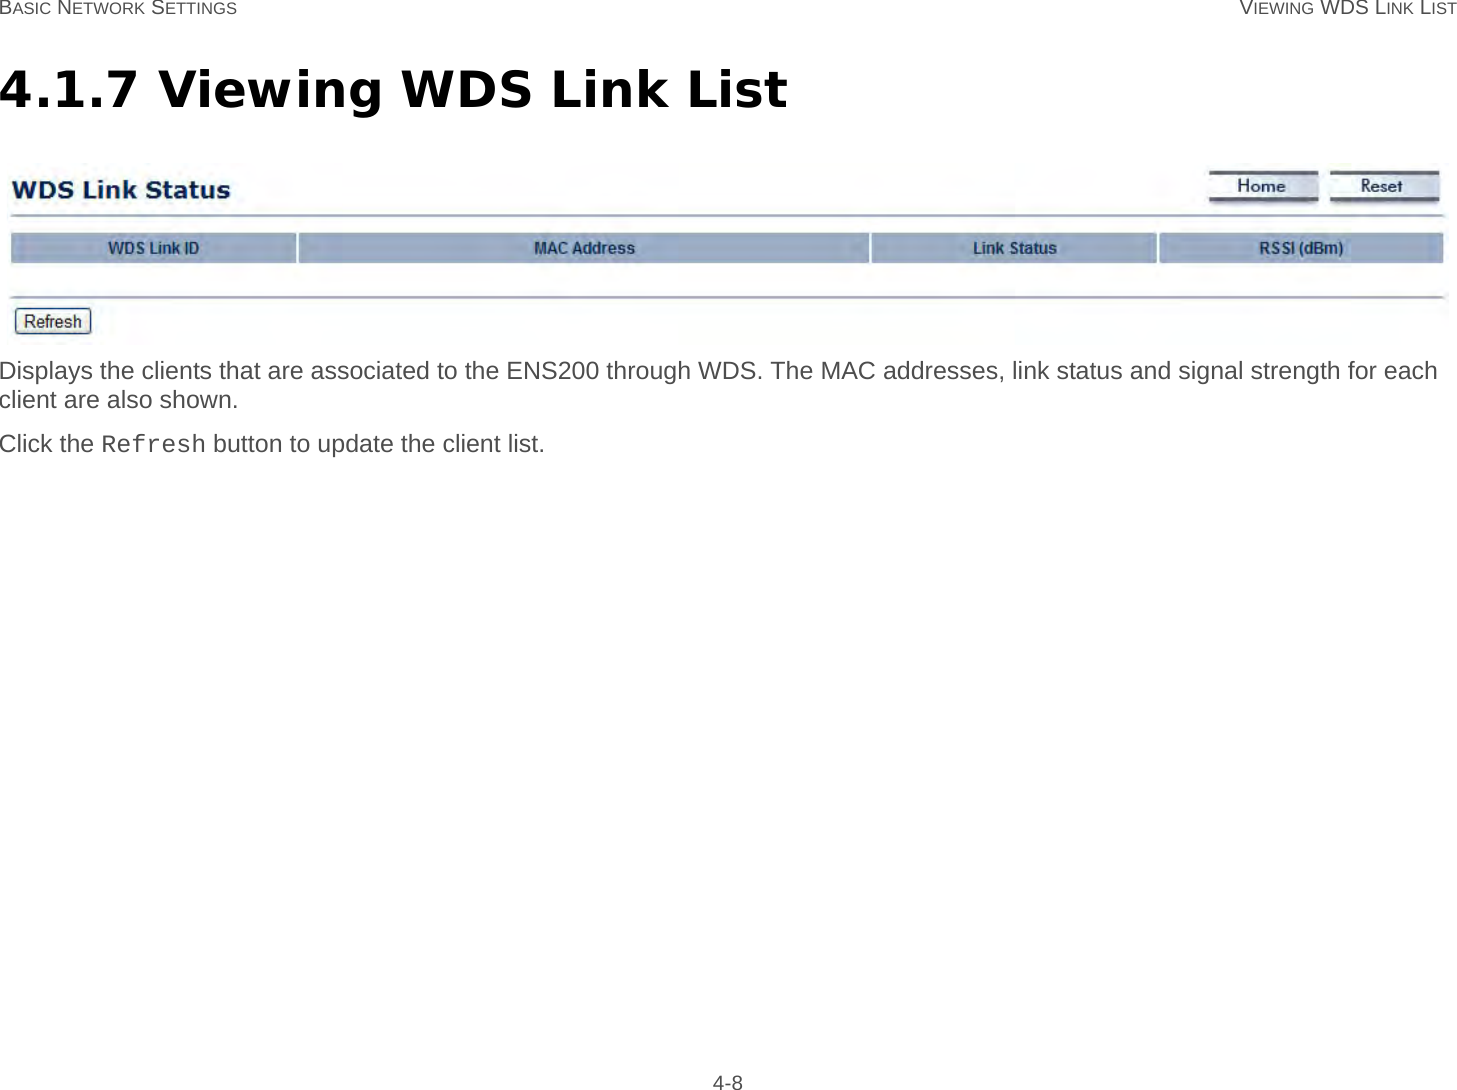
User Man (ENS200)-1