Extreme Networks RBT4102LIC Multi-Channel Access Point User Manual 1402 LIC
Extreme Networks, Inc. Multi-Channel Access Point 1402 LIC
UserManual.wiki
>
Extreme Networks
>
RBT4102LIC User Manual
>
Users manual
Contents
1.
Users manual
2.
users manual
Users manual
Navigation menu
Upload a User Manual
Namespaces
Wiki Guide
HTML
PDF
Info
Views
User Manual
Discussion / Help
Navigation


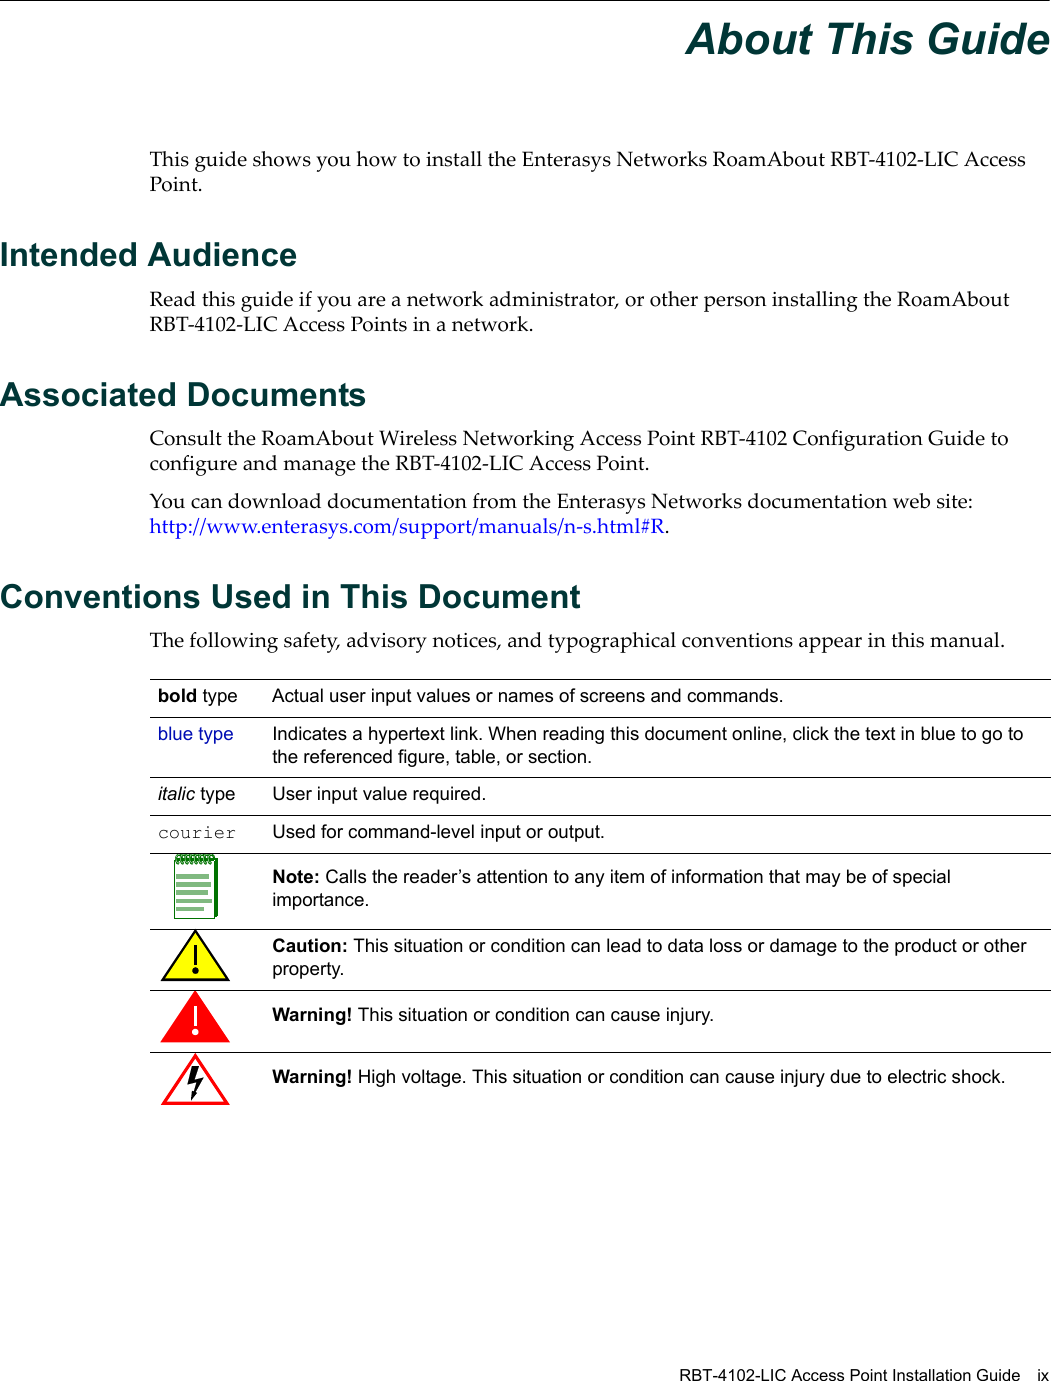
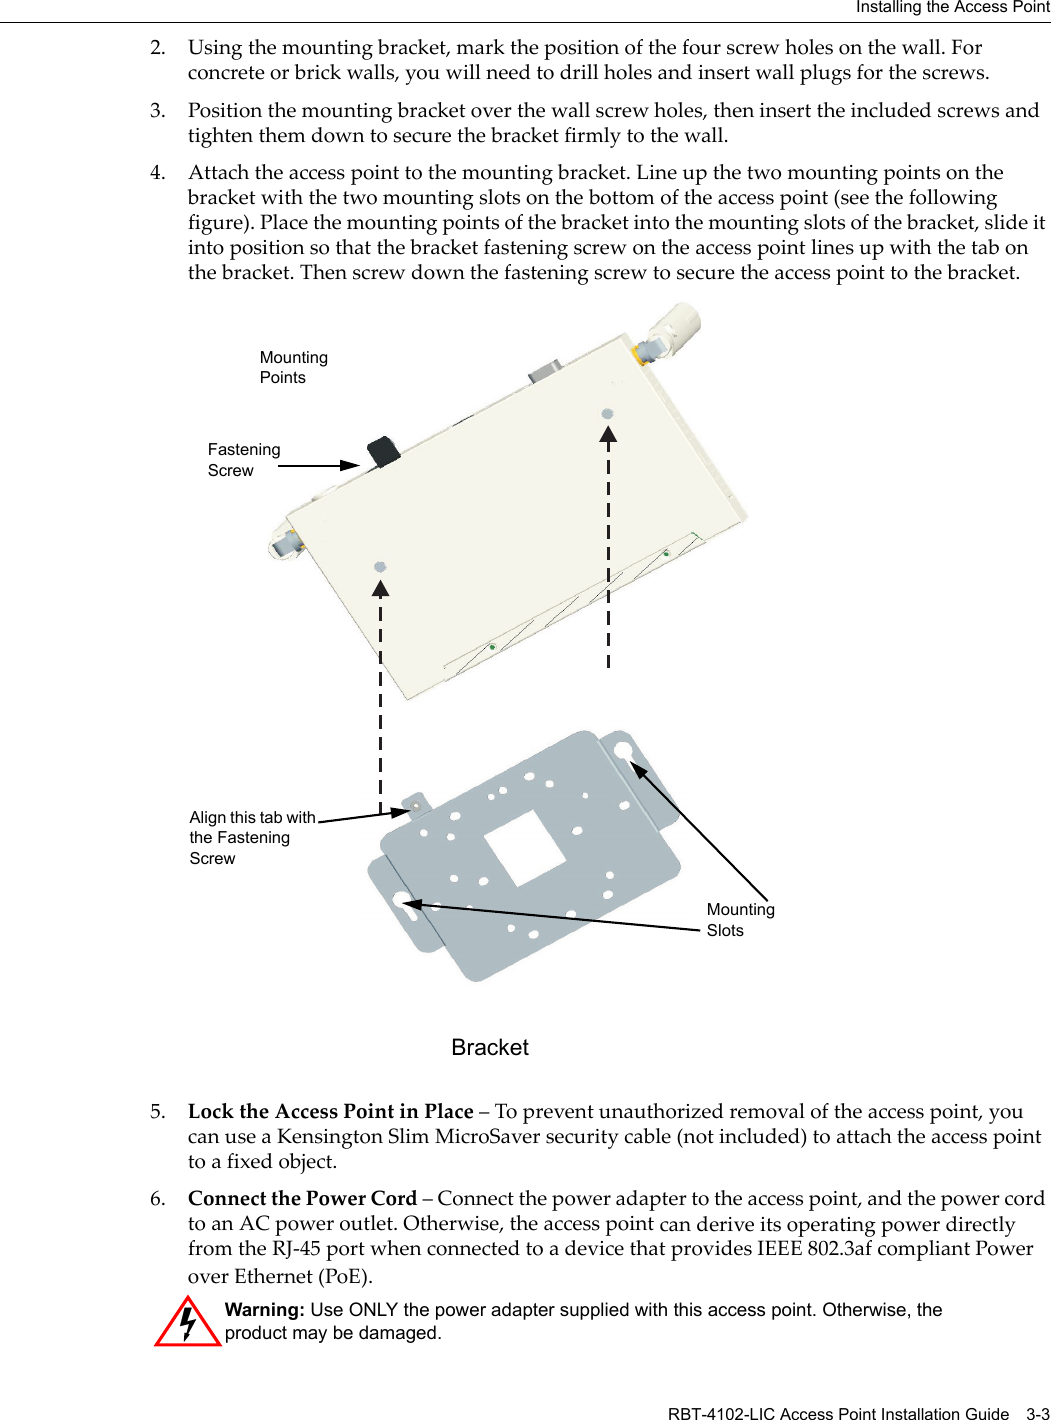
![x About This GuideGetting HelpForadditionalsupportrelatedtotheproductorthisdocument,contactEnterasys Networksusingoneofthefollowingmethods:BeforecontactingEnterasys Networksfortechnicalsupport,havethefollowinginformationready:•YourEnterasys Networksservicecontractnumber•Adescriptionofthefailure•Adescriptionofanyaction(s)alreadytakentoresolvetheproblem(forexample,changingmodeswitchesorrebootingtheunit)•TheserialandrevisionnumbersofallinvolvedEnterasys Networksproductsinthenetwork•Adescriptionofyournetworkenvironment(suchaslayout,cabletype,otherrelevantenvironmentalinformation)•Networkloadandframesizeatthetimeoftrouble(ifknown)•Thedevicehistory(forexample,ifyouhavereturnedthedevicebefore,orifthisarecurringproblem)•AnypreviousReturnMaterialAuthorization(RMA)numbersWorld Wide Web http://www.enterasys.com/supportPhone 1-800-872-8440 (toll-free in U.S.)For the Enterasys Networks Support toll-free number in your country: http://www.enterasys.com/support/gtac-all.htmlInternet mail support@enterasys.comTo expedite your message, please type [RoamAbout] in the subject line.To send comments concerning this document to the Technical Publications Department:techpubs@enterasys.comPlease include the document Part Number in your email message.](https://usermanual.wiki/Extreme-Networks/RBT4102LIC.Users-manual/User-Guide-636011-Page-12.png)