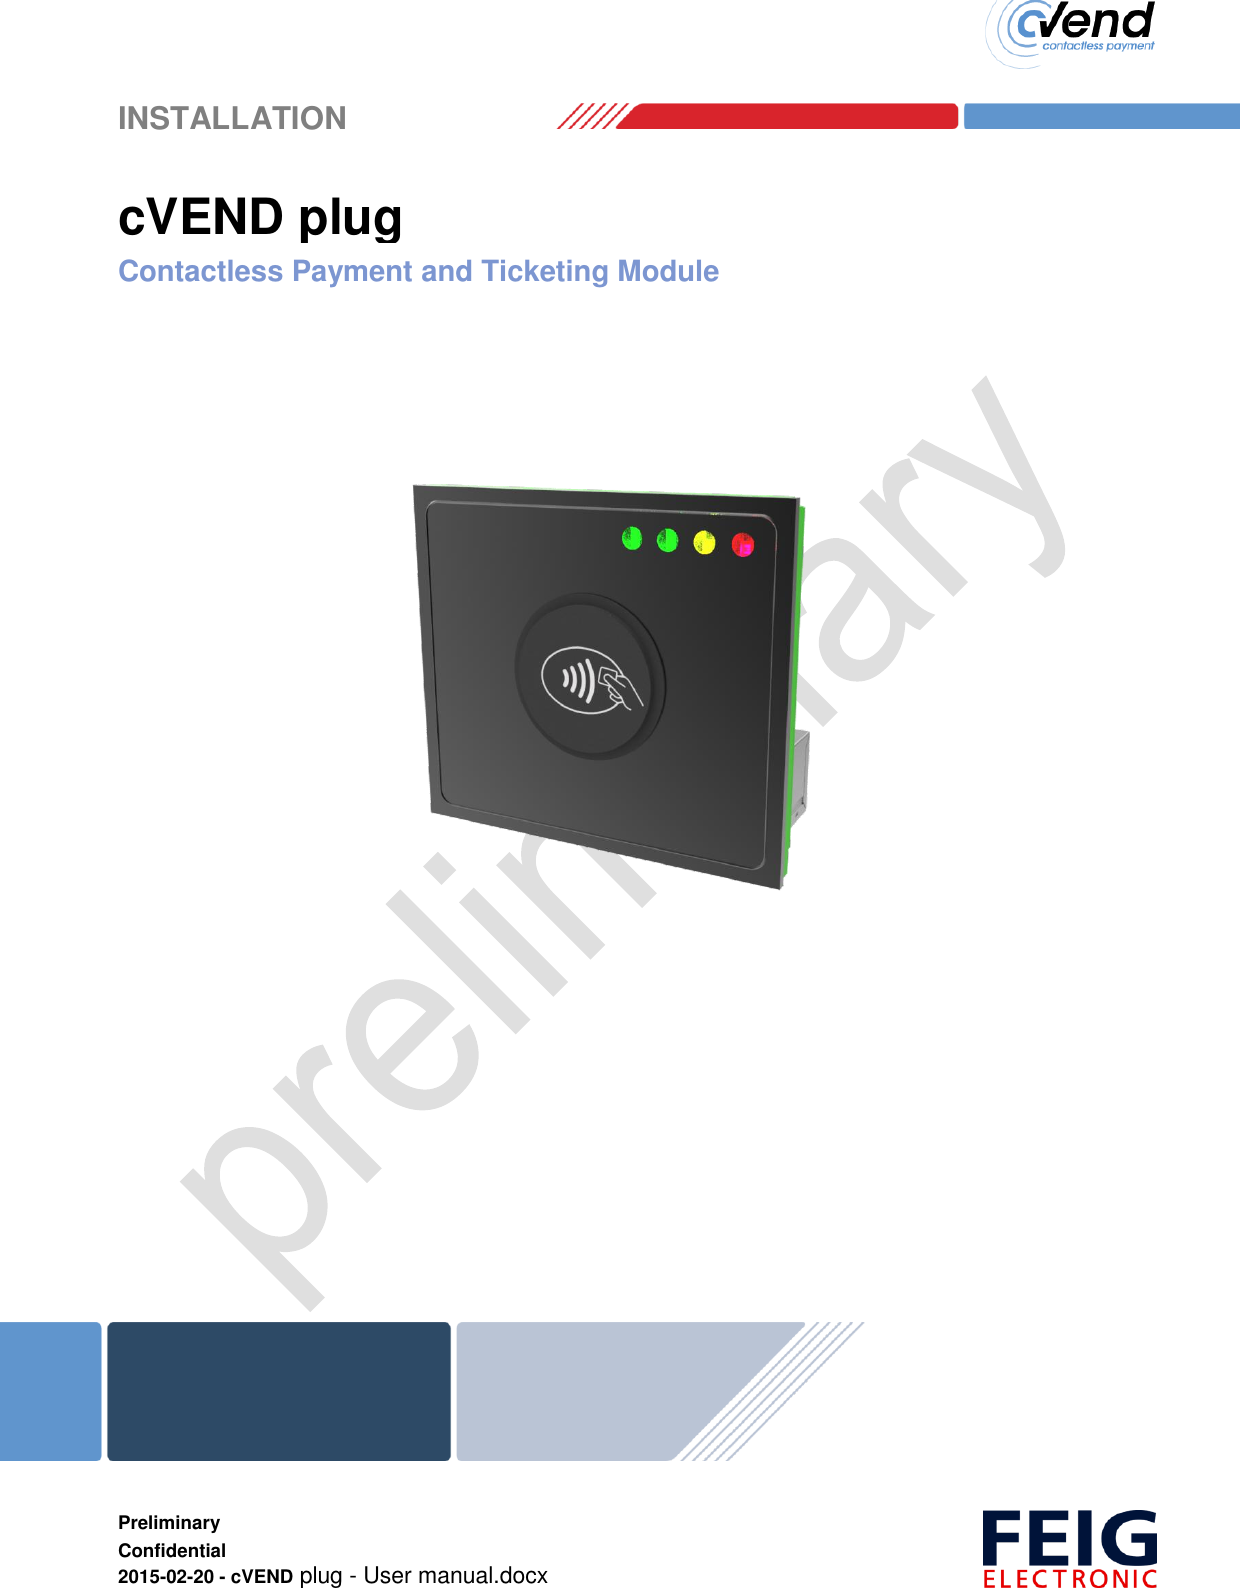
Feig Electronic CVEND Contactless Payment and Ticketing Module User Manual Installation ID CPR46 10
Feig Electronic GmbH Contactless Payment and Ticketing Module Installation ID CPR46 10
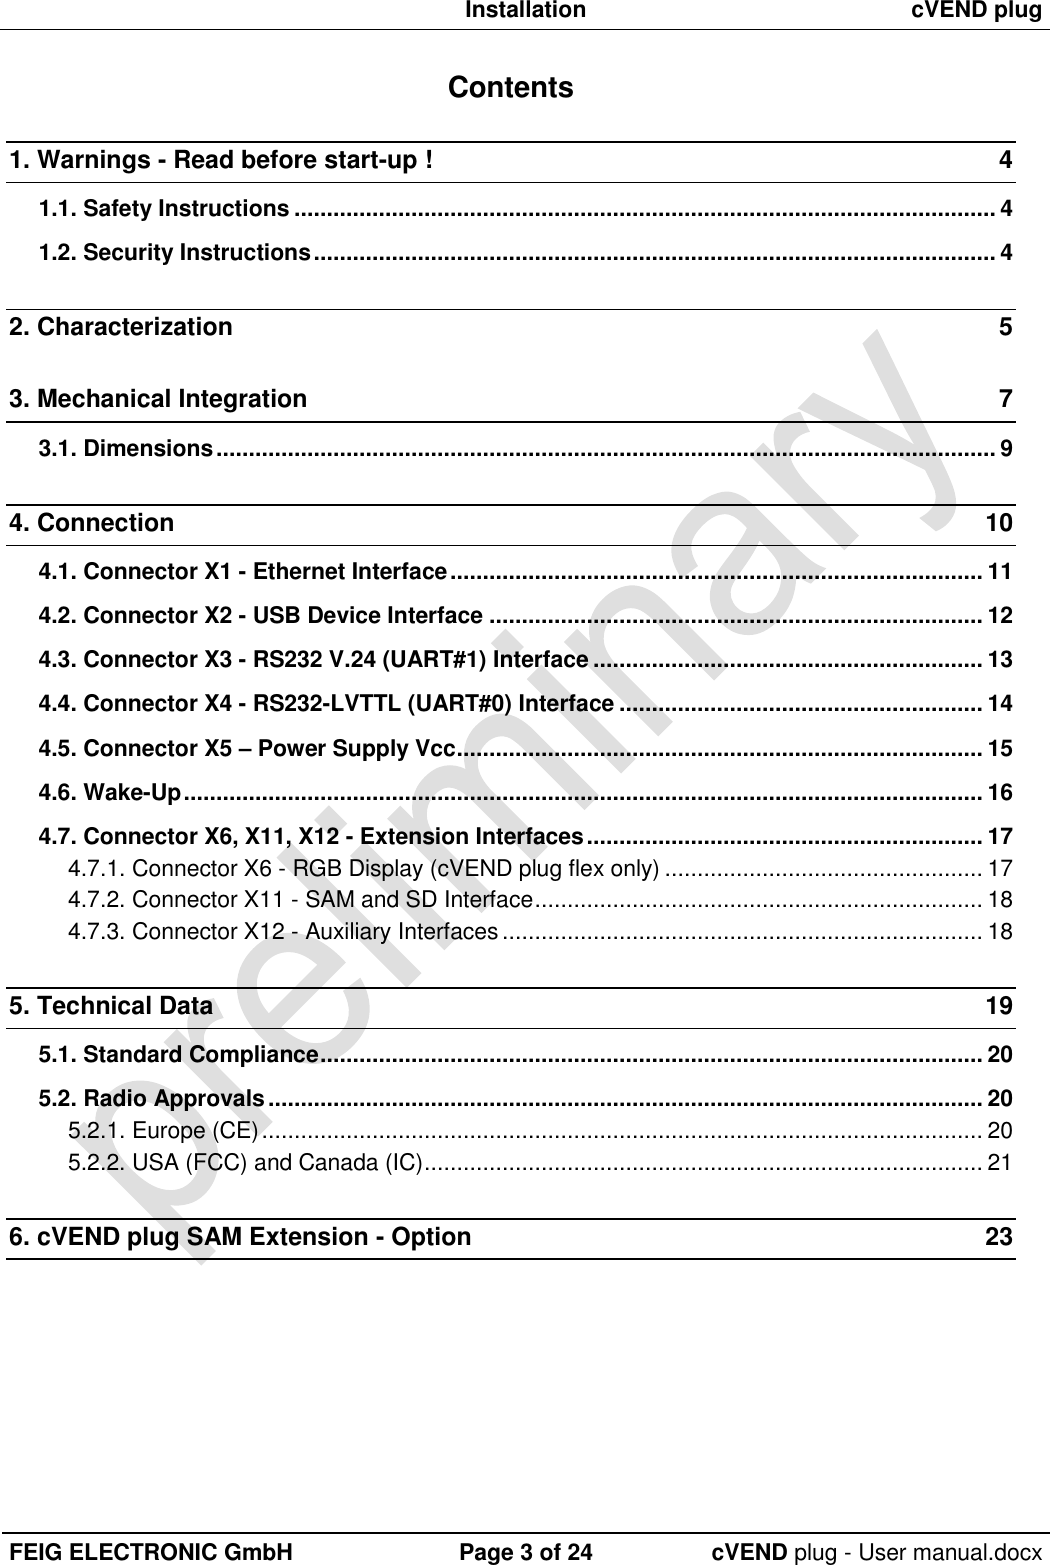
Contents
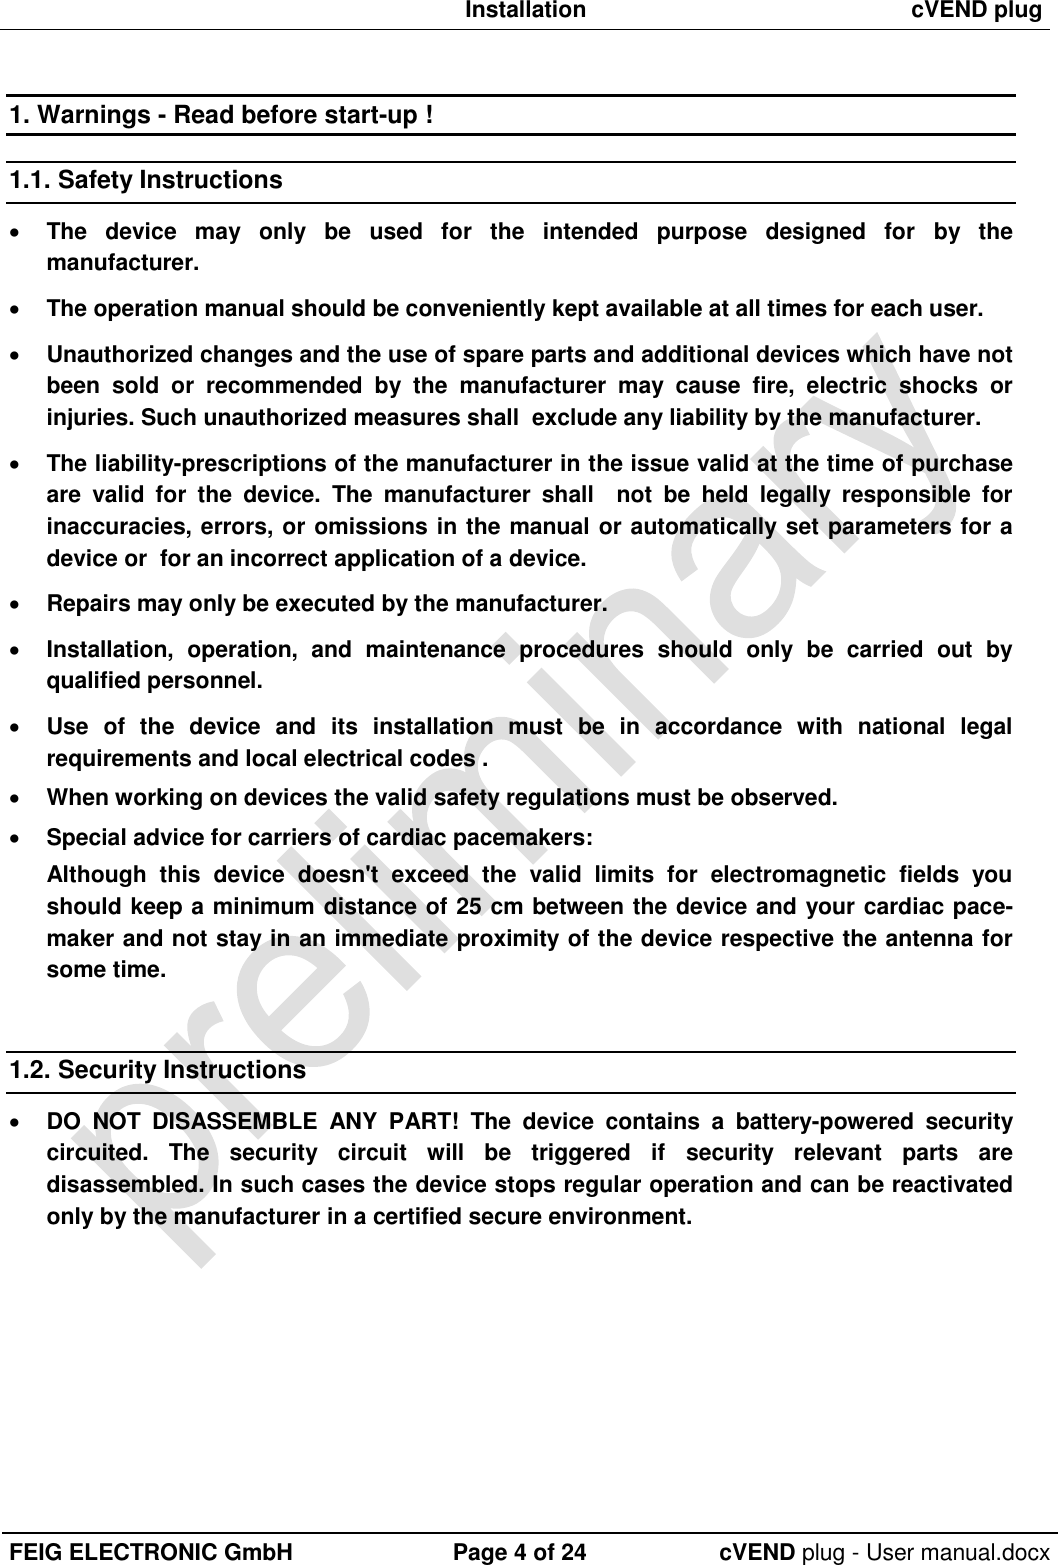
- 1. installation instruction 1
- 2. Installation Instruction 2
Installation Instruction 2