First Computer GE3A MINI PC User Manual
First International Computer Inc MINI PC
UserManual.wiki
>
First Computer
>
GE3A User Manual
User manual
Navigation menu
Upload a User Manual
Namespaces
Wiki Guide
HTML
PDF
Info
Views
User Manual
Discussion / Help
Navigation


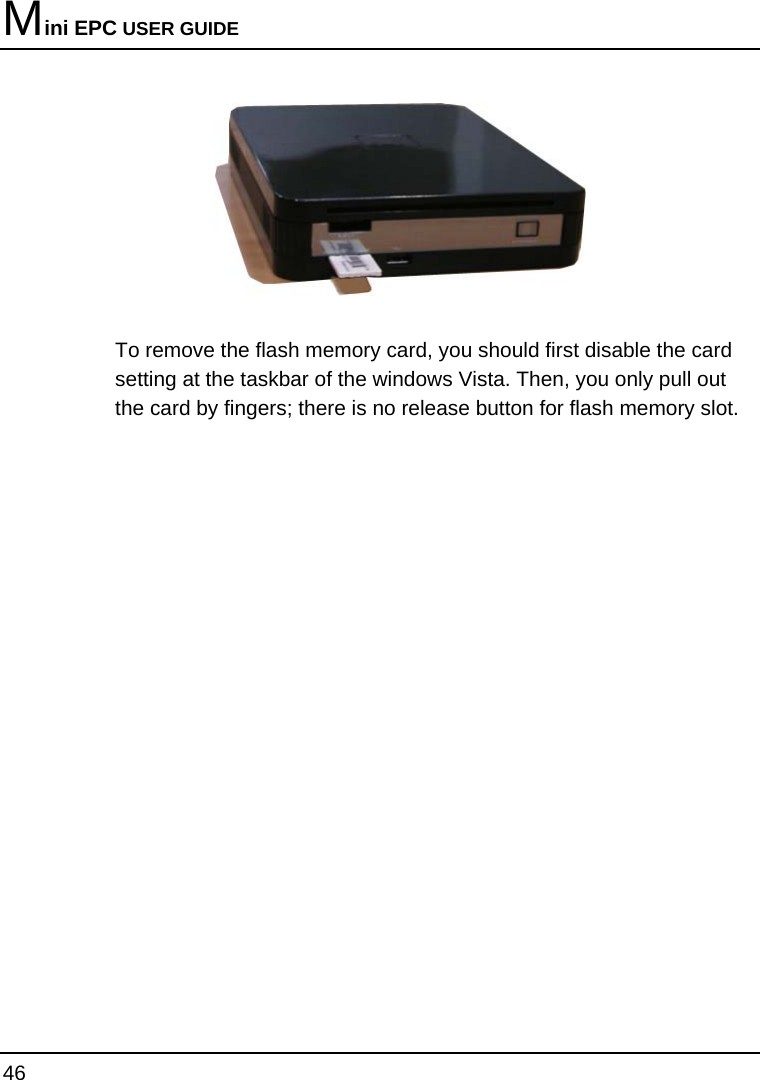

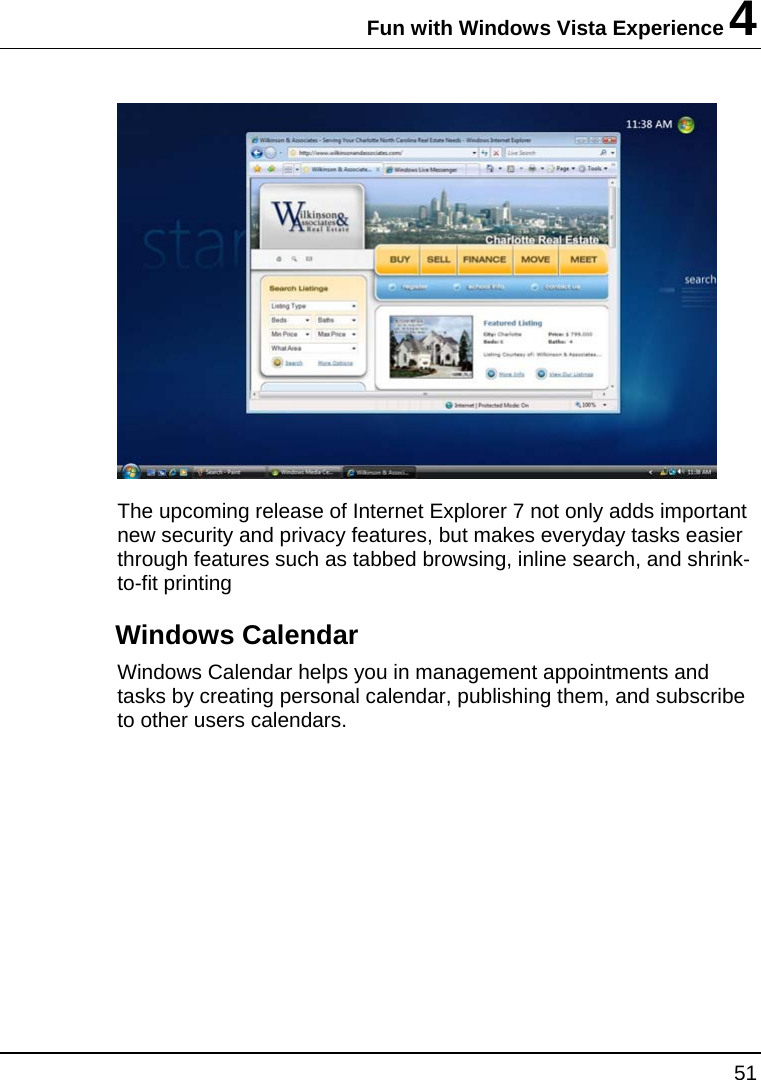

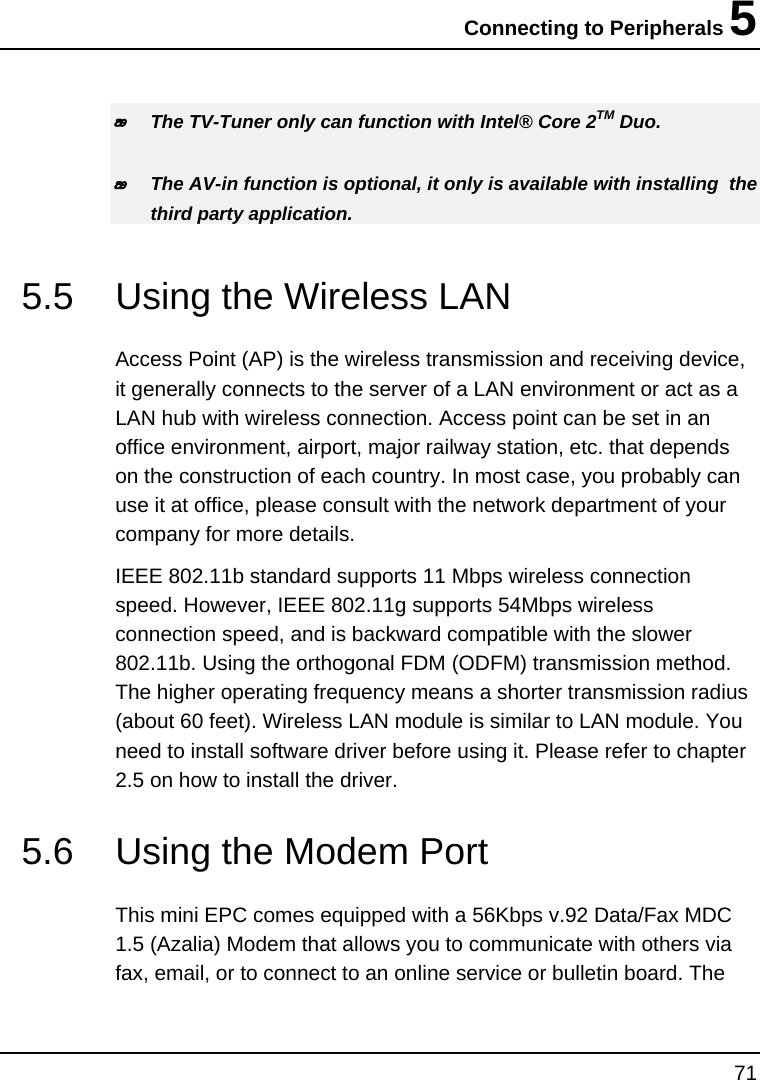
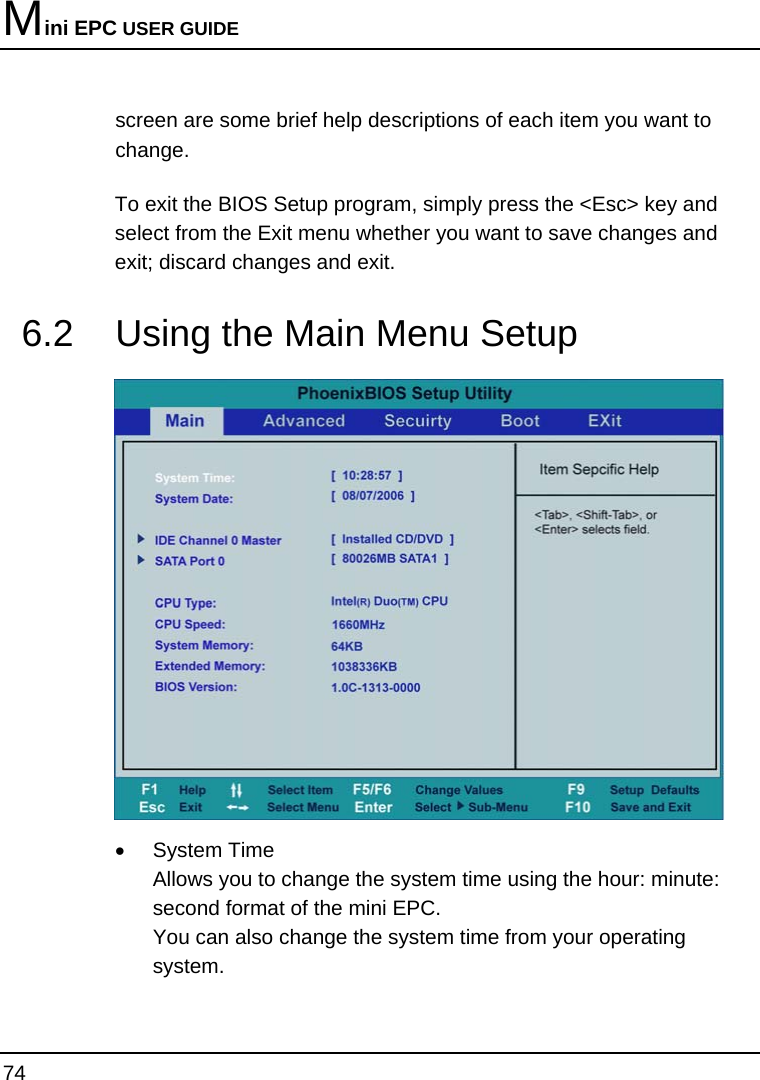
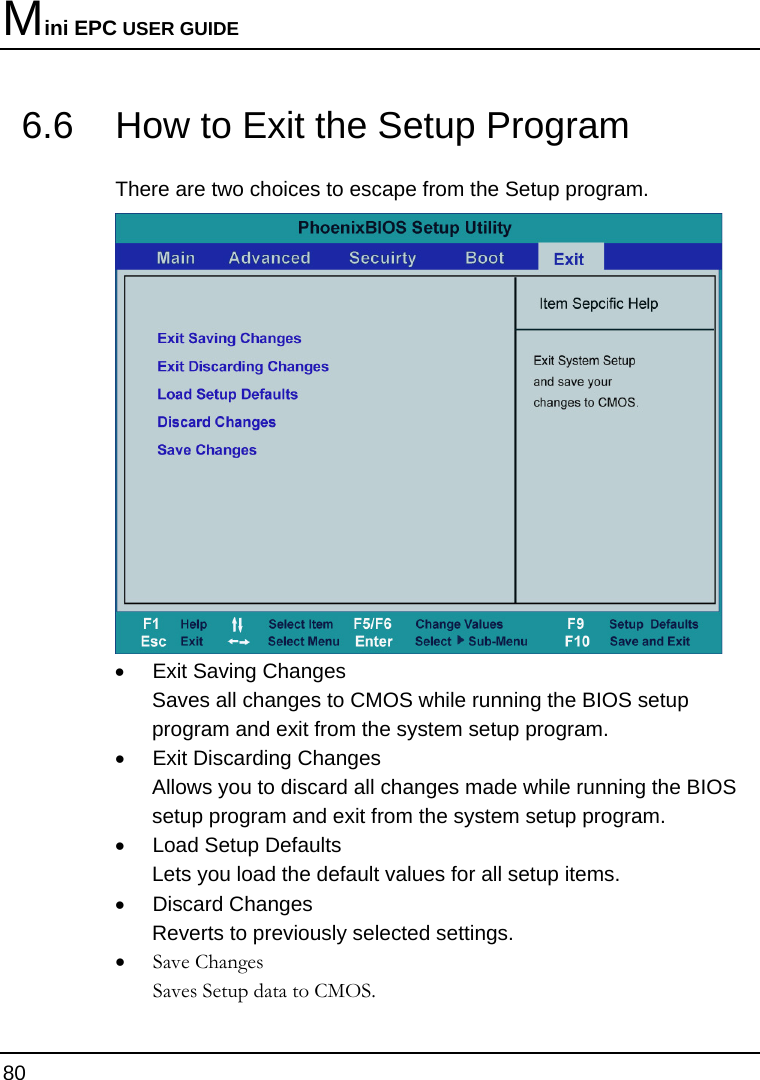
![BIOS Setup 6 75 • System Date Allows you to set the system date using the month/date/year format. You can also change the system time from your operating system. • IDE Channel 0 Master This field displays various parameters for the hard disk drive. If type [Auto] is selected, the system automatically sets these parameters. If type [User] is selected, Cylinders, Heads and Sectors and other value can be edited. • SATA Port 0 This field is for information only as the BIOS automatically detects the optical drive. • CPU Type This field reports the CPU type information detected by the BIOS during Power-On Self-Test (POST). • CPU Speed This field reports the CPU speed information detected by the BIOS during Power-On Self-Test (POST). • System Memory This field reports the amount of base (or conventional) memory found by the BIOS during Power-On Self-Test (POST). • Extended Memory This field reports the amount of extended memory found by the BIOS during Power-On Self-Test (POST). • BIOS Version This field is for information only as the BIOS displays the BIOS version during the Power-On Self-Test (POST).](https://usermanual.wiki/First-Computer/GE3A/User-Guide-988307-Page-75.png)